
PowerOptimal Elon® 100 Troubleshooting Basics for Technicians v2.3
NOTE: This Troubleshooting Guide is intended for technicians and not general users. Users should please refer to the User Manual, which can be found at www.poweroptimal.com/manuals. Please see page 7 for a summary of the Elon®’s controller and LED lights. You will need an AC & DC Multimeter with clamp adapter. Always check the PowerOptimal website for the latest version of this guide.
Information about the Site
|
|
| ||||||||
|
| |||||||||
|
| |||||||||
|
| |||||||||
A Few Notes Before You Start
If you have a test / extra remote control (little black box with the control dial & lights), plug it into the Elon® unit.If you identify the problem at a specific step, you can stop there and write your conclusion.If you replace an Elon®, thermostat, element or wiring, you should commission the system again as per the Installation Manual.
On Arrival at Site – Preparation Checks
|
|
|
|
|---|---|---|---|
|
|
|
|
|
|
|
|
|
|
|
|
| ||
|
| |
|
| |
|
| |
|
|
When You are at the Geyser & Elon unit
| |
|
For assistance call Johan Theron @ 083 600 1827
Things to Remember
Note:Once the dial has been turned to “MAINS ONLY”, it will complete a full mains heating cycle (until the thermostat opens). Turning the control back to “SOLAR ONLY” at this point will not immediately switch the unit back to solar power. It will only switch back again after the mains heating cycle is completed (i.e. the thermostat opens) and the thermostat then closes again. You can finish the mains heating cycle faster by reducing the thermostat temperature setting until the thermostat opens.Test solar power first.Fast flashing red / green LEDsindicate either:a short between a PV (photovoltaic) lead and earth – this condition prevents solar power to the element;a partial short of the element to earth, e.g., a puncture exposing element to water. This condition can be ruled out by disconnecting both wires to the element. If the LEDs stop flashing after about 20 seconds, the element is faulty. If the LEDs continue flashing, then the cause is likely as per item a. above.Please note:wait at least 20 seconds after any disconnection or other correction step for the LEDs to stop flashing.
Ifno lights on remote control, then follow these steps:Check that the remote control cable is properly (fully) inserted at both ends (both at the Elon and the remote control).Change out the remote control. If lights now come on, the remote control is faulty. You can service the remote control by opening it up, spraying the inside with contact cleaner, turning the dial a few times and retesting. If this doesn’t work, install the new remote control.If lights still don’t come on, plug a new cable and the old remote control into the Elon. If the lights now come on, the remote control cable is faulty. Install the new cable.If the lights still don’t come on, either all power to the Elon is off, or the Elon is faulty.
The Mains & Solar indicator lights (LEDs) indicate the following conditions:
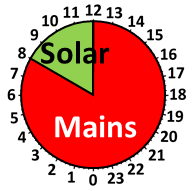
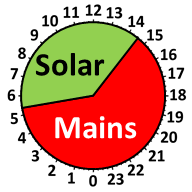
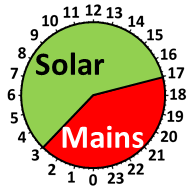
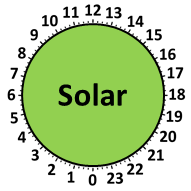
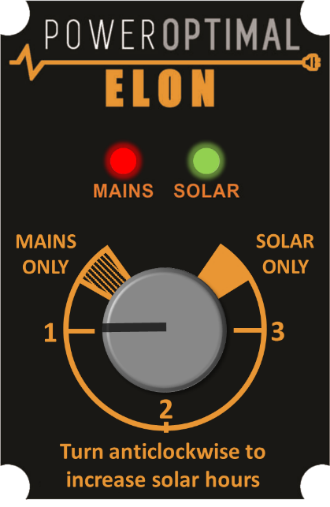
The control dial sets the mains & solar times as follows:
|
|
| |
|
|
|
|
|
|
|
|
|
|
|
|
|
|
|
|
|
|
|
|

|
|
|
|
|
|
|
|
|
|
|
|
|
|
|
|
|
|
|
|
|
|
|
|
|
|
|


 ⏺⏺
⏺⏺
 ⏺⏺
⏺⏺
* Times are approximate – will vary slightly with season and location
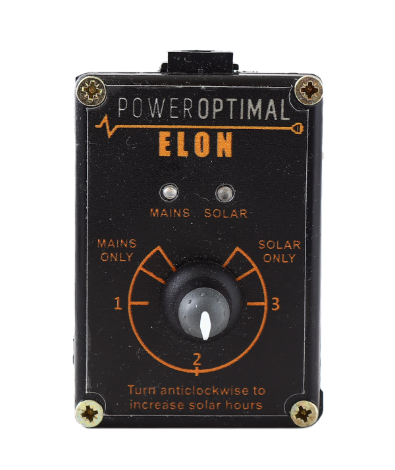
Pictures of main items
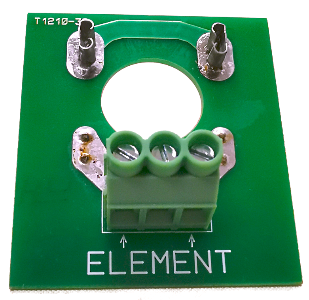
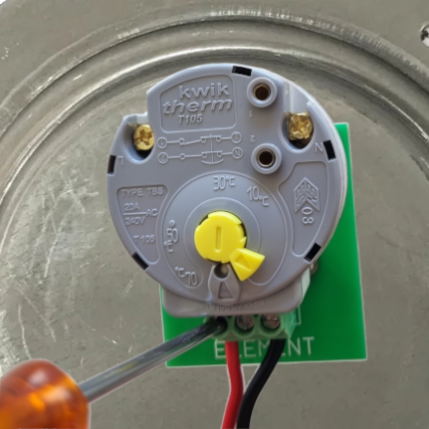
Element adapter plugged into geyser element, with thermostat plugged into element adapter
Element adapter
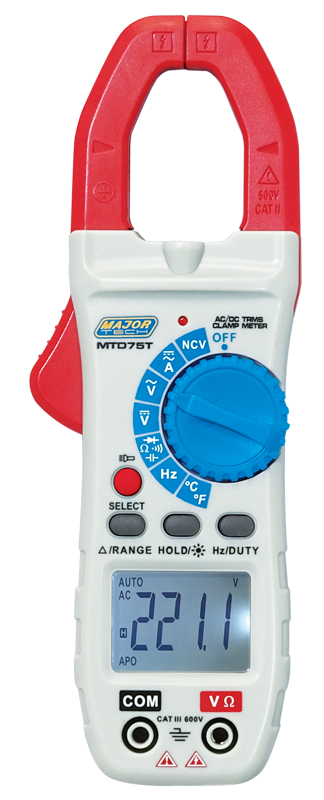
Example AC/DC multimeter
Elon 100 remote control
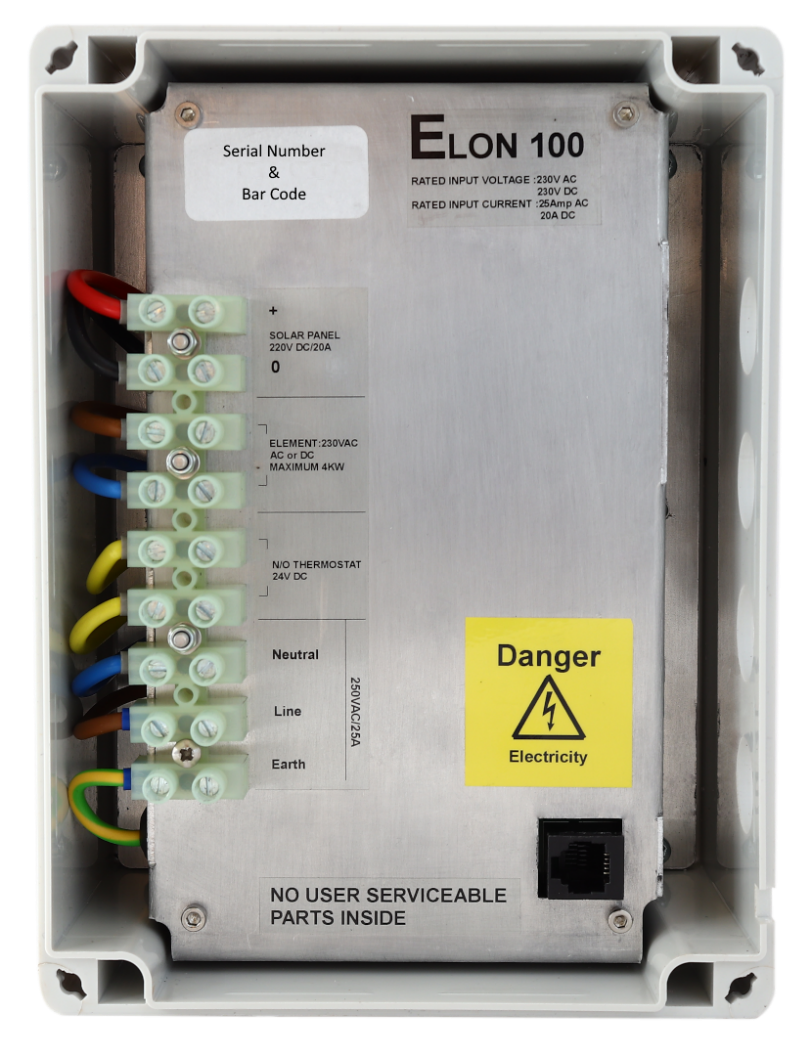
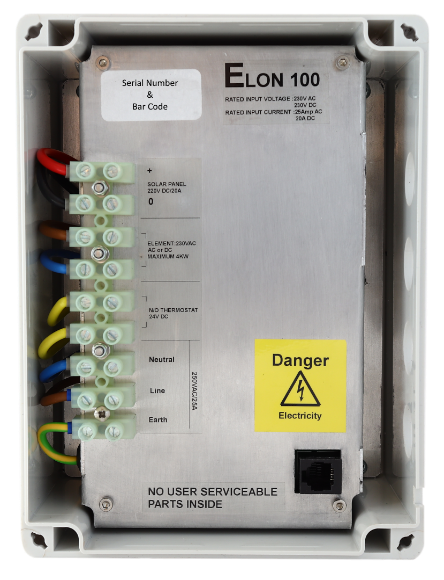
Elon 100 main unit with lid off
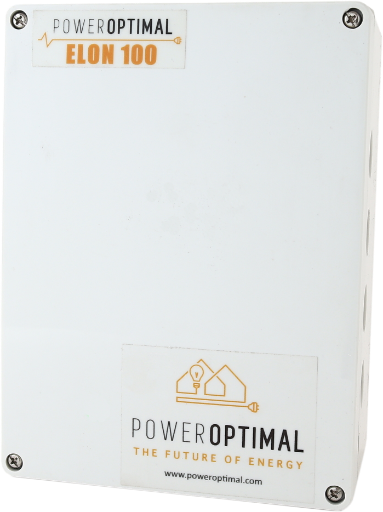
Elon 100 main unit with lid on