Mobile app and web portal
- Upgrading the app
- Create new installer account
- Add and set up a new device as installer
- Control settings
- Grid heating timer
- Create new home owner account
- Add and set up a new device as home owner
- Device status
- Profile settings
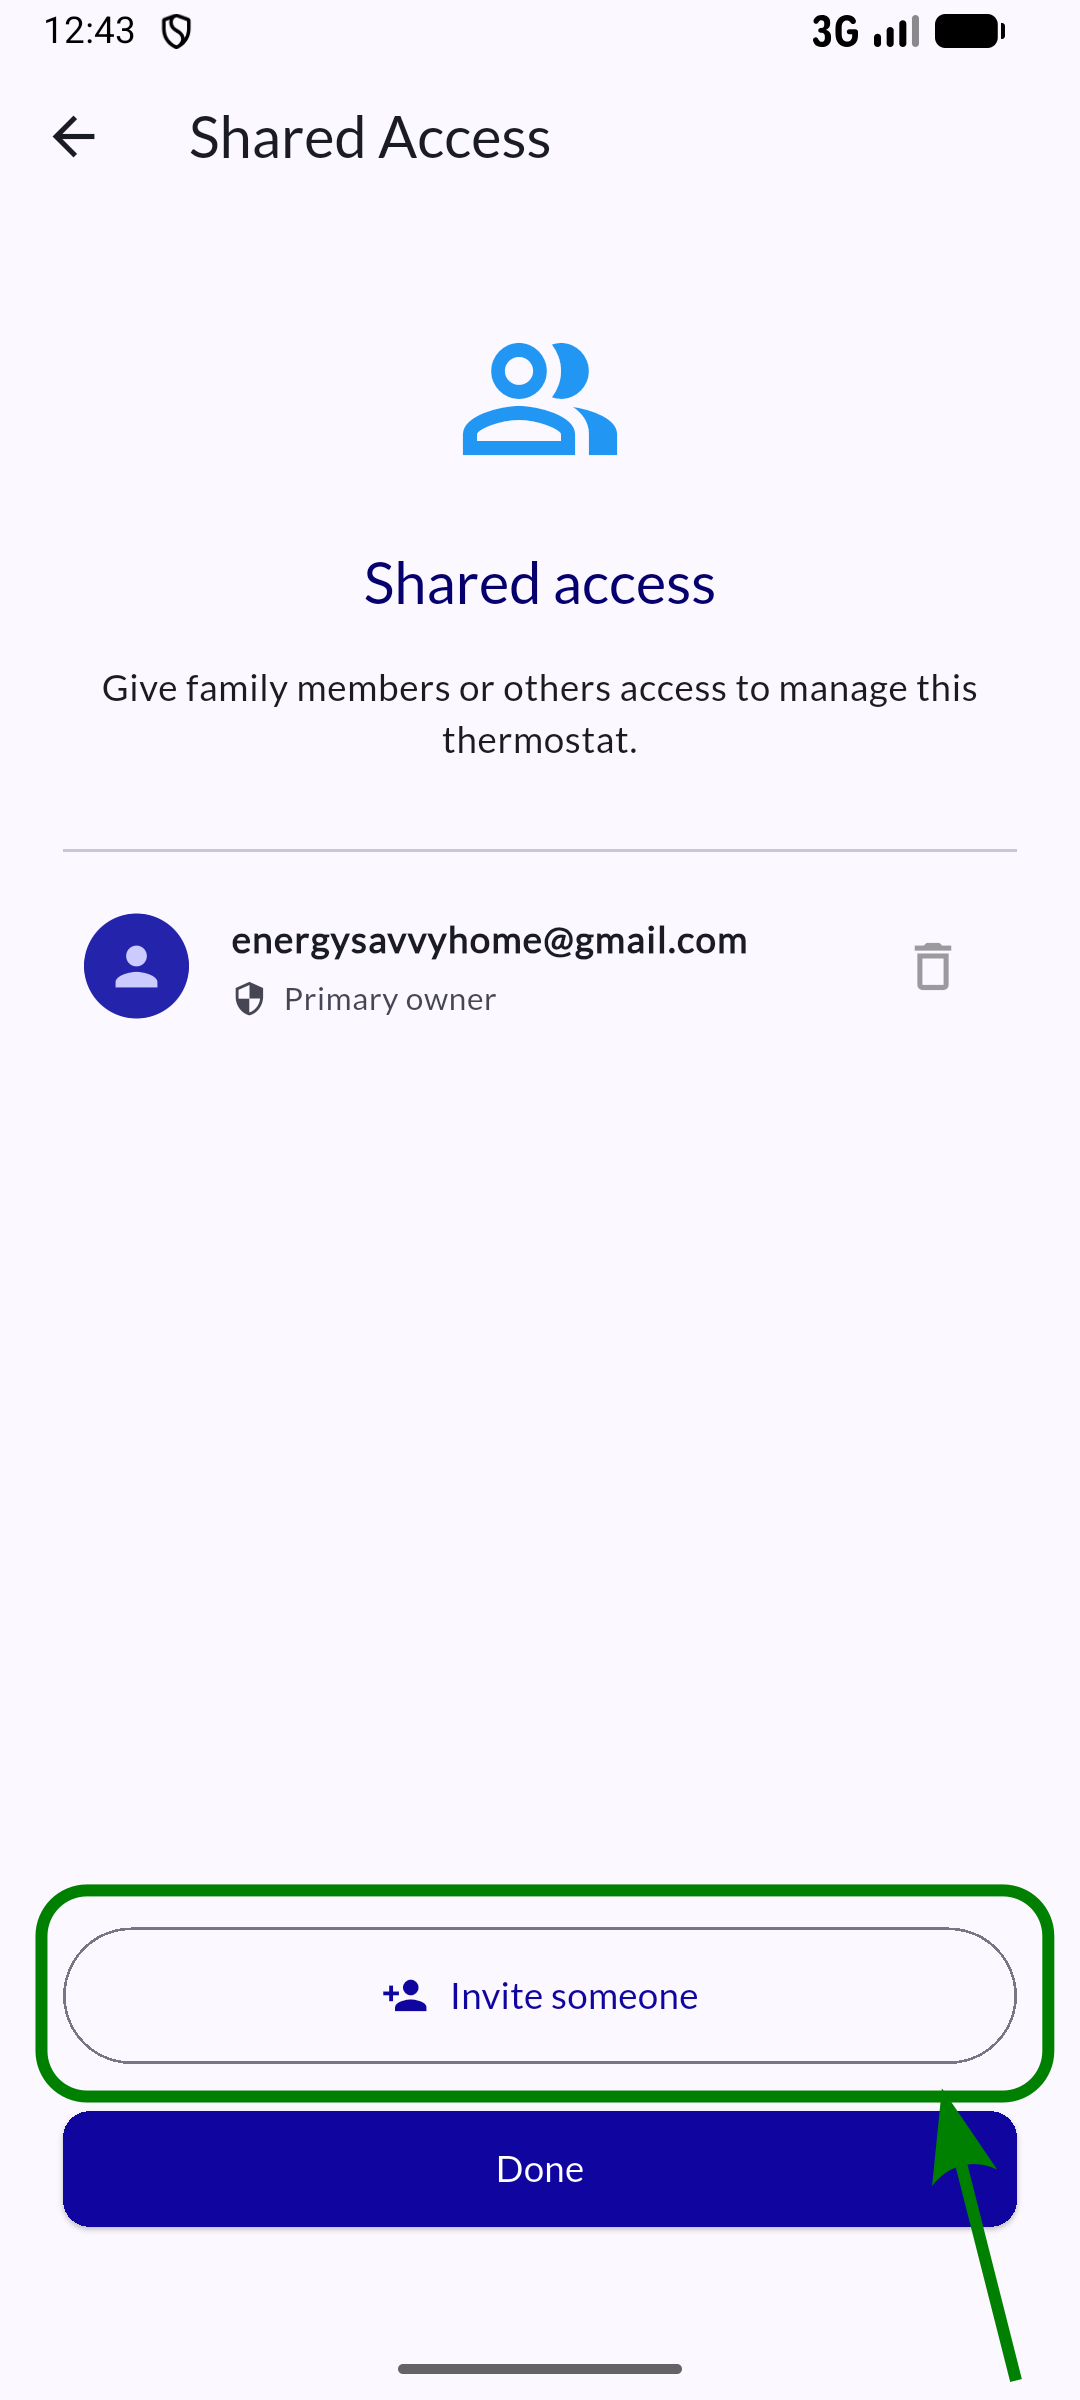
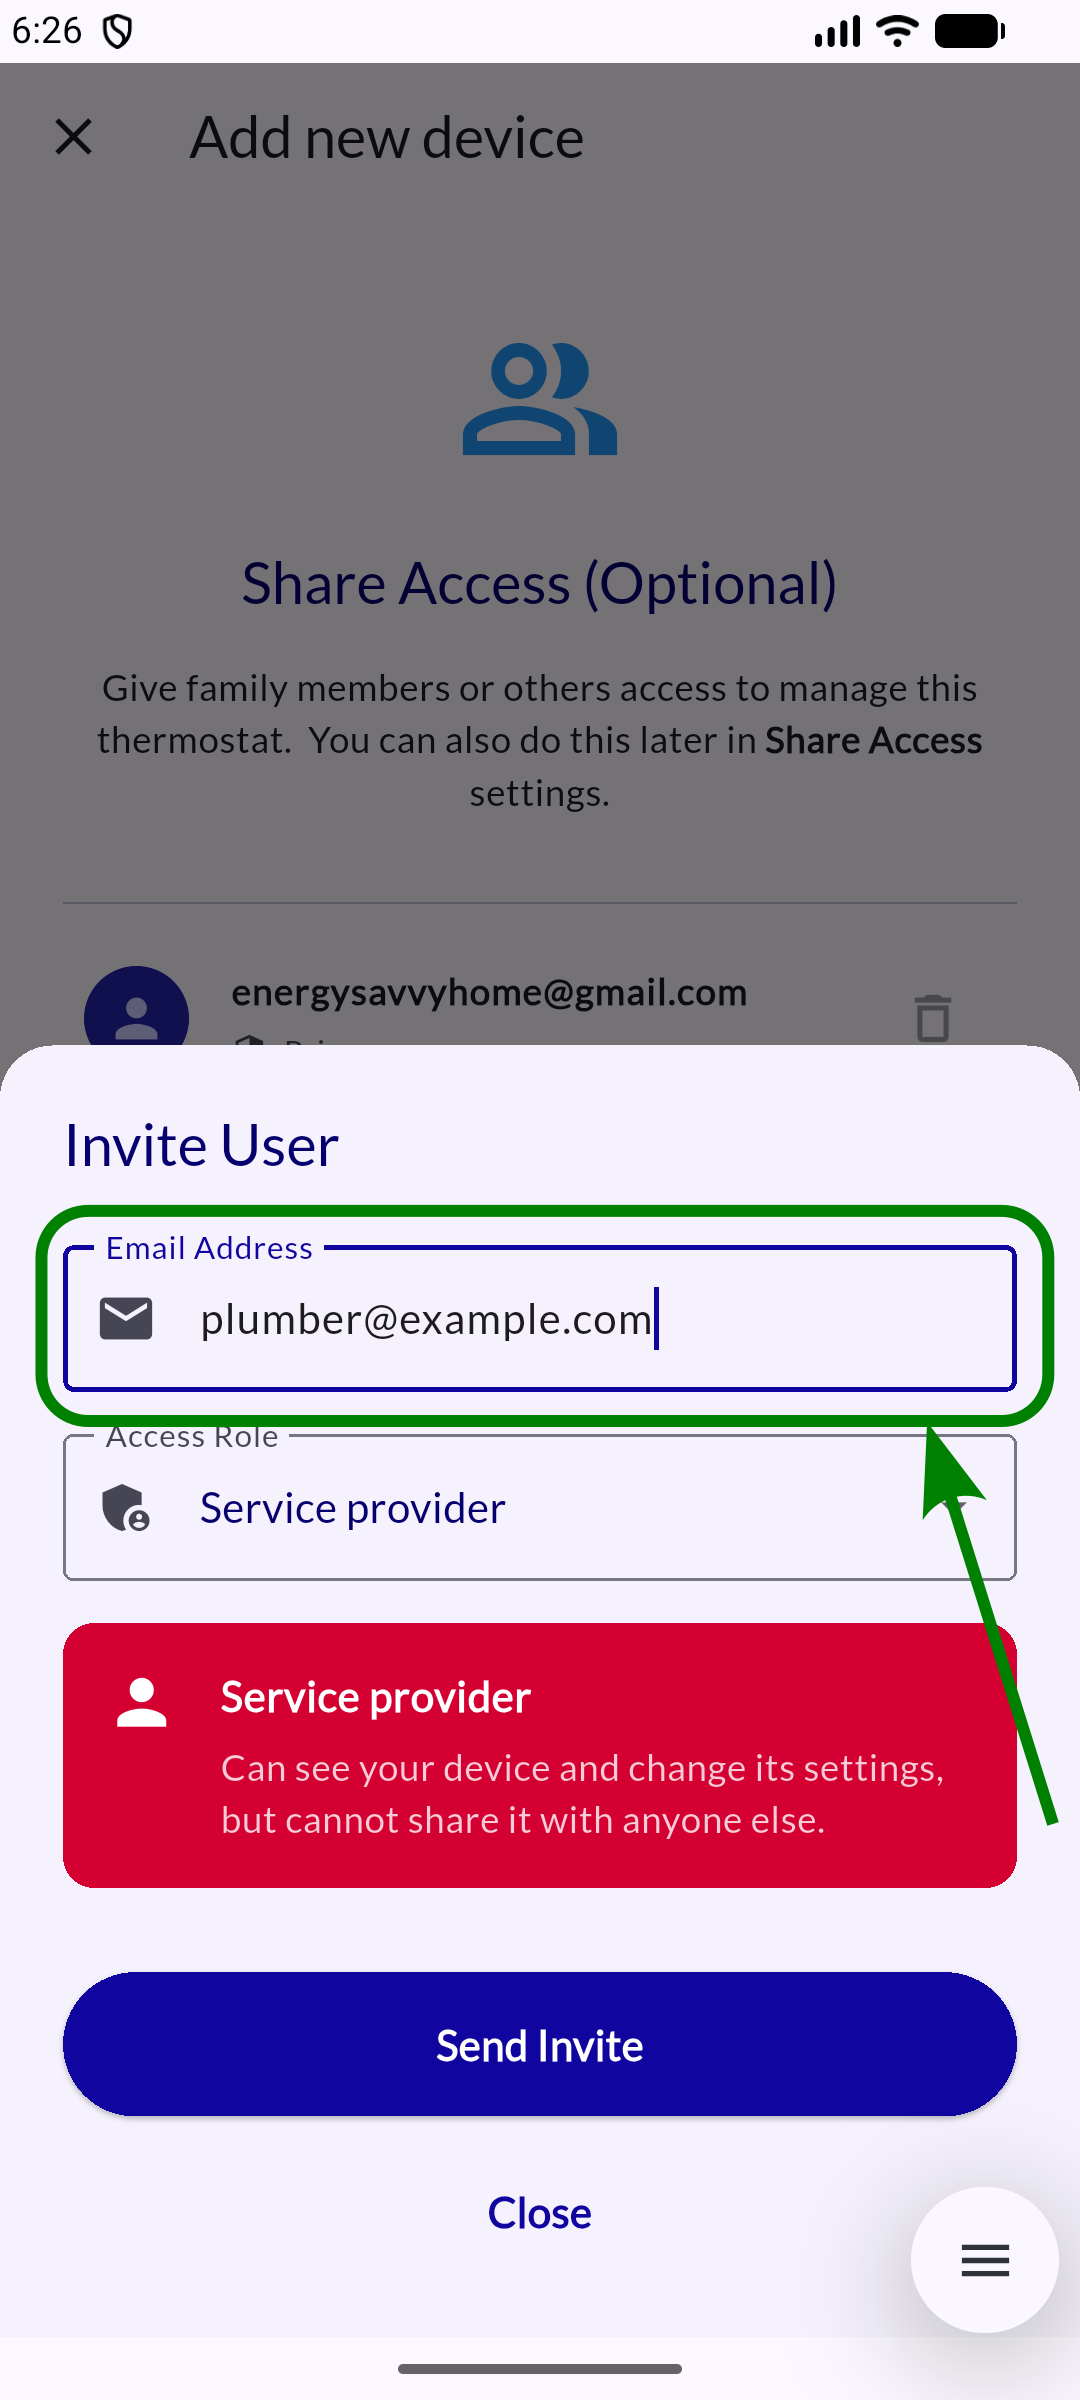
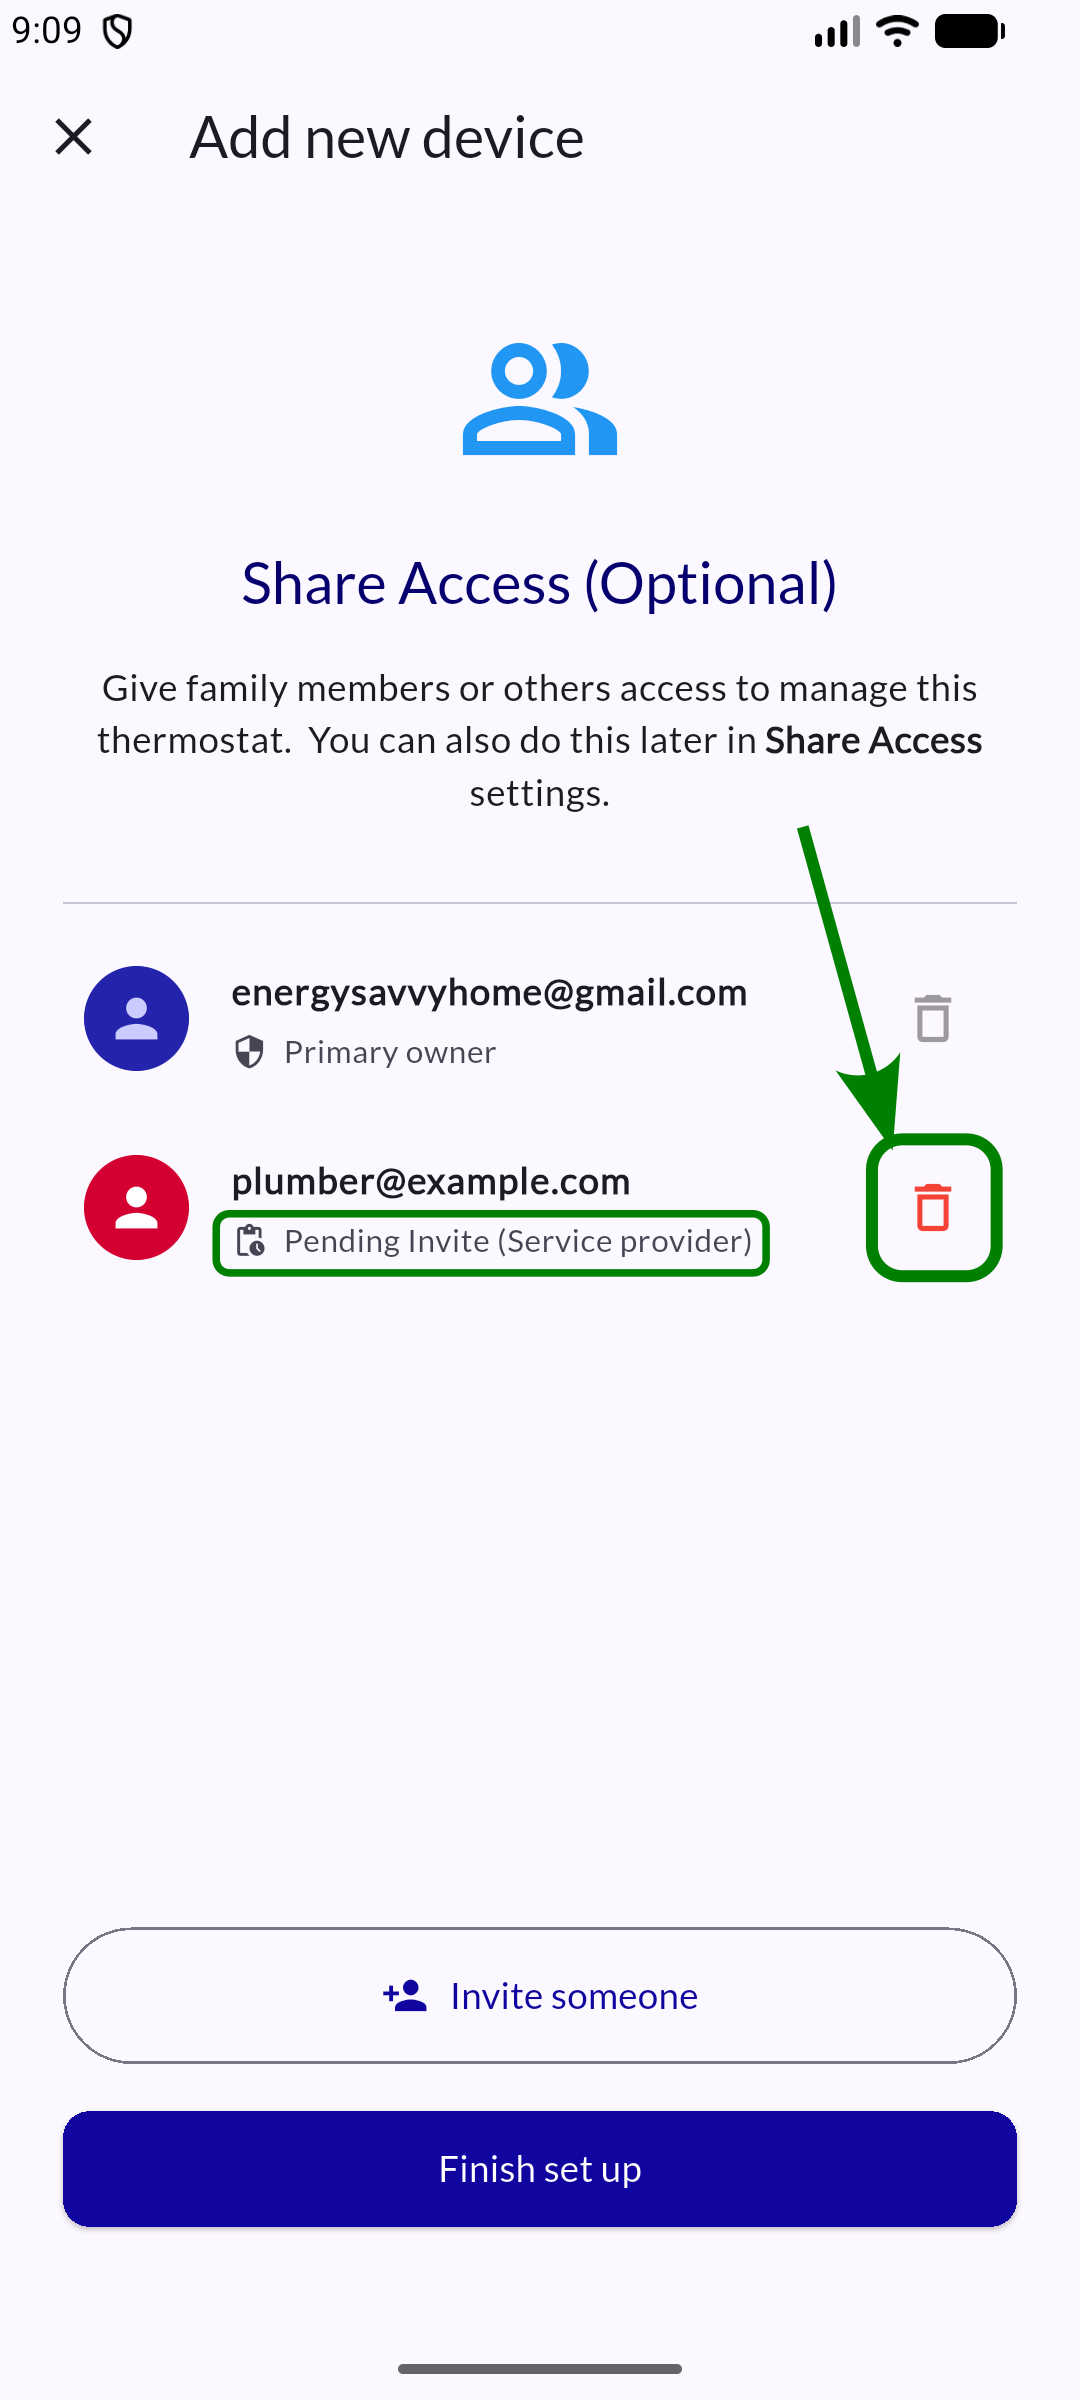
- Share access
Upgrading the app
If you started using the app before mid-October 2026, please update to version 2 as soon as possible.
This new generation of the mobile app provides a cloud account that unlocks the following features:
- User management: Control who can access your device
- Web portal access: Manage your device from any browser
- Improved data engine: Better live status, temperature and energy charts
Important note for installers who support the product: You can still update all device settings on-site, even if you haven't created a cloud account yet. This process lets homeowners, installers, and service providers transition to the new app with ease.
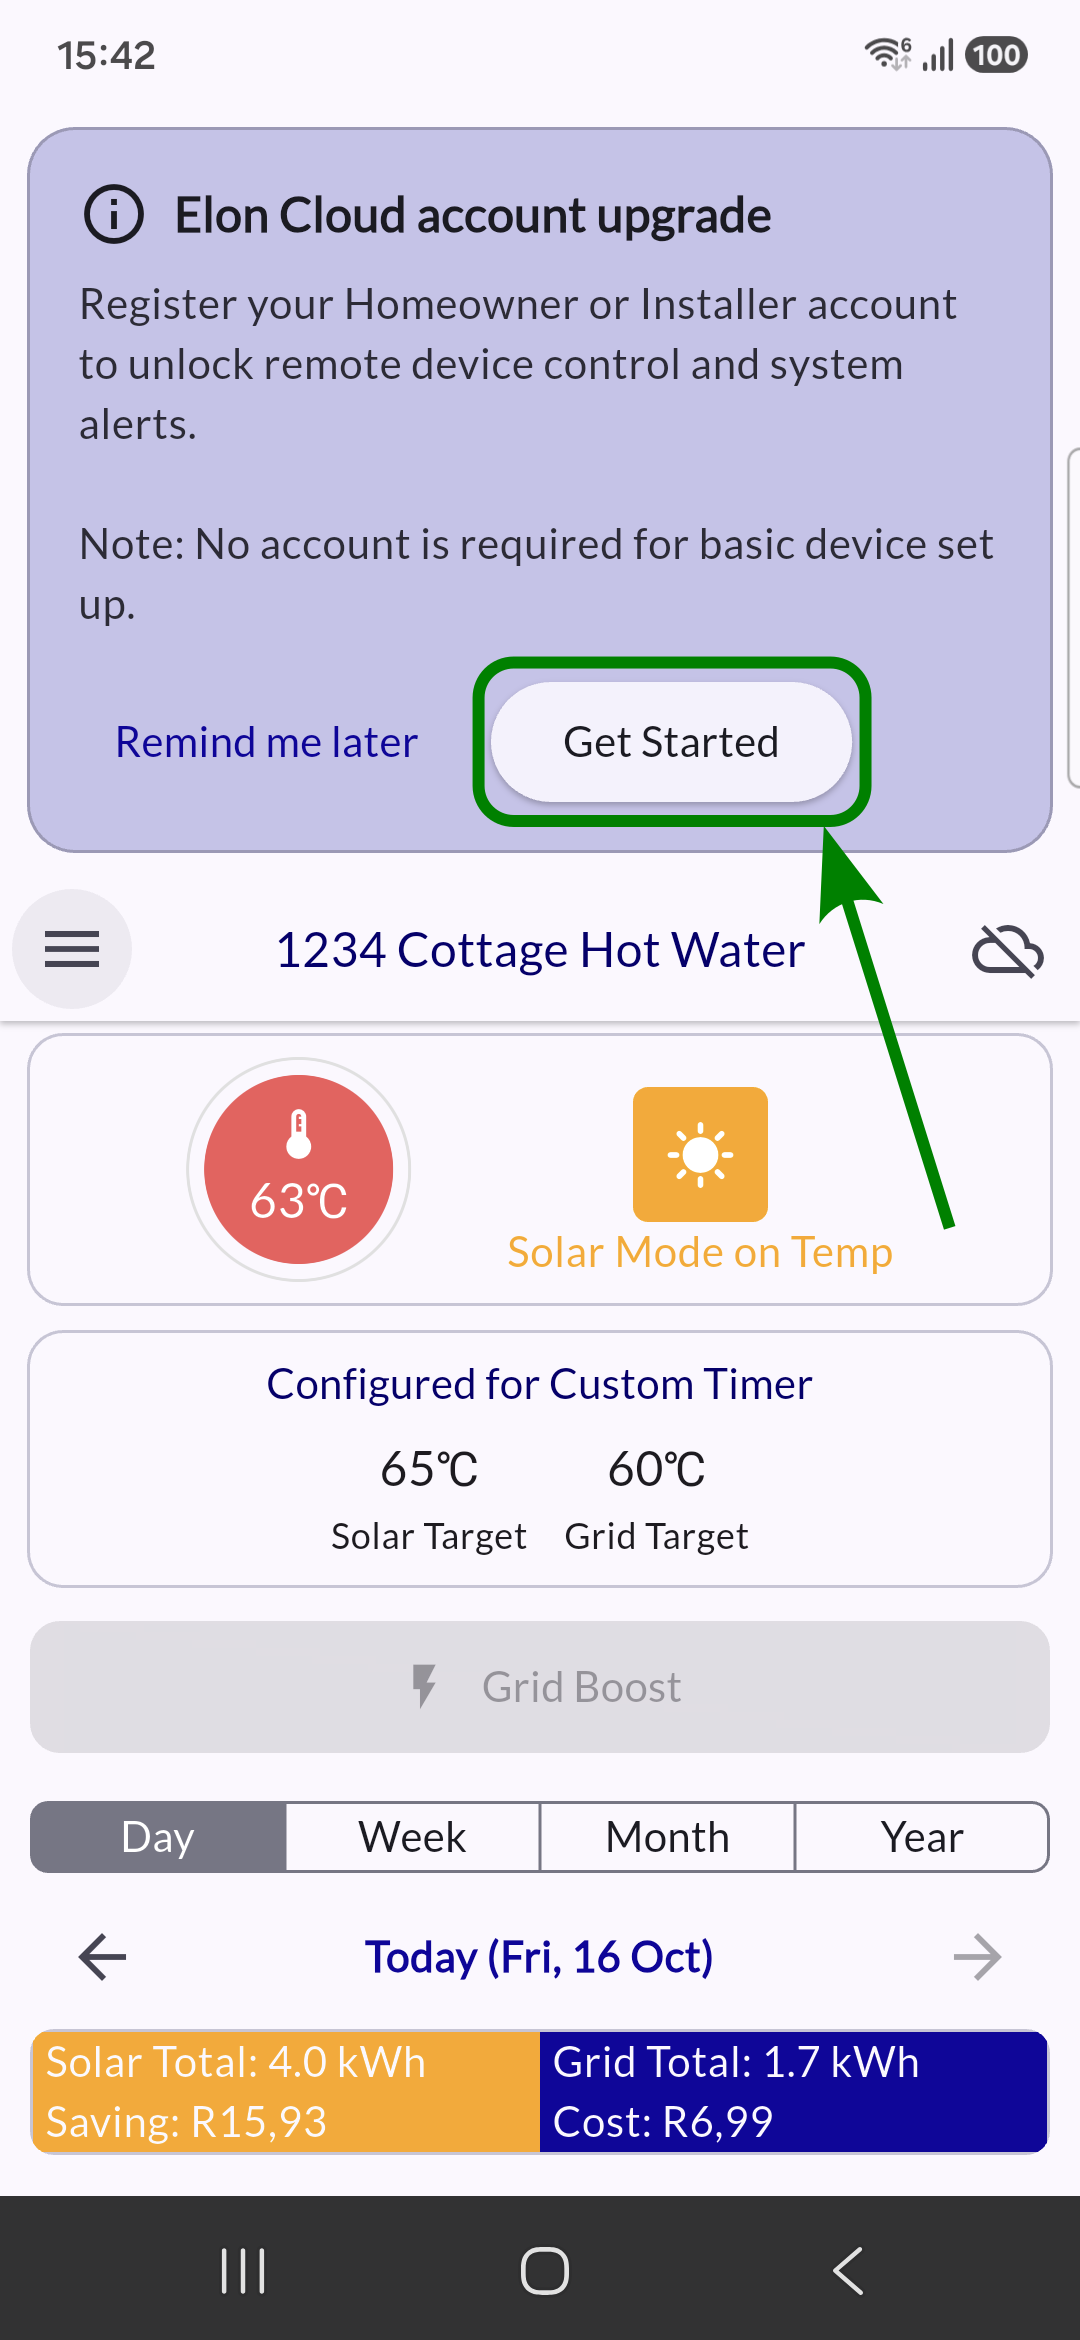
When you open version 2 for the first time, you'll see a banner at the top of the app screen. Click on "Get Started".
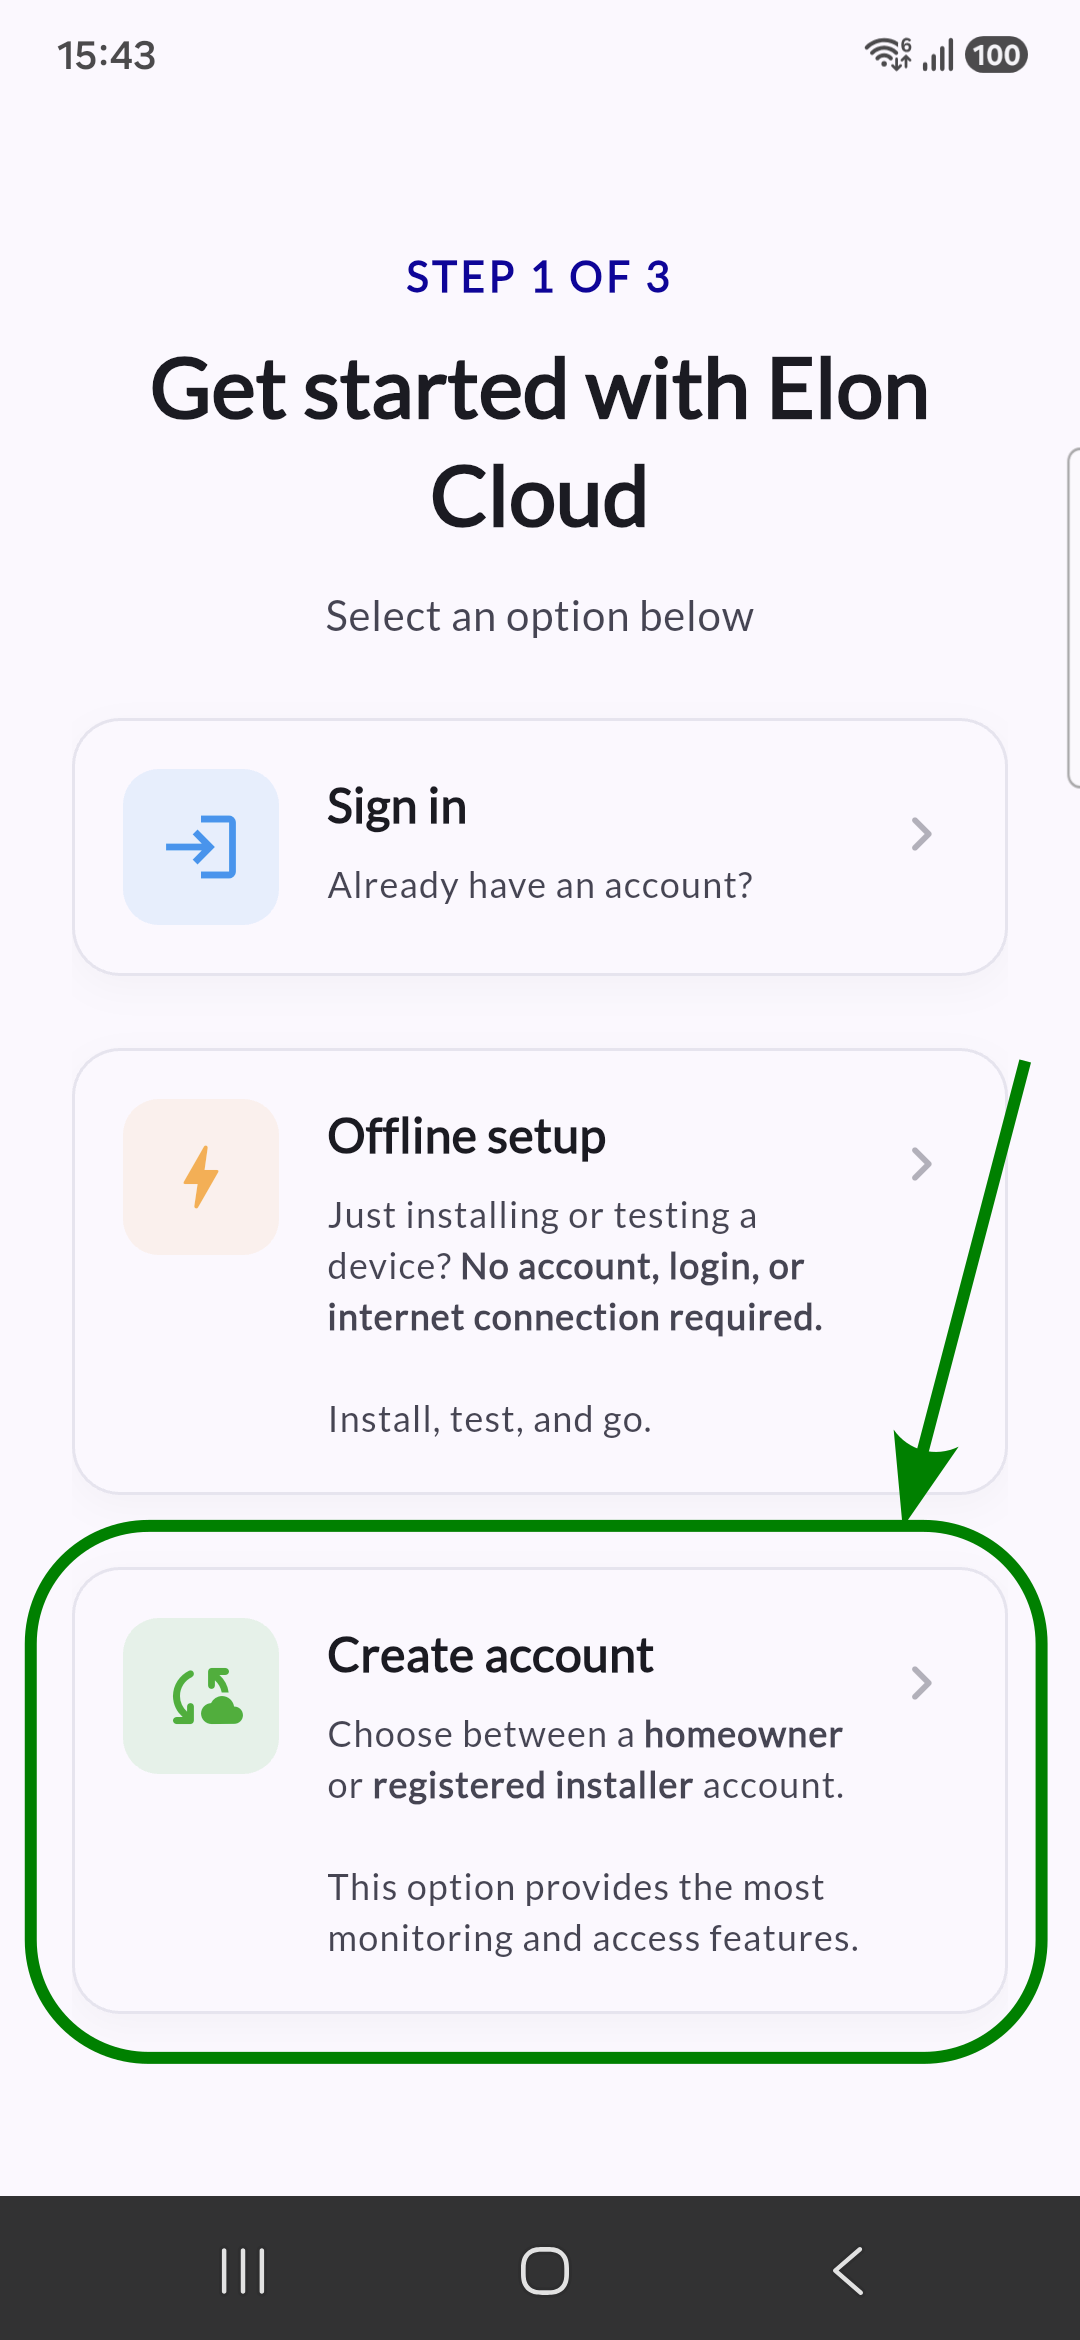
Select "Create account".
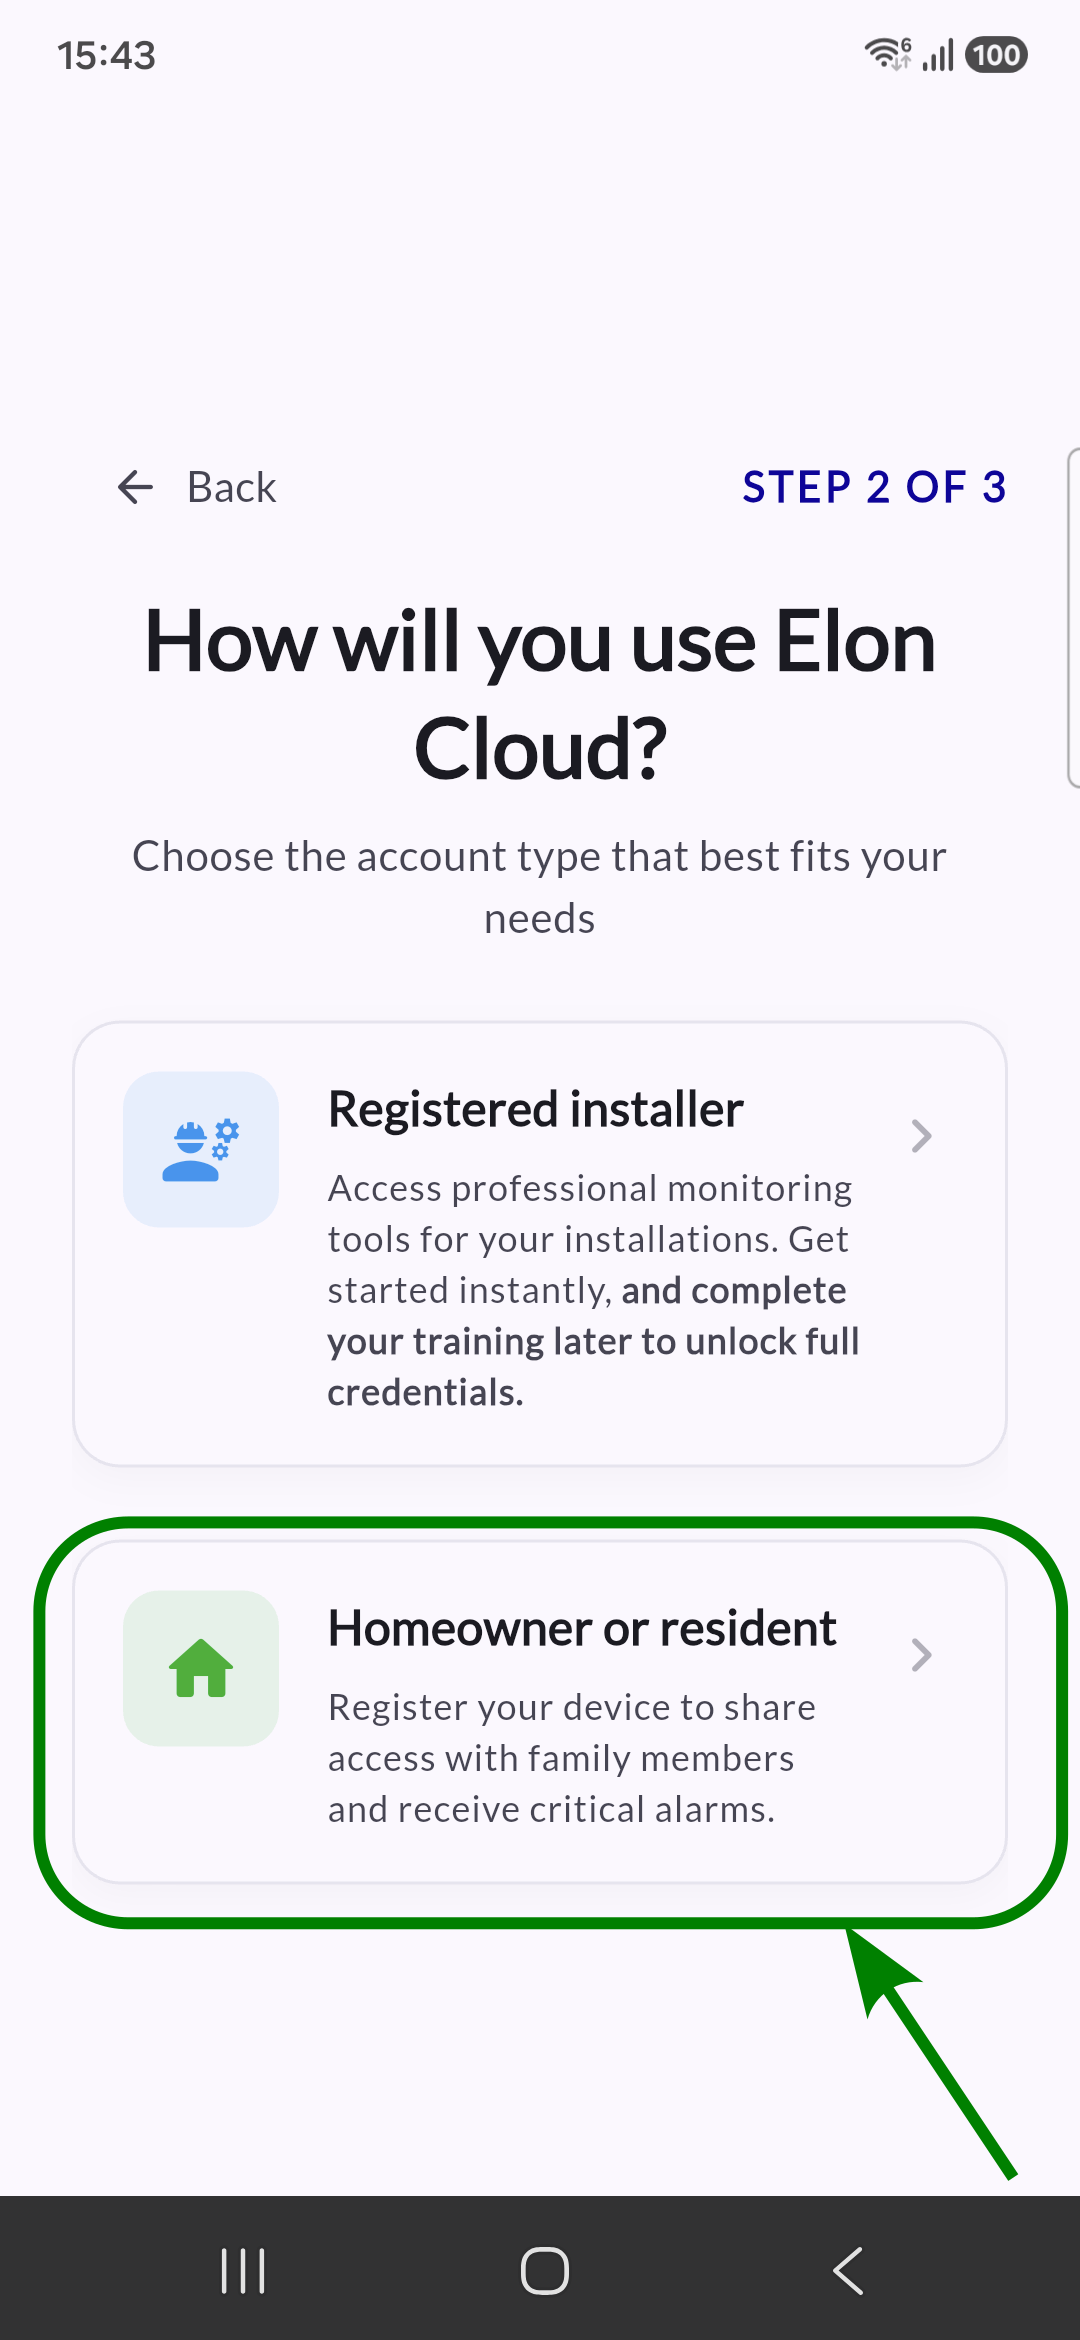
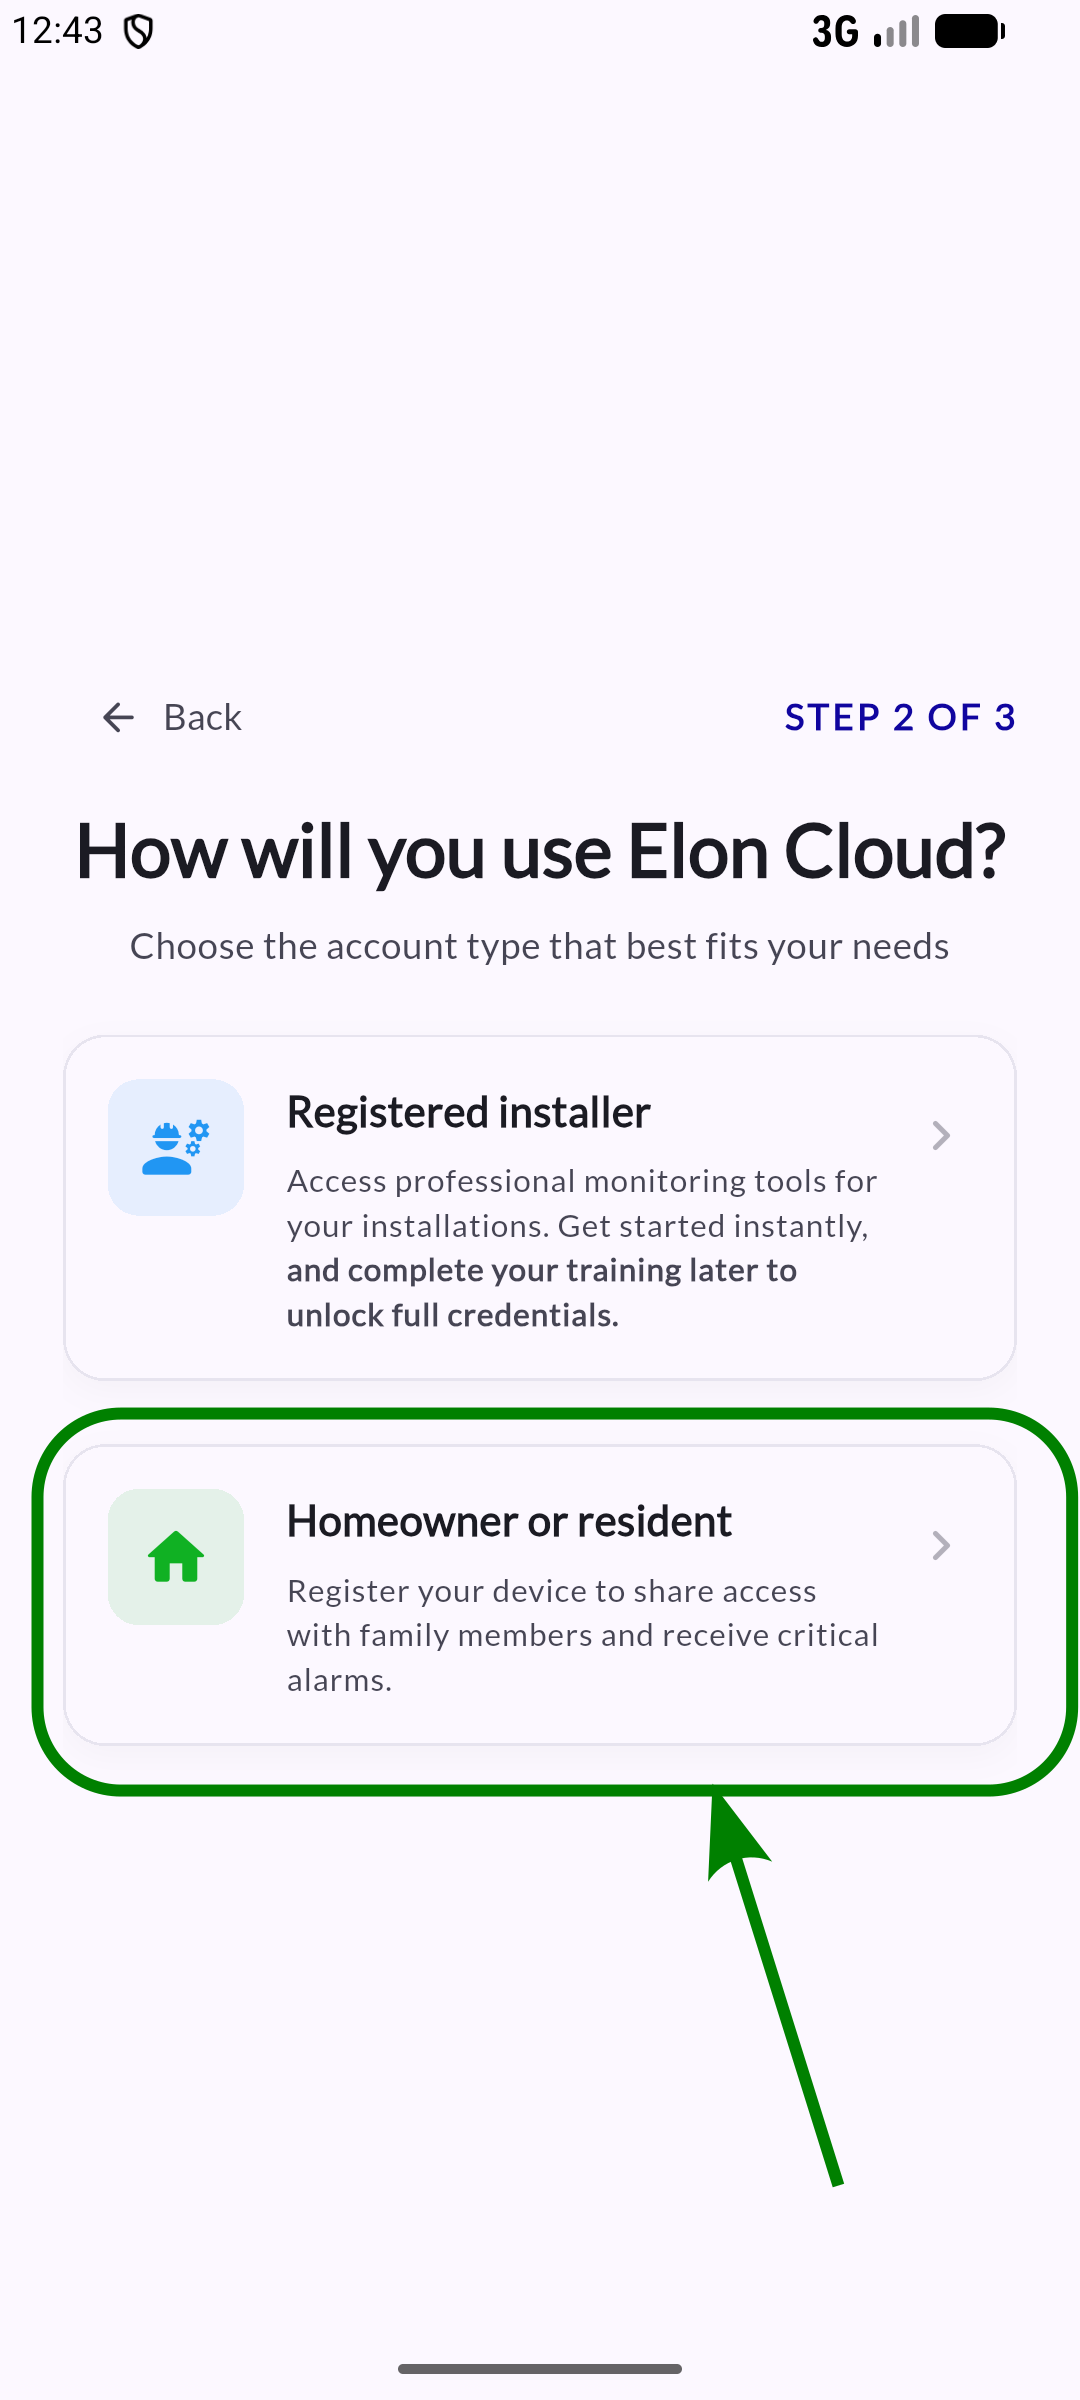
Select "Homeowner or resident" (If you are an installer, you don't need these upgrade steps).
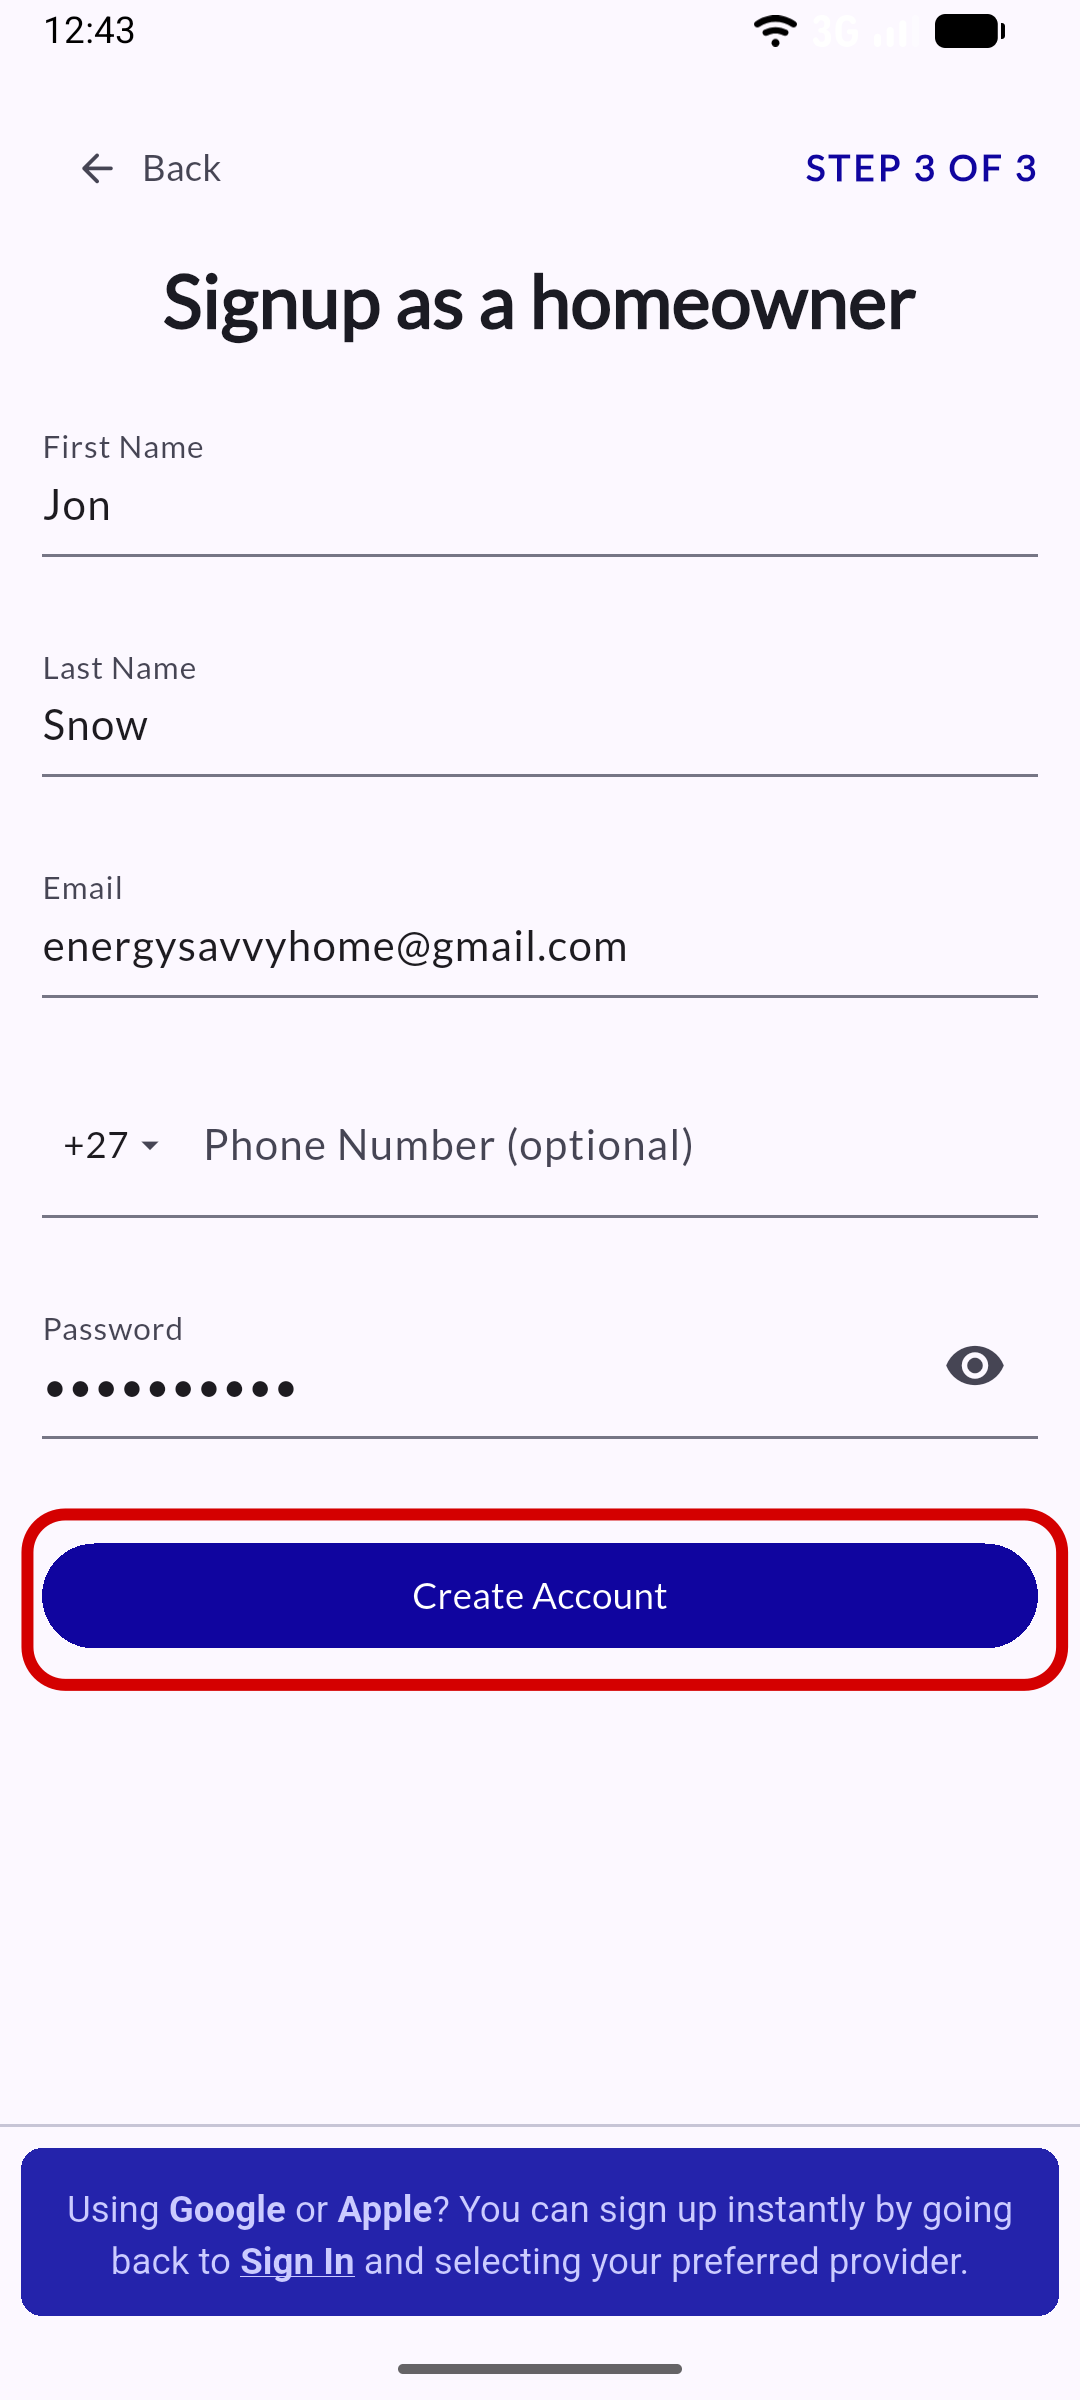
Complete your details and select "Create Account."
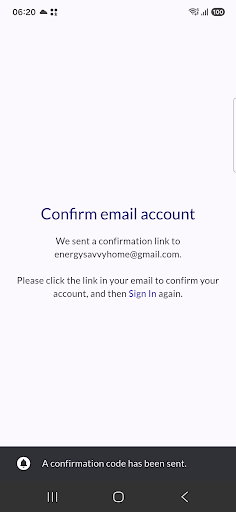
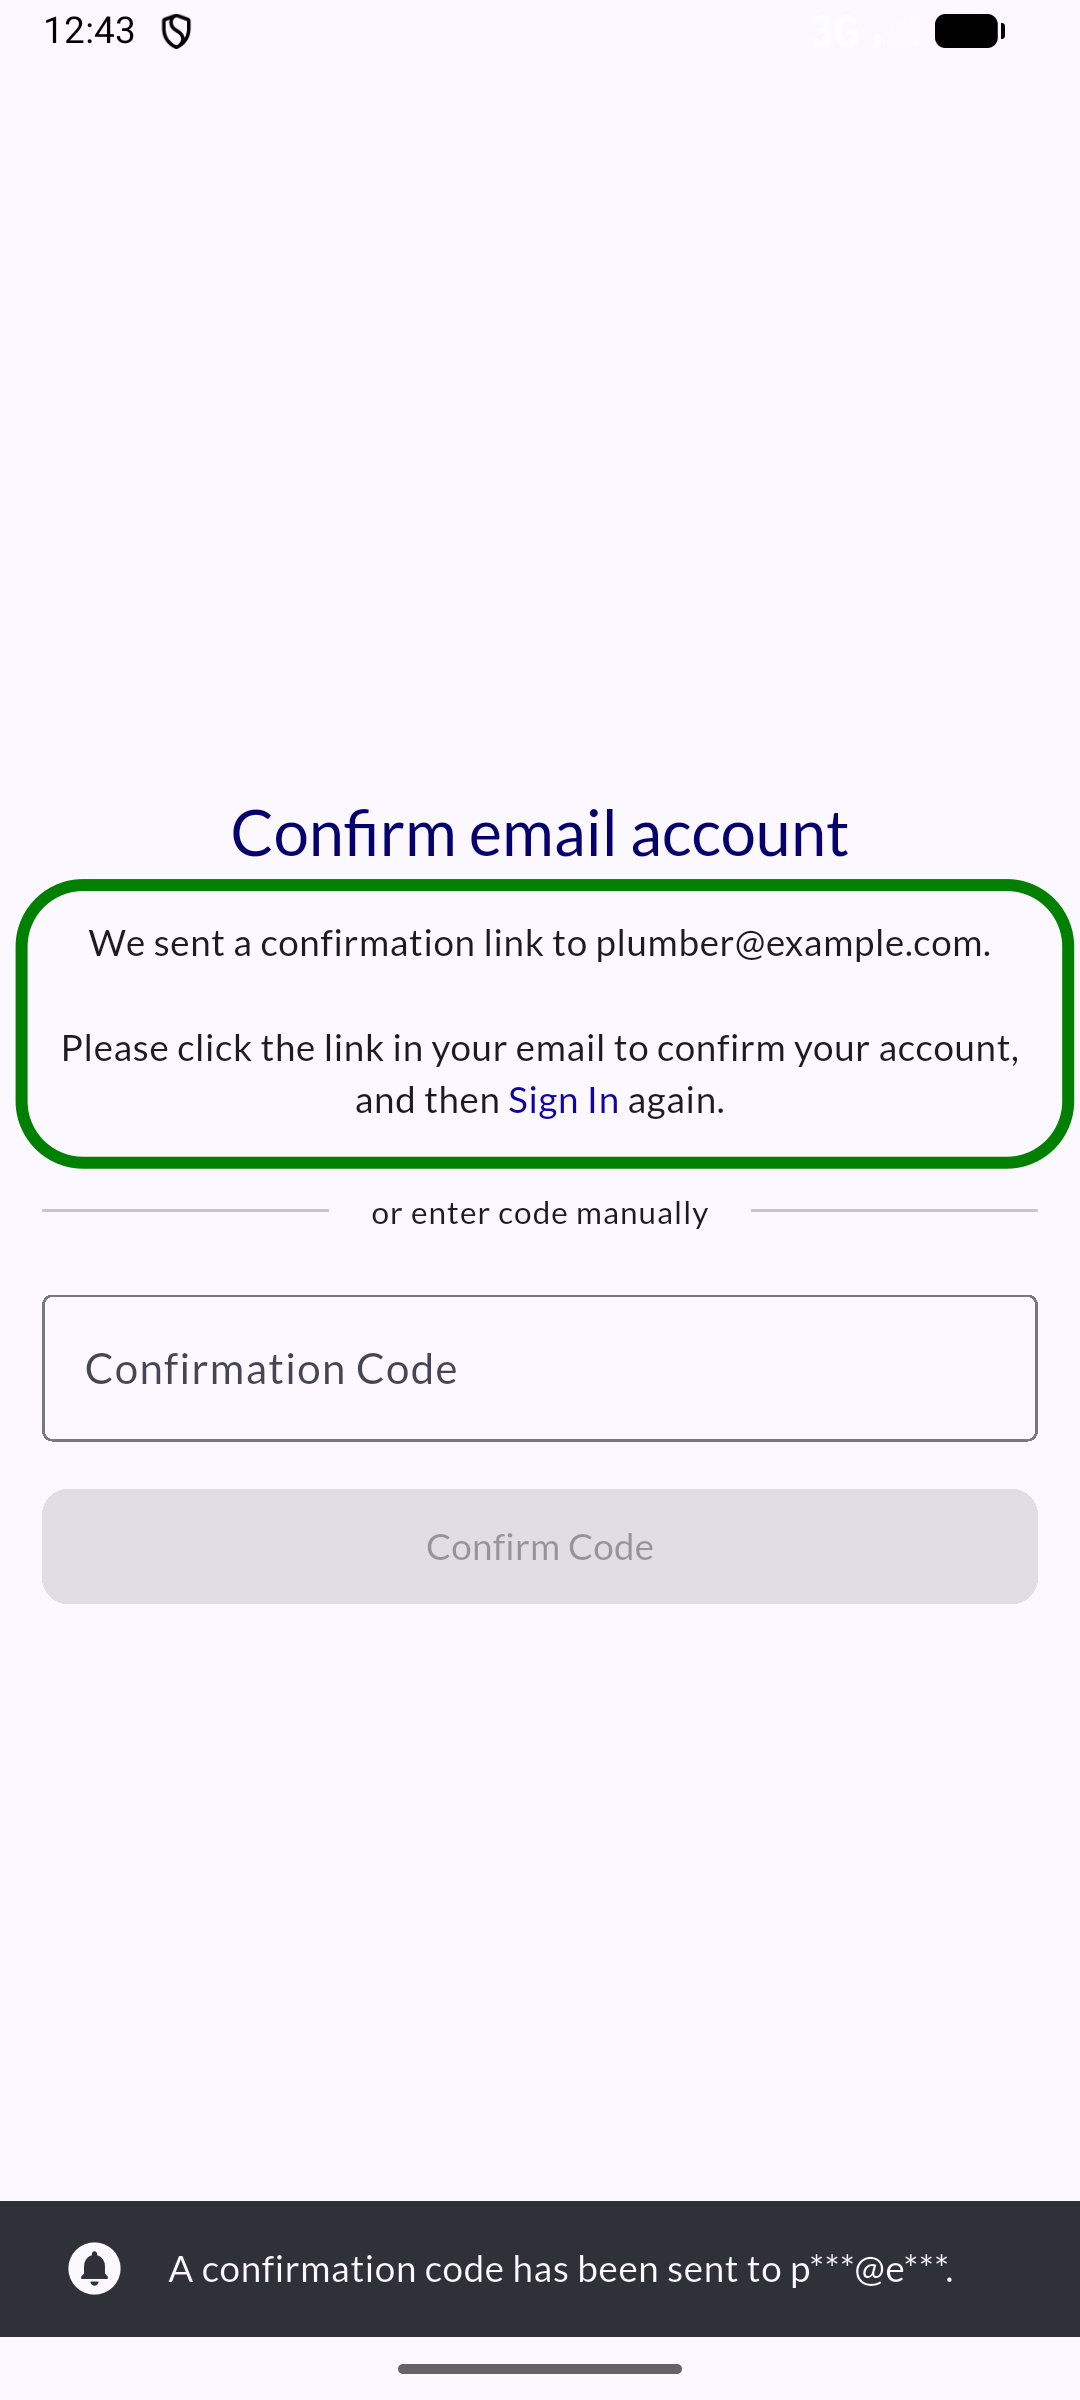
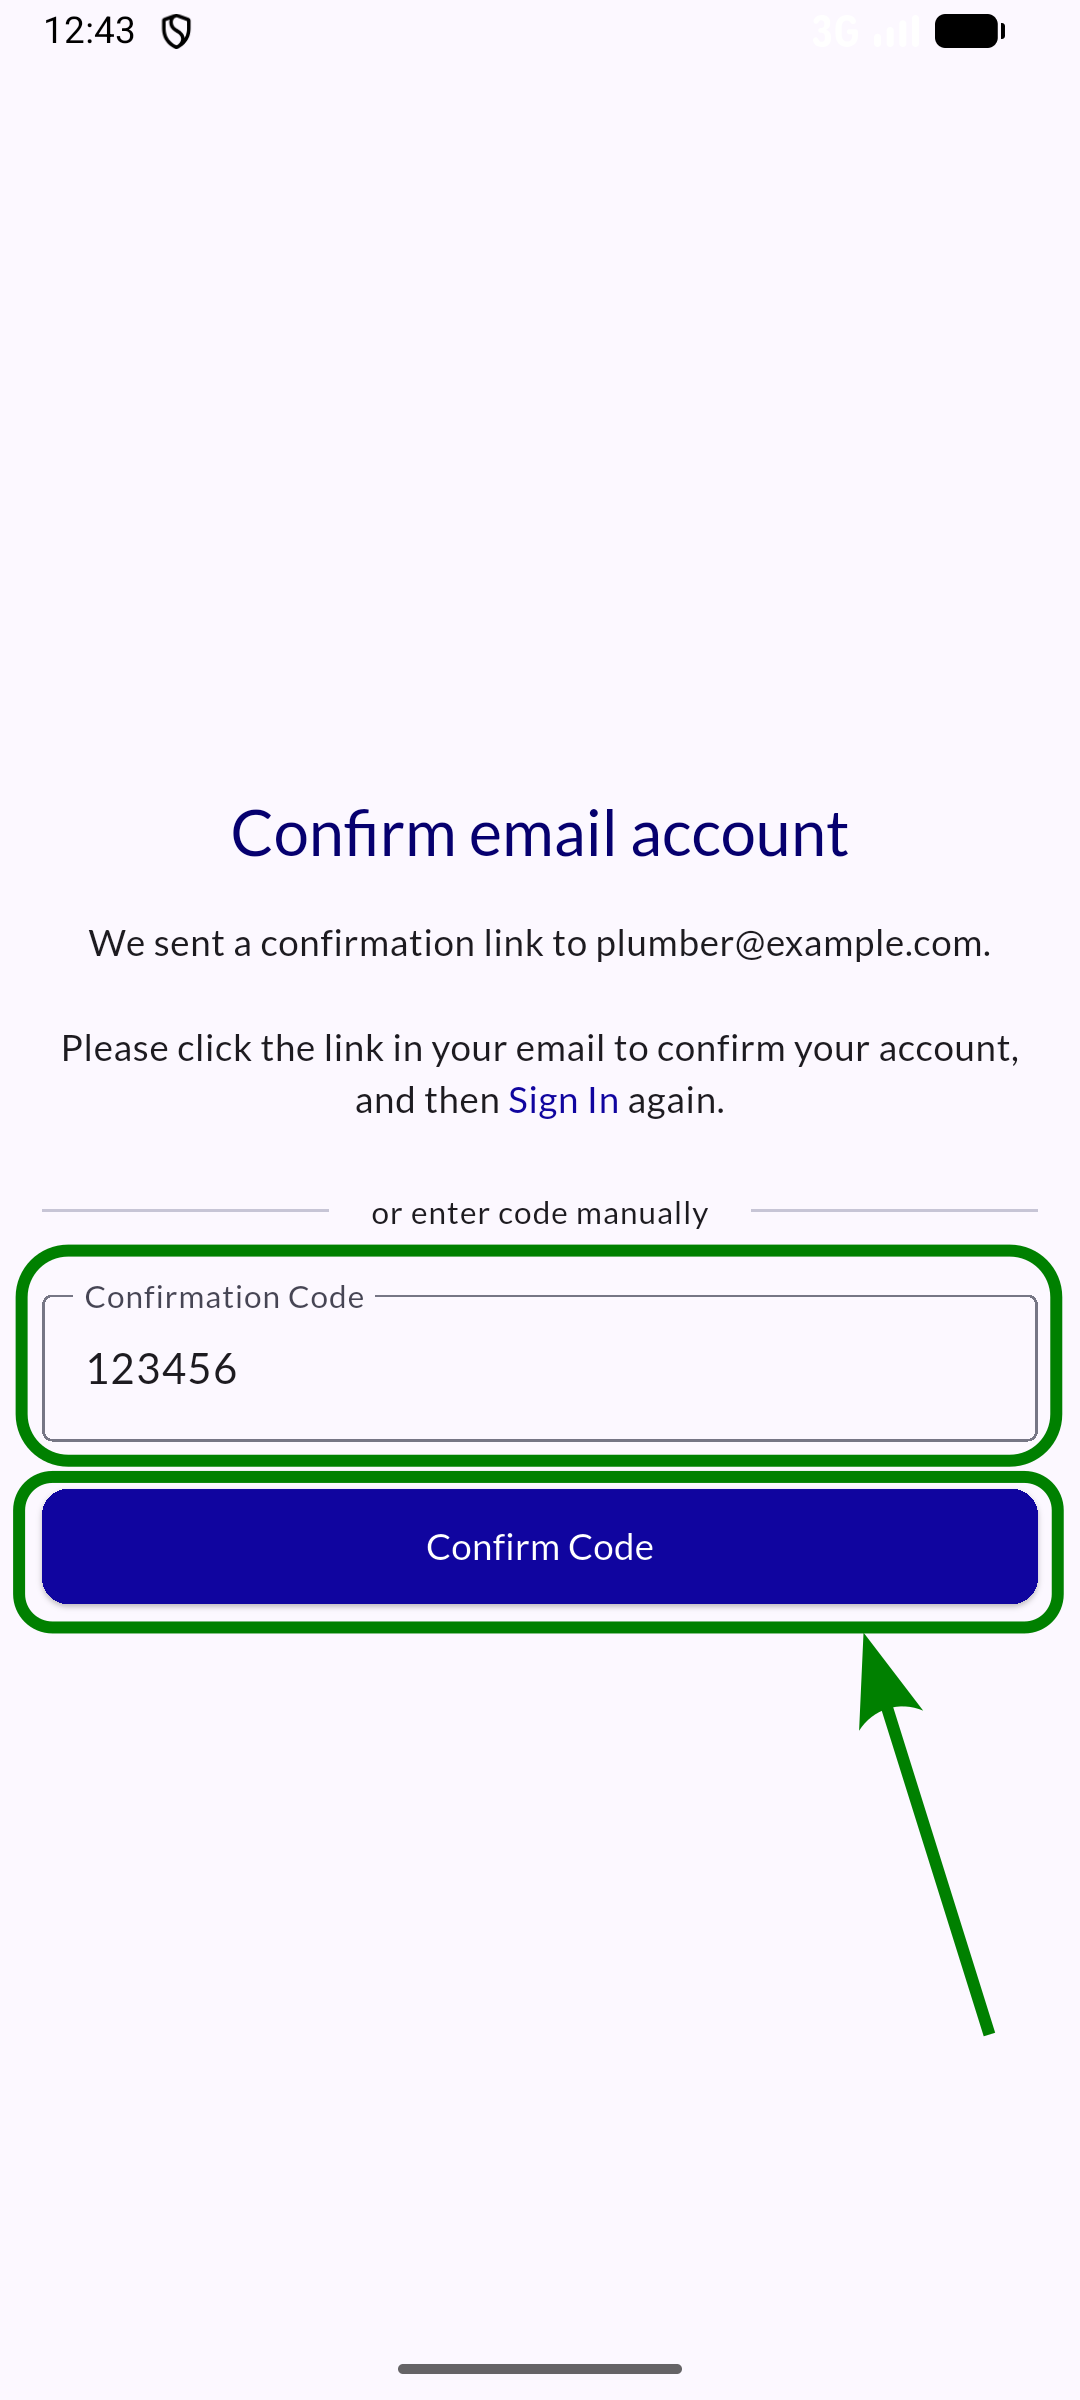
After you create an account, you will be taken to a confirmation page. Please follow its instructions before signing in for the first time.
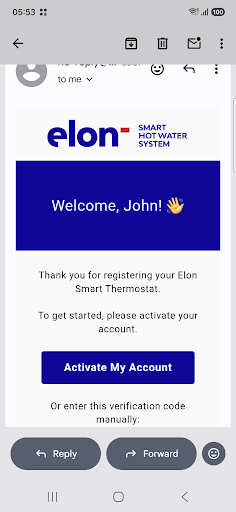
Go to your email and select "Activate My Account".
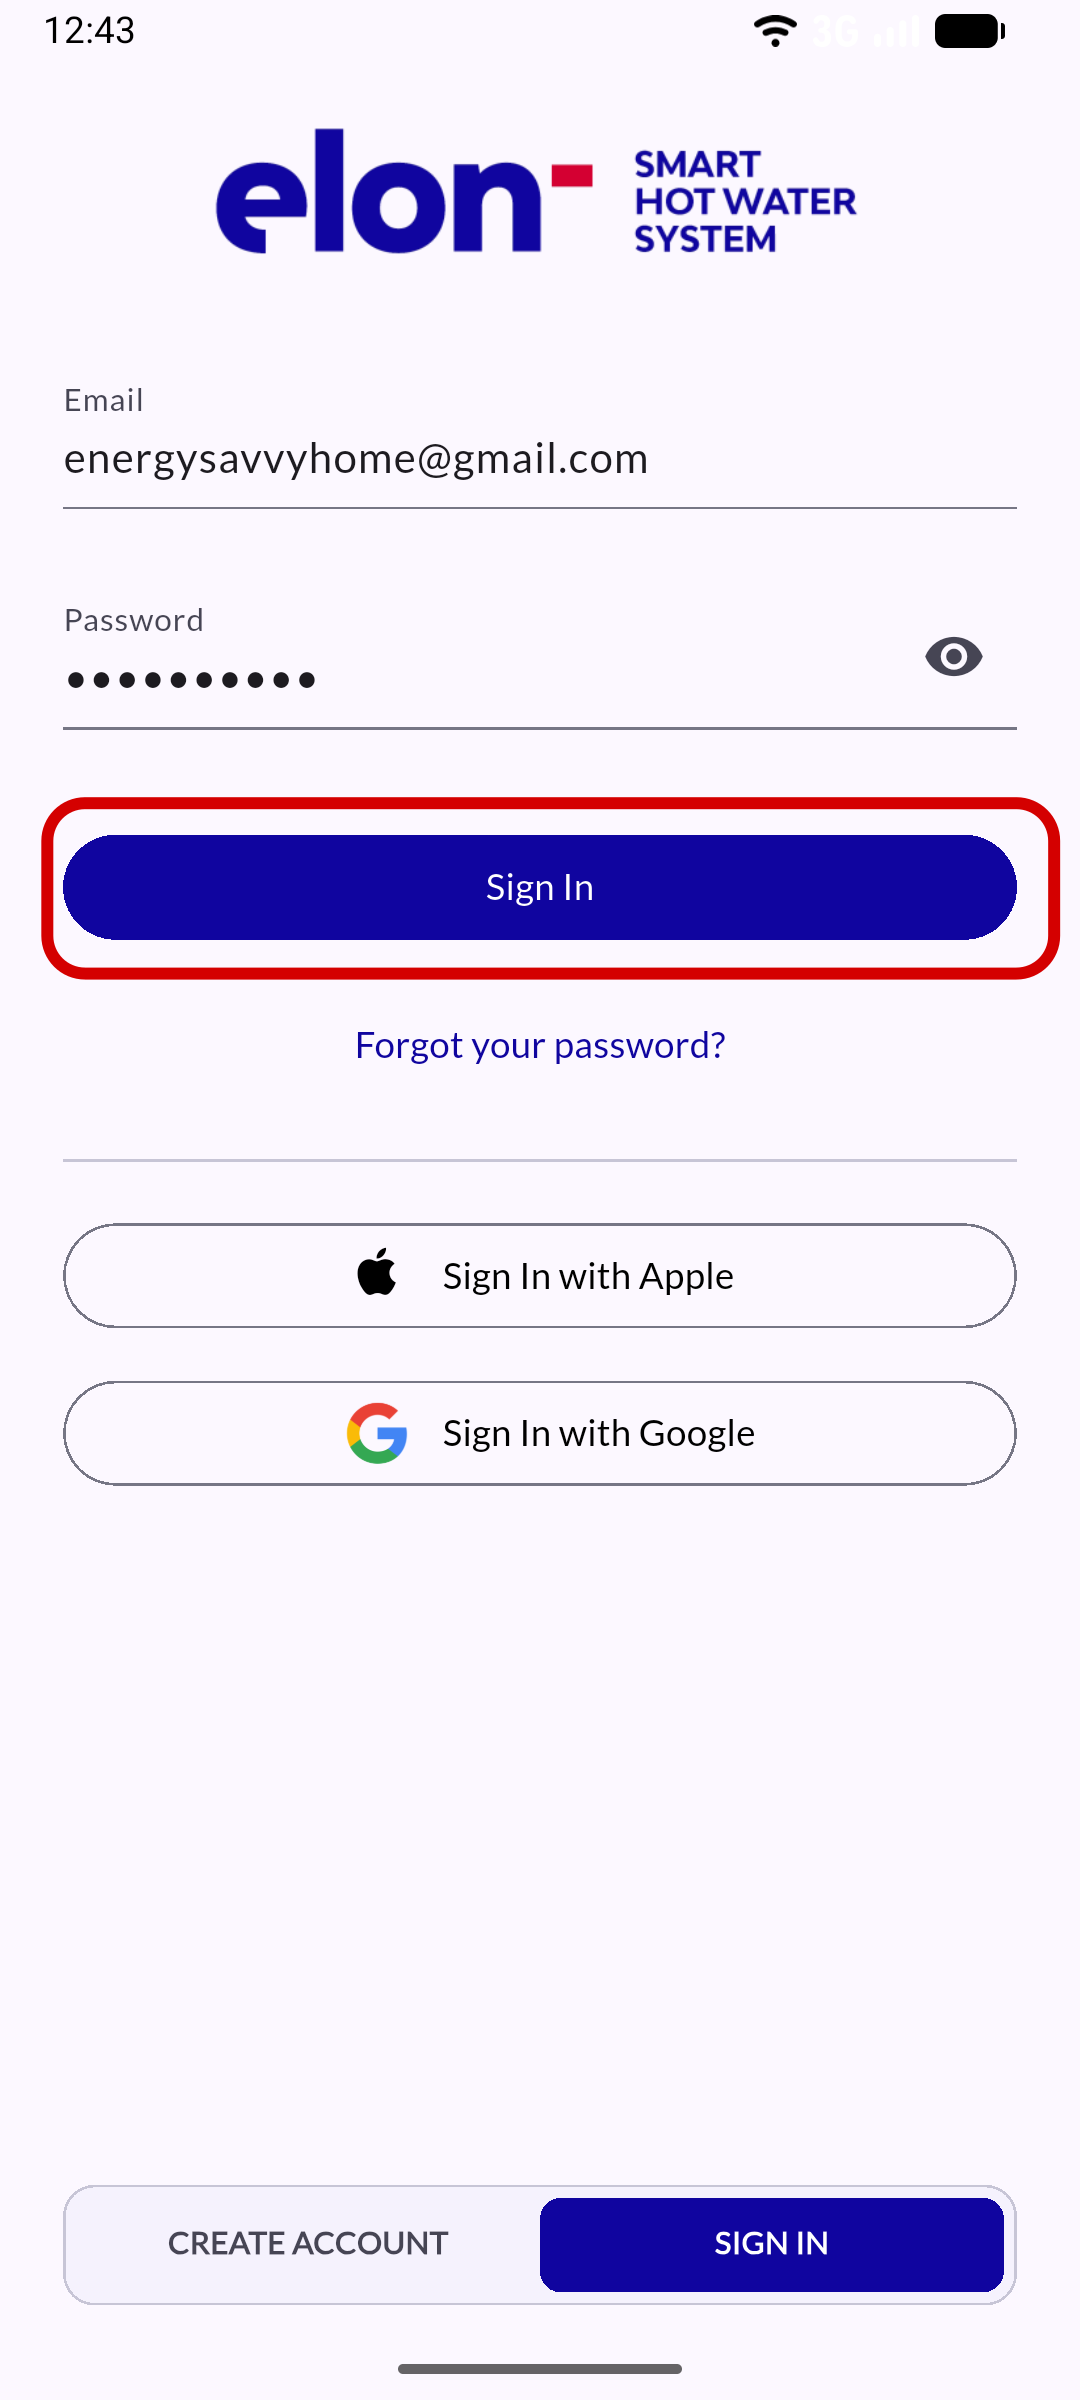
The app will open again, and your account has now been verified! Proceed to "Sign In".
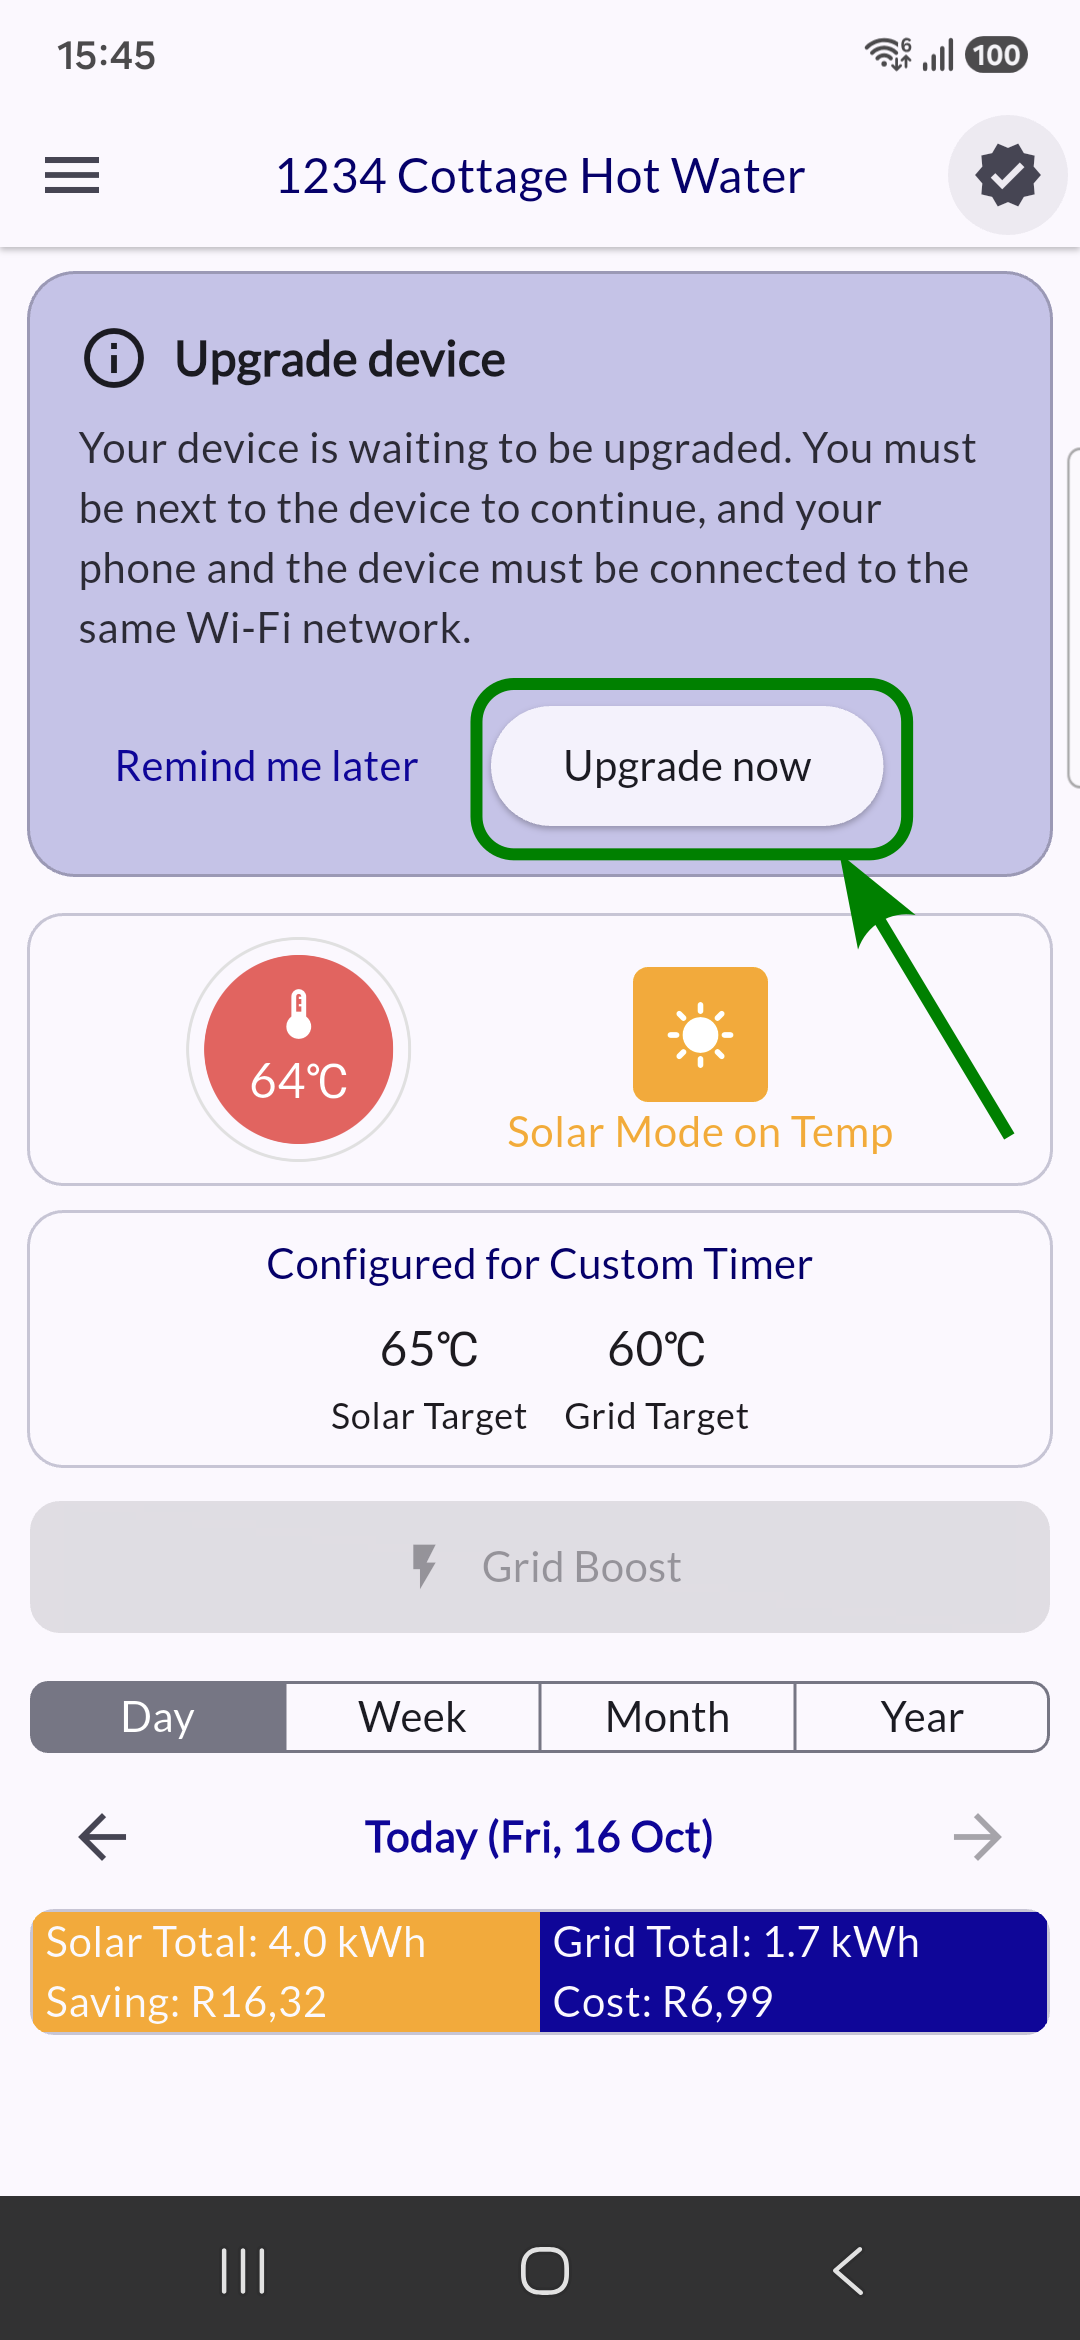
When you open the device again, you will see an "Upgrade device" banner. You must be next to the device to continue, and your phone and the device must be connected to the same Wi-Fi network.
If this is correct, select "Upgrade now."
Once the process confirms you're next to the device, a detailed "Upgrade required" message will appear. Select "Start upgrade."
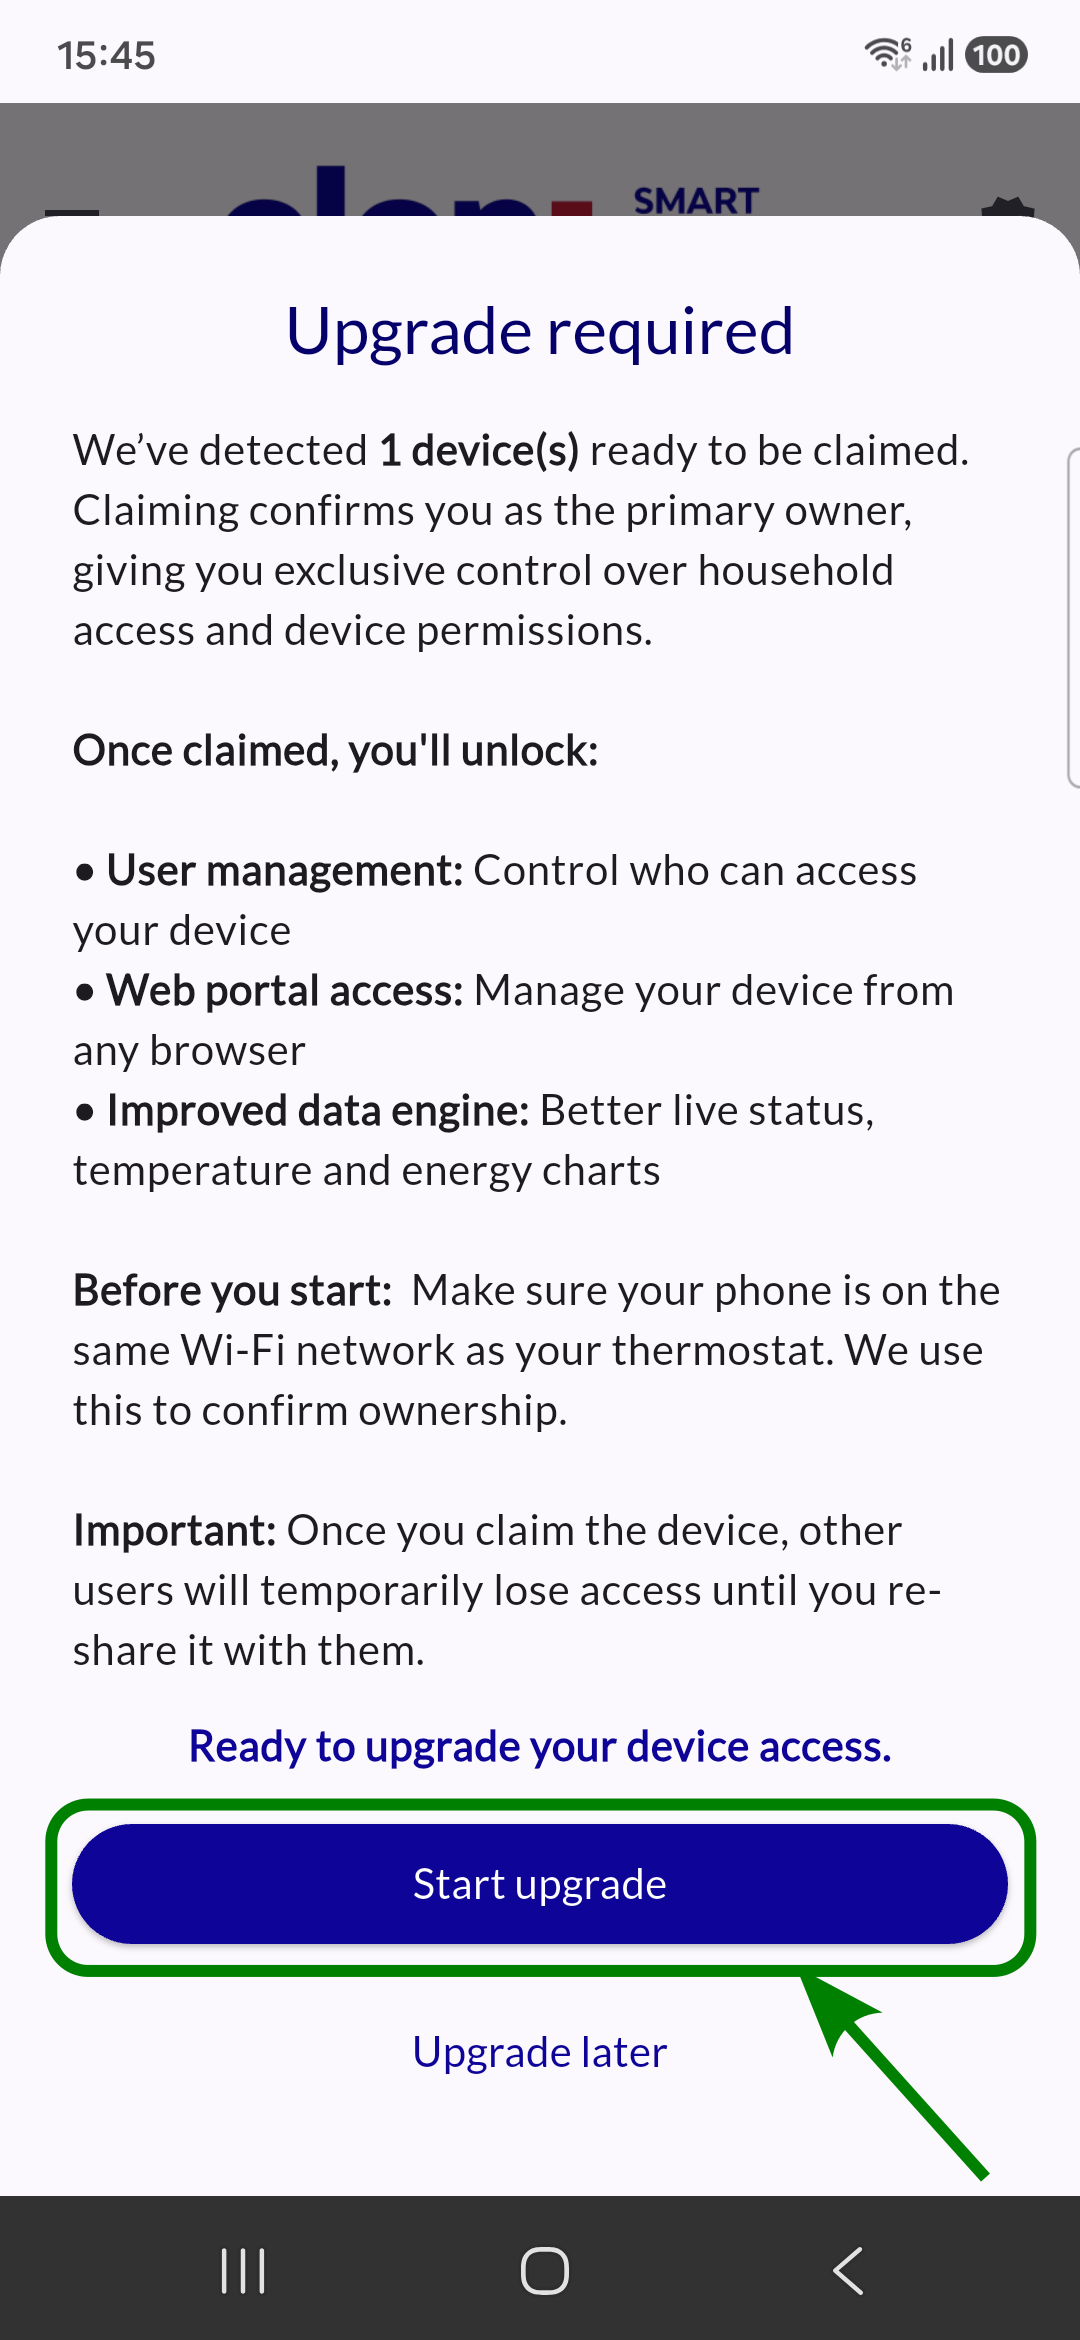
Wait for the process to complete.
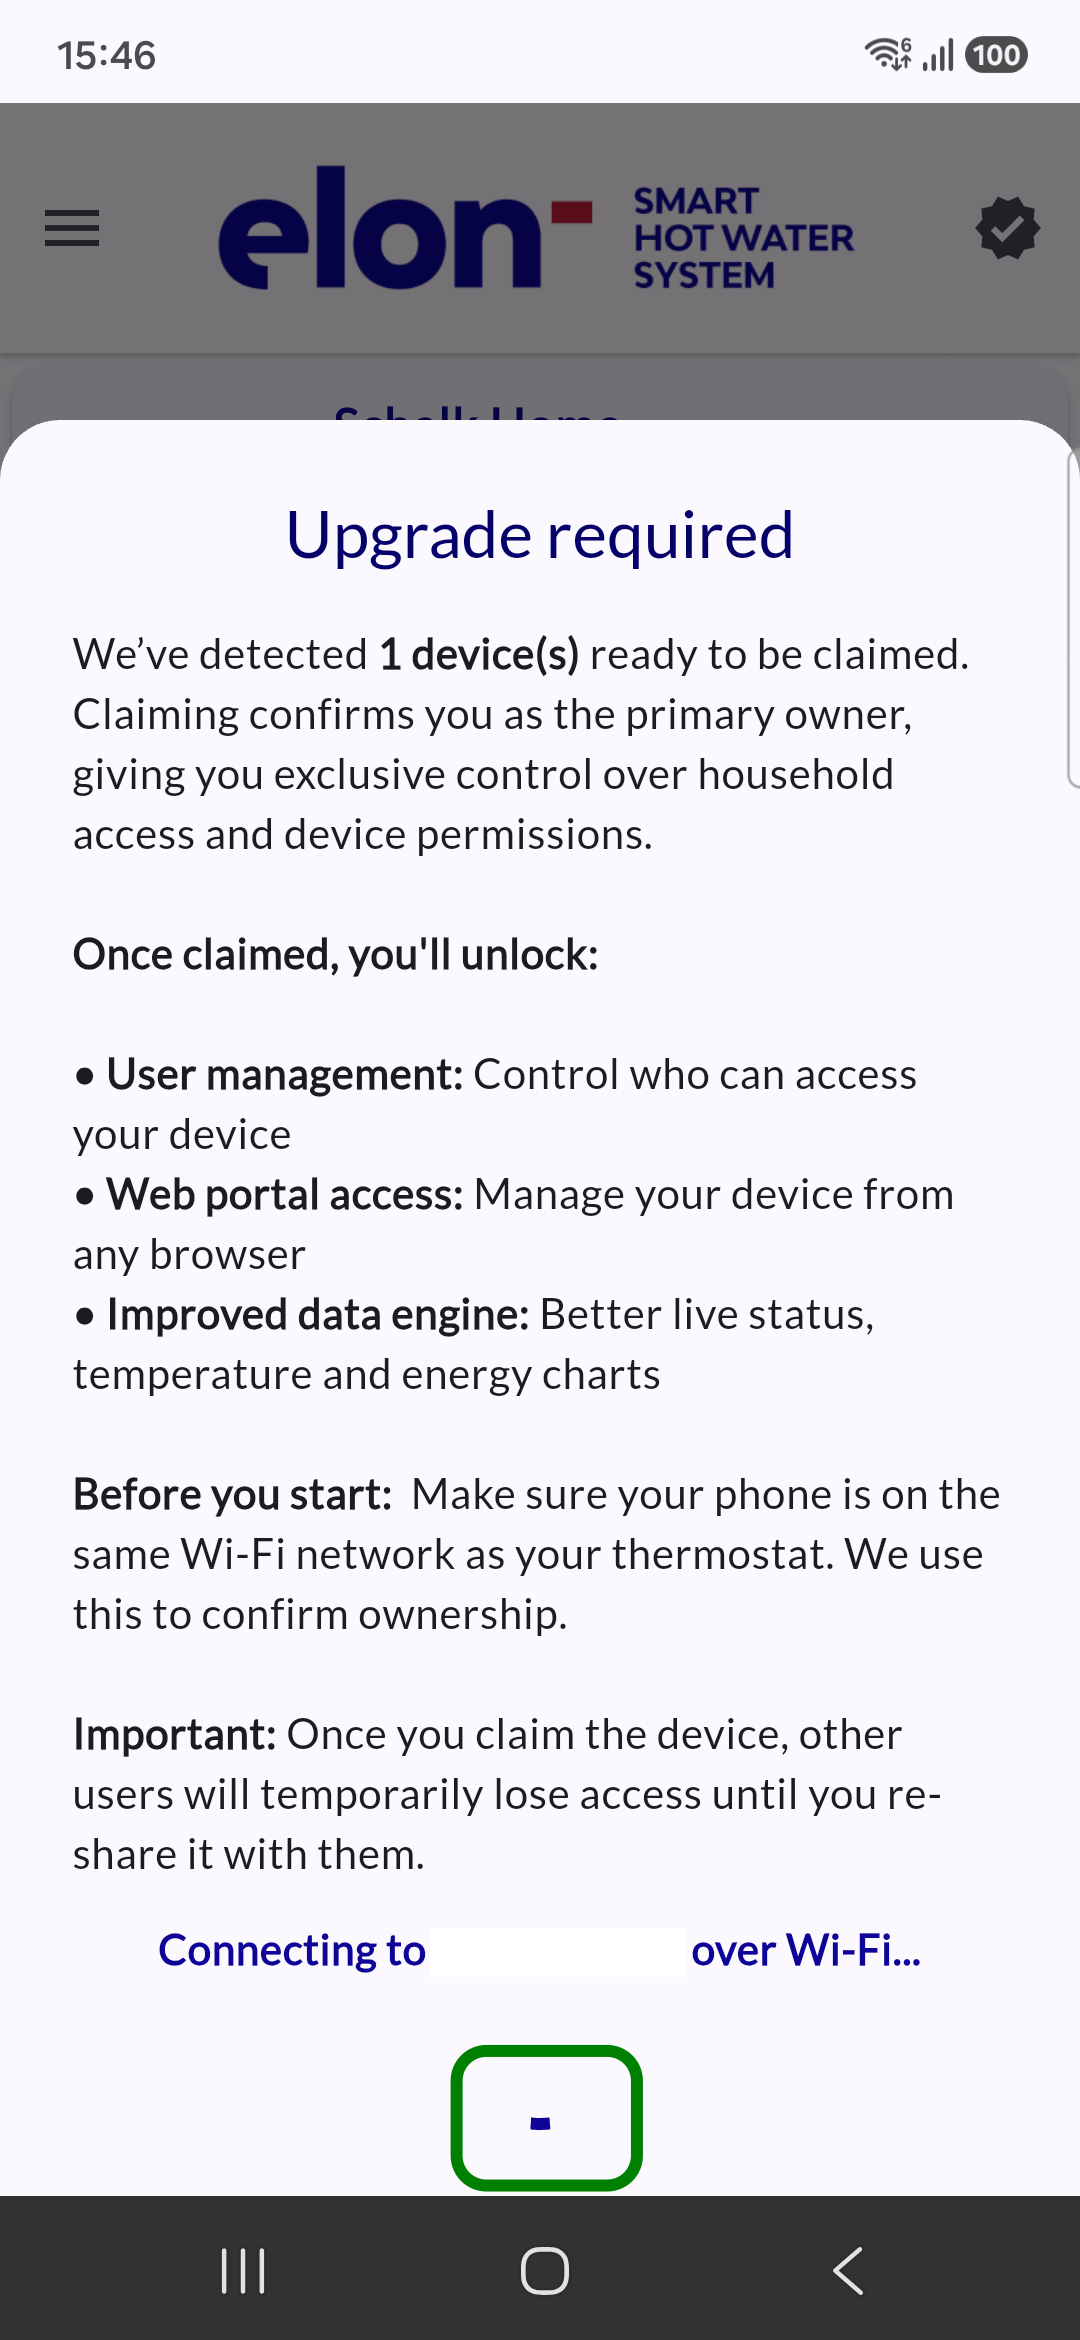
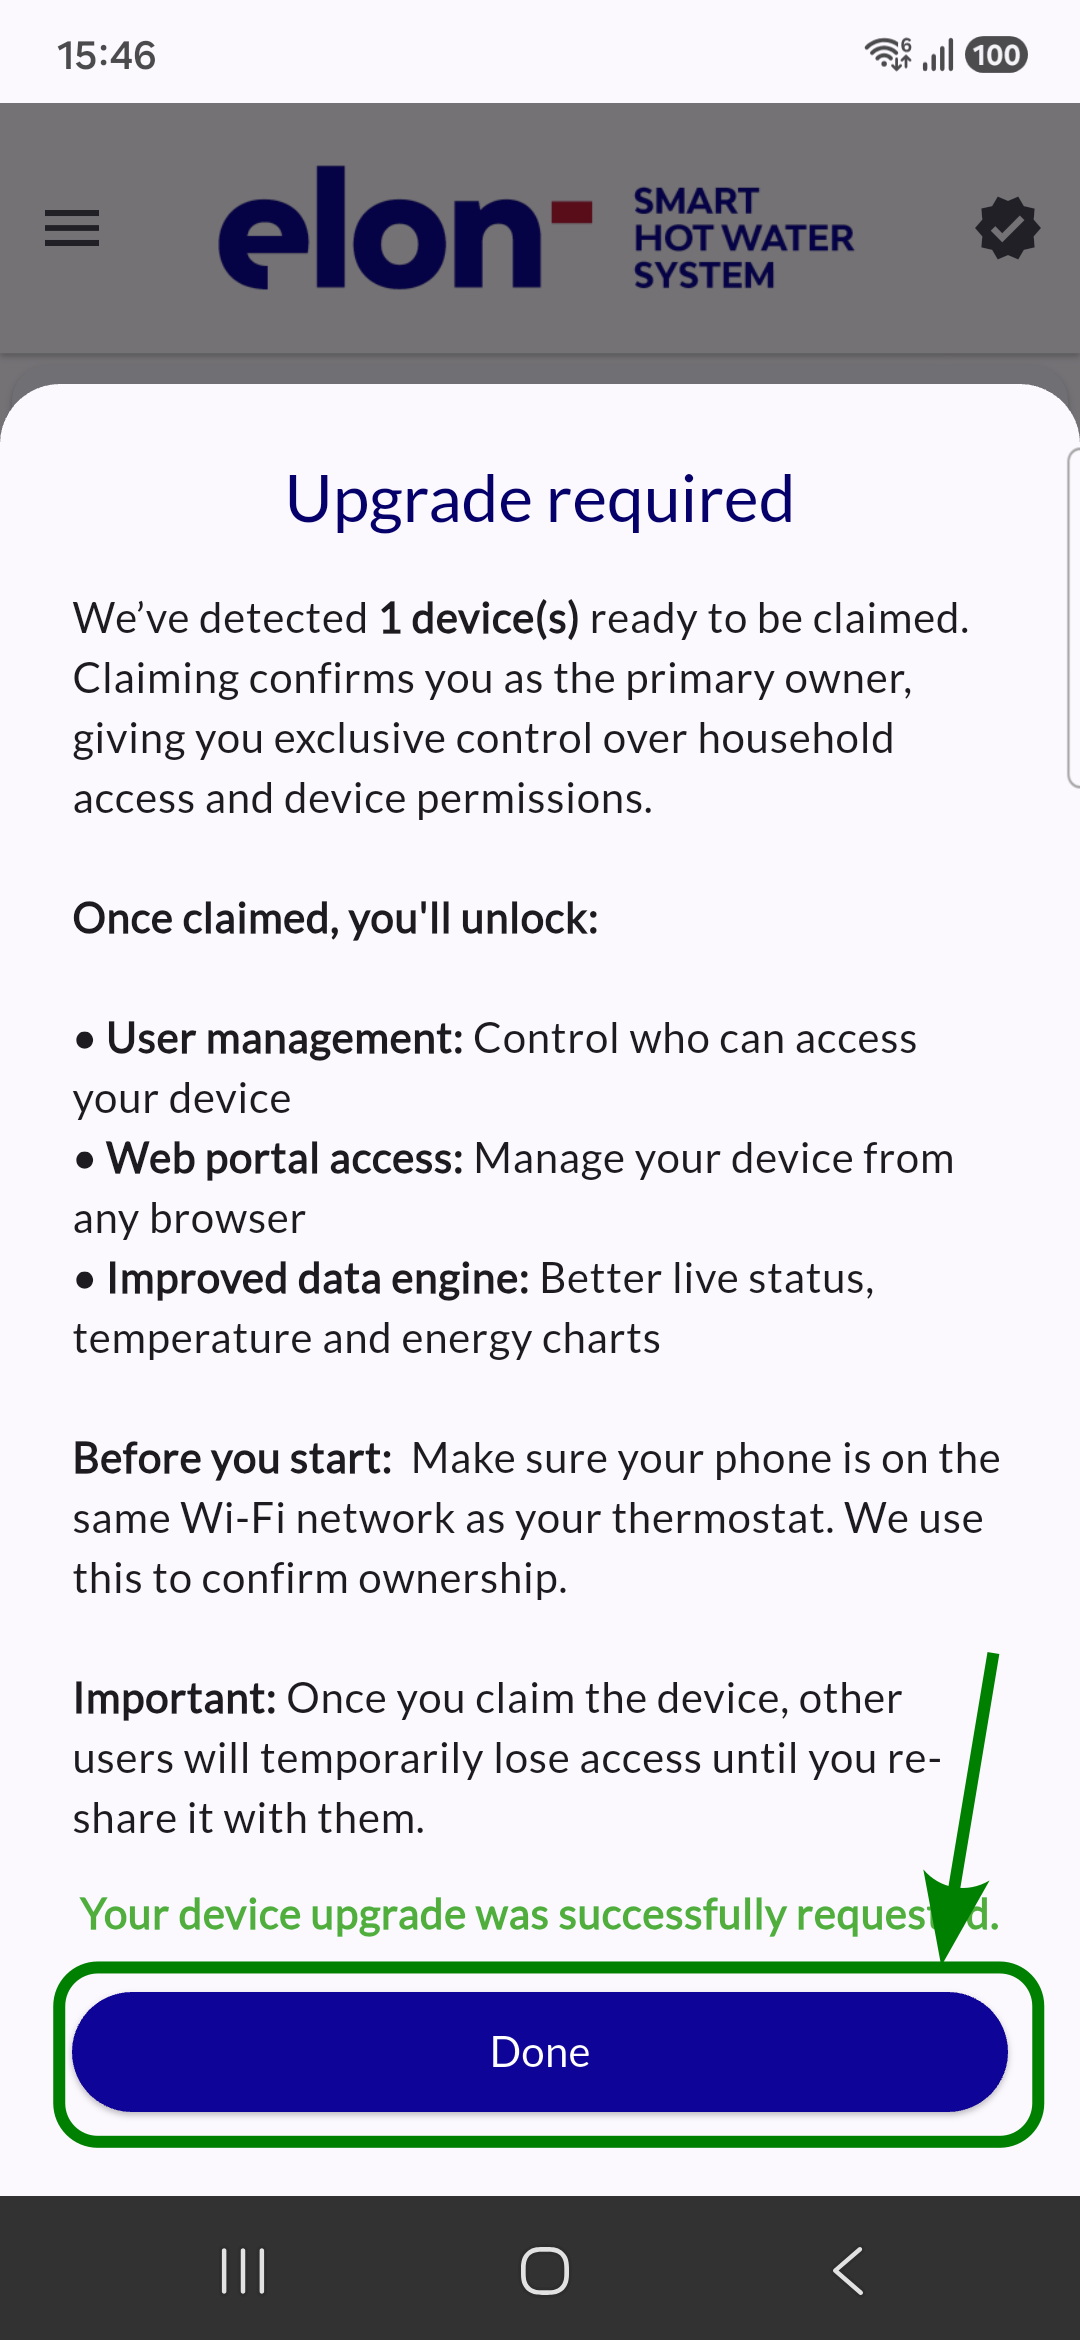
And success.
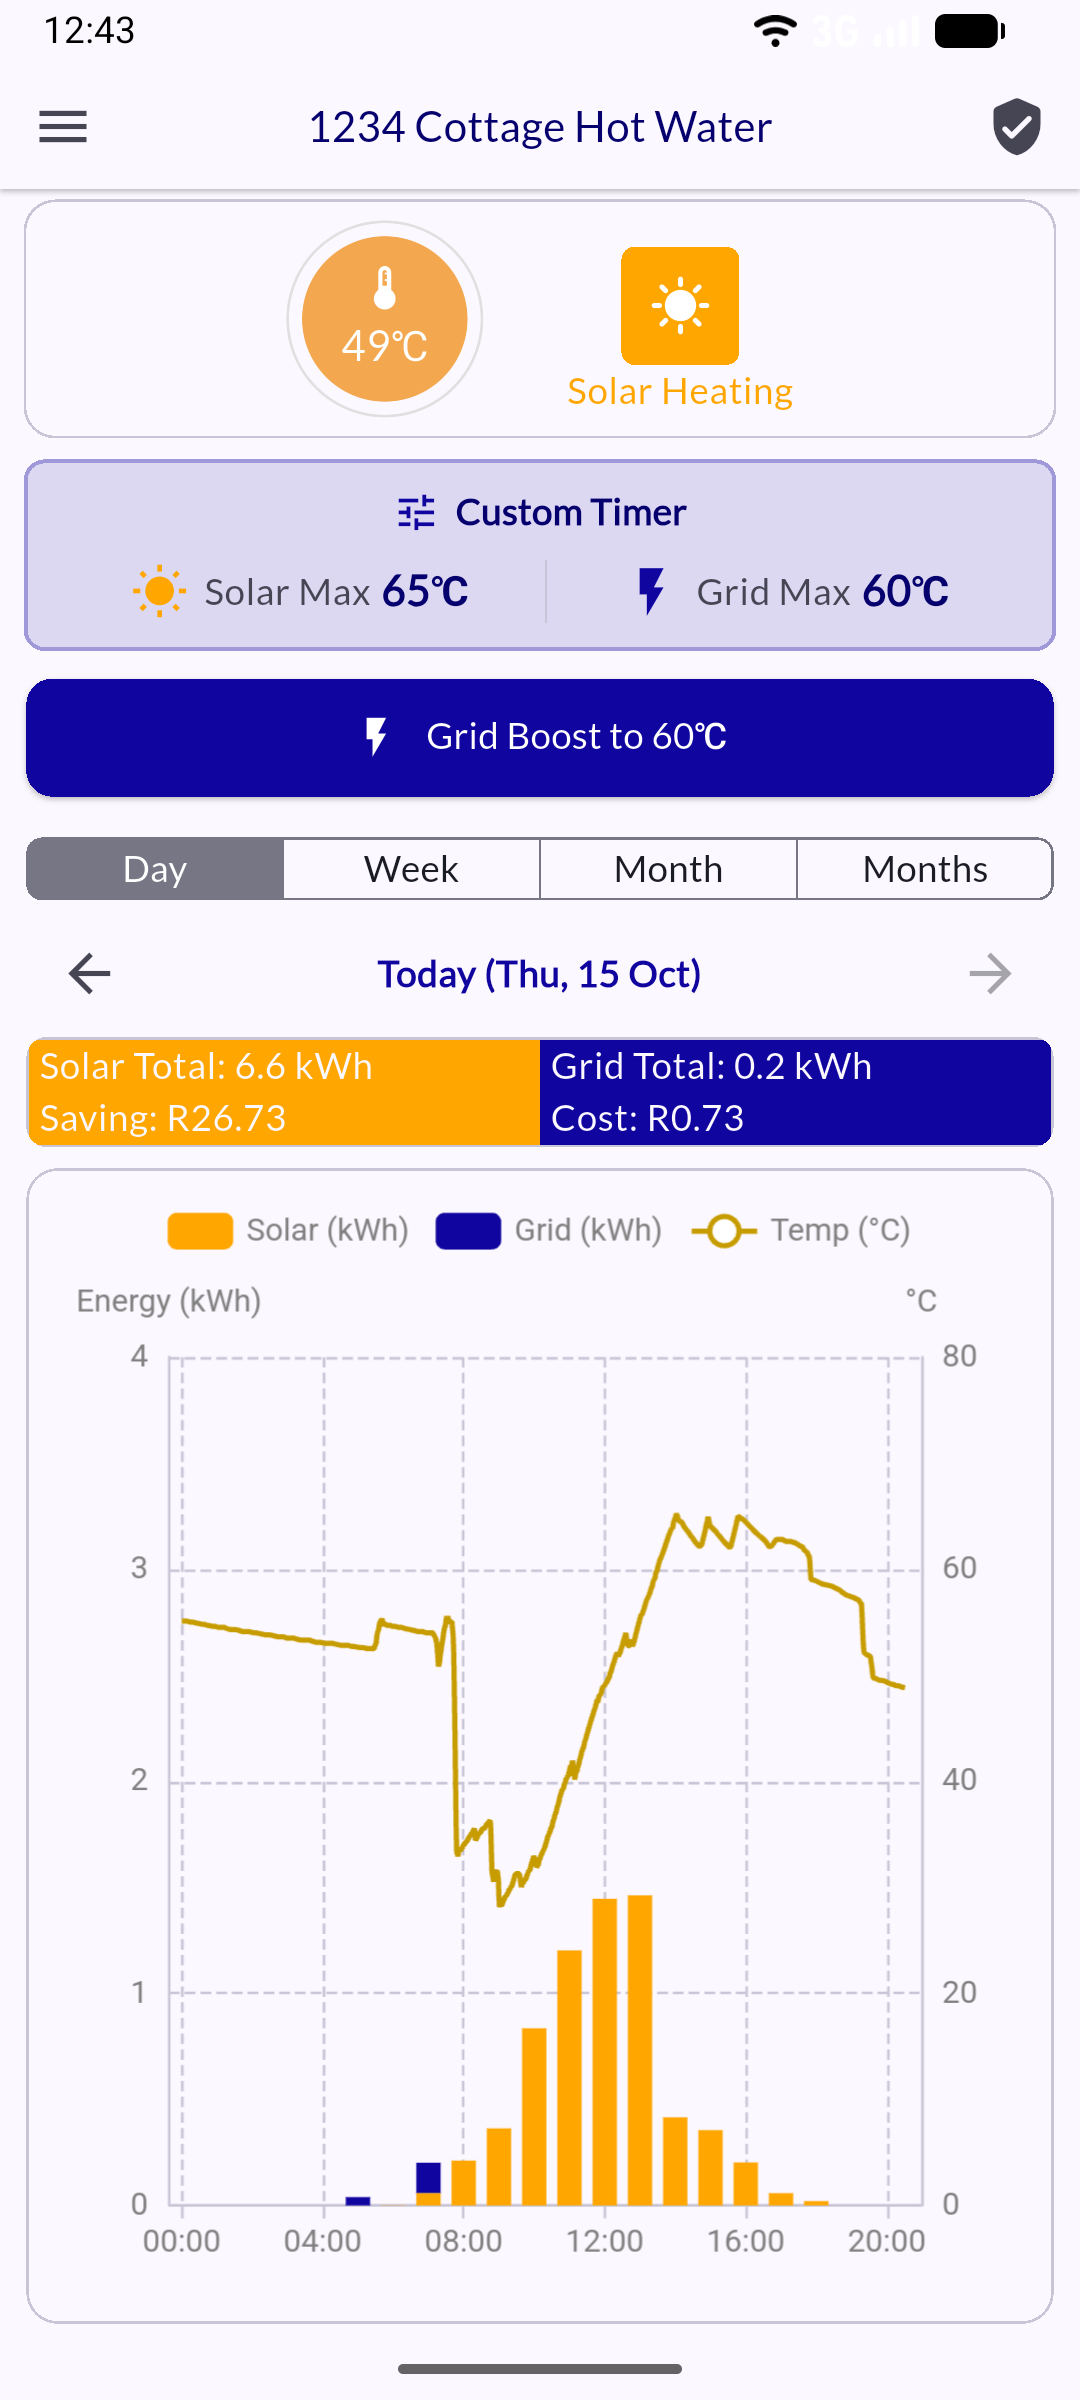
Your device status page will now look slightly different at first glance, but it has many more features to explore.
Create new installer account
Get started here
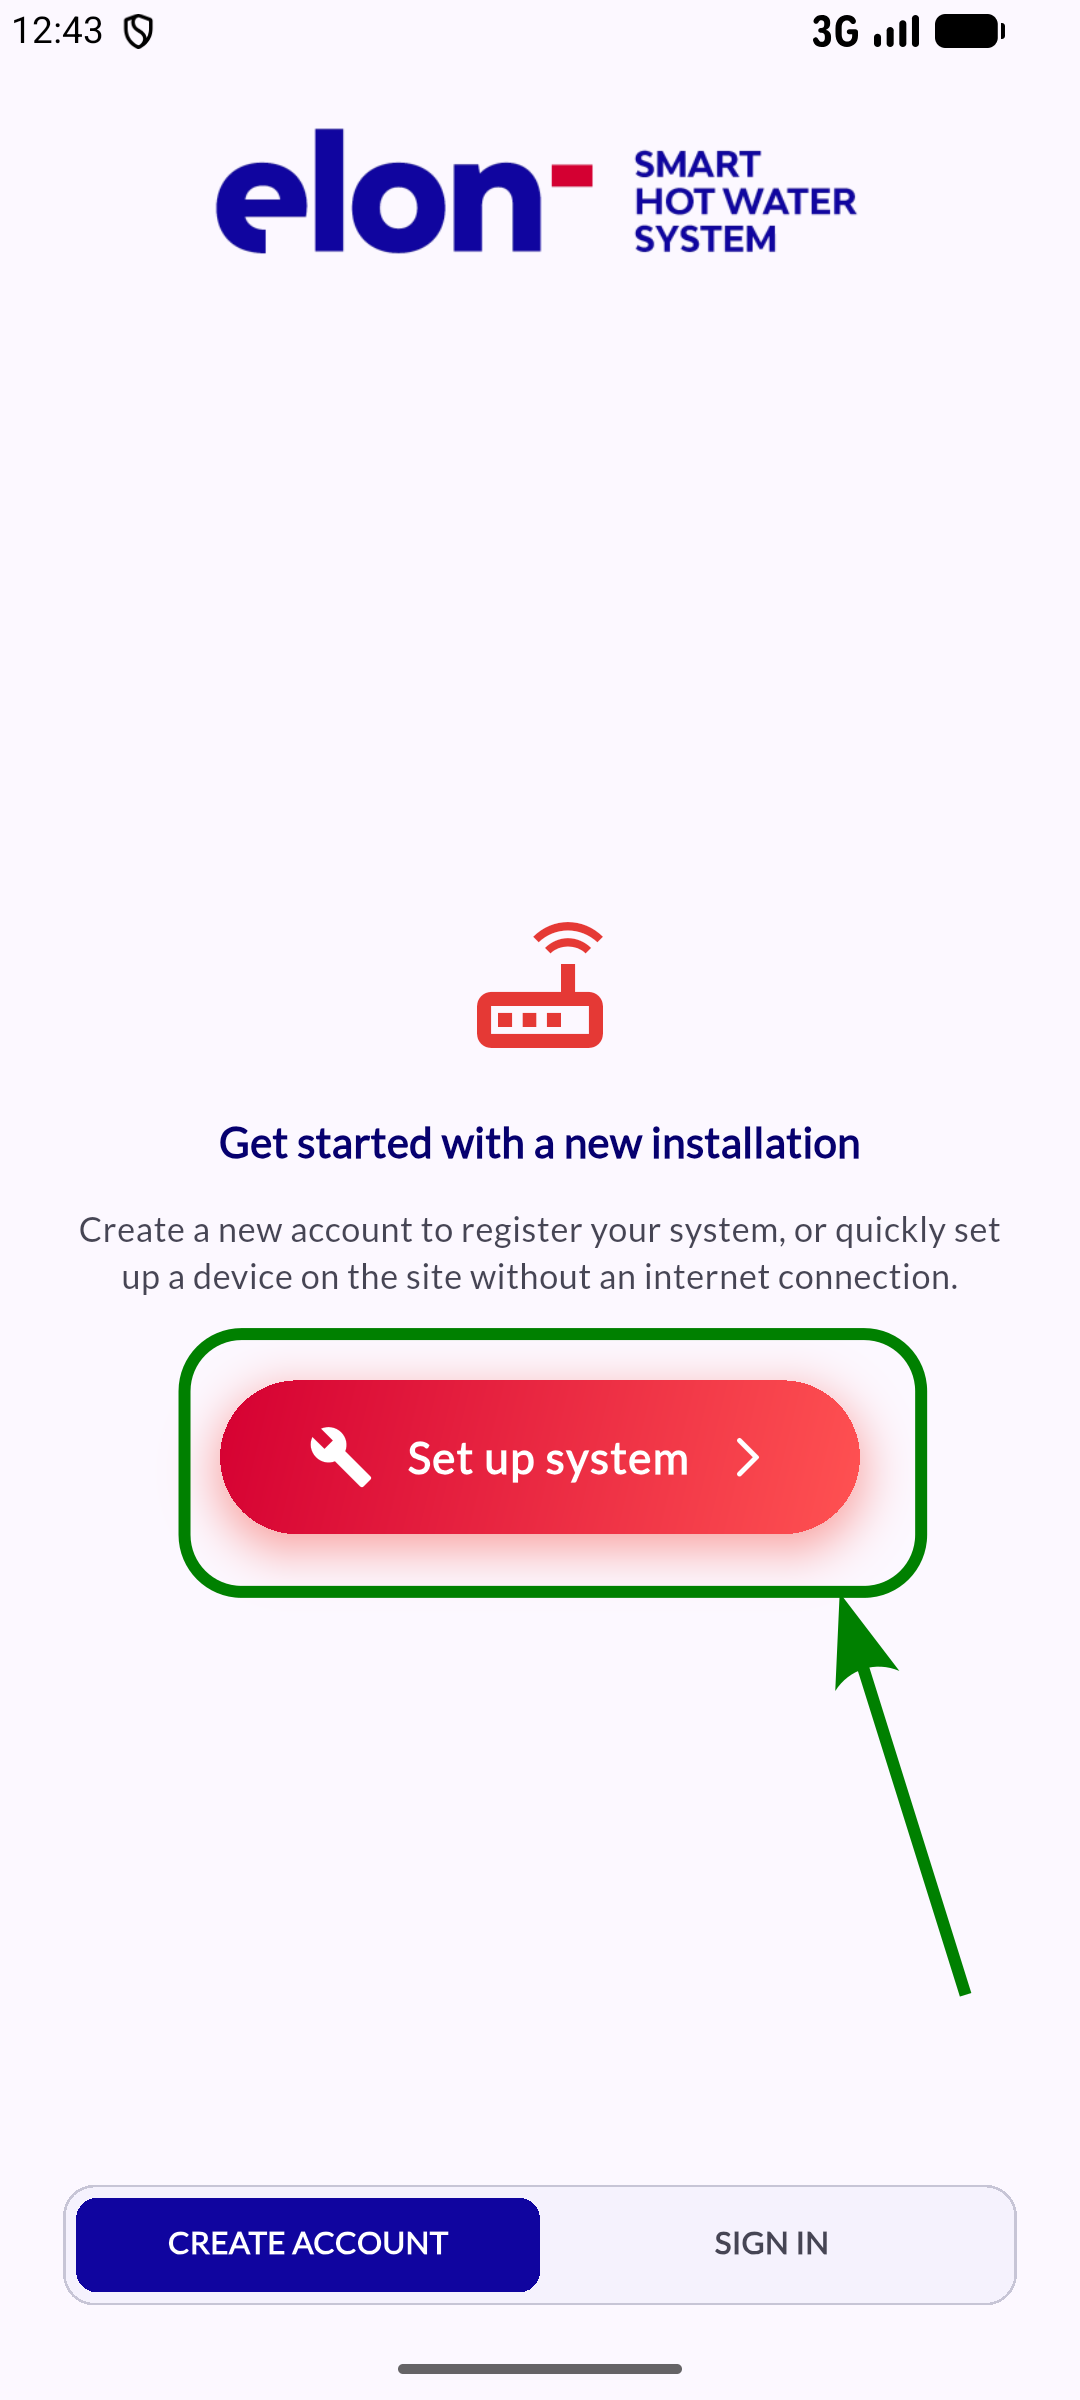
Step 1: Create an account
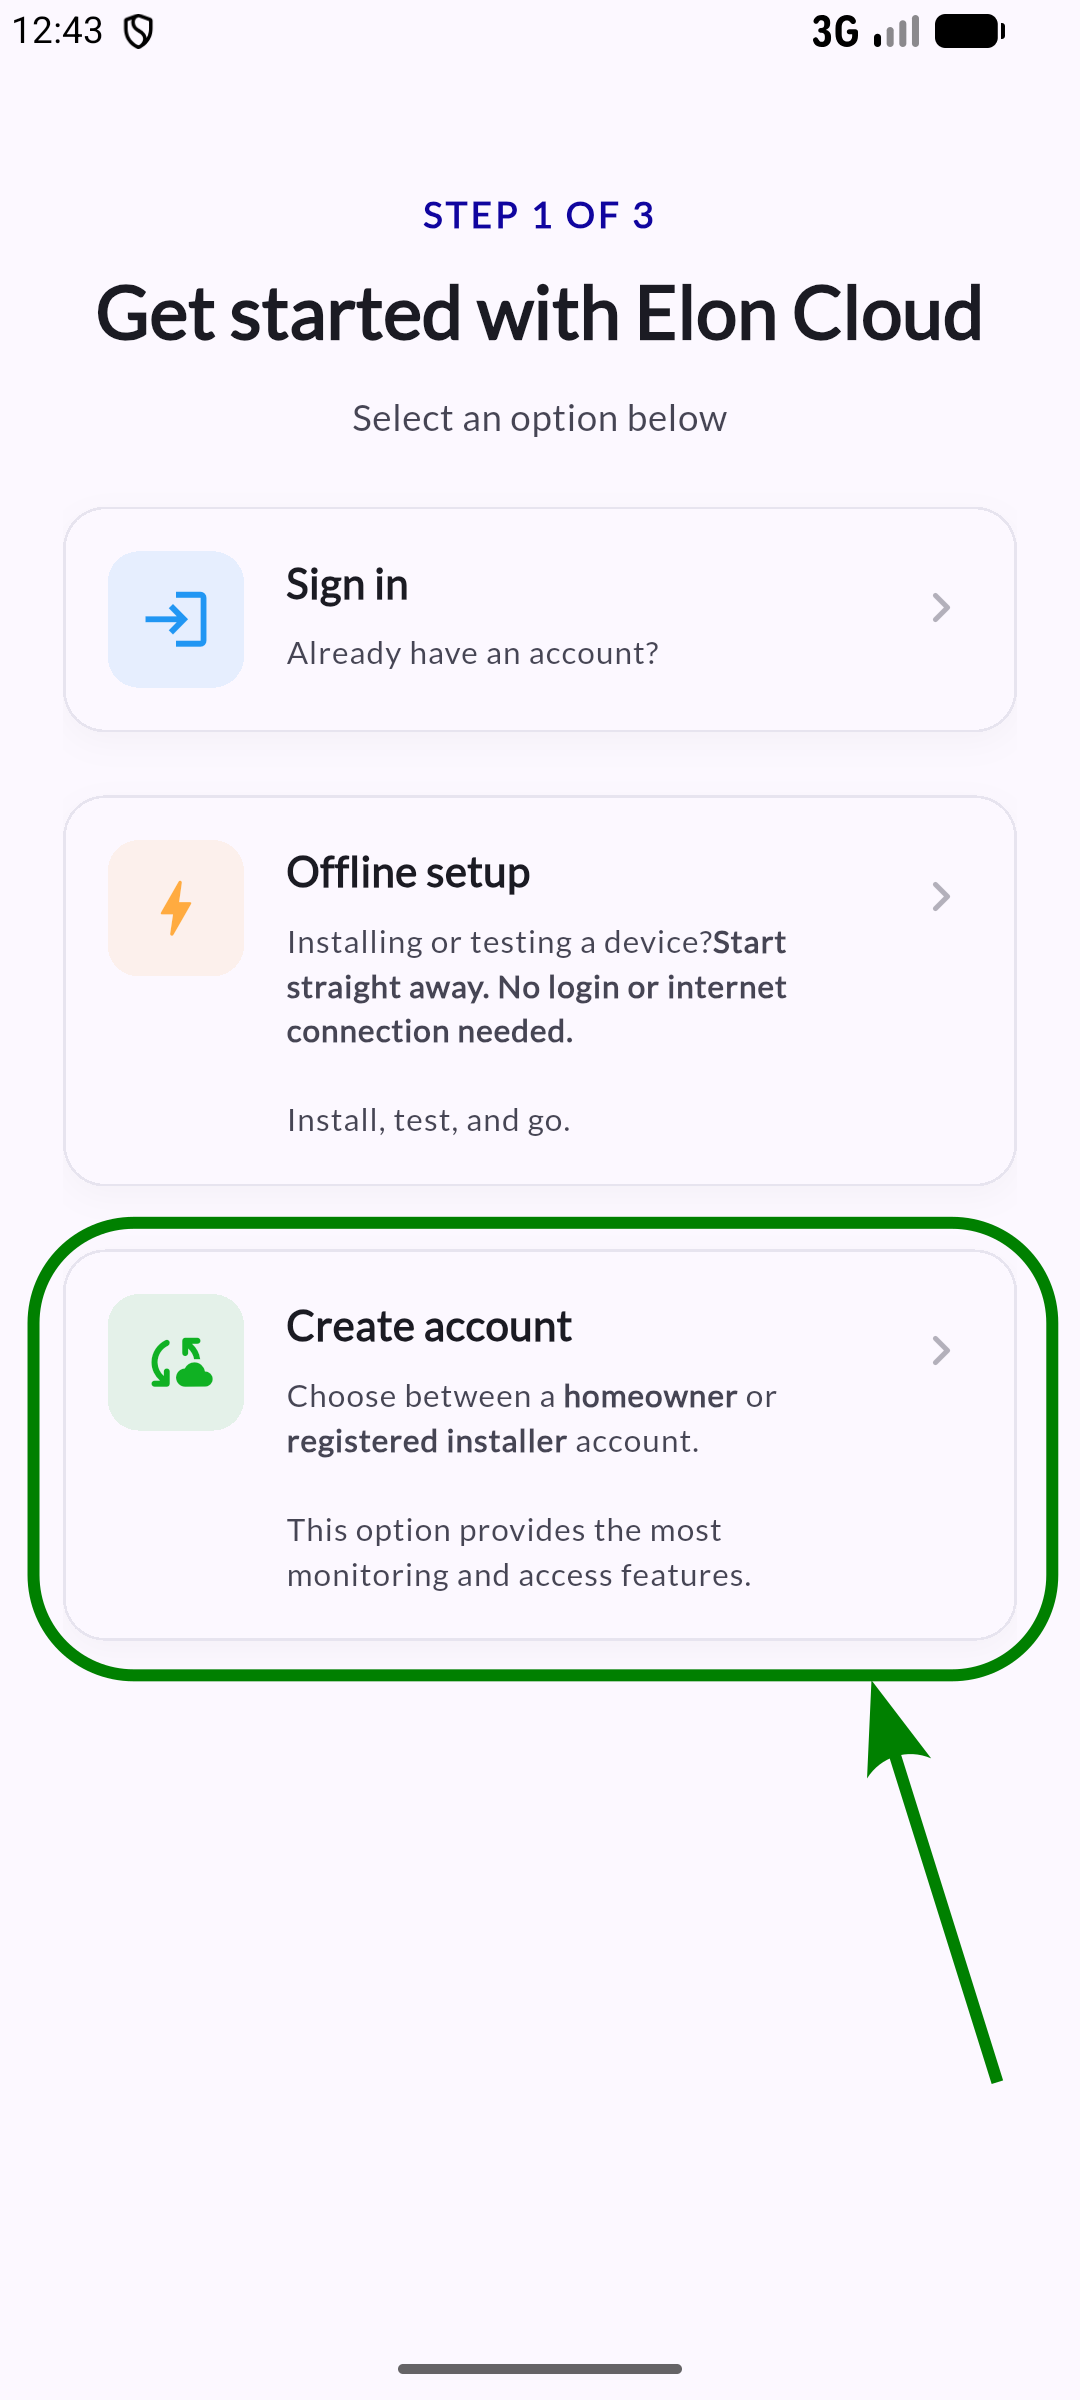
If you have no internet or need a quick installation, choose "Offline setup" for now; we don't want to delay your experience. You can complete the registration later that day.
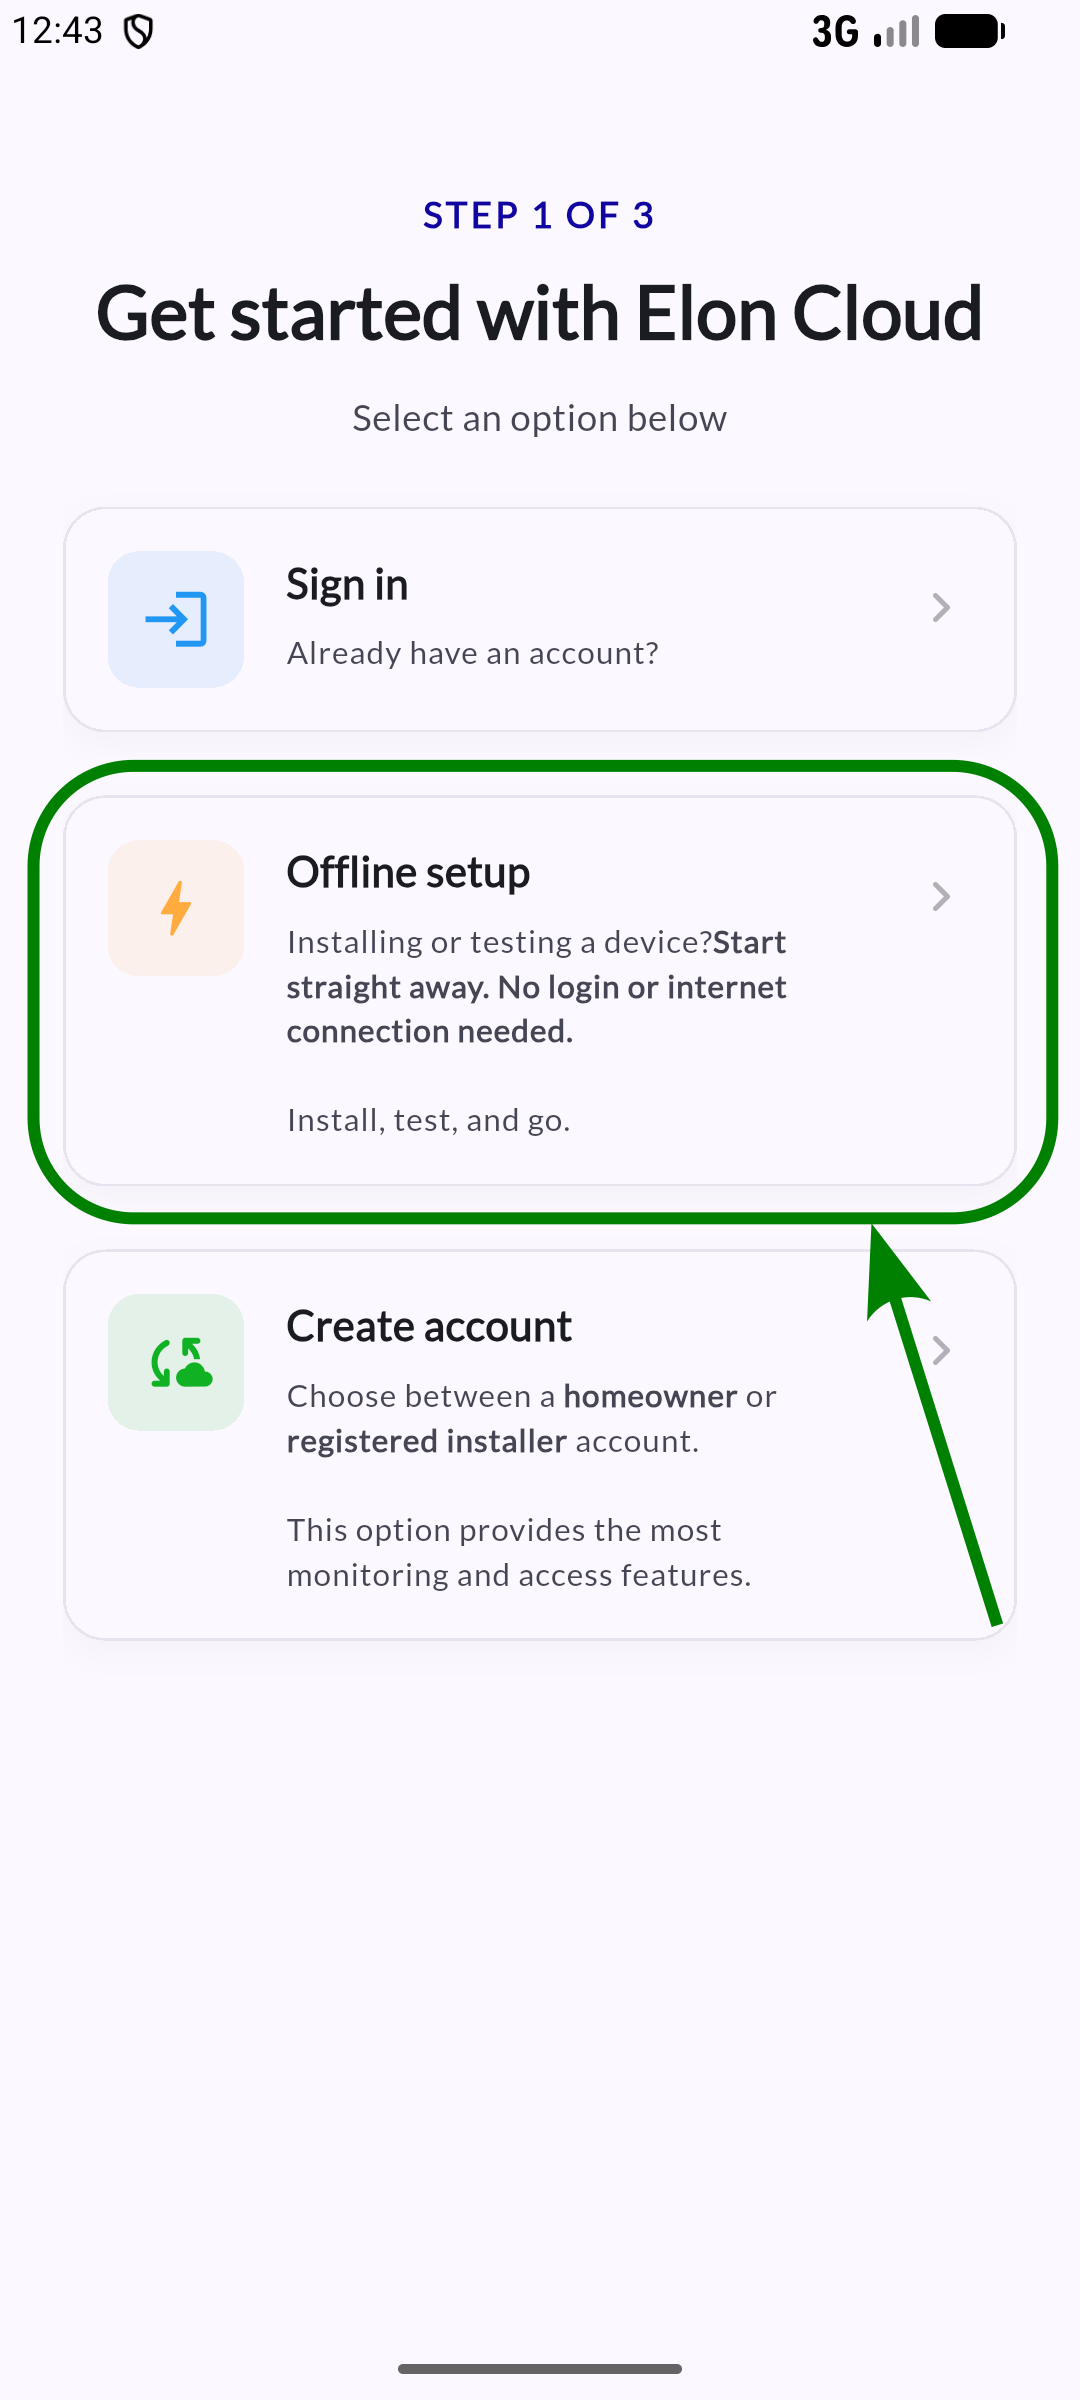
Step 2: Choose between installer or homeowner role
Step 3: Final step to complete your personal account details
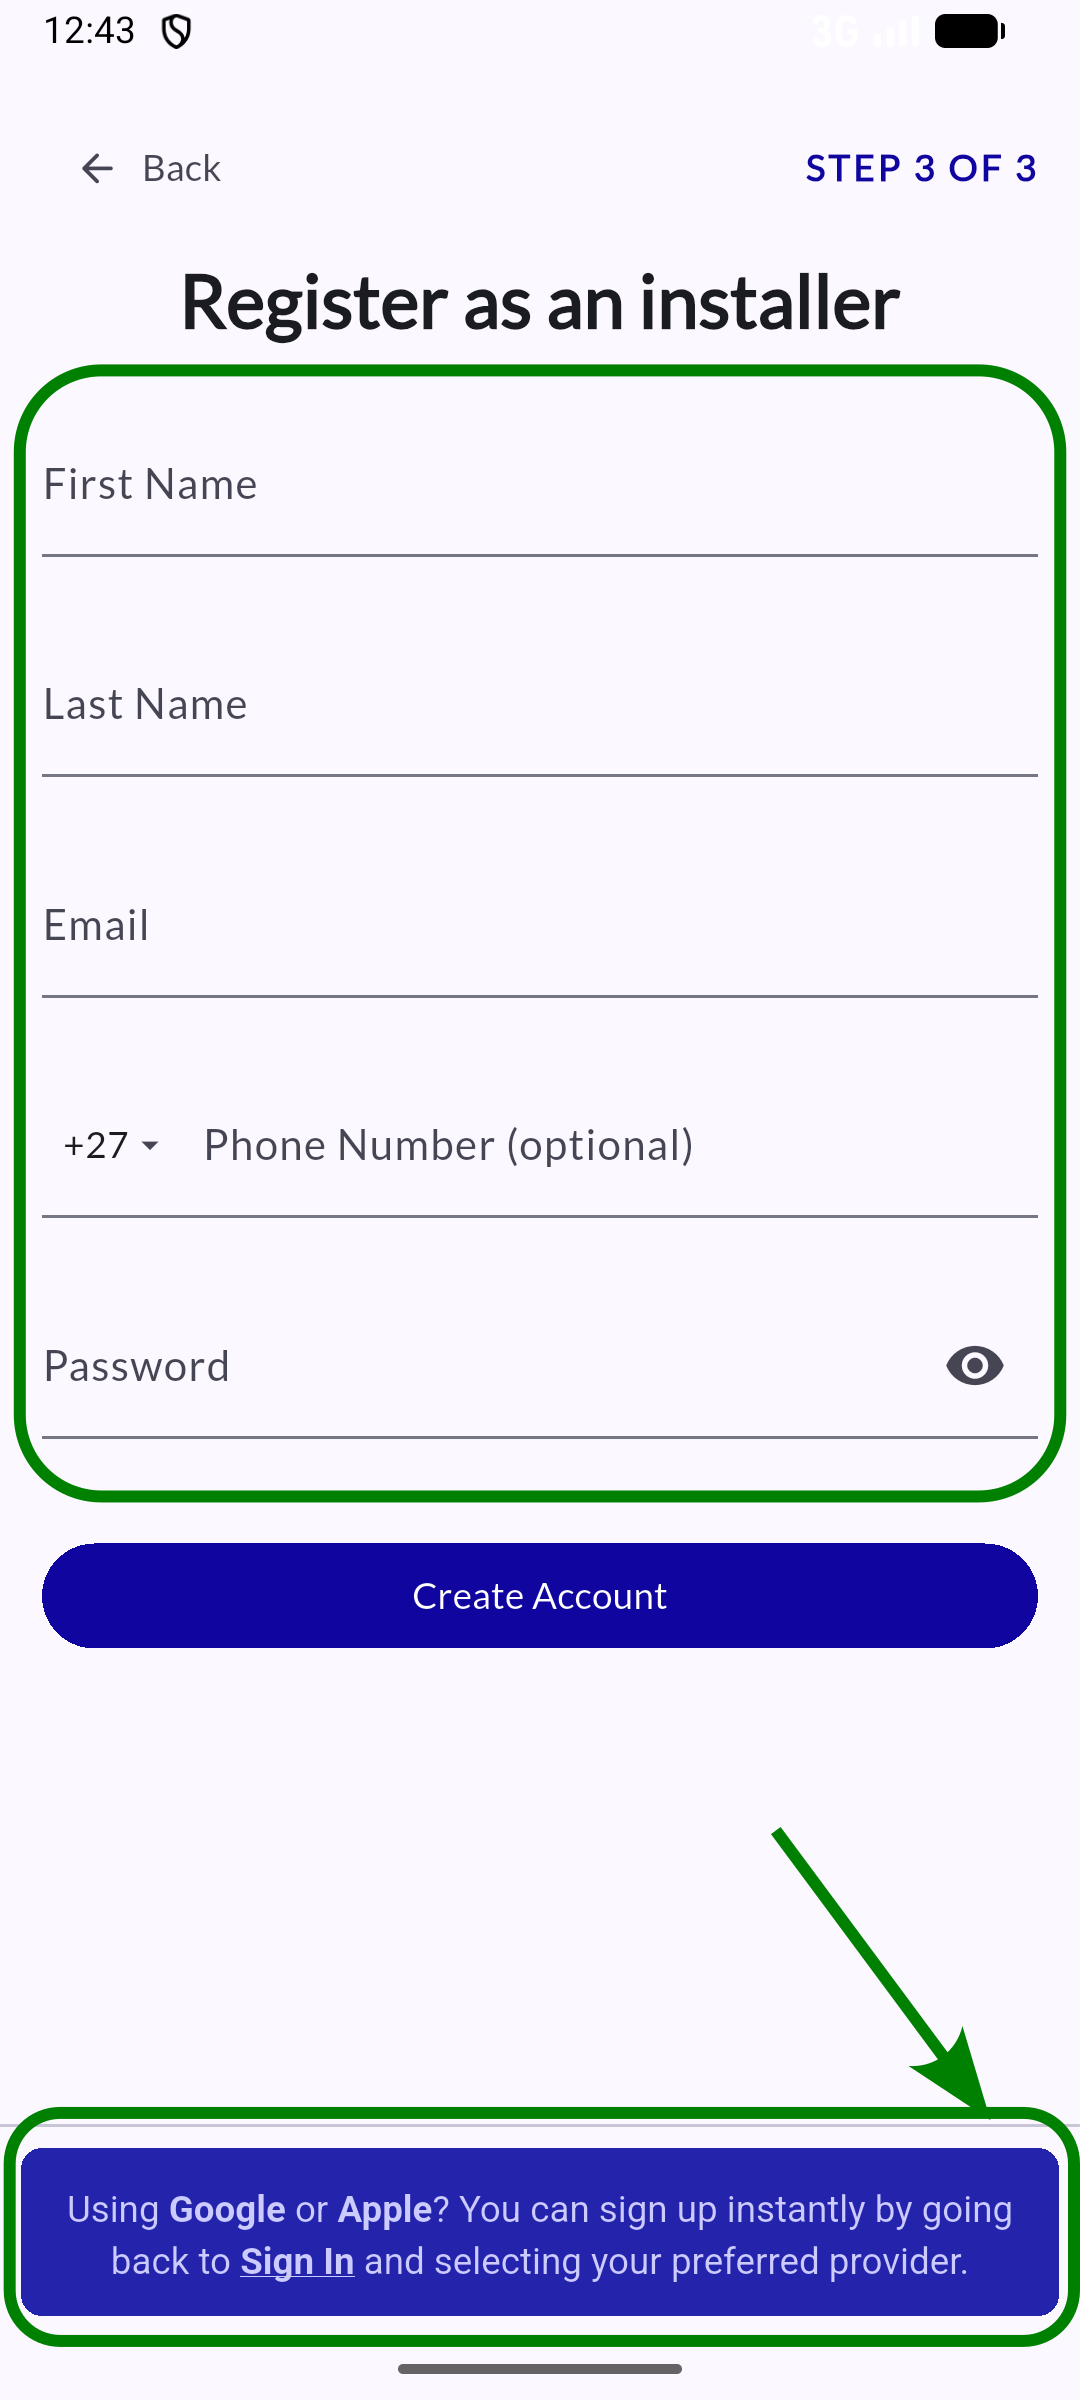
Note that
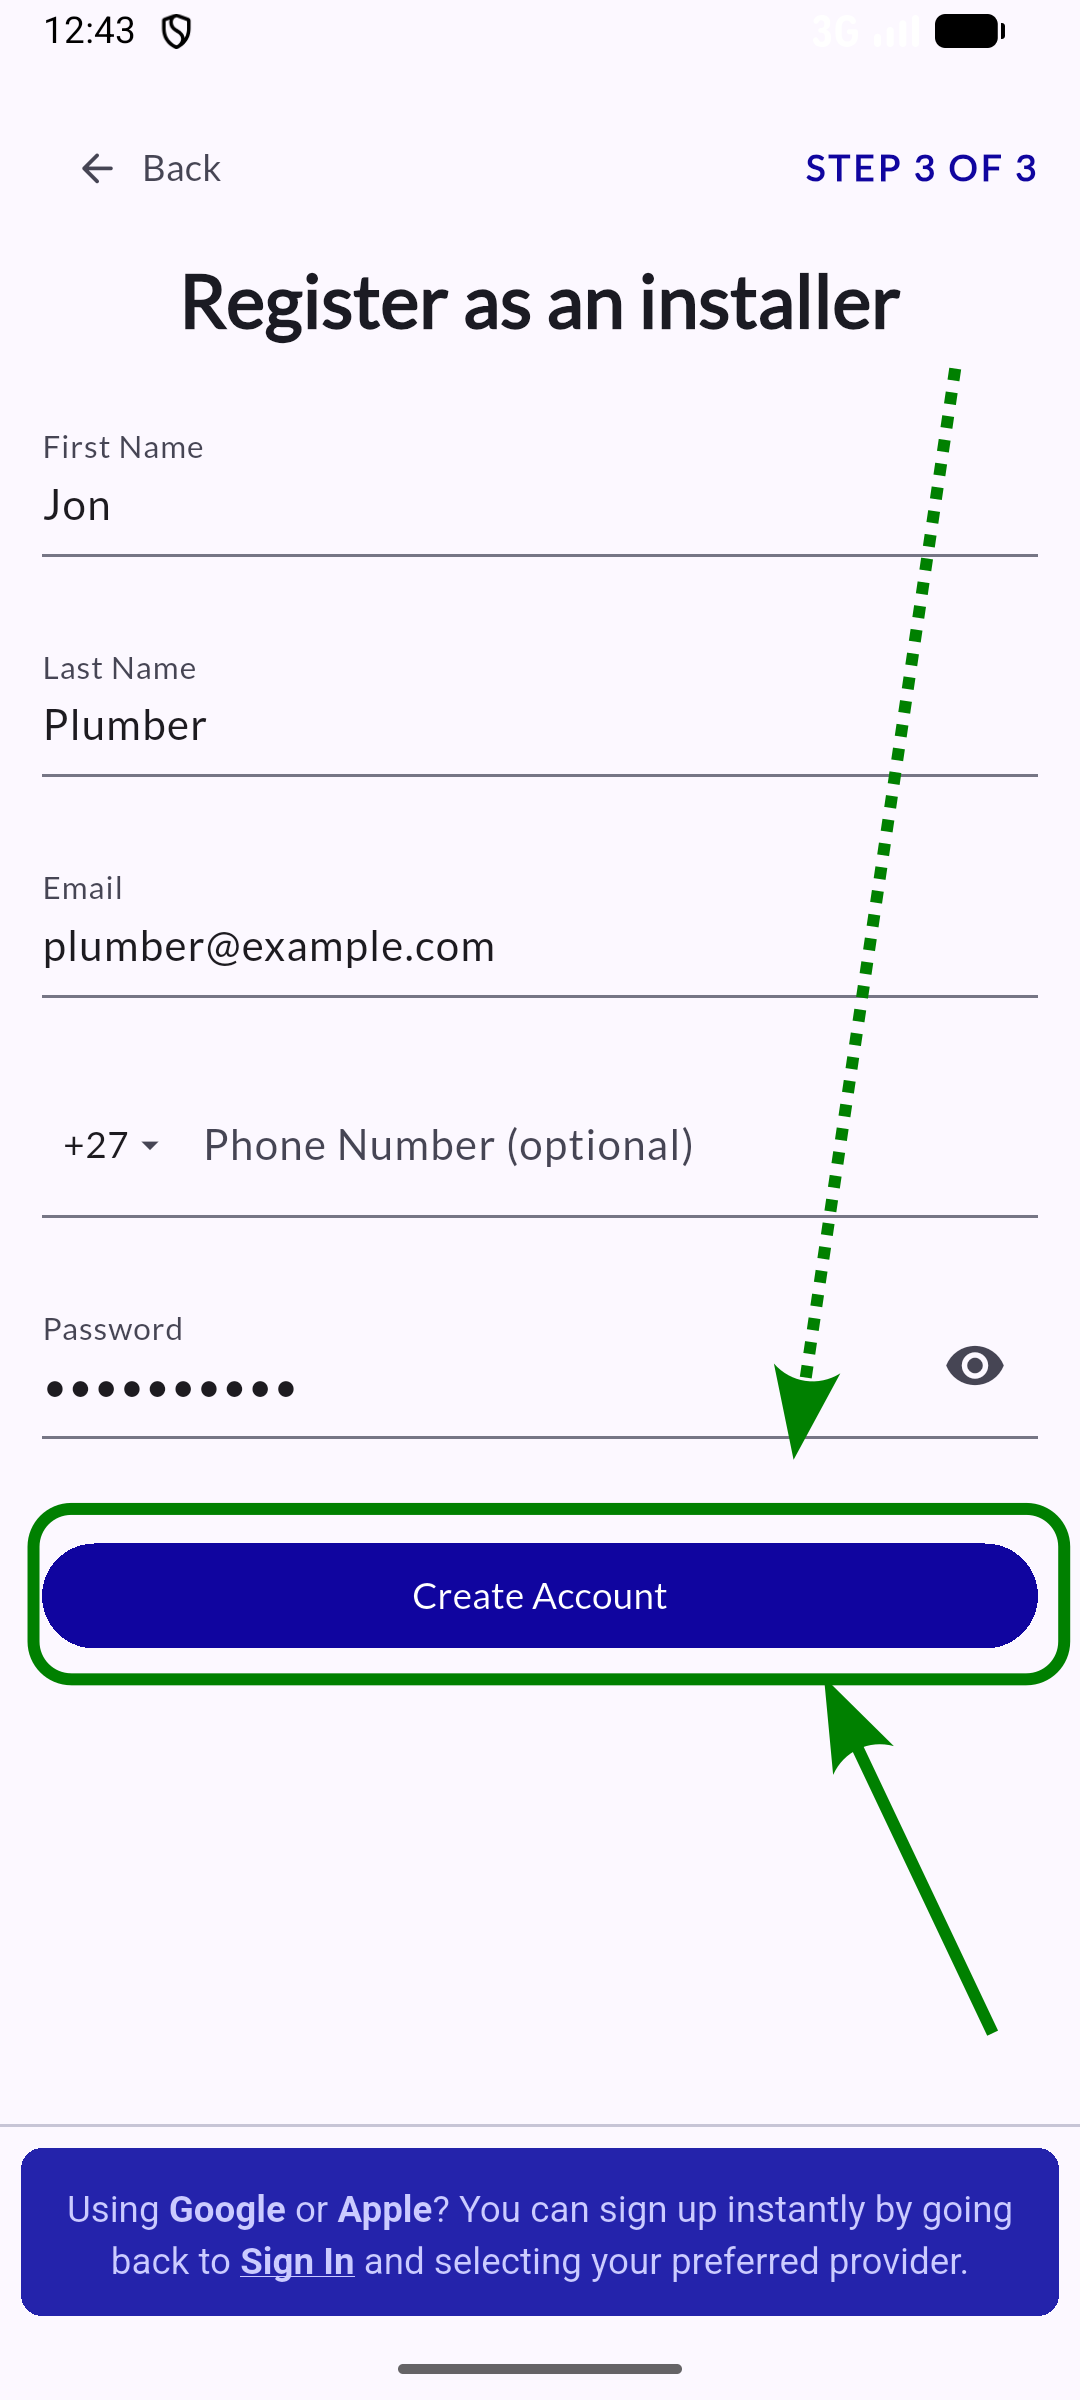
Final confirmation steps
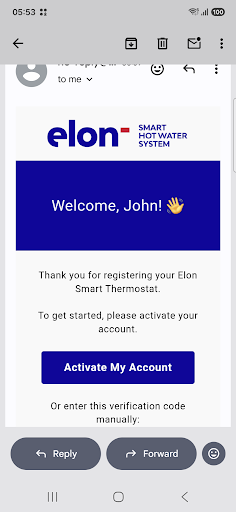
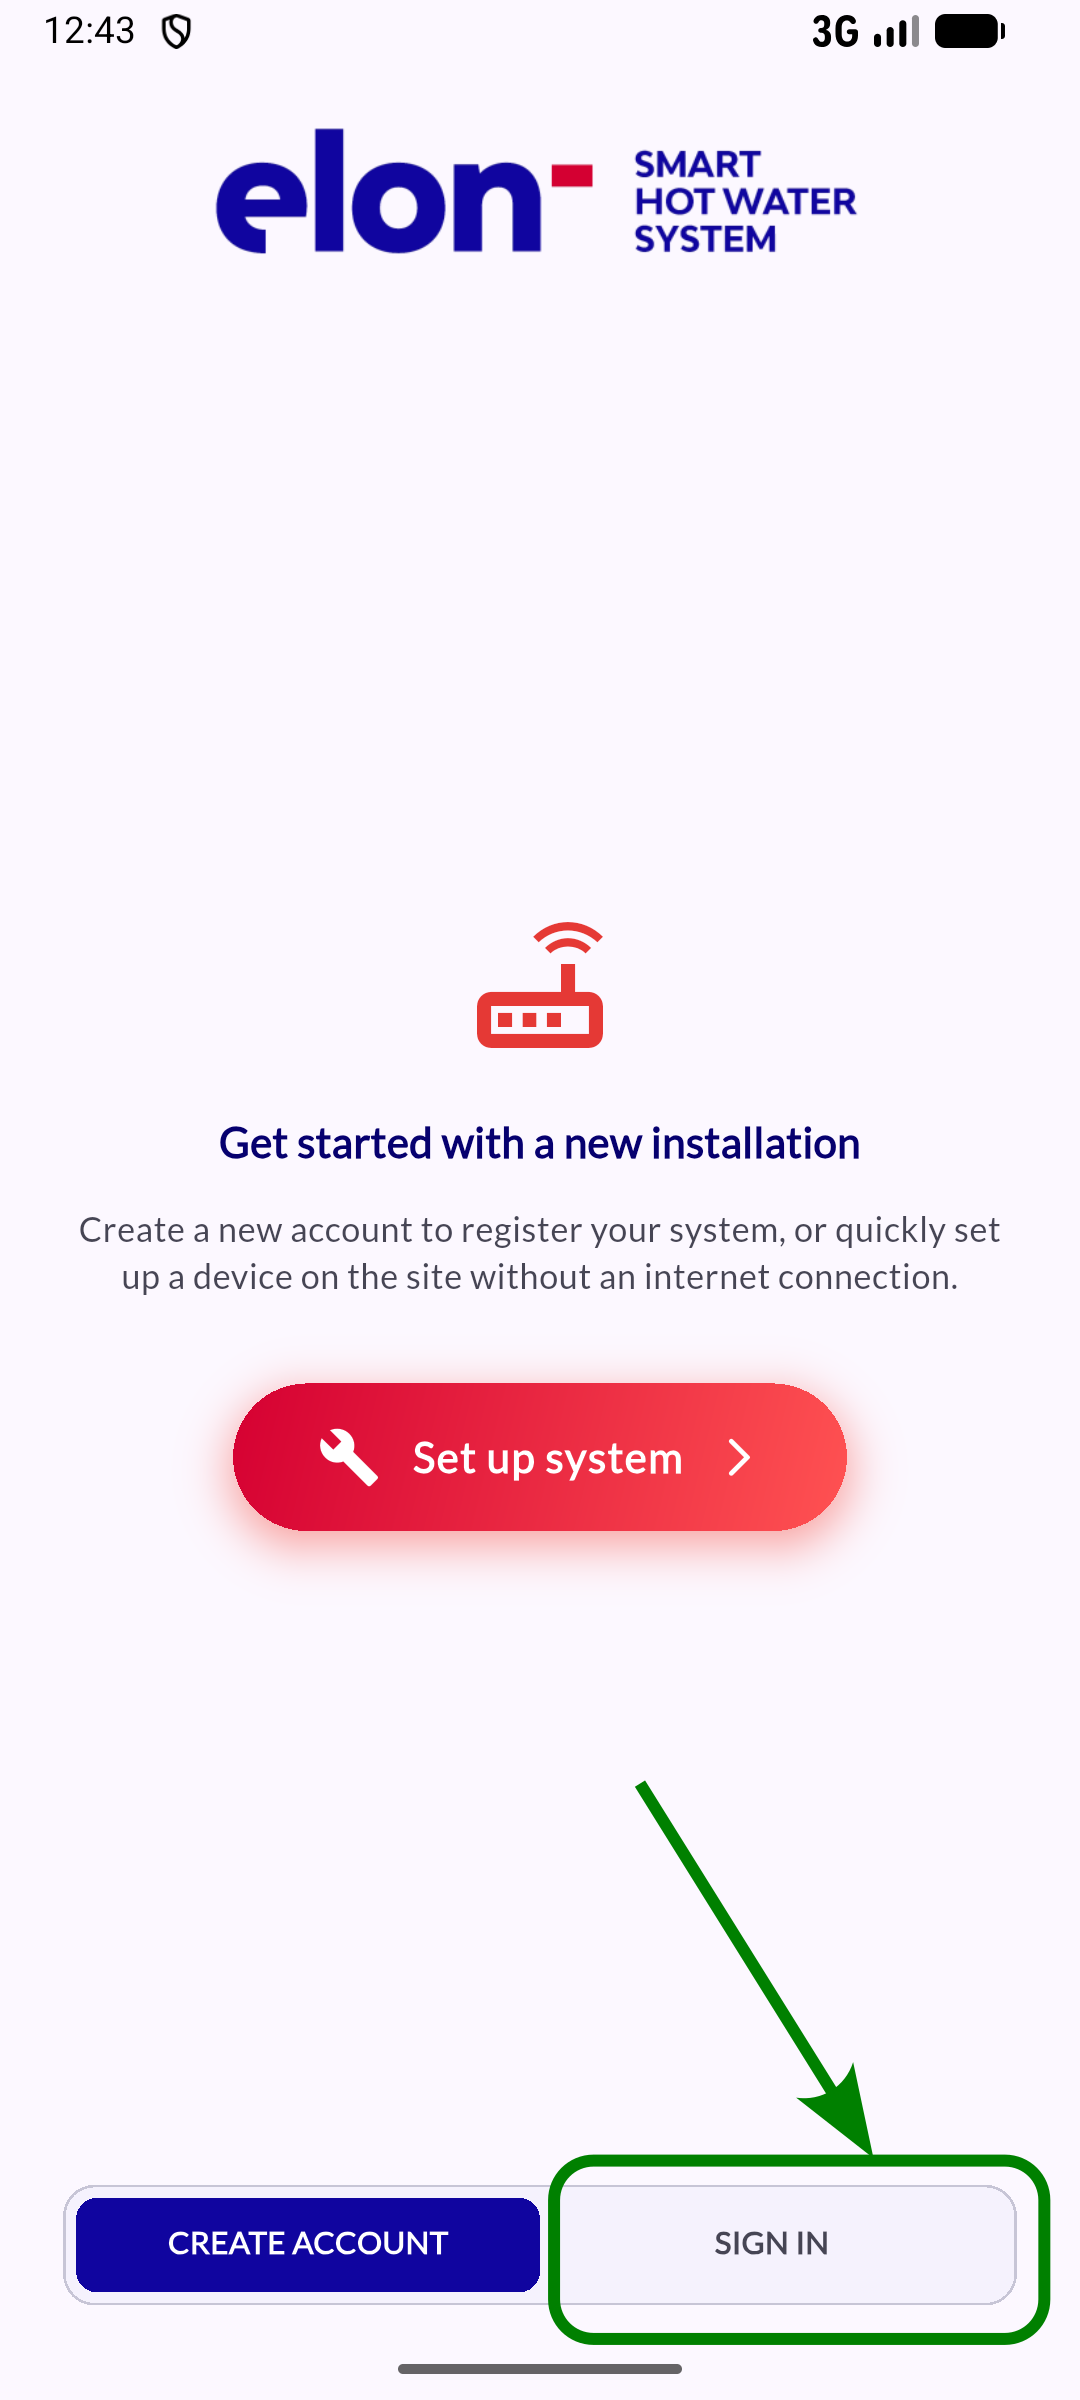
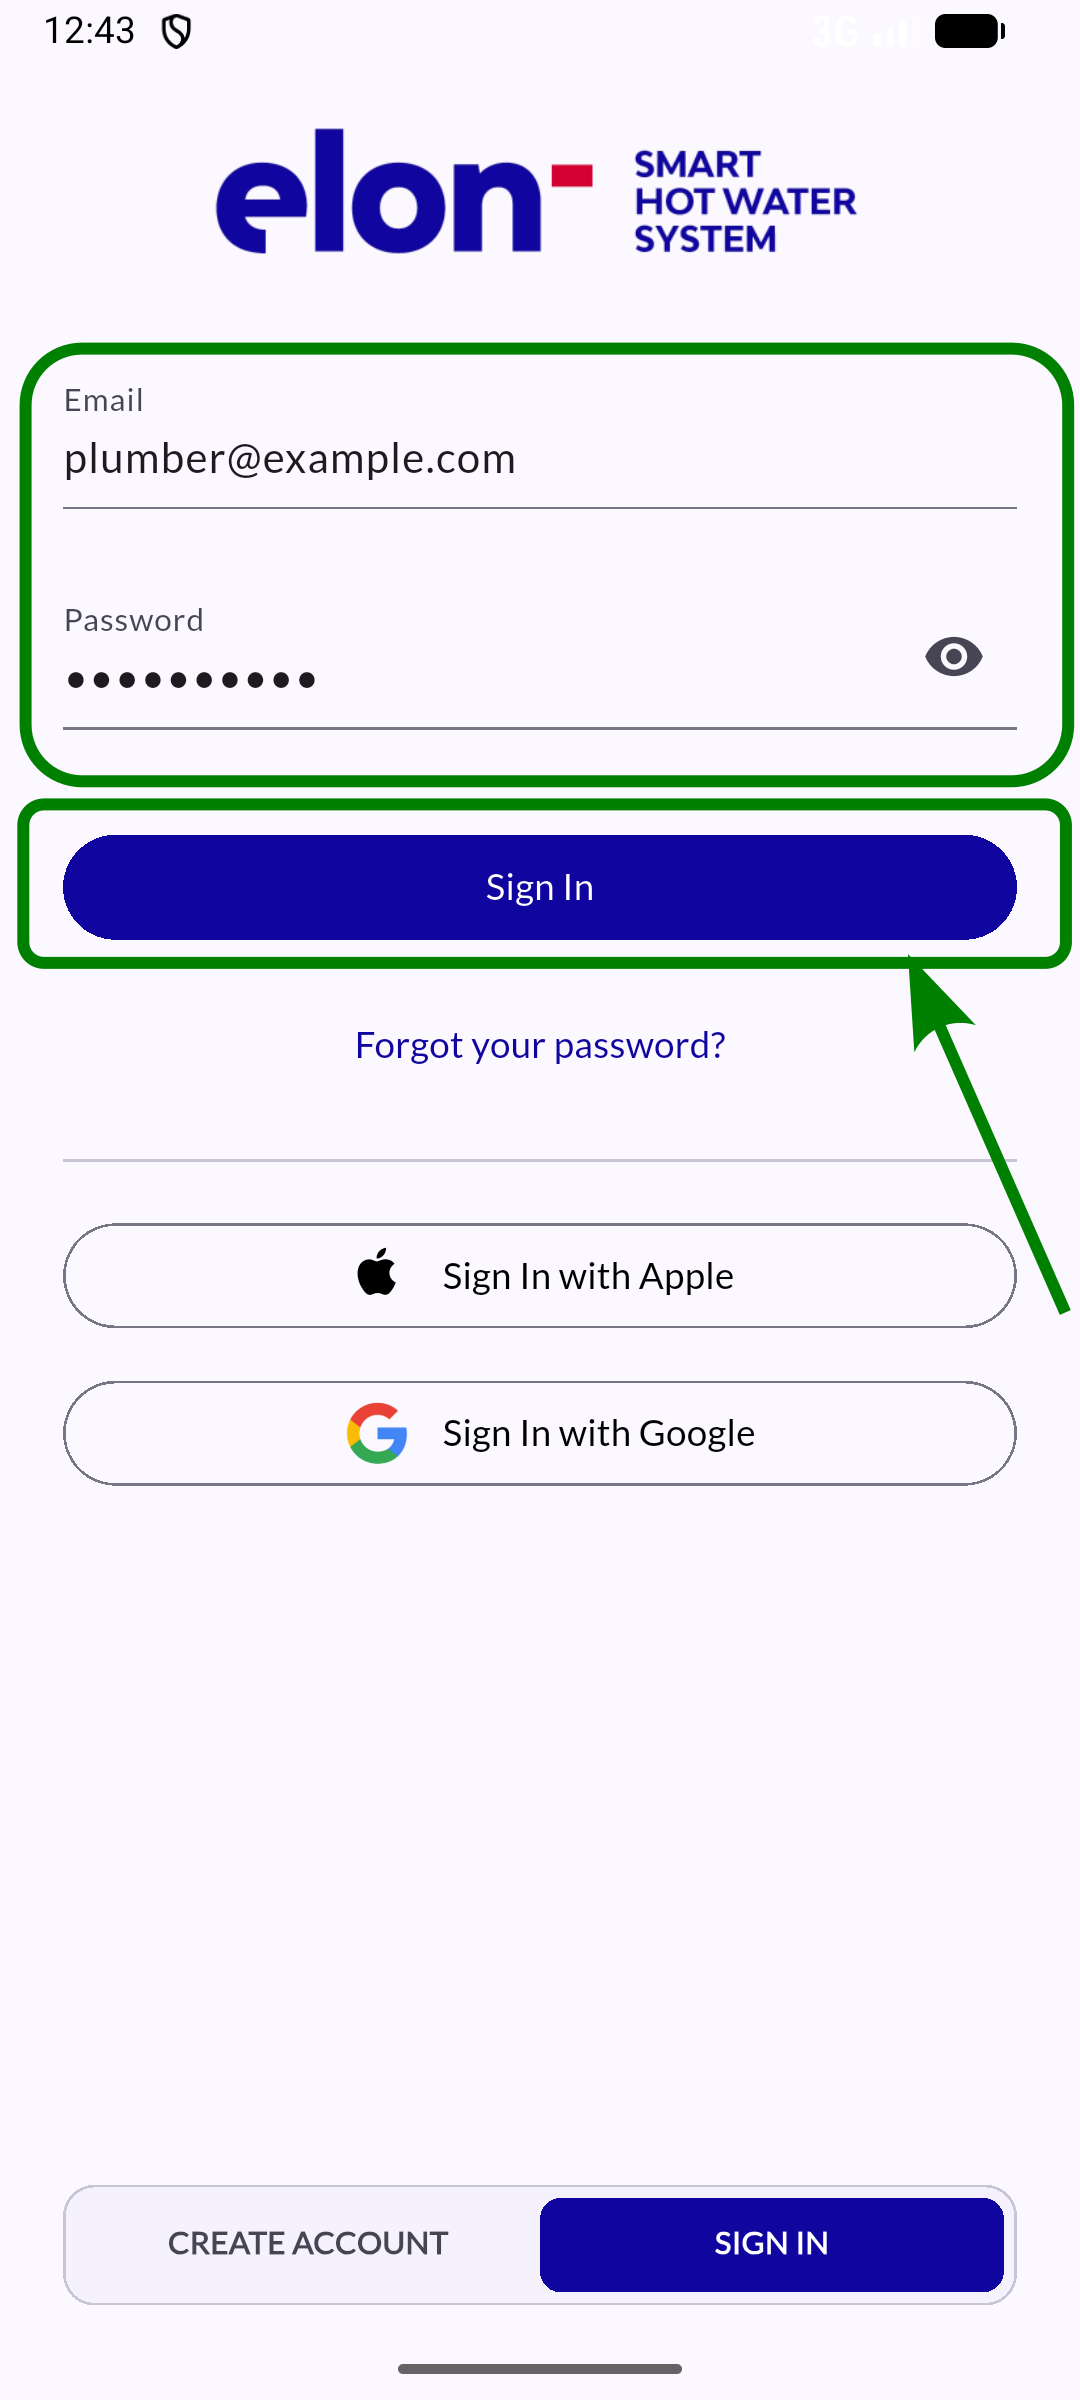
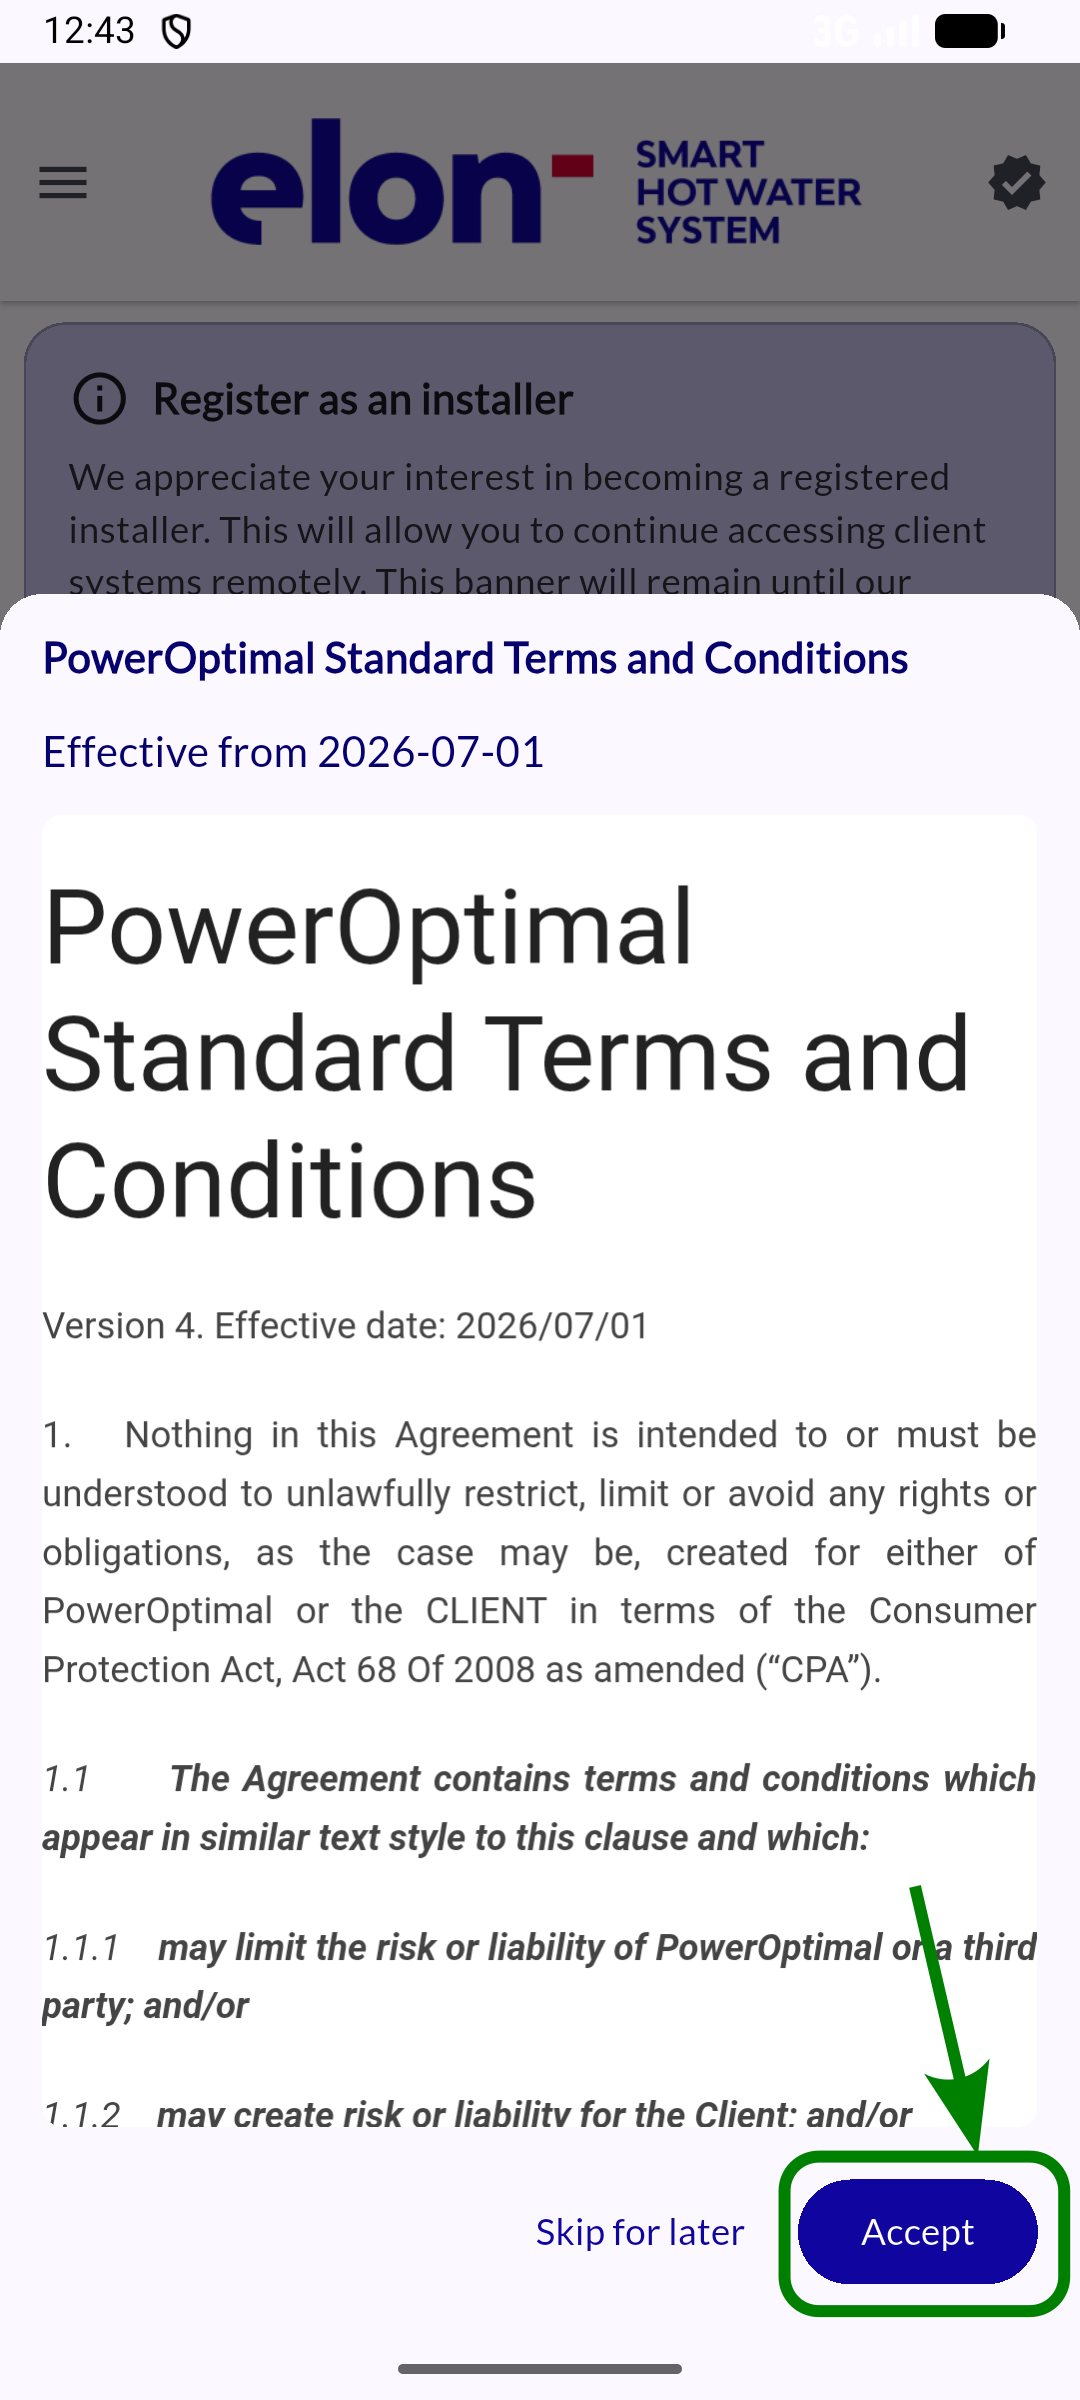
First action to perform on the app after registration
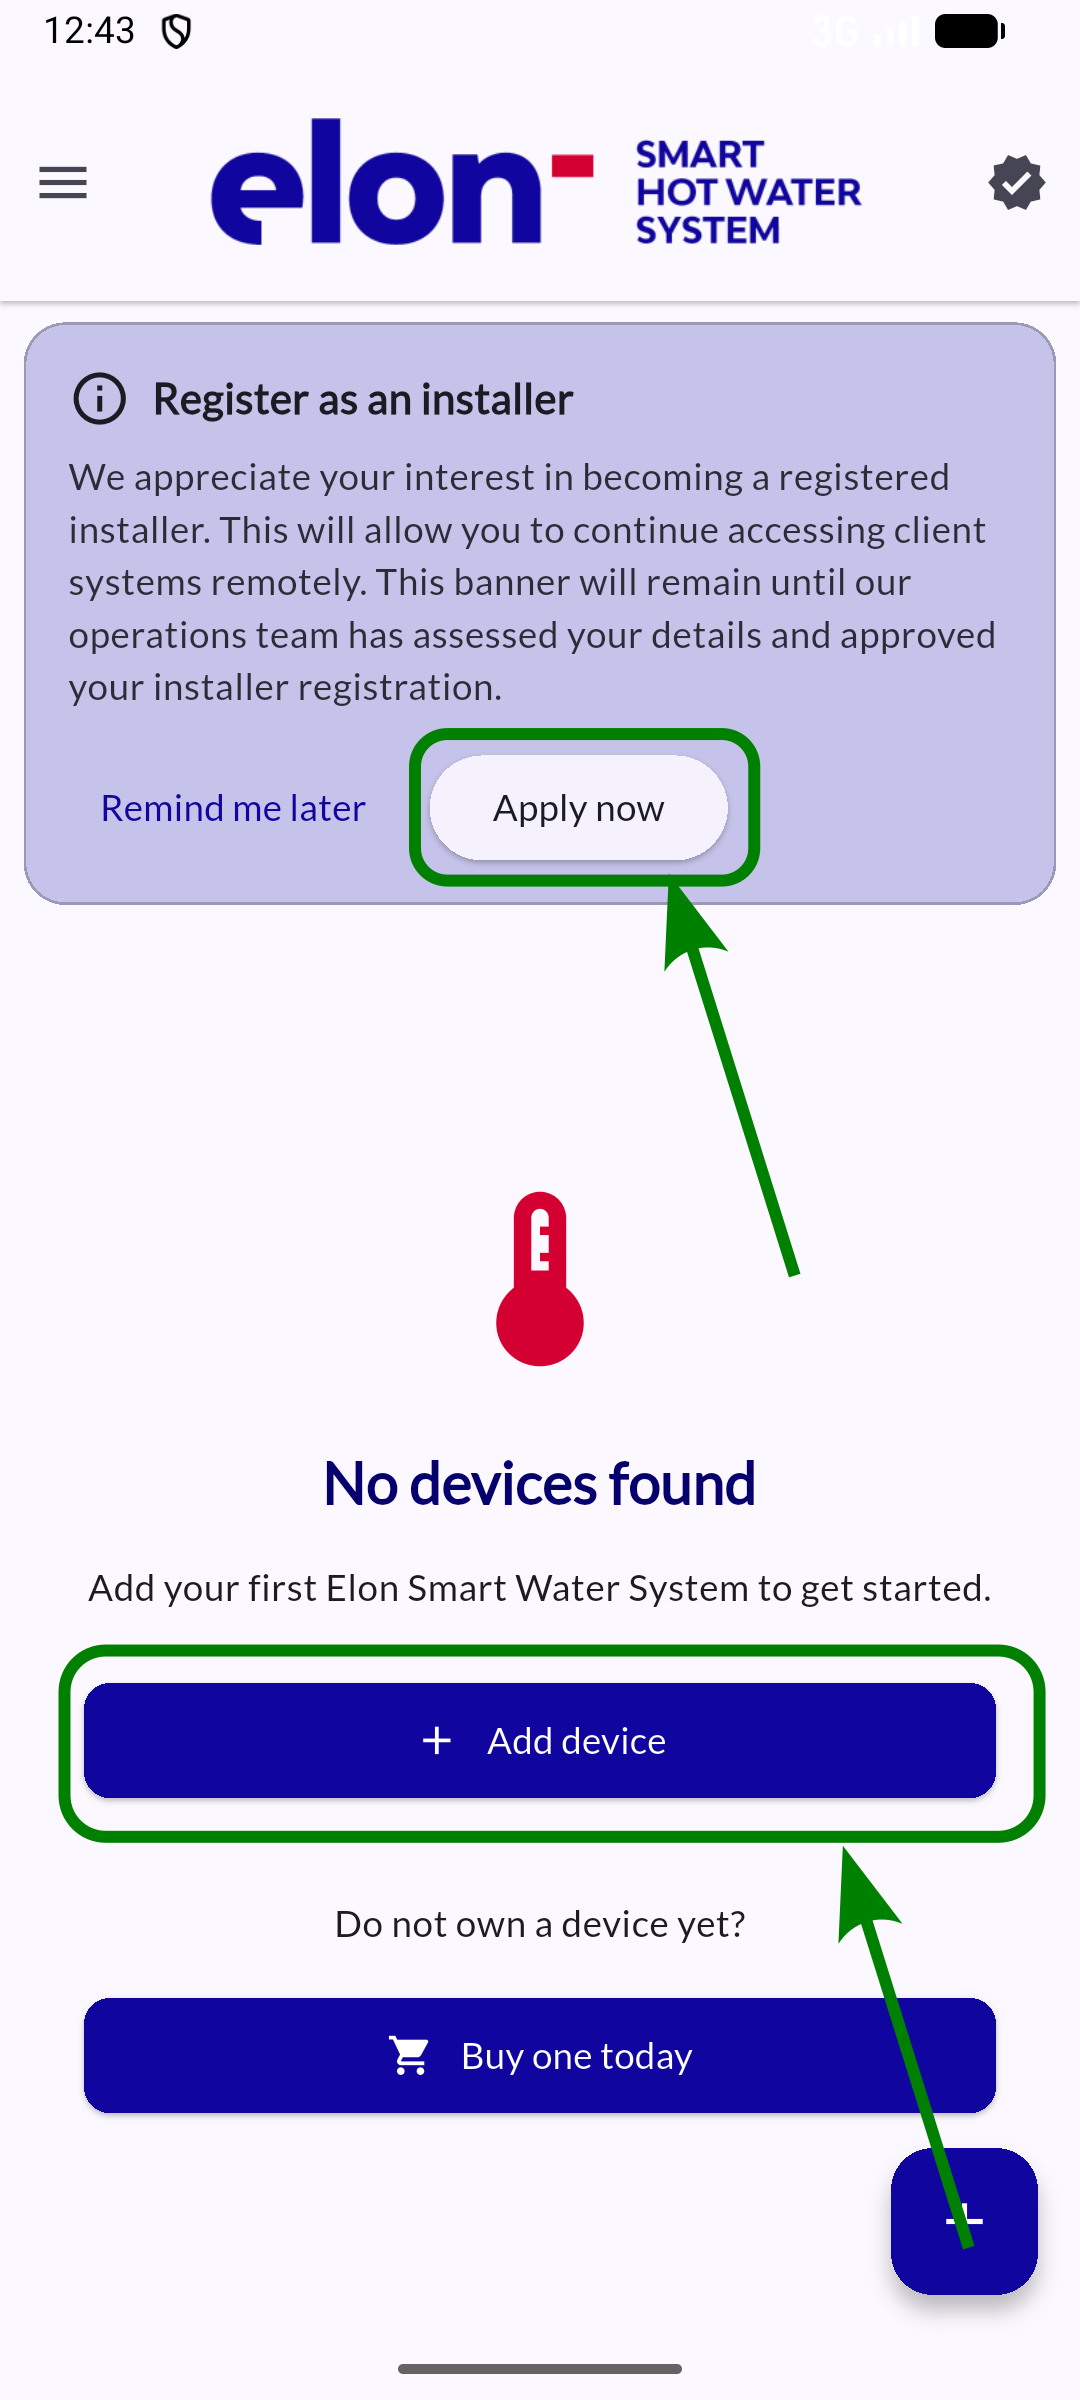
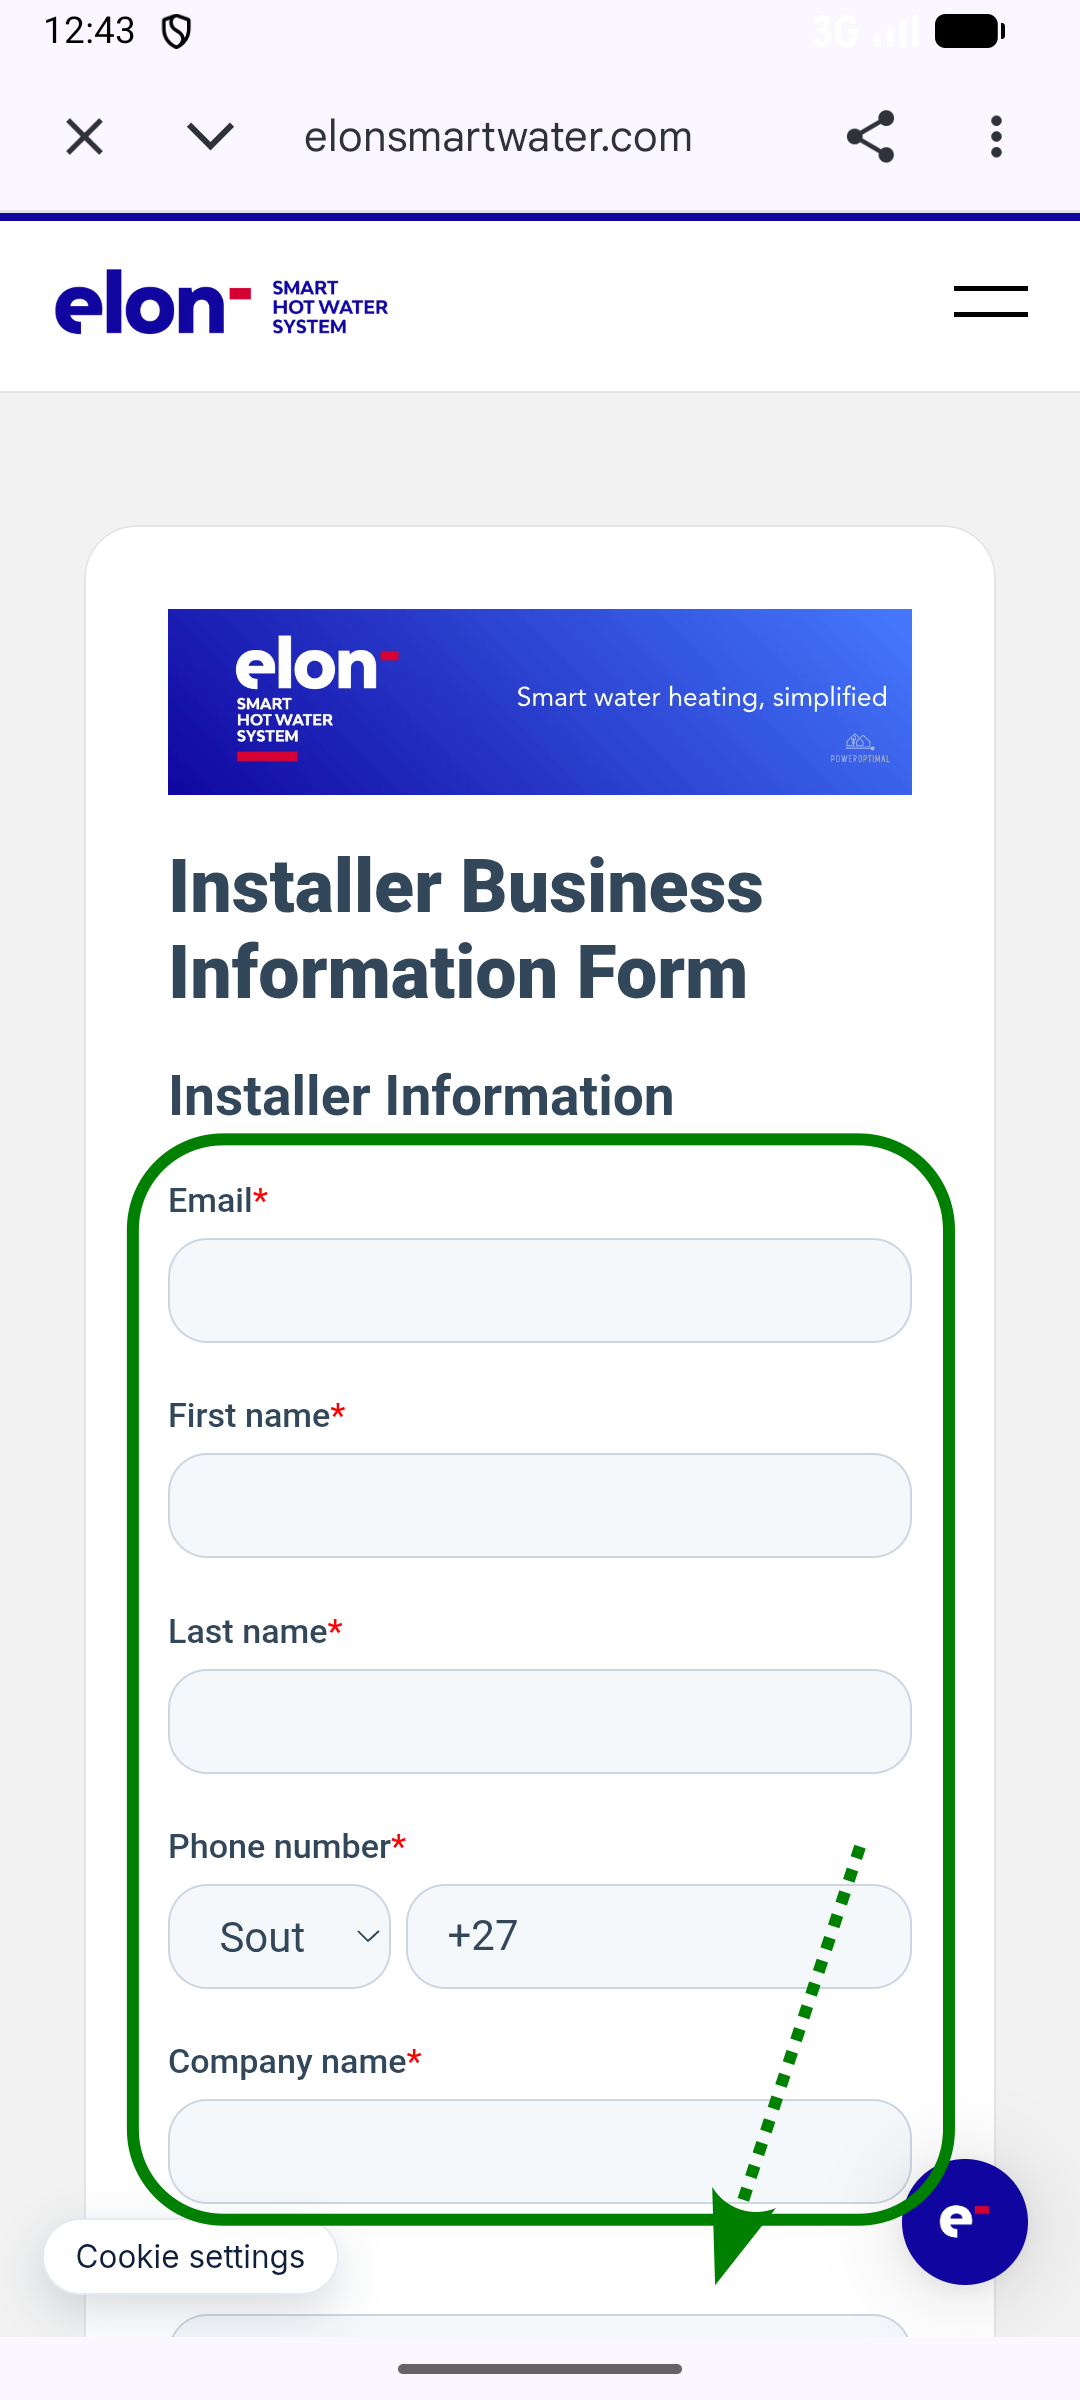
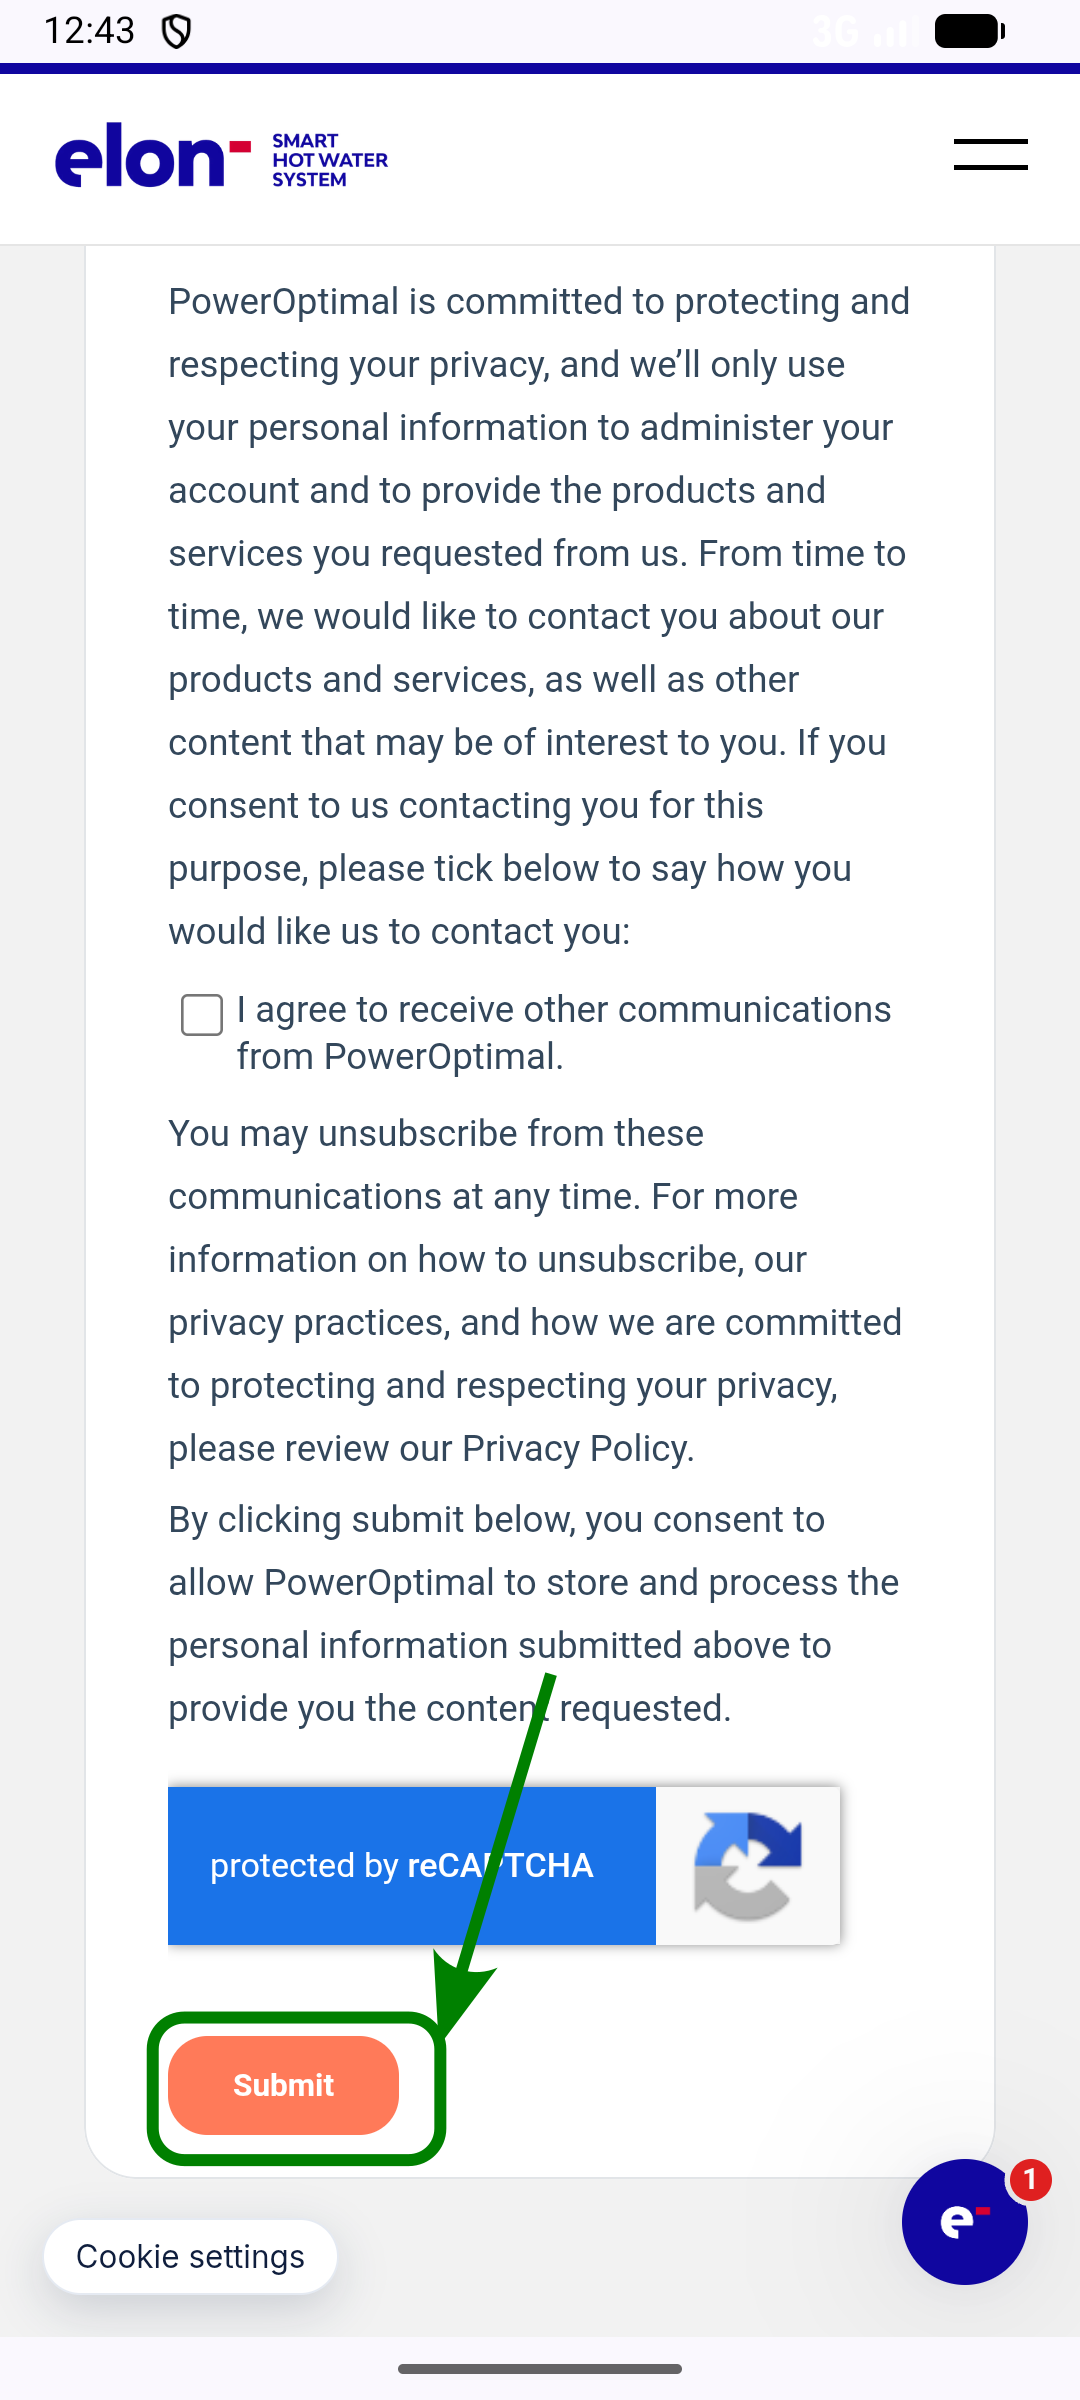
Add and set up a new device as installer
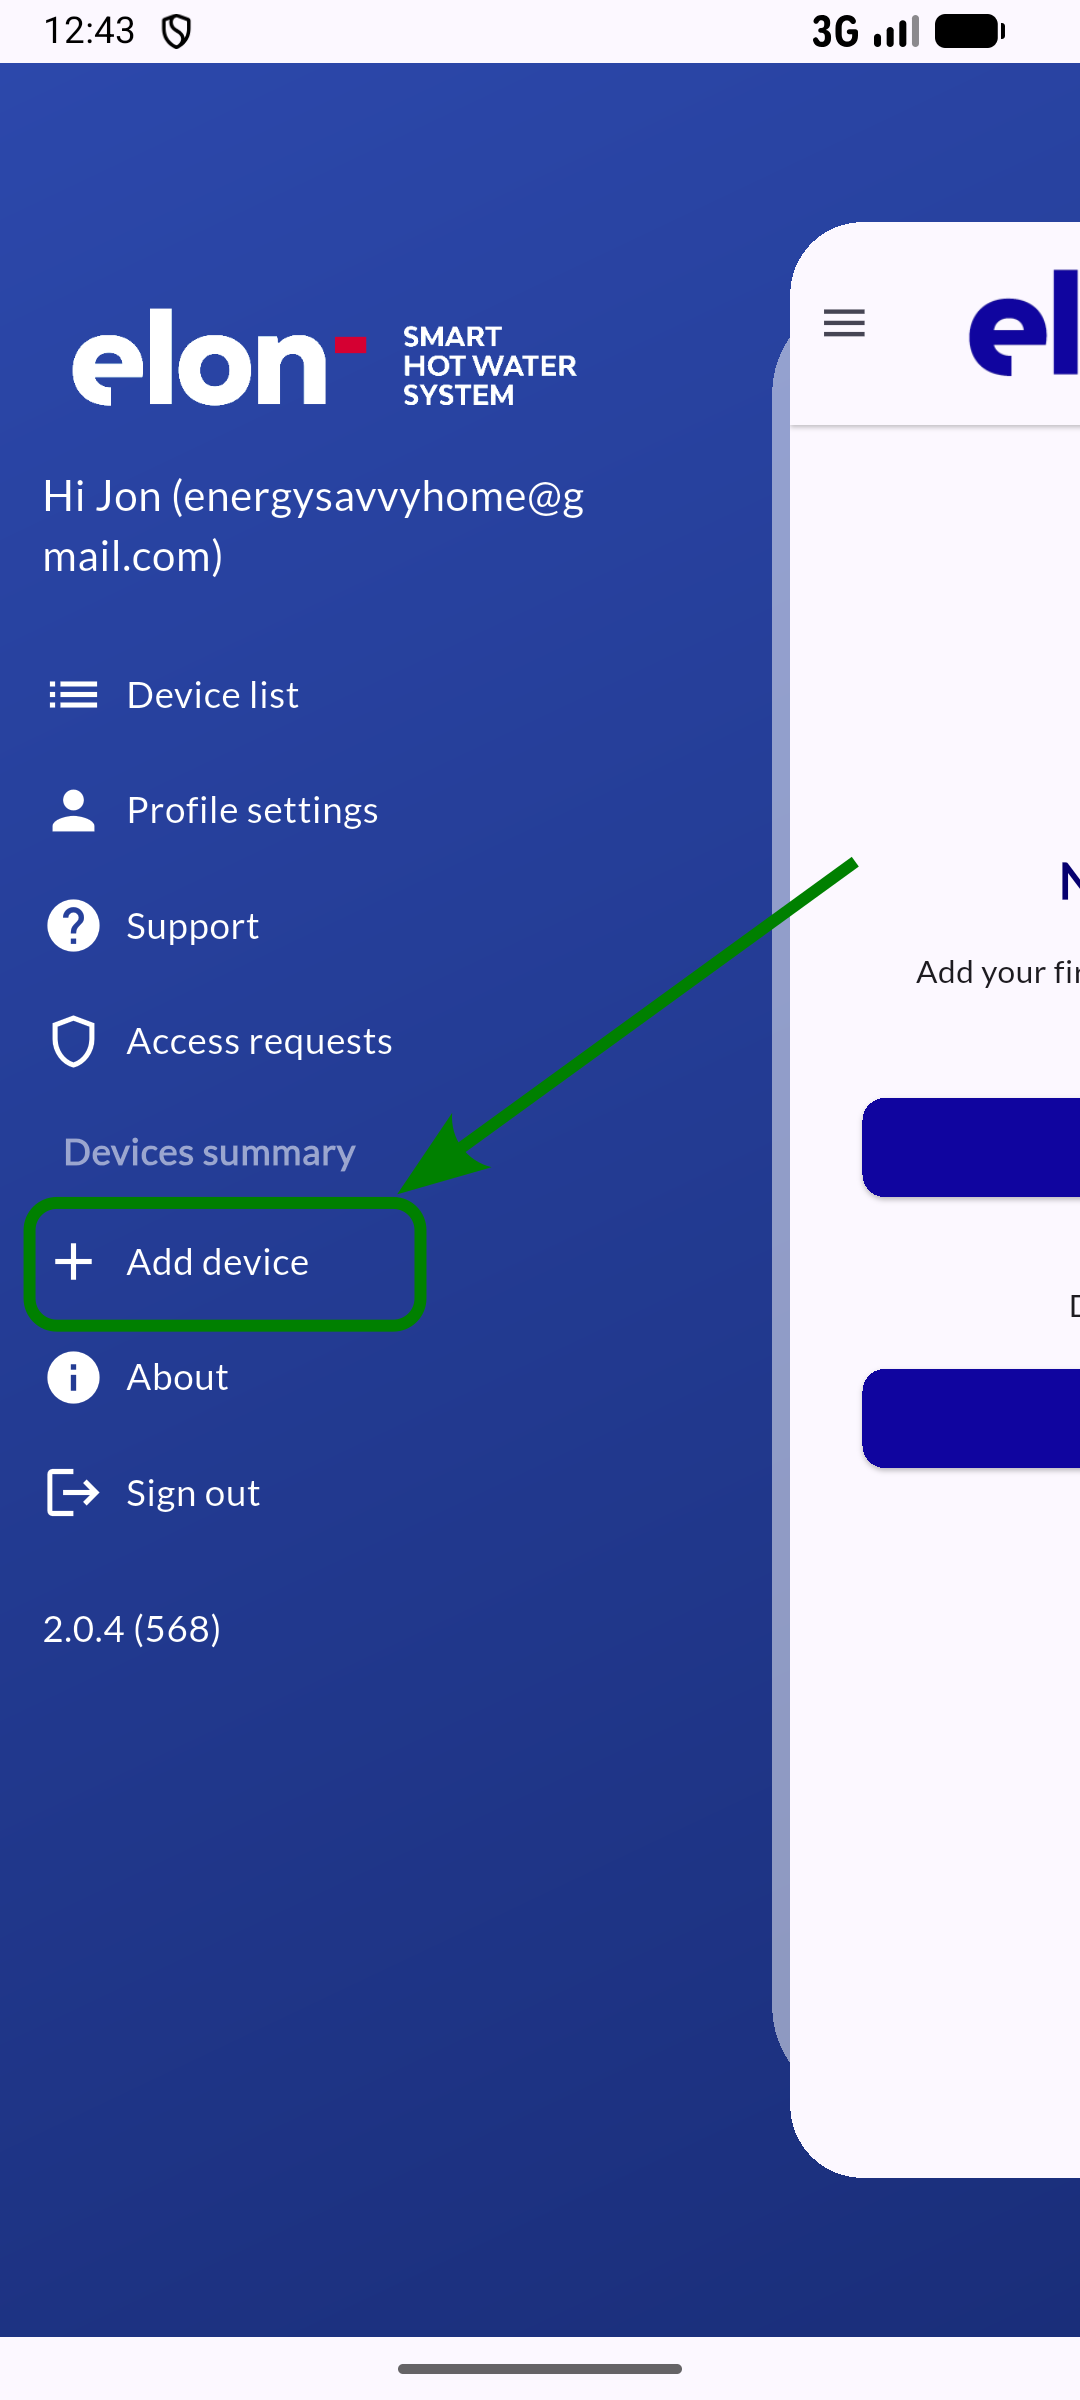
Once you have created an account and signed in, proceed to set up your client's device.
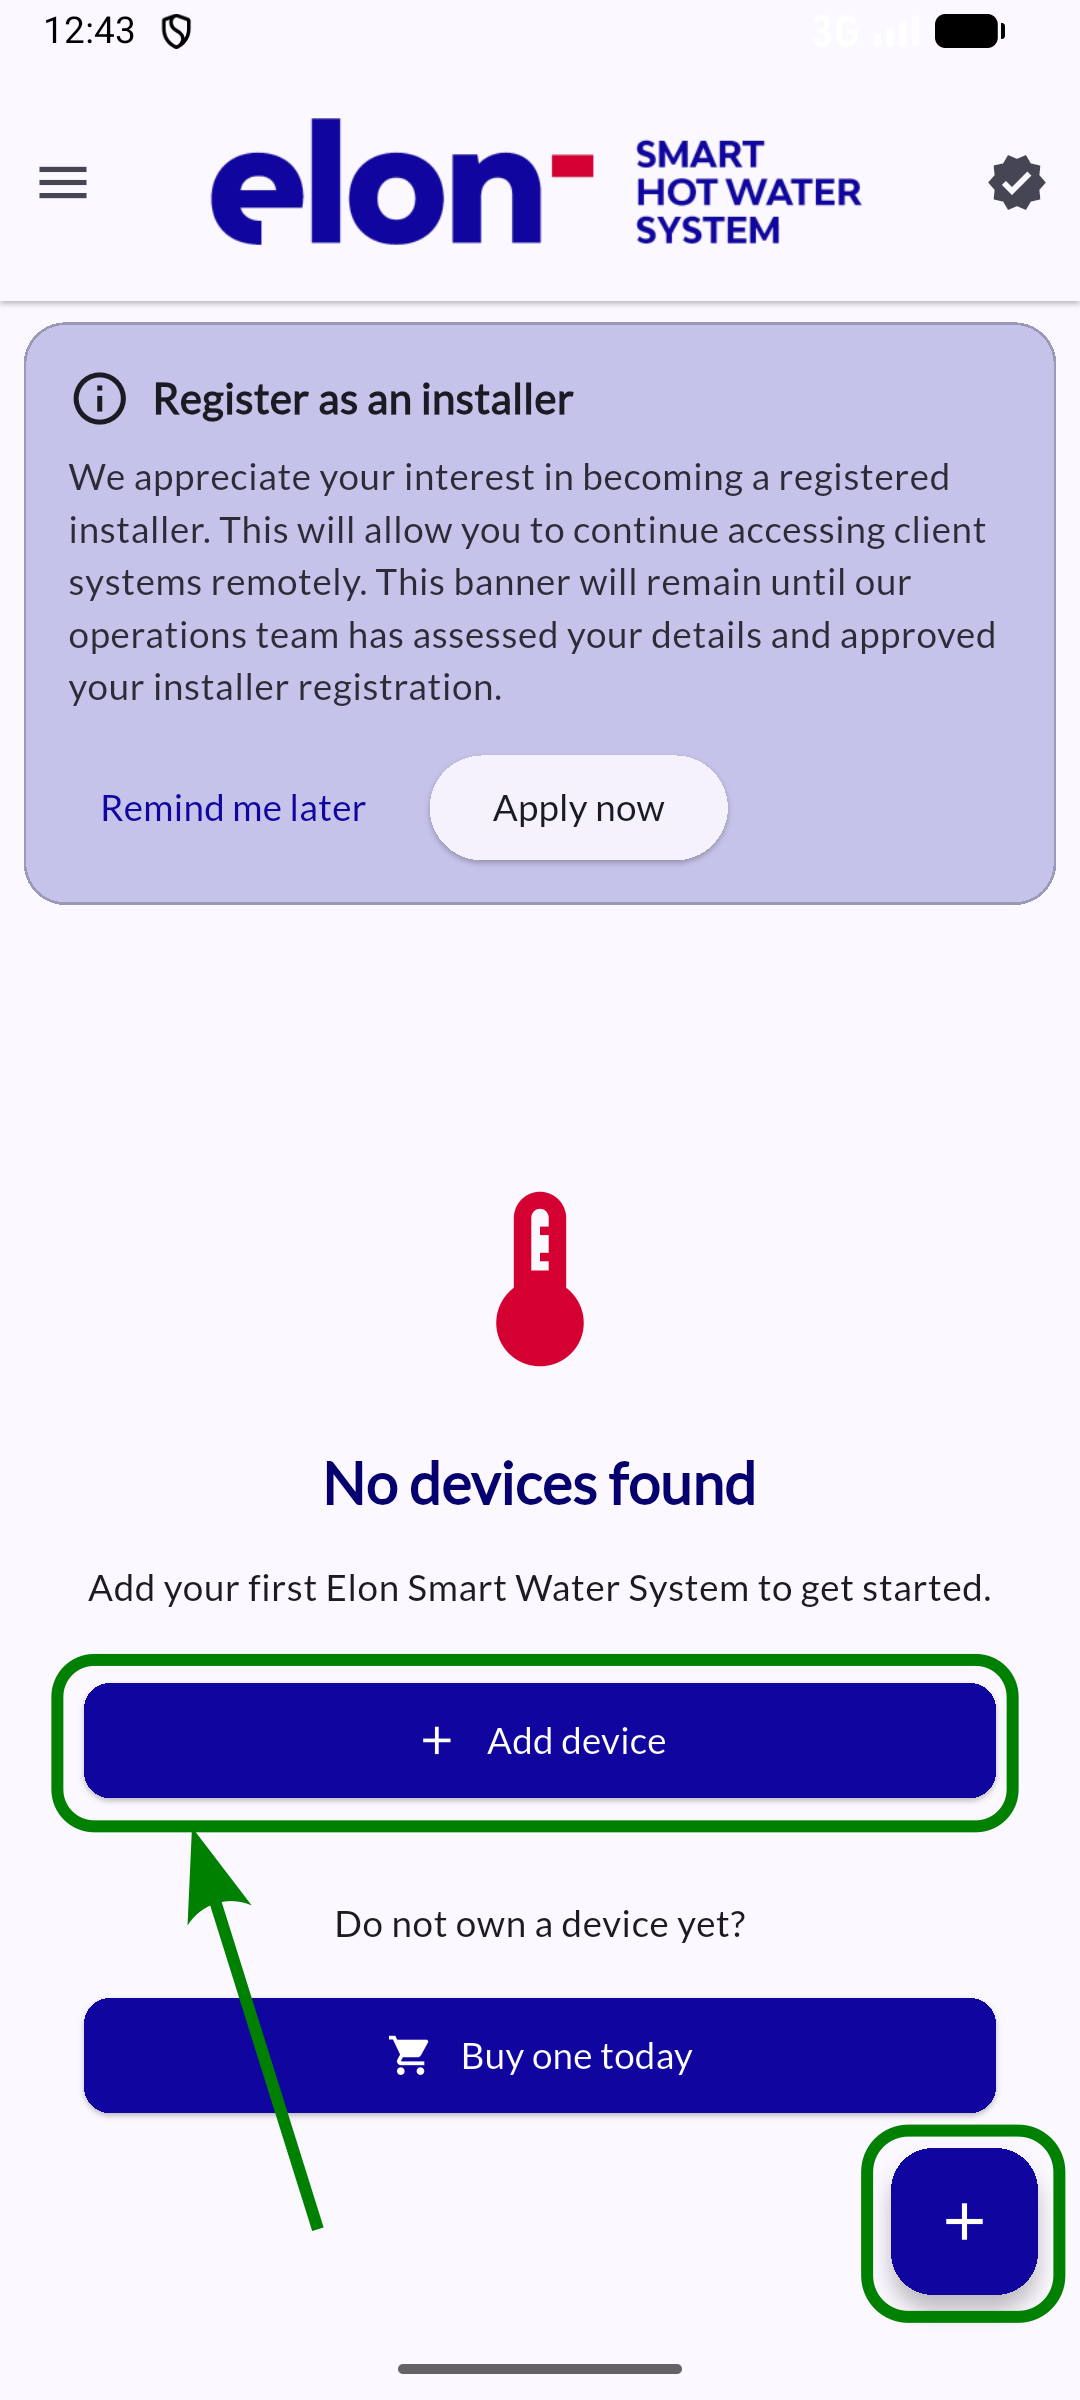
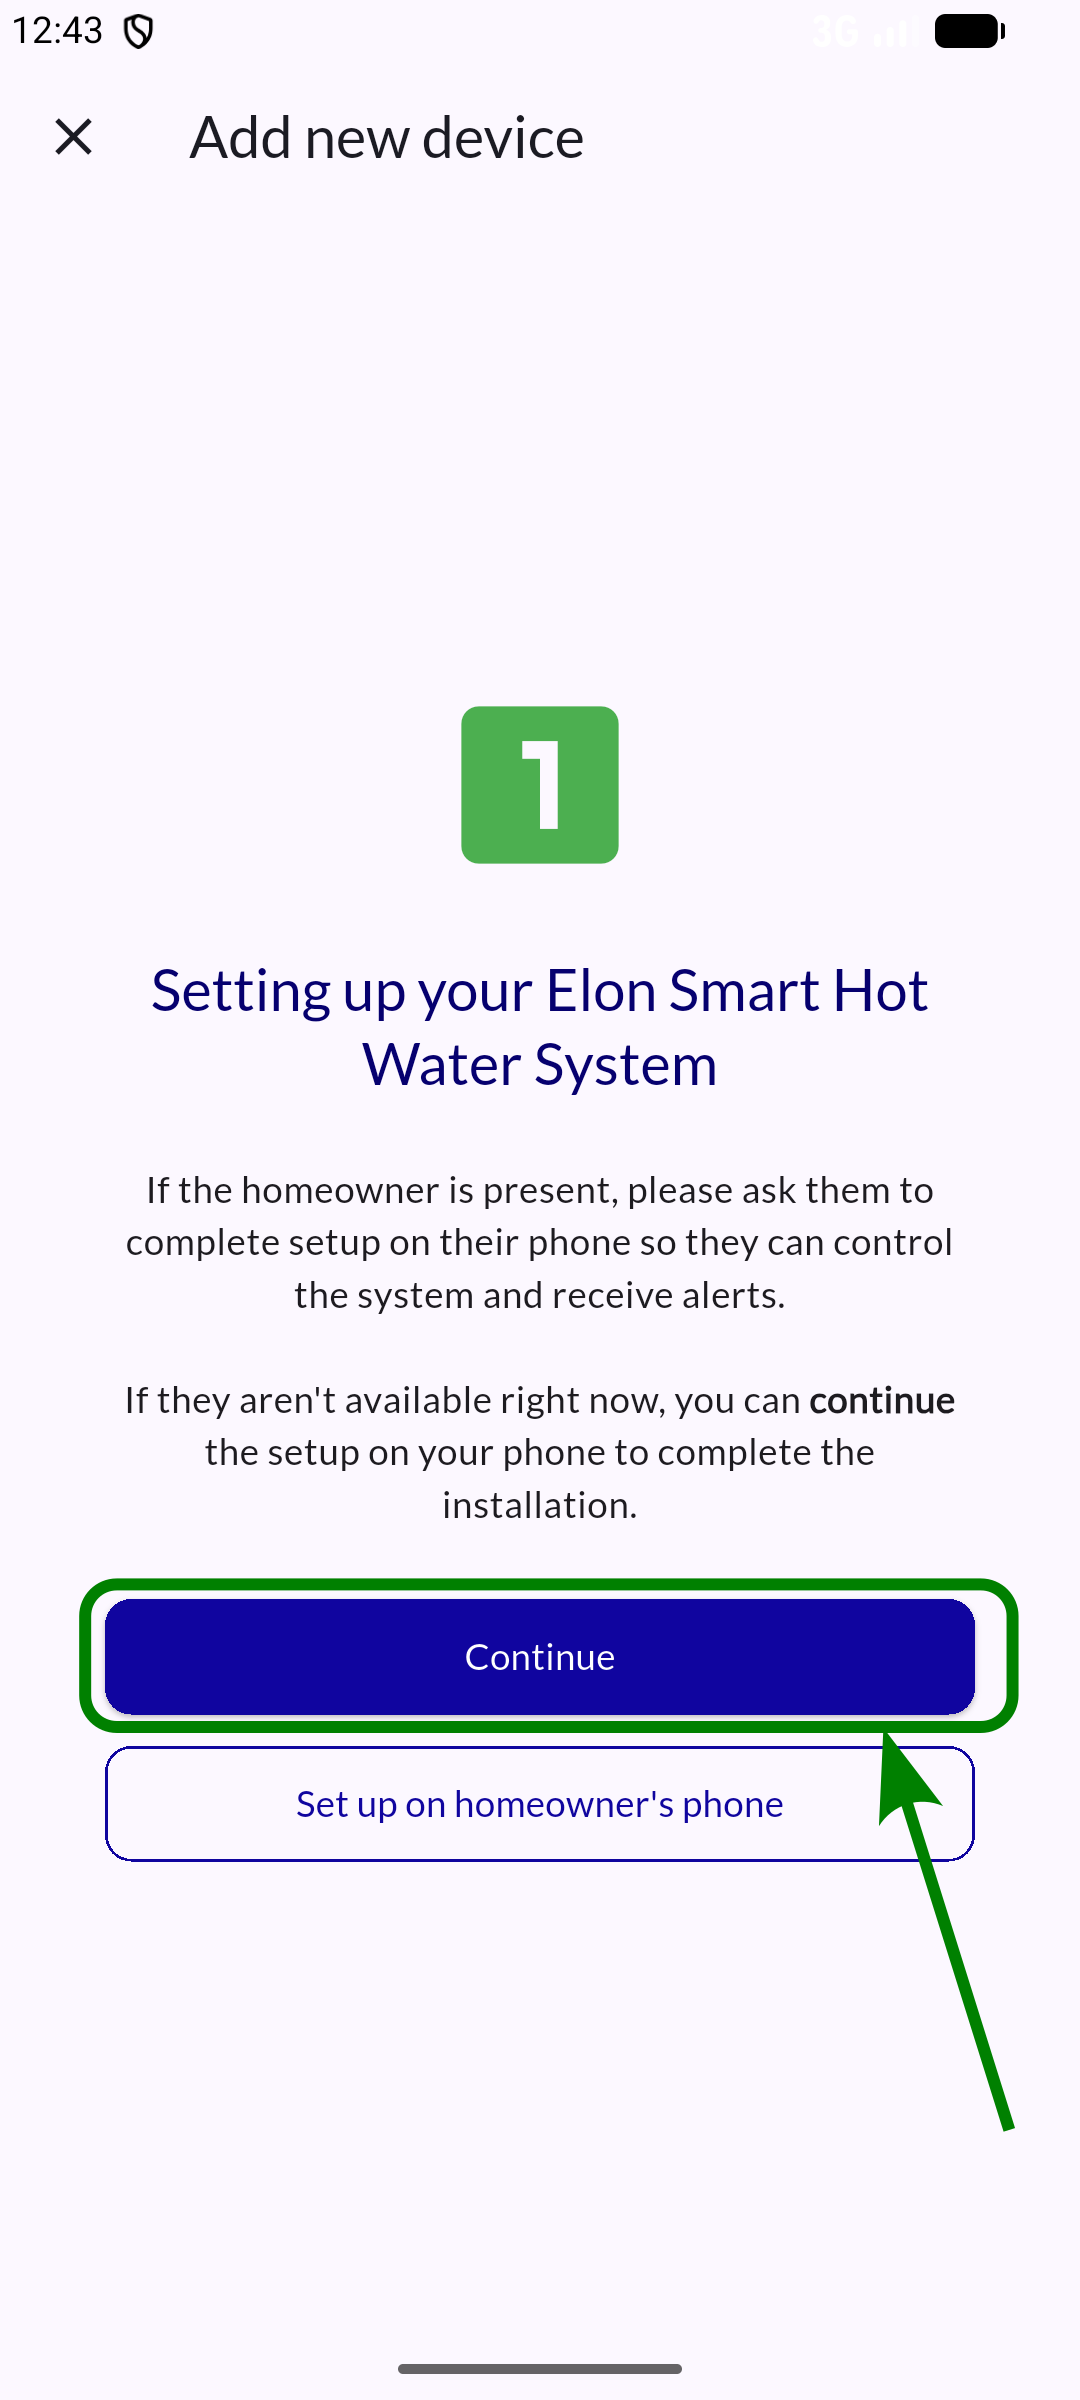
Step 1: Check if the homeowner is present
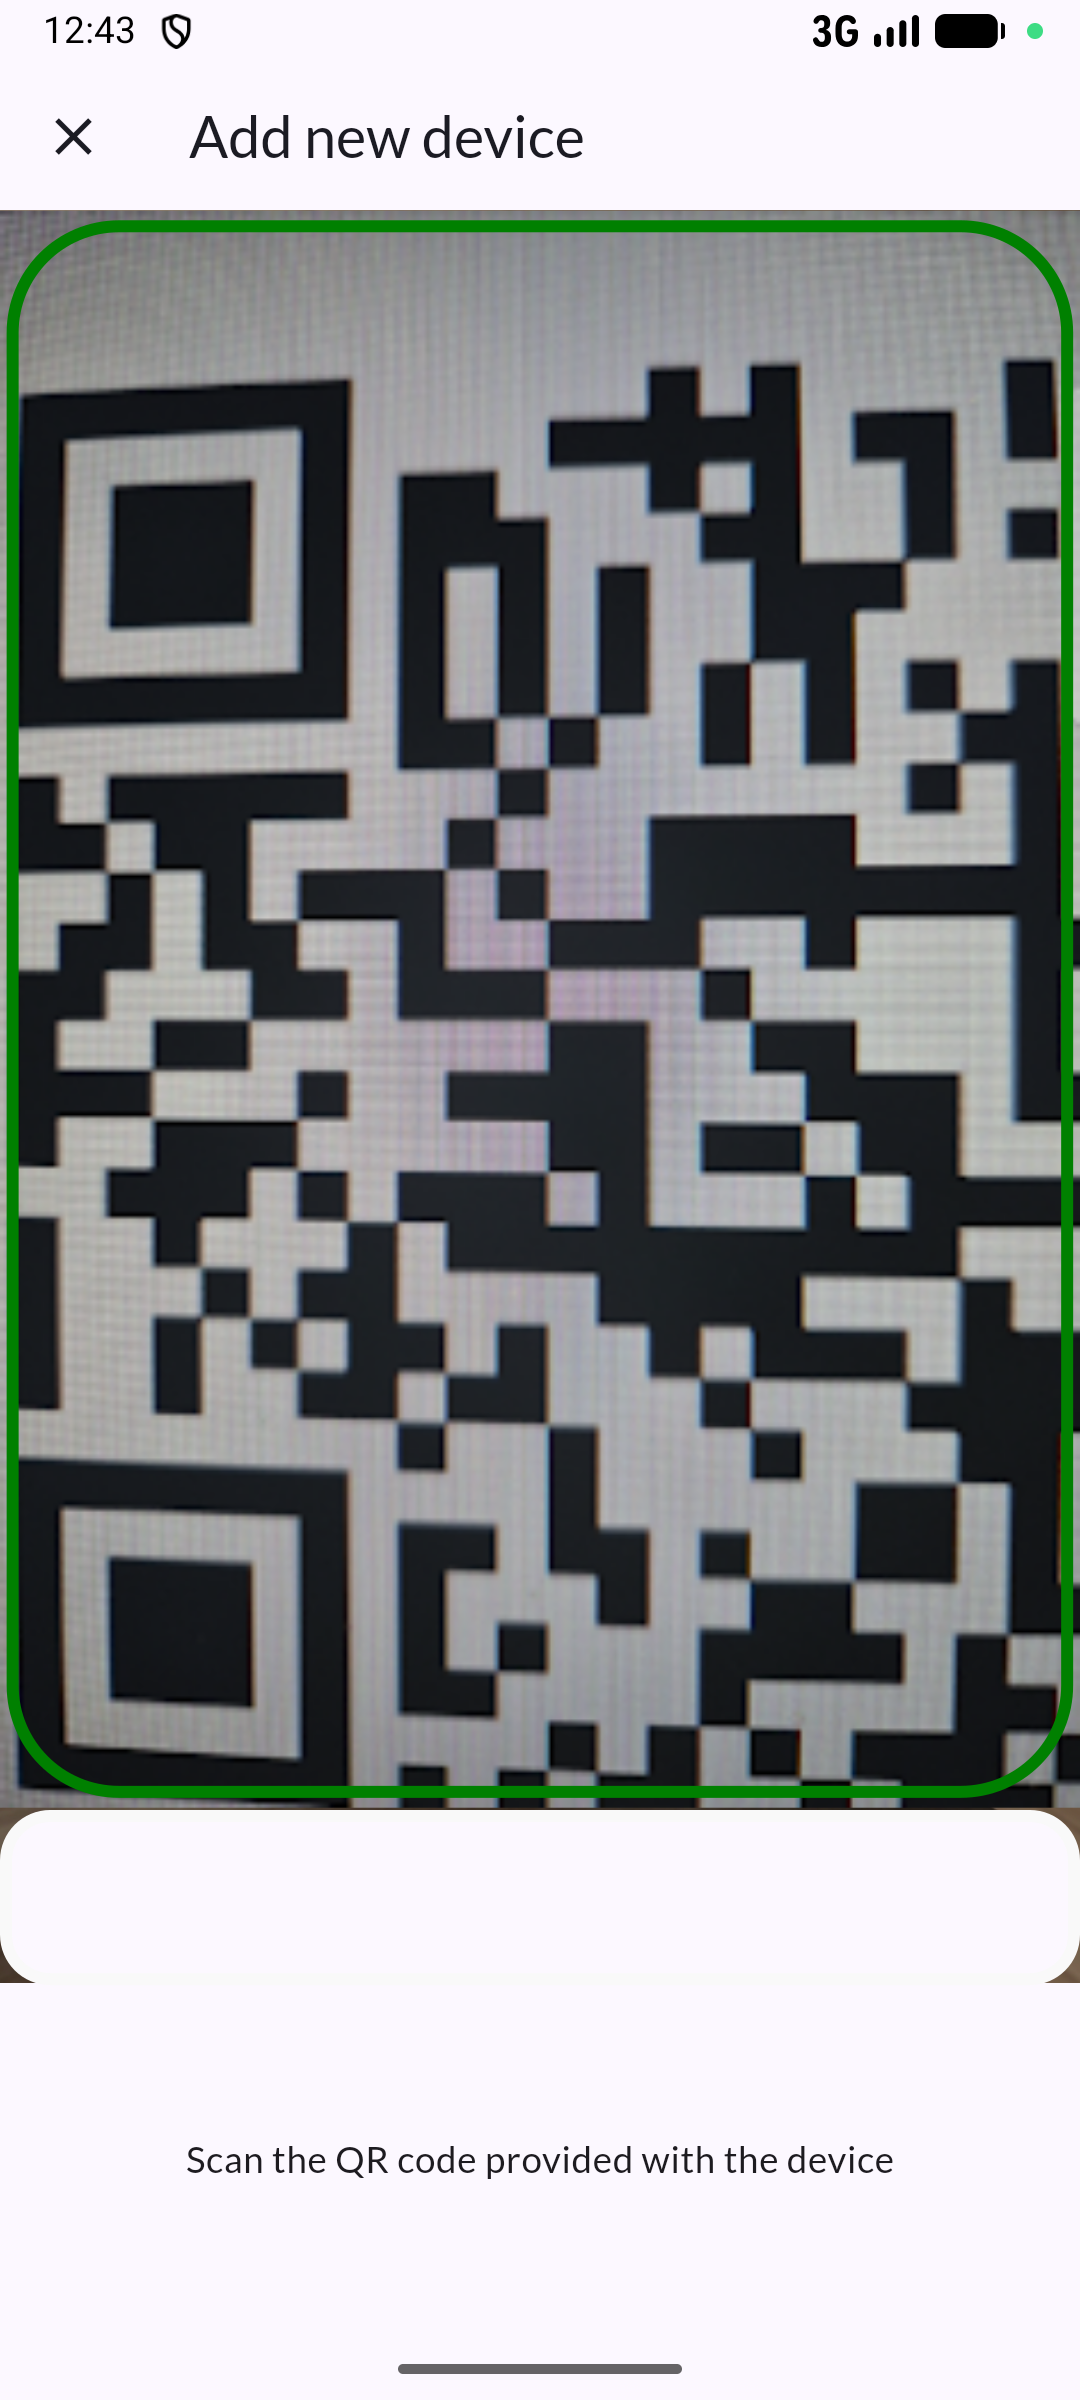
Step 2: Scan the device QR code
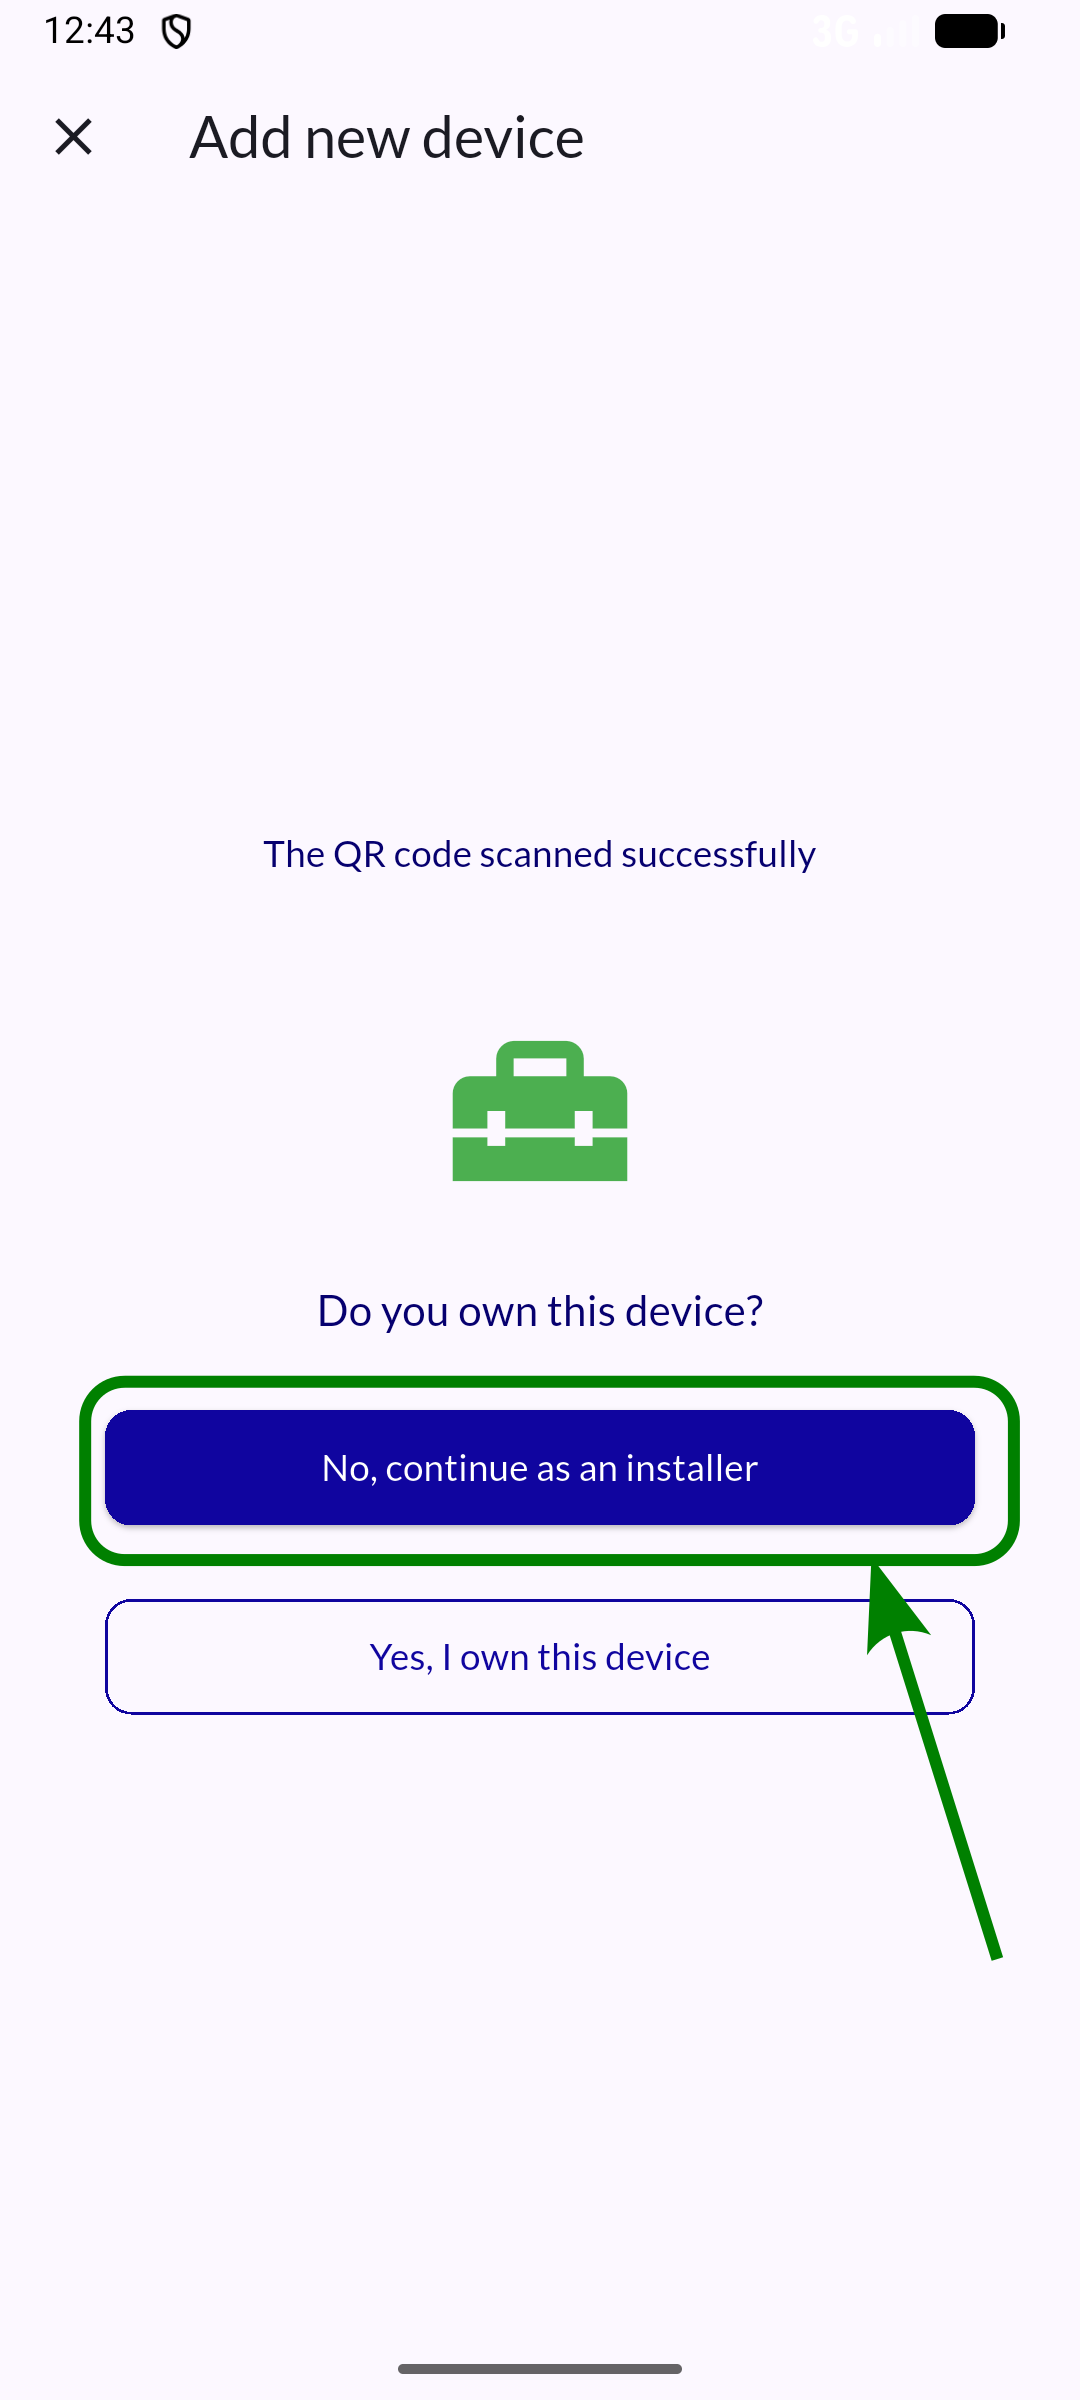
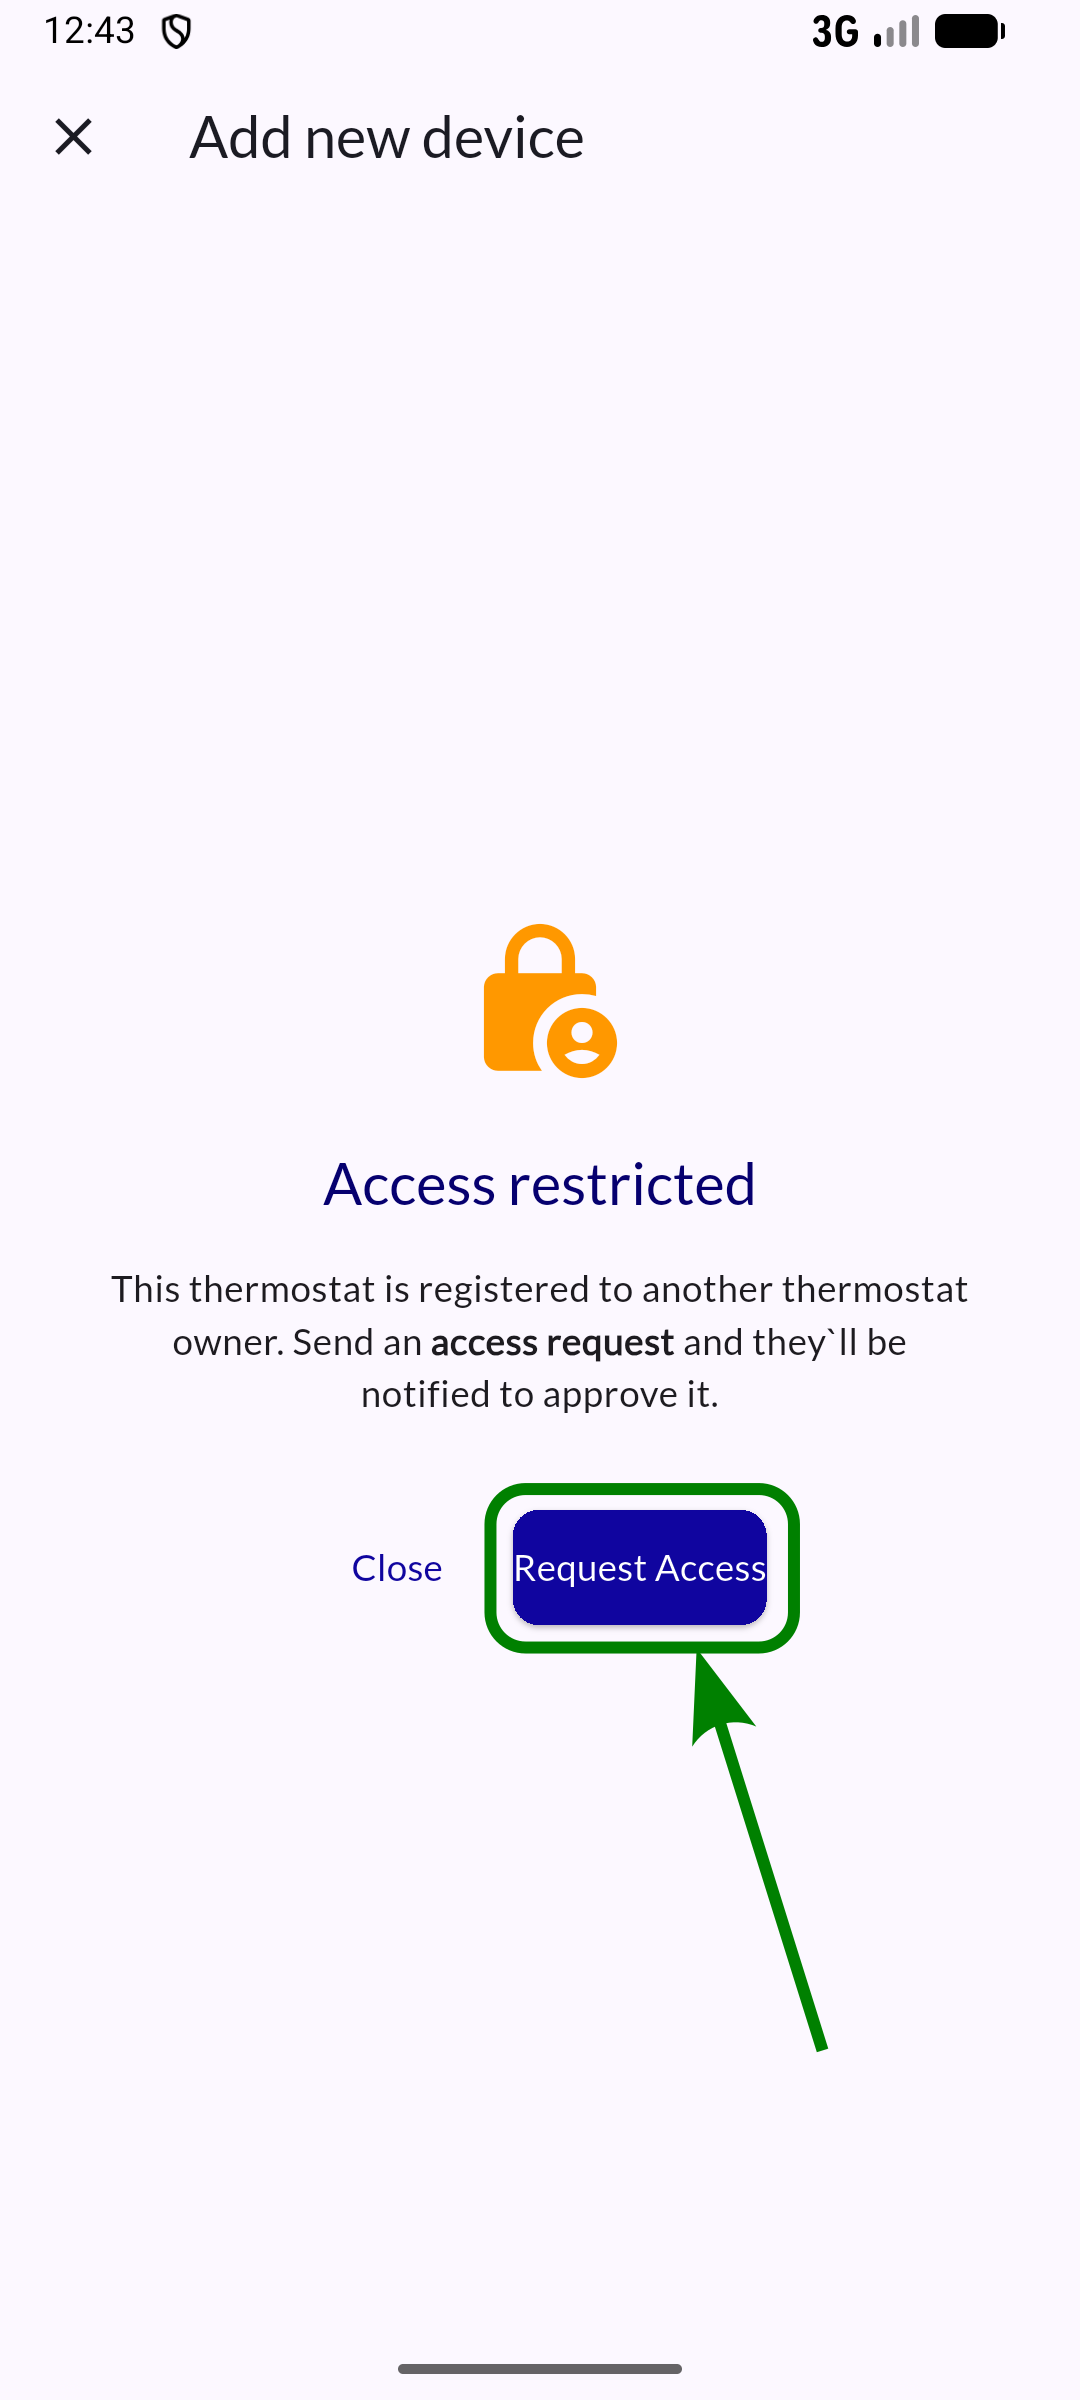
Step 3: Choose ownership level
Step 4: Confirm ownership on the system
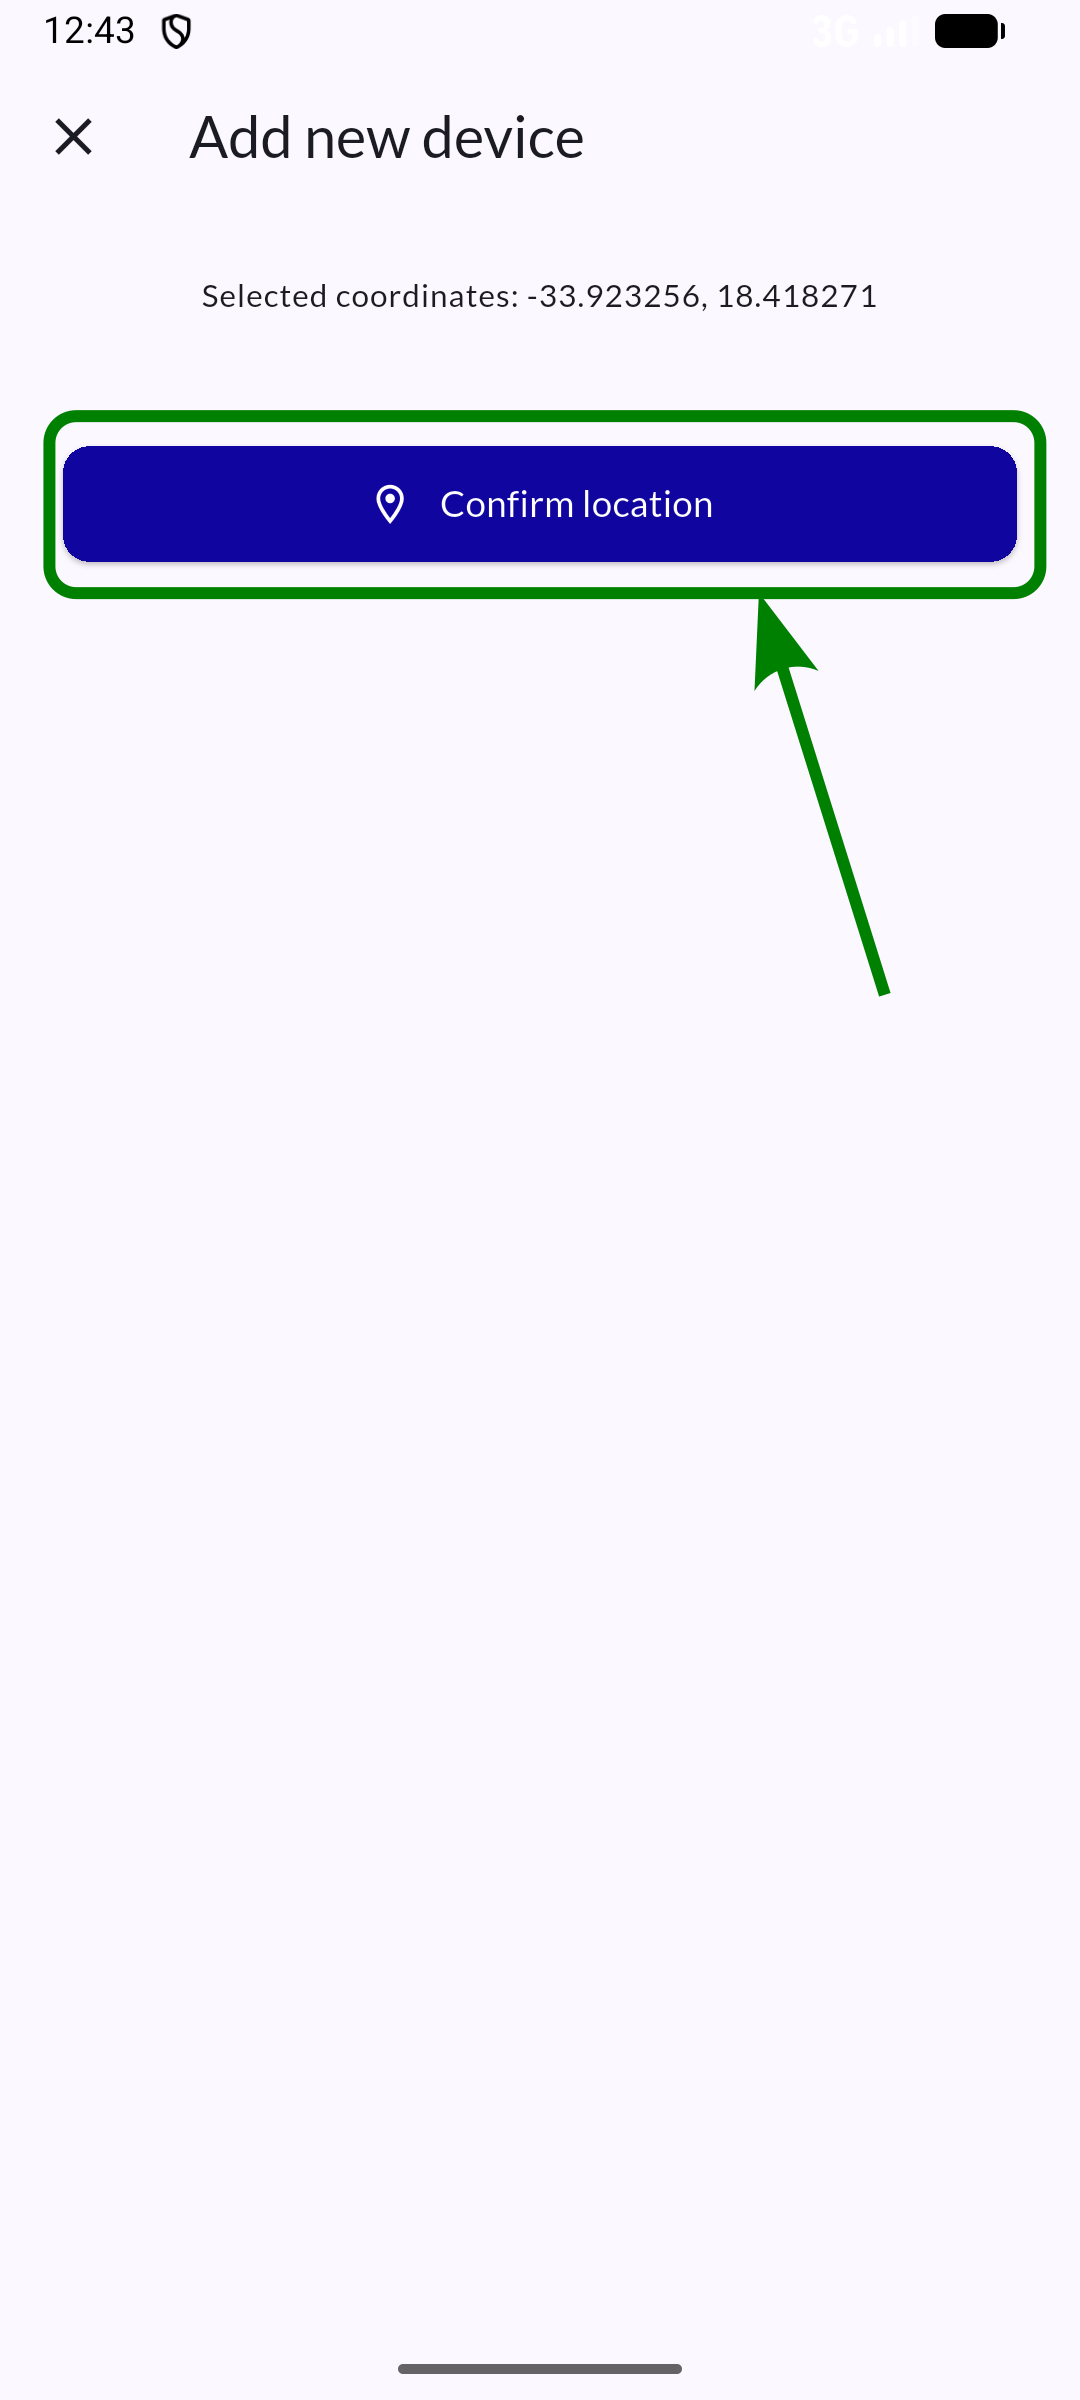
Step 5: Confirm location
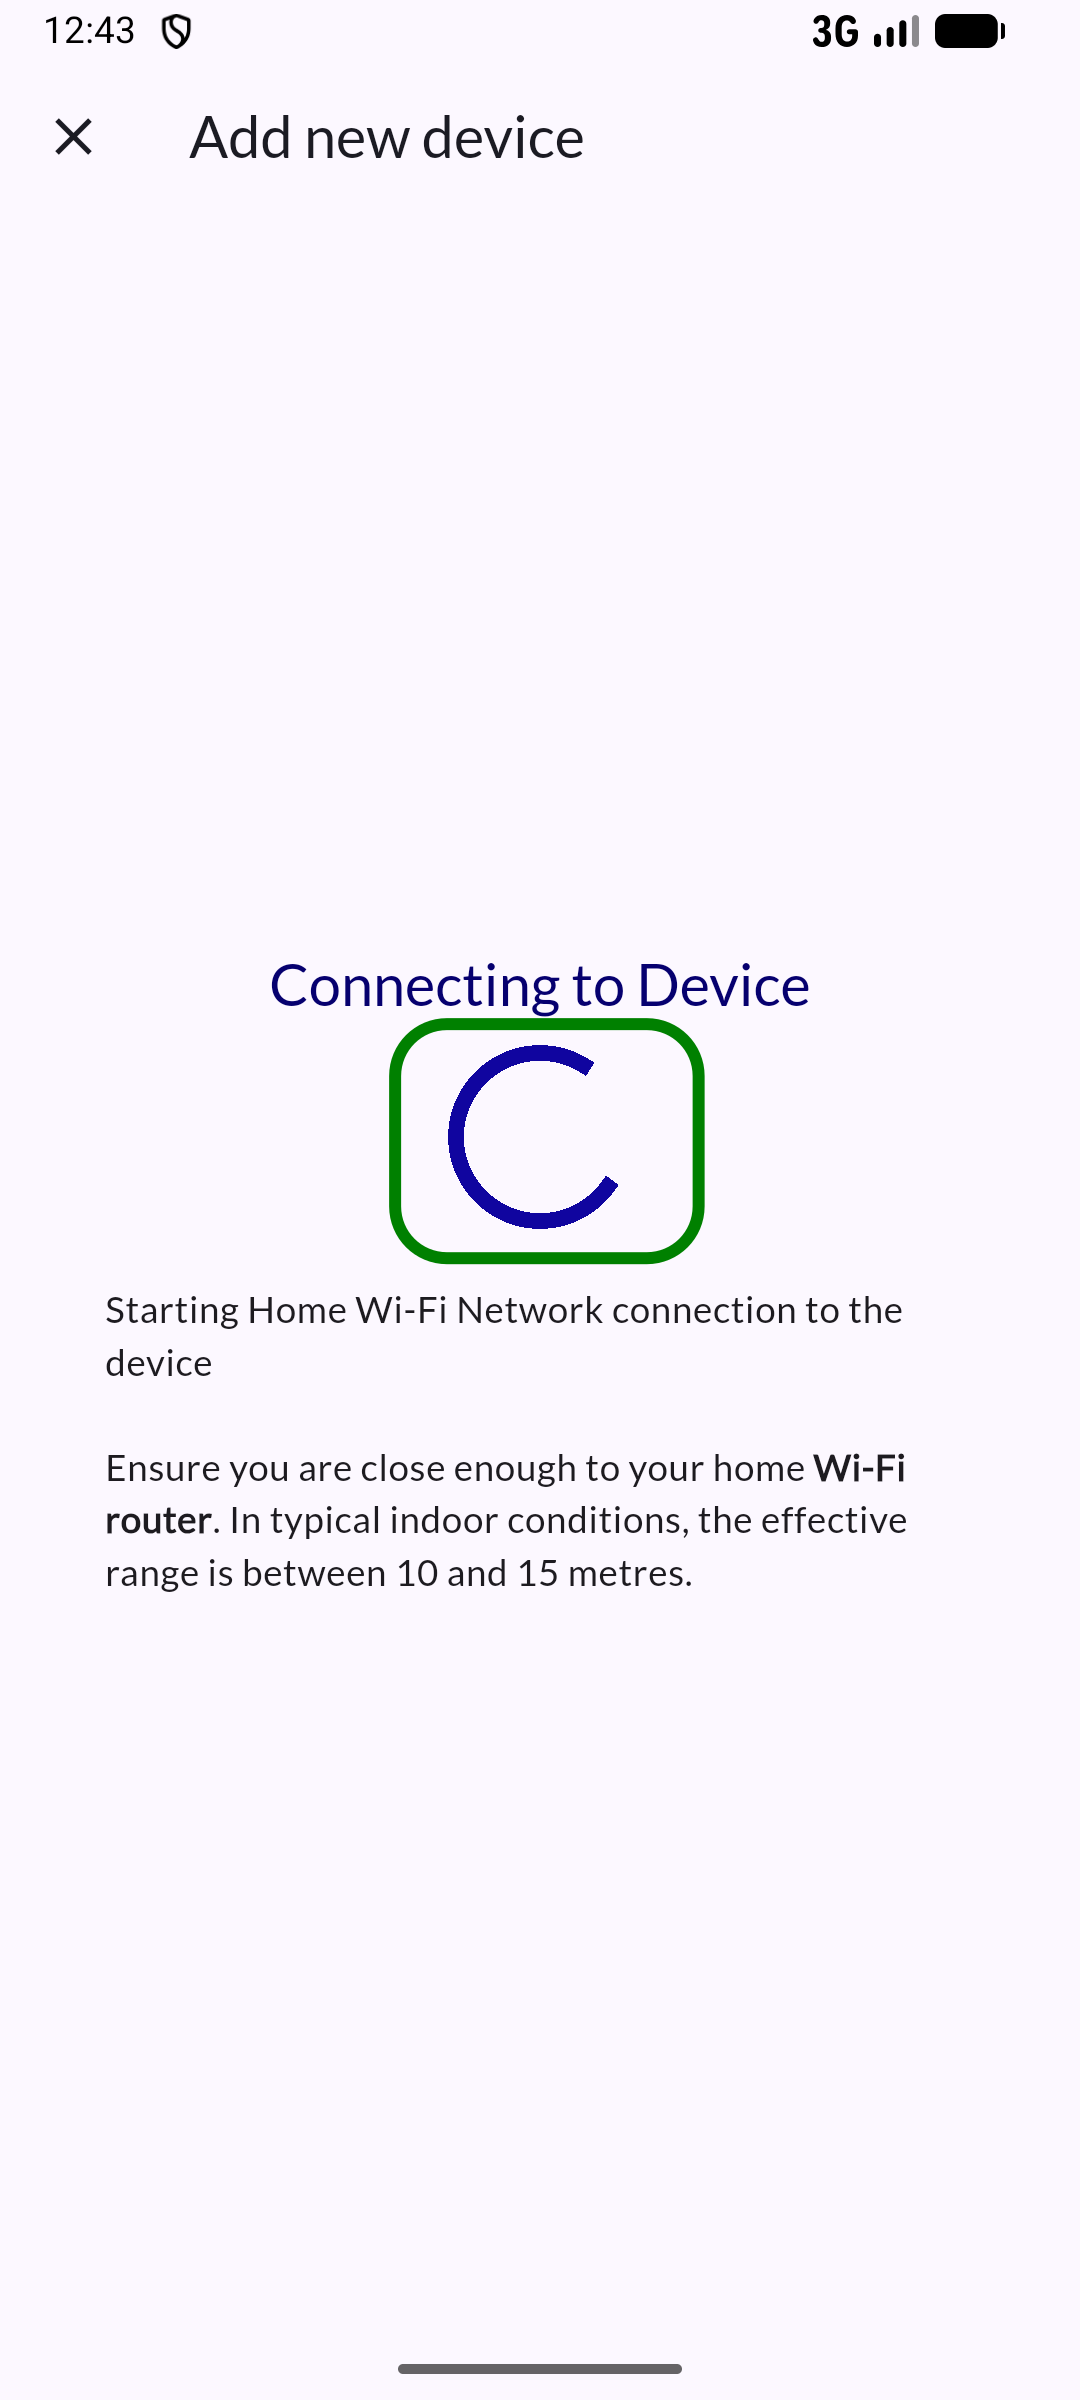
Step 6: Connect to device
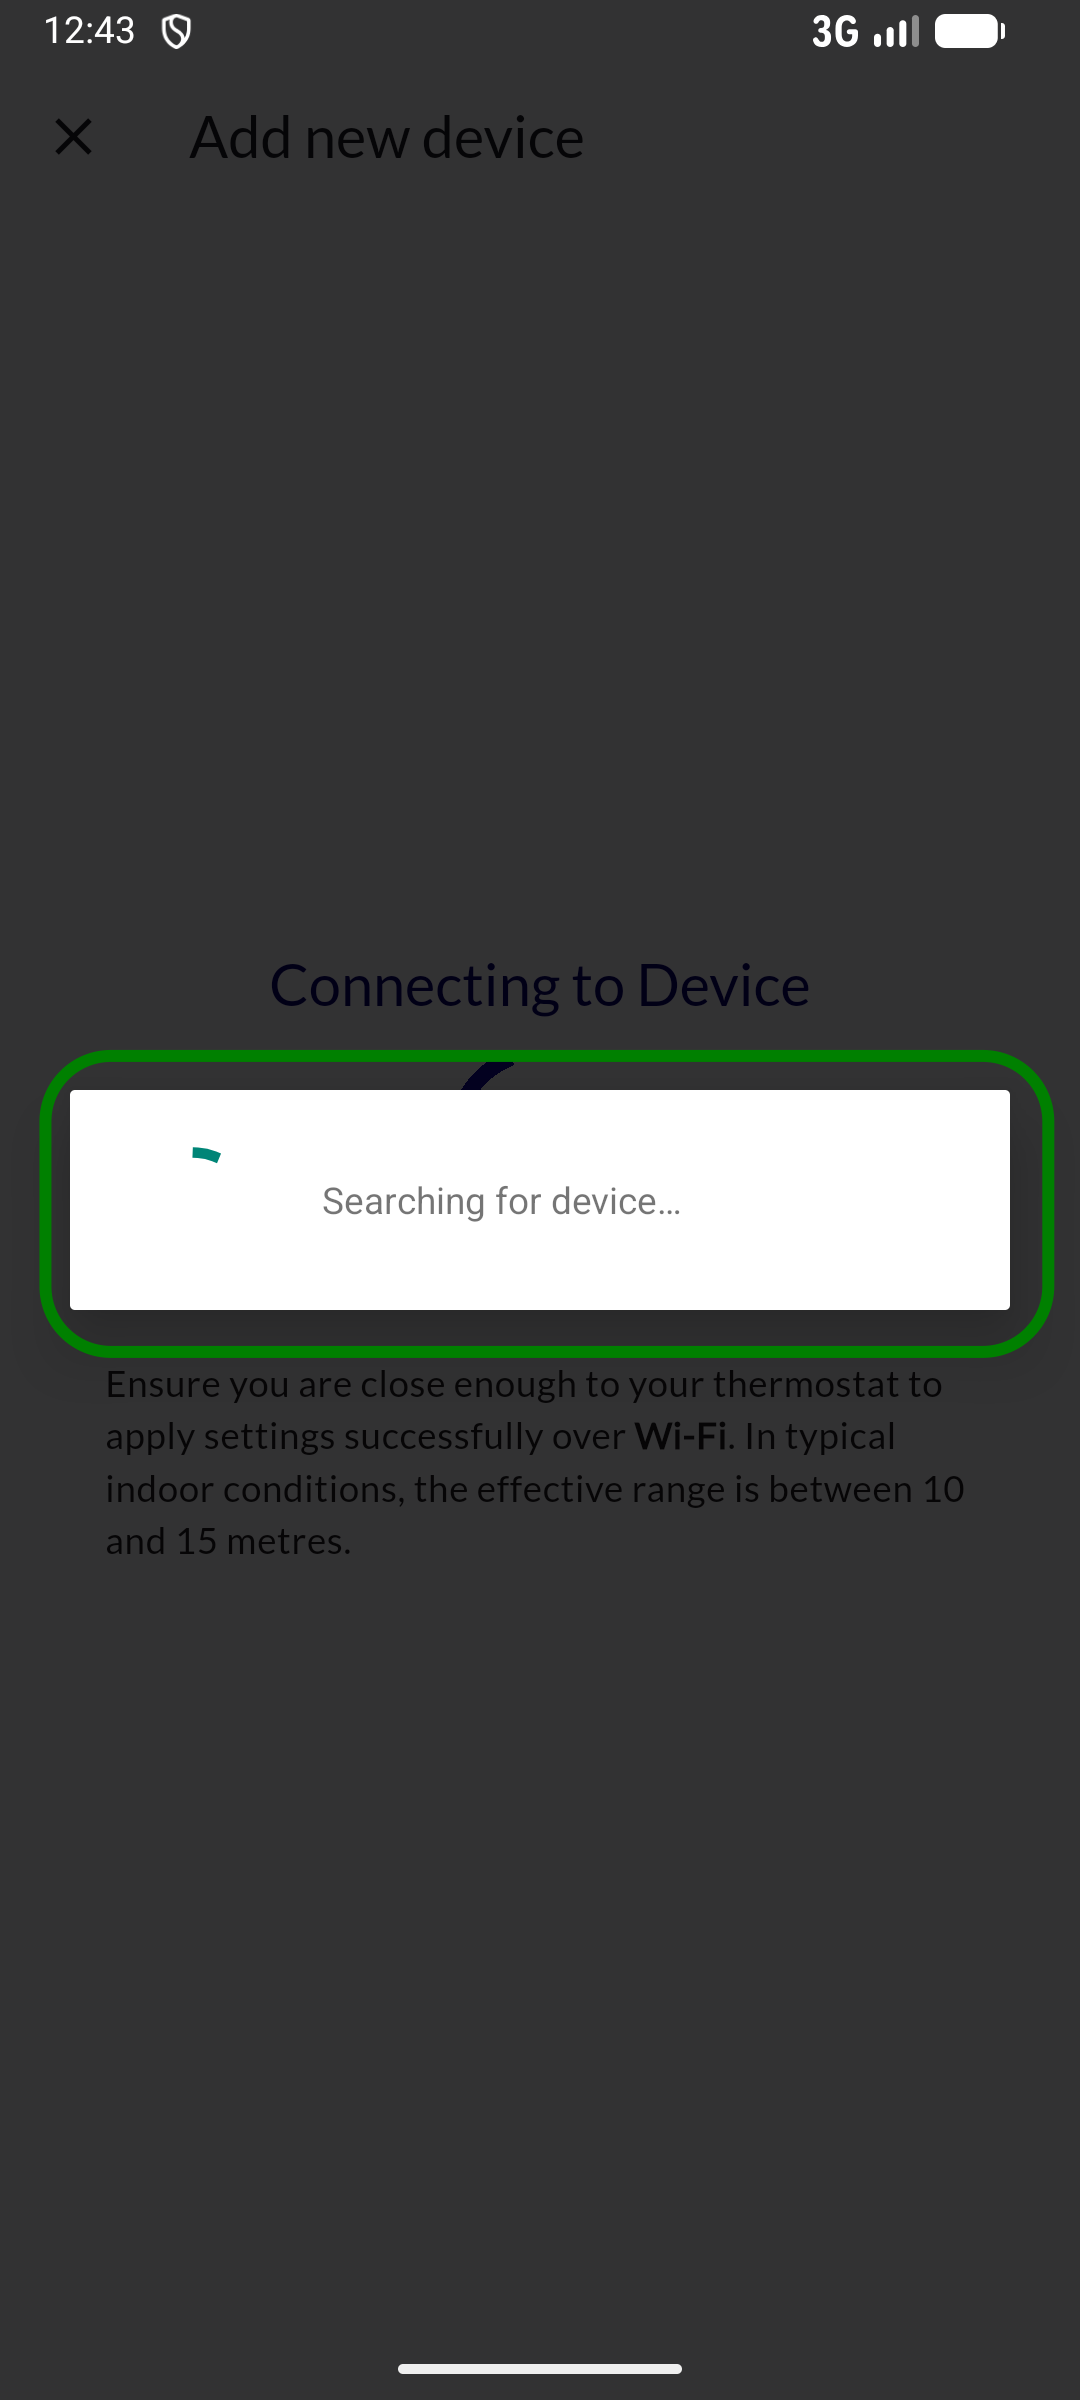
Fault finding
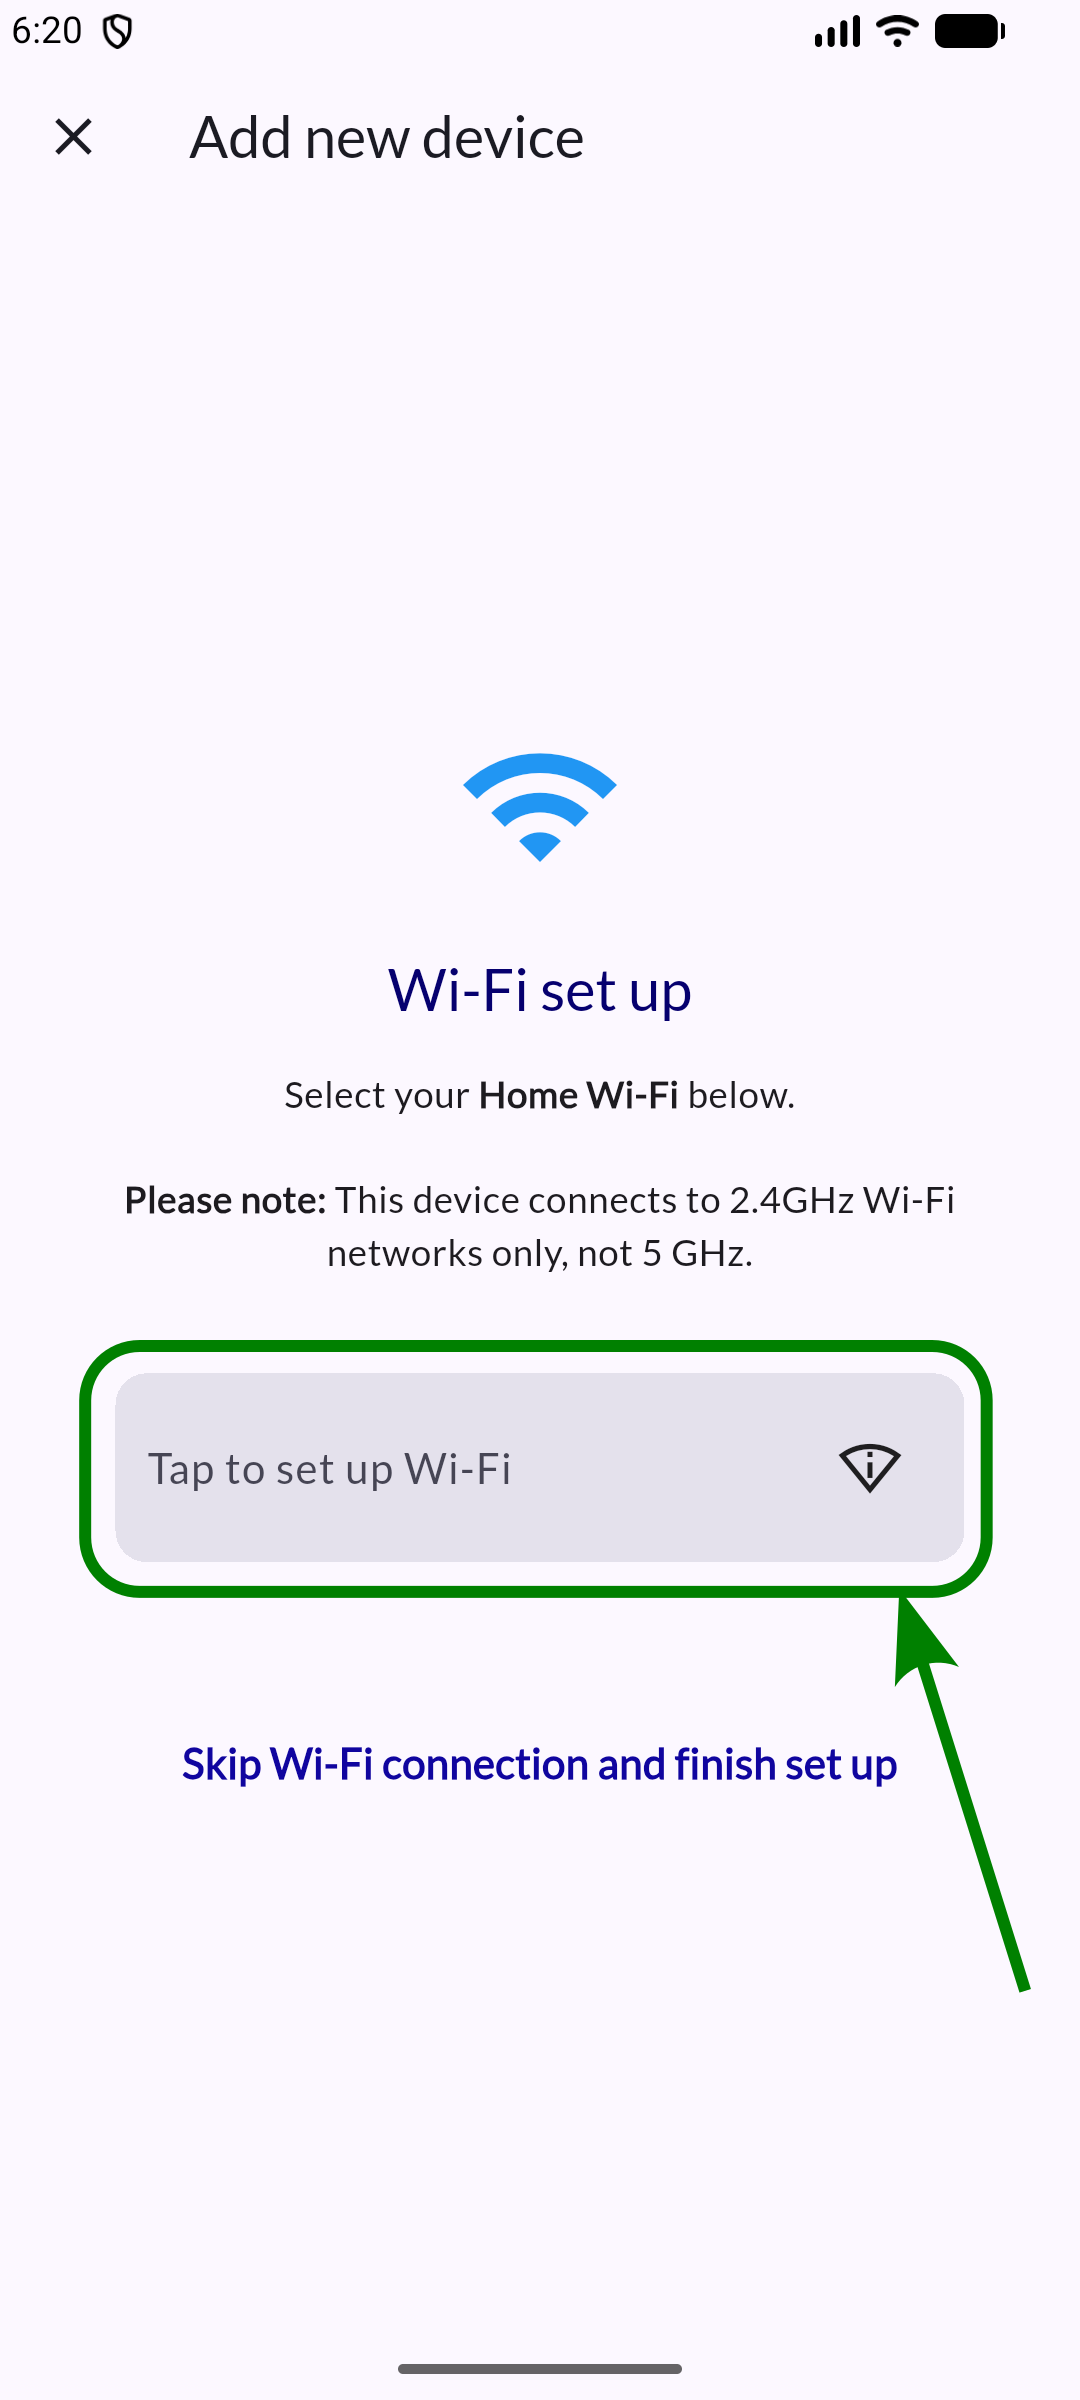
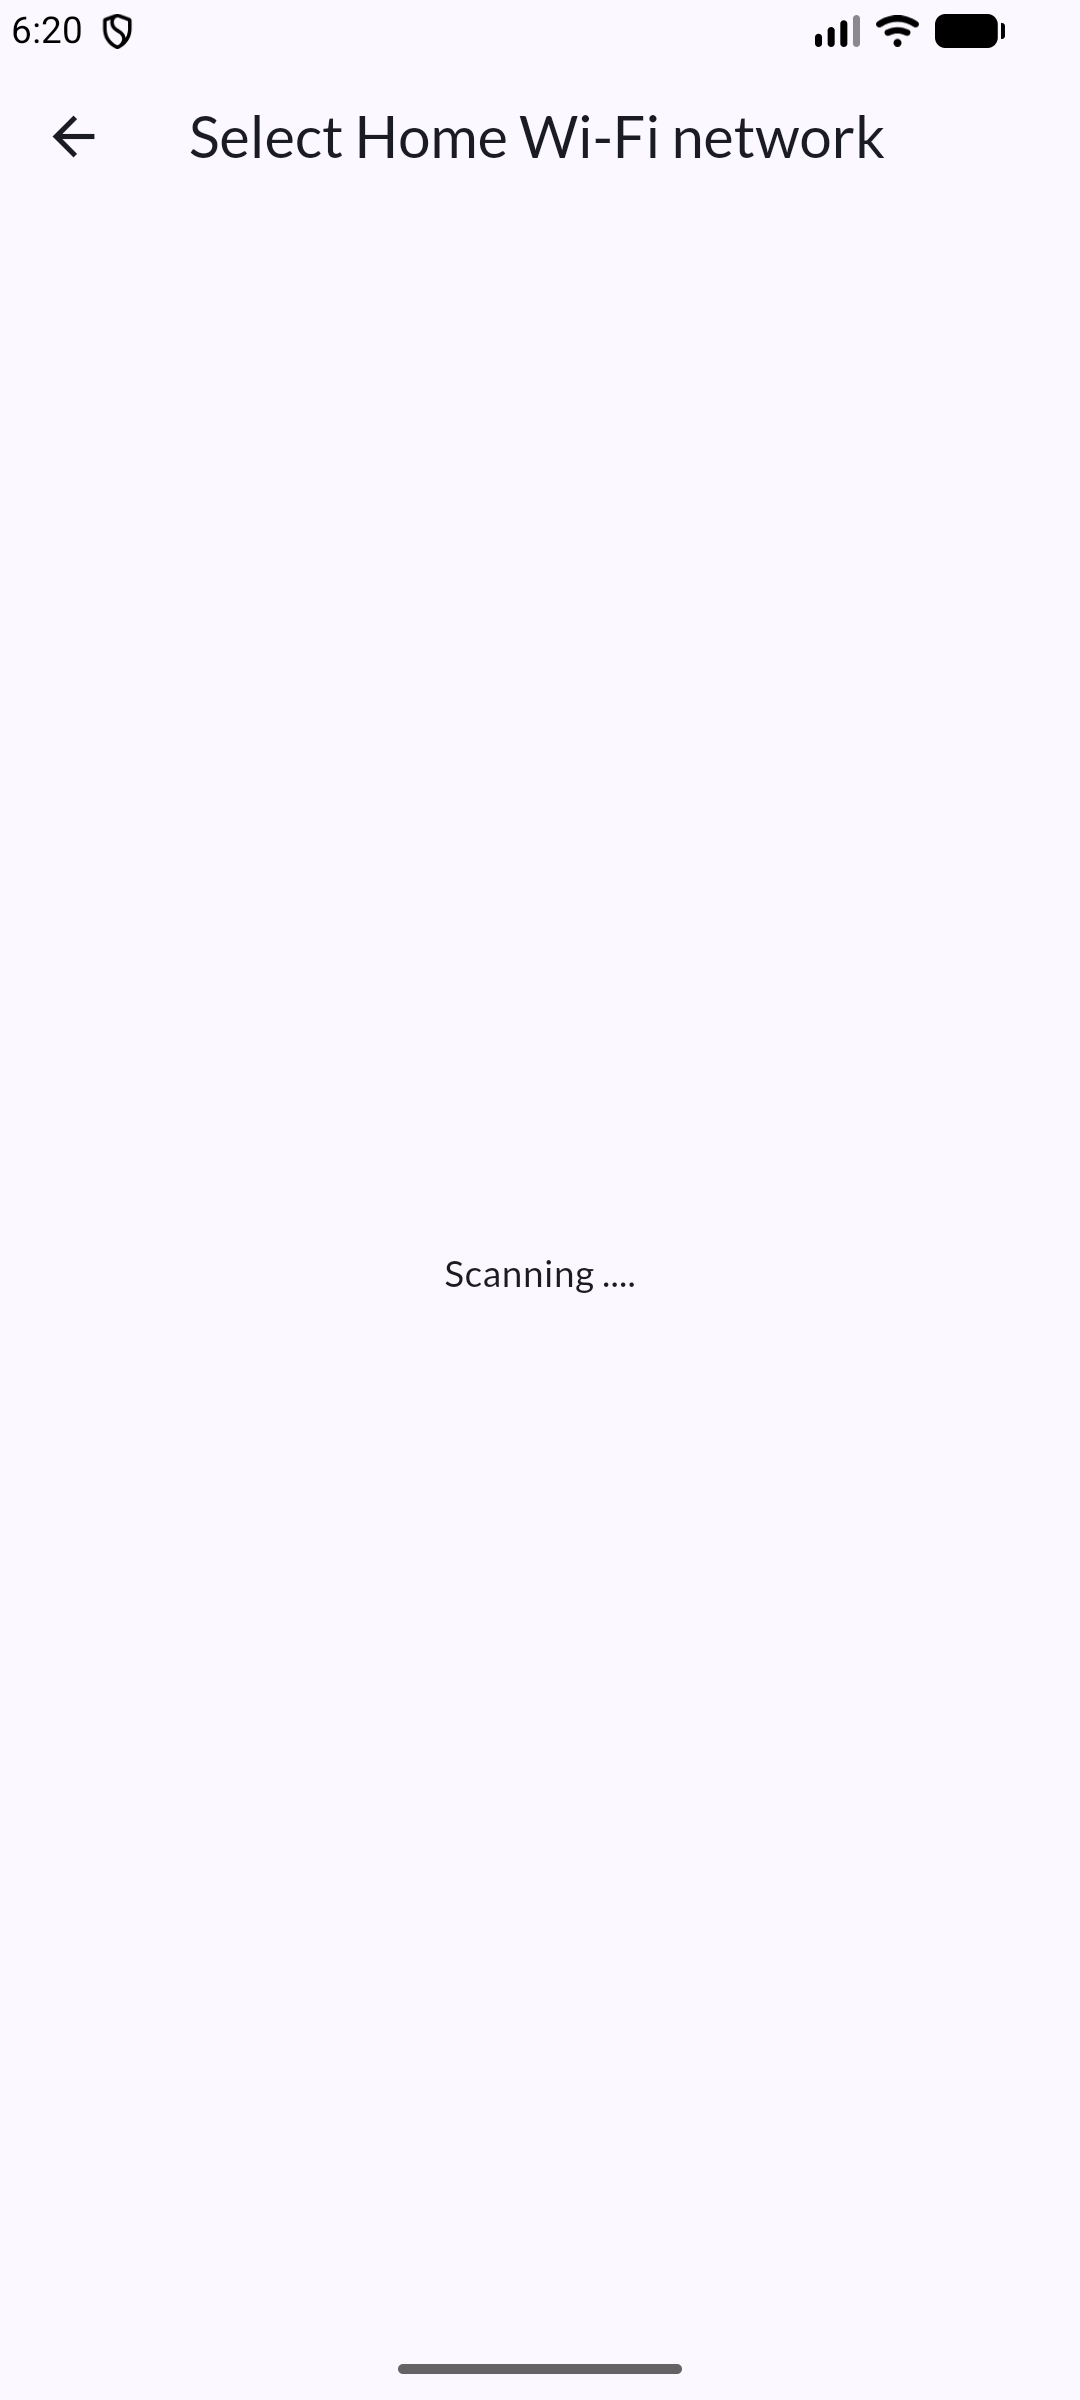
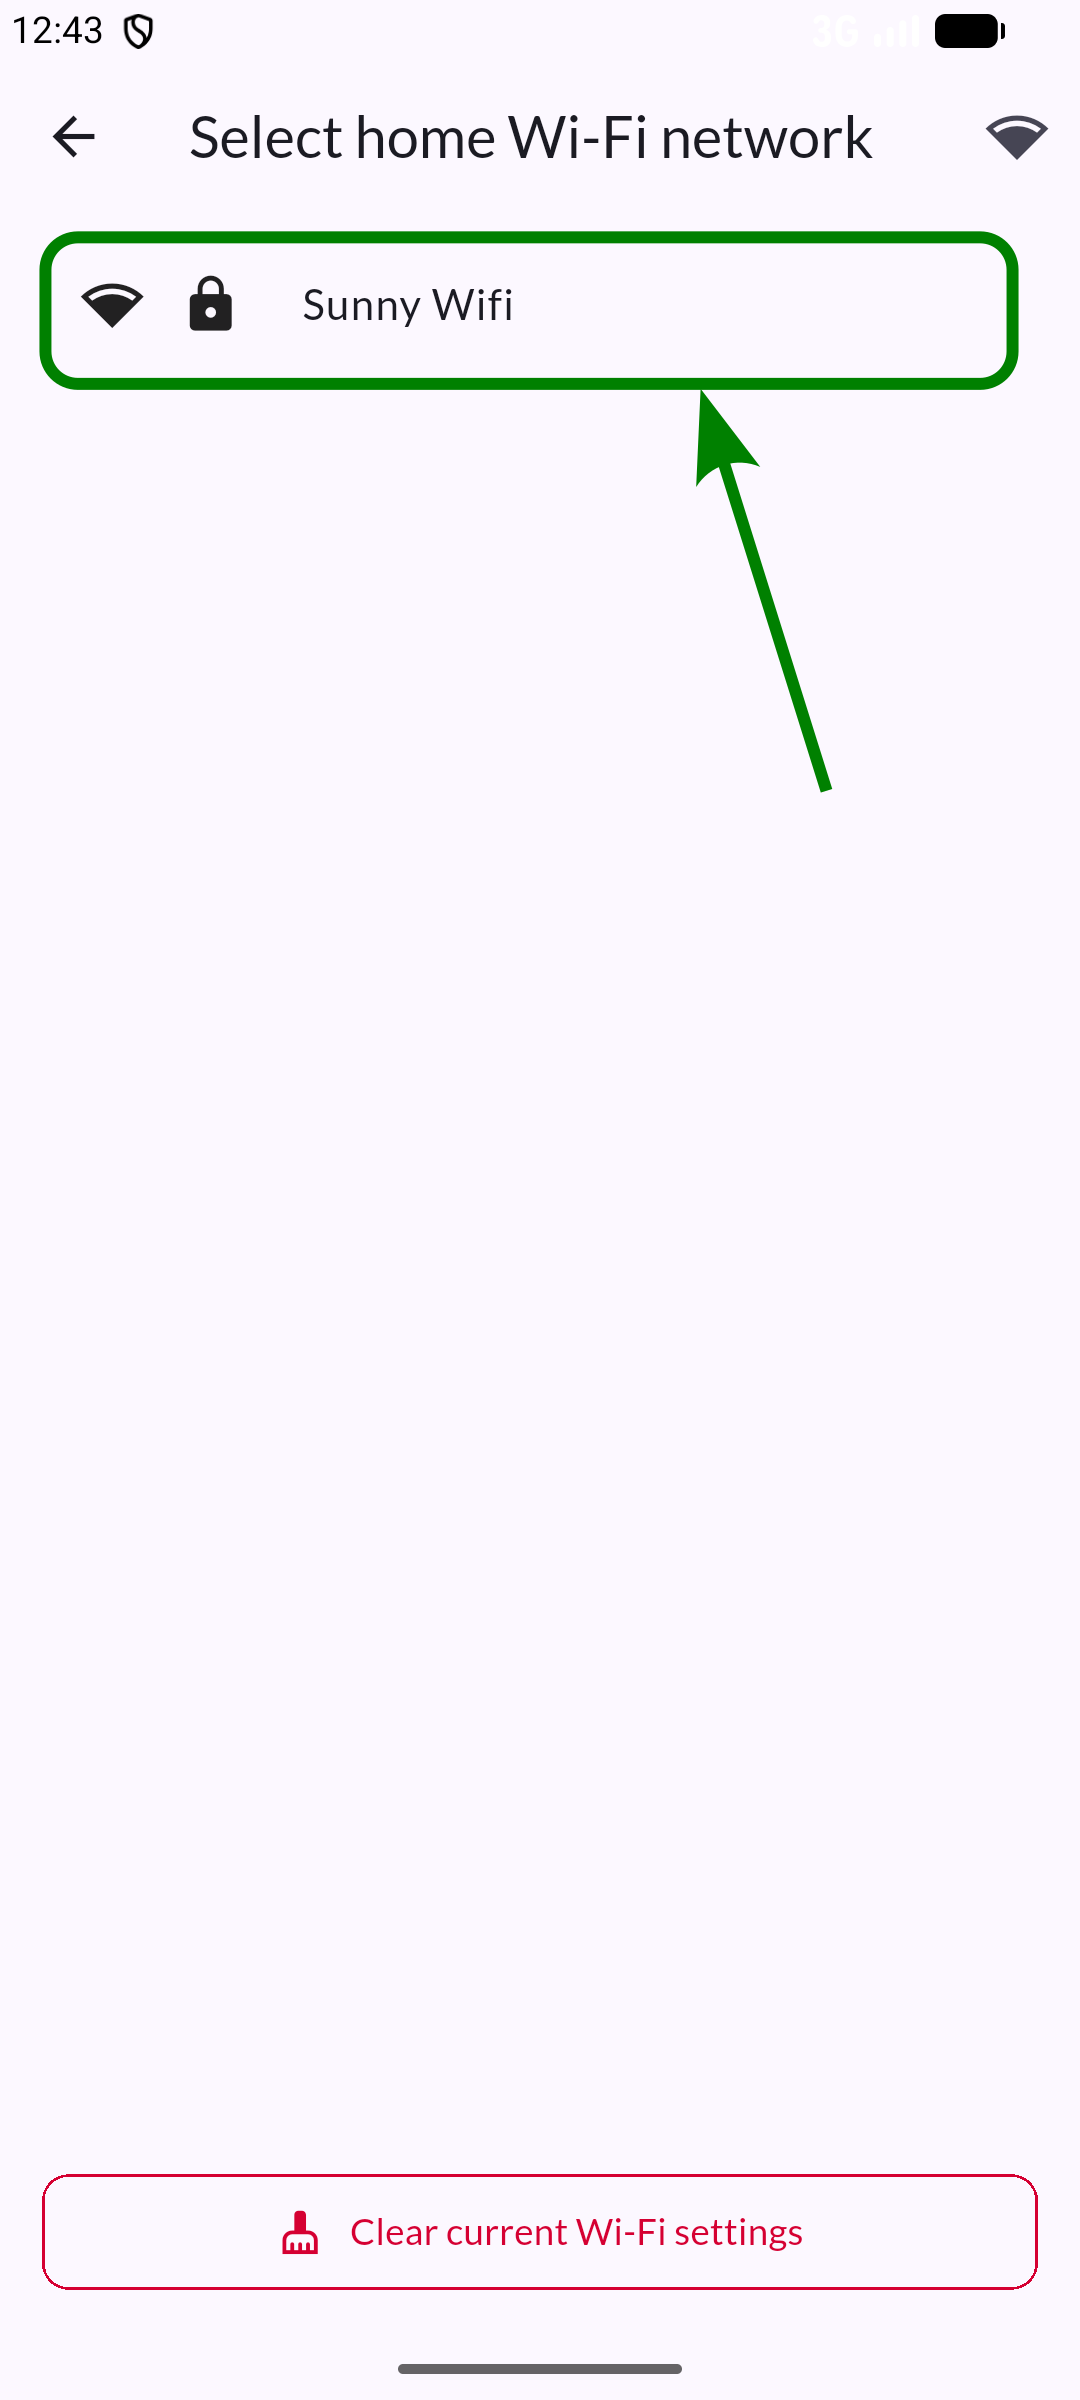
Step 7: Set up Wi-Fi
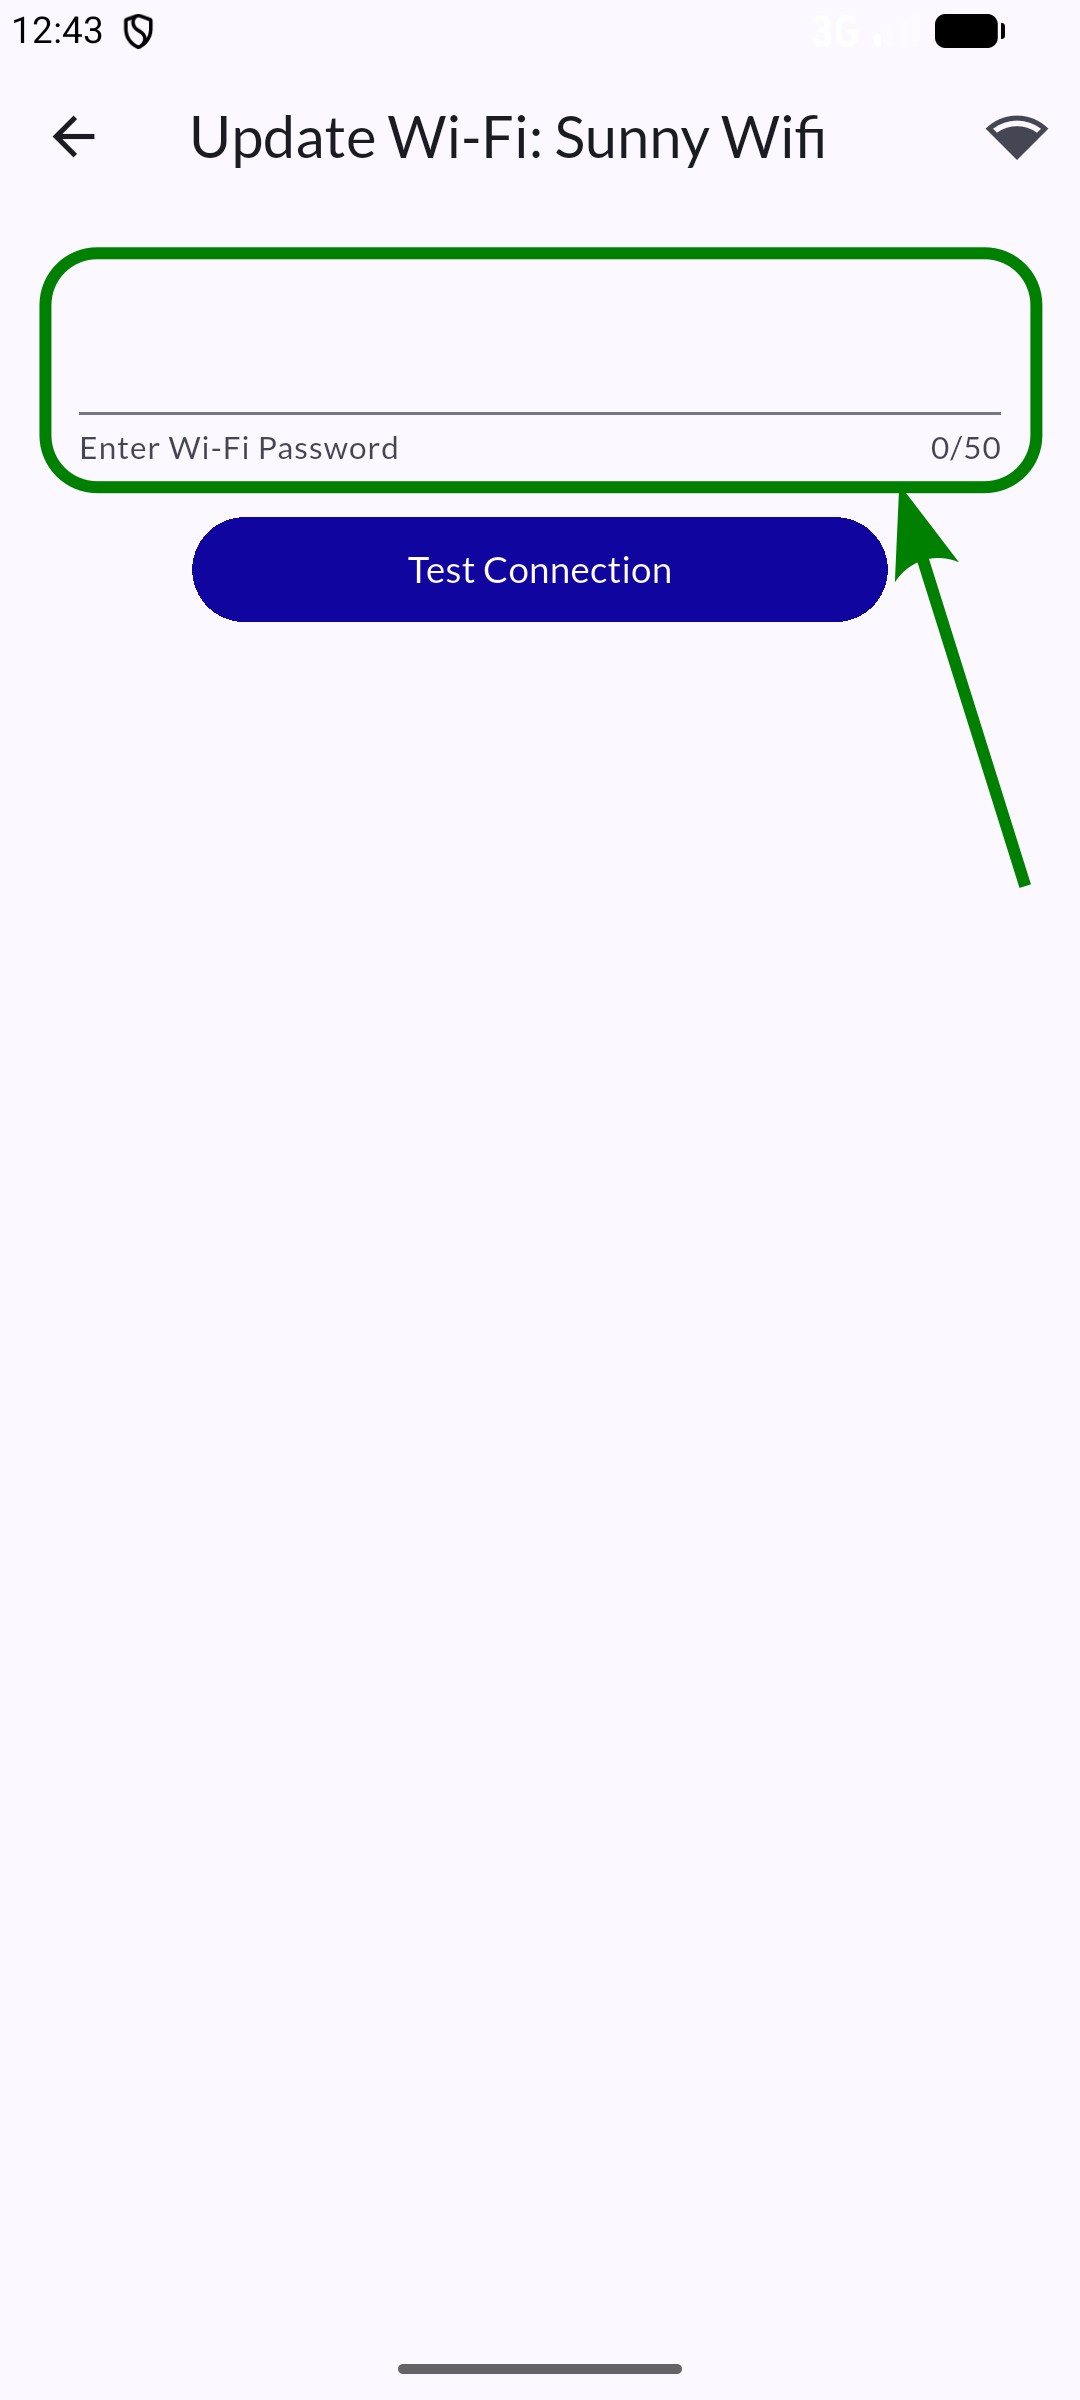
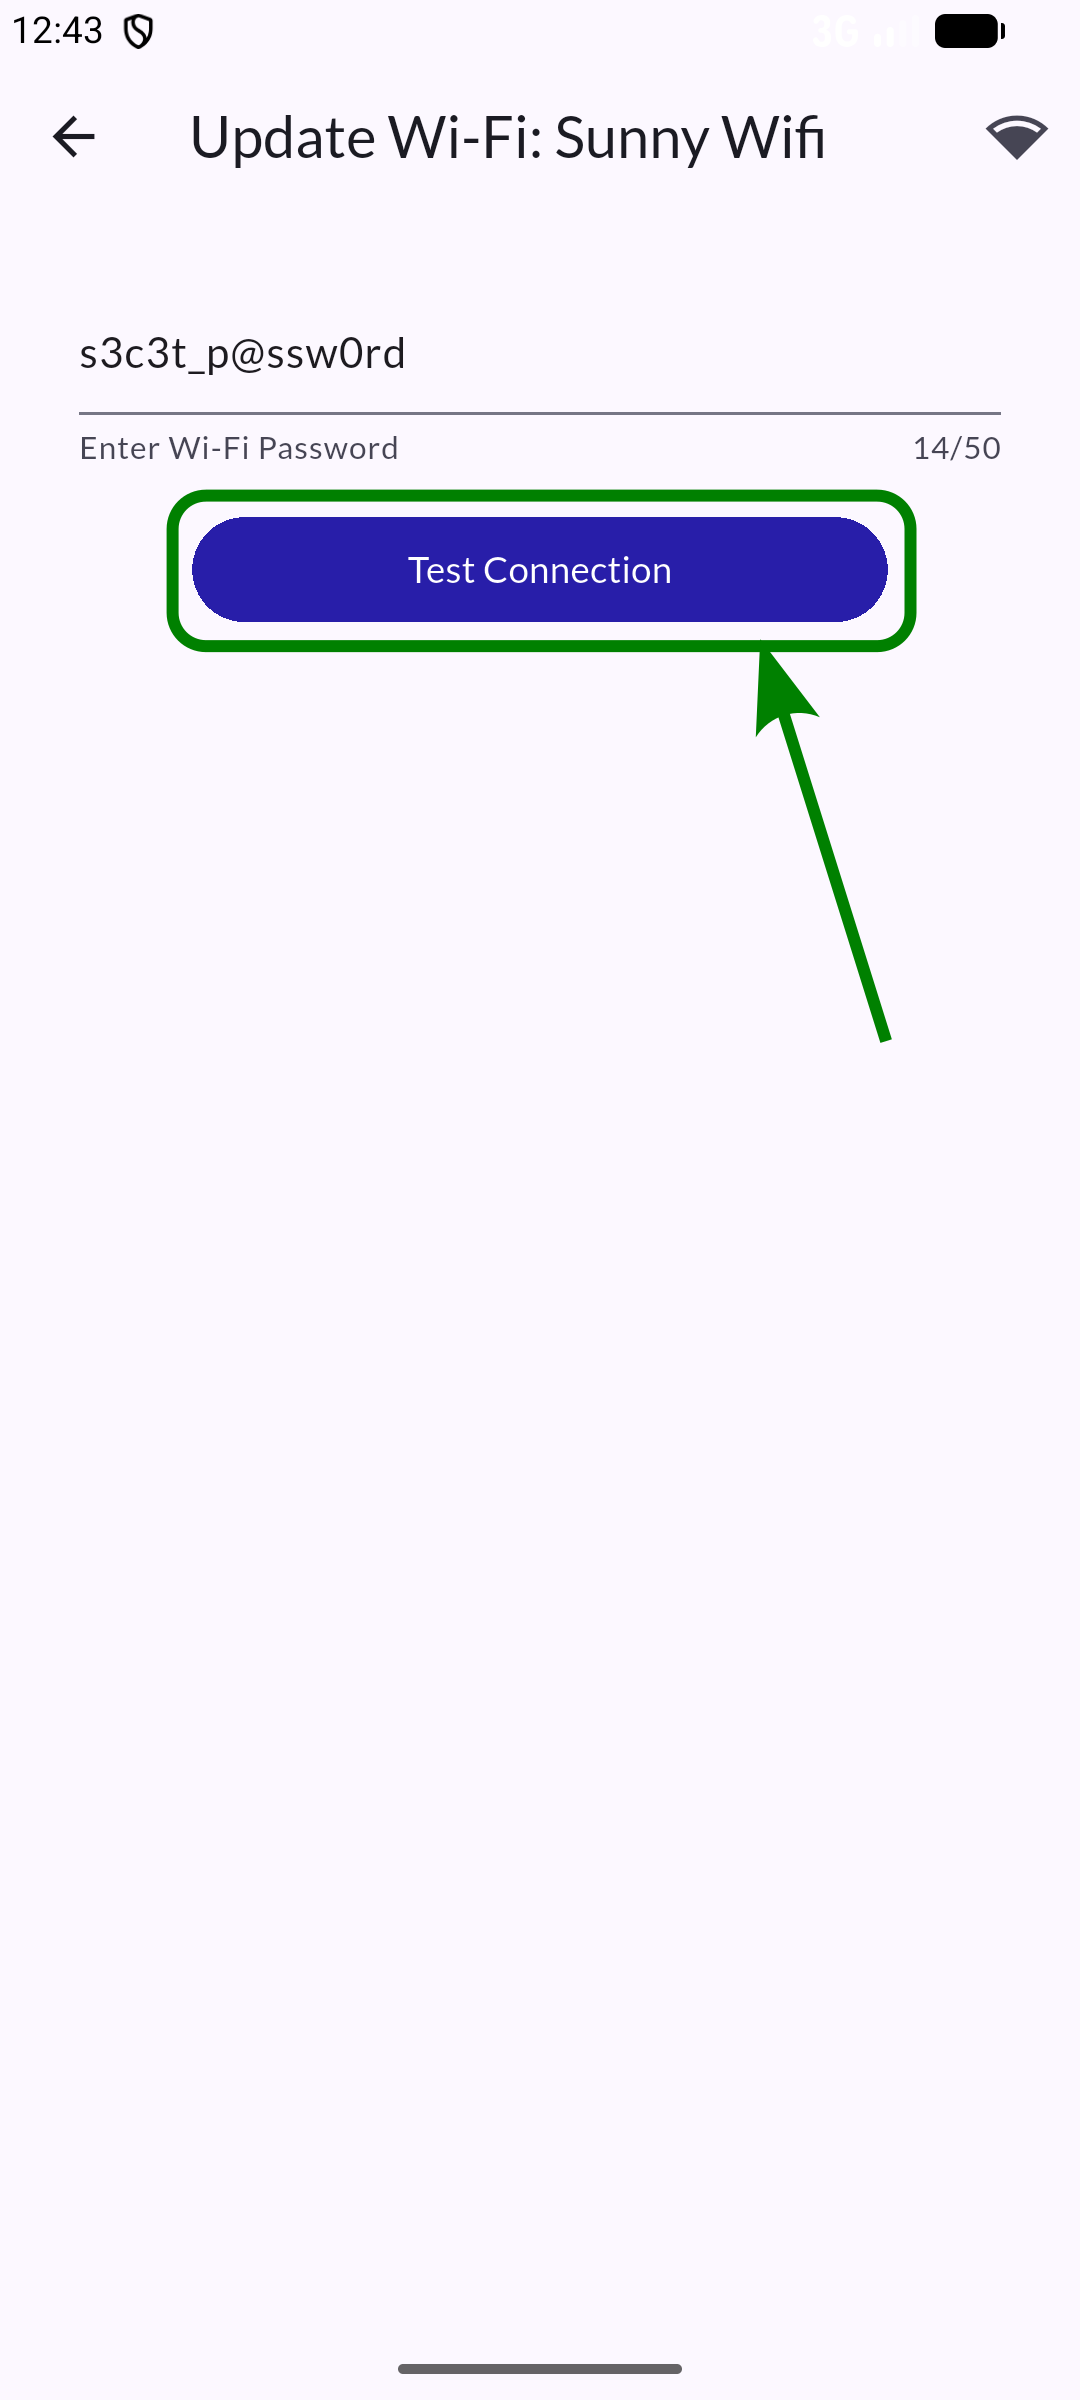
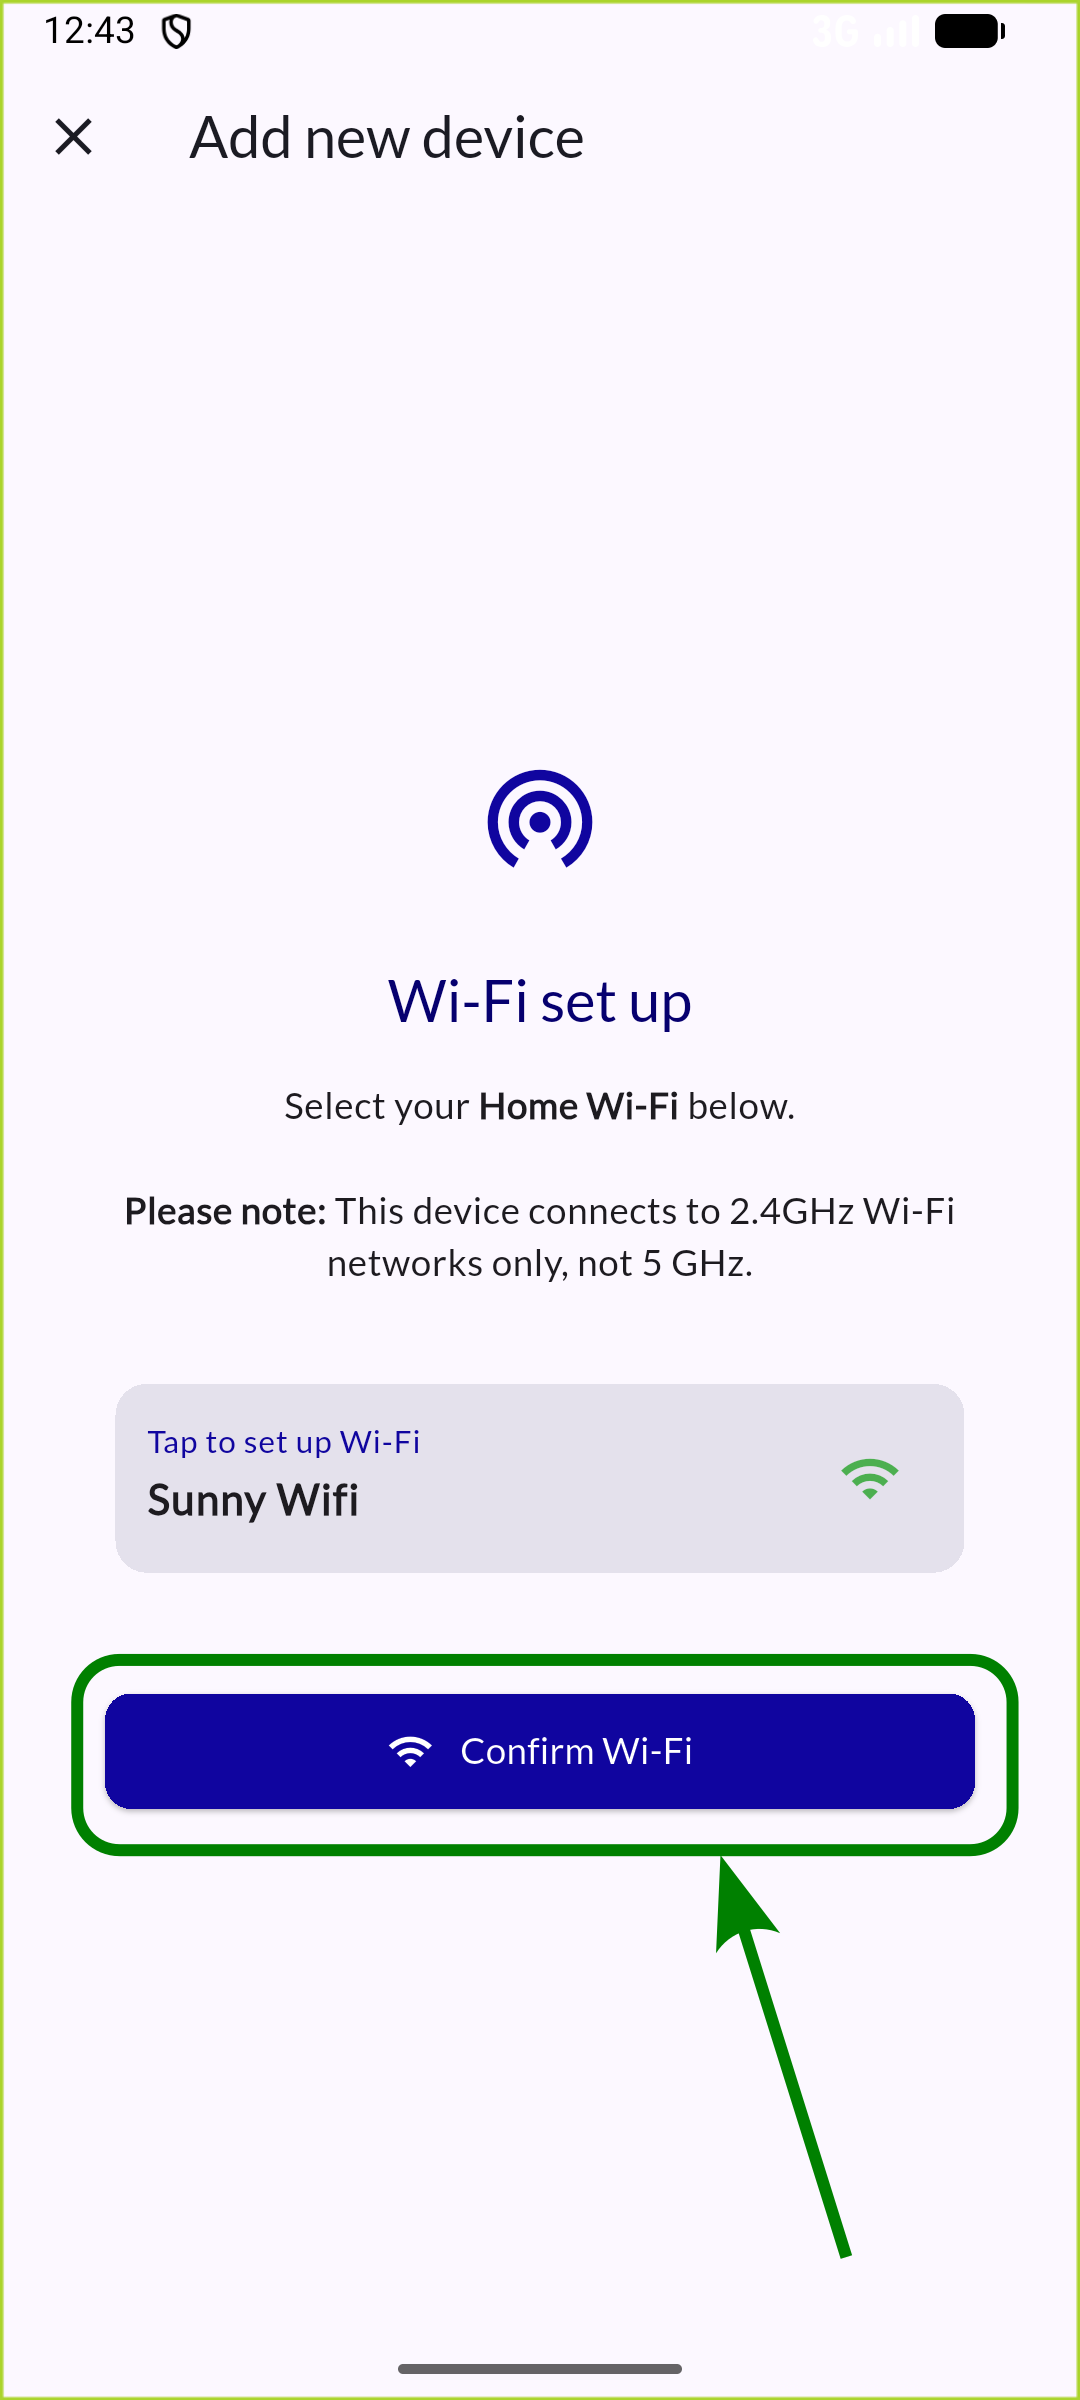
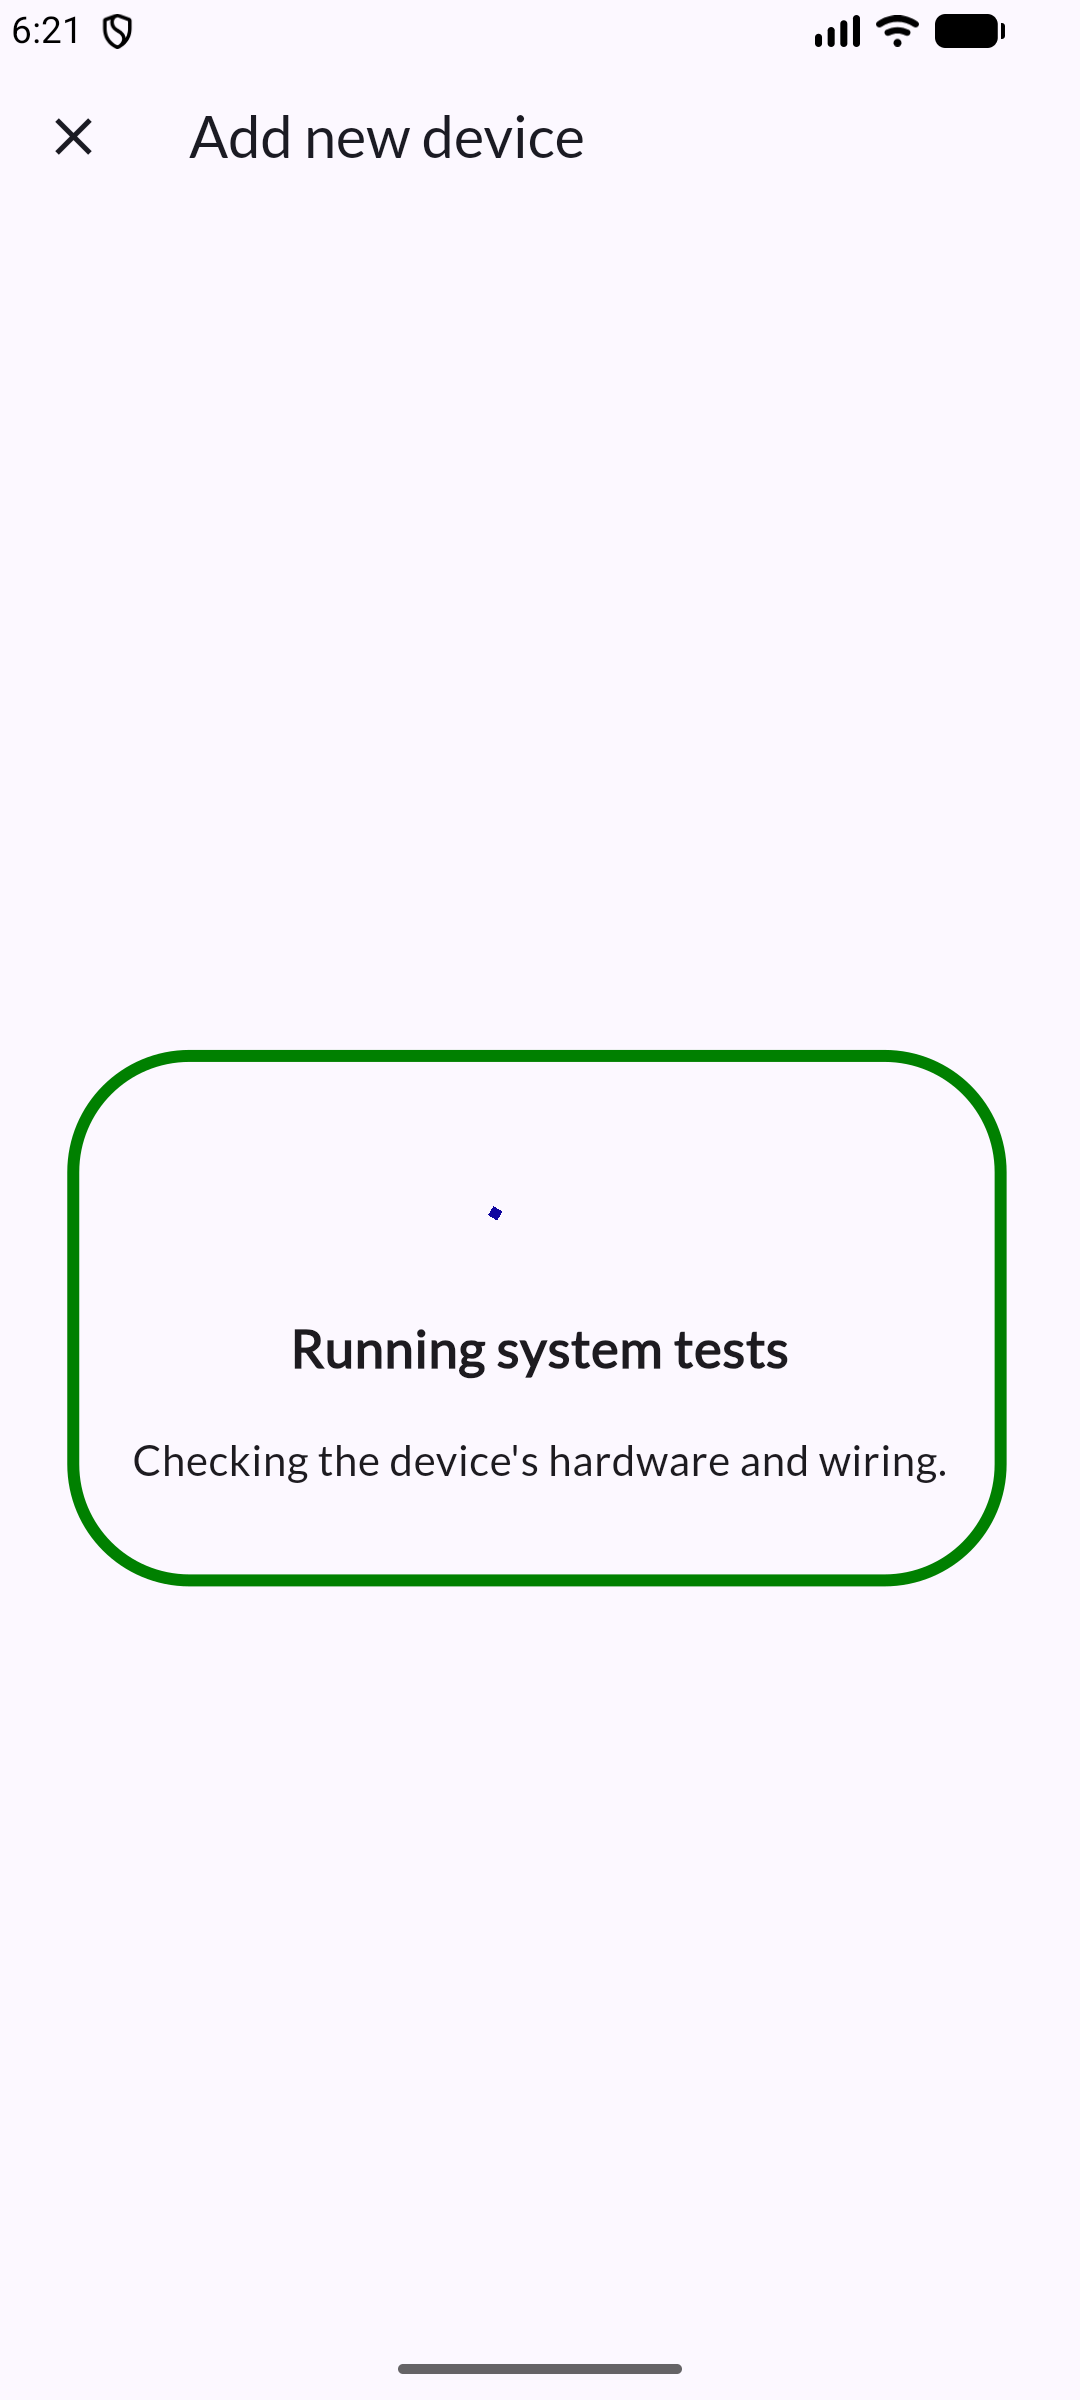
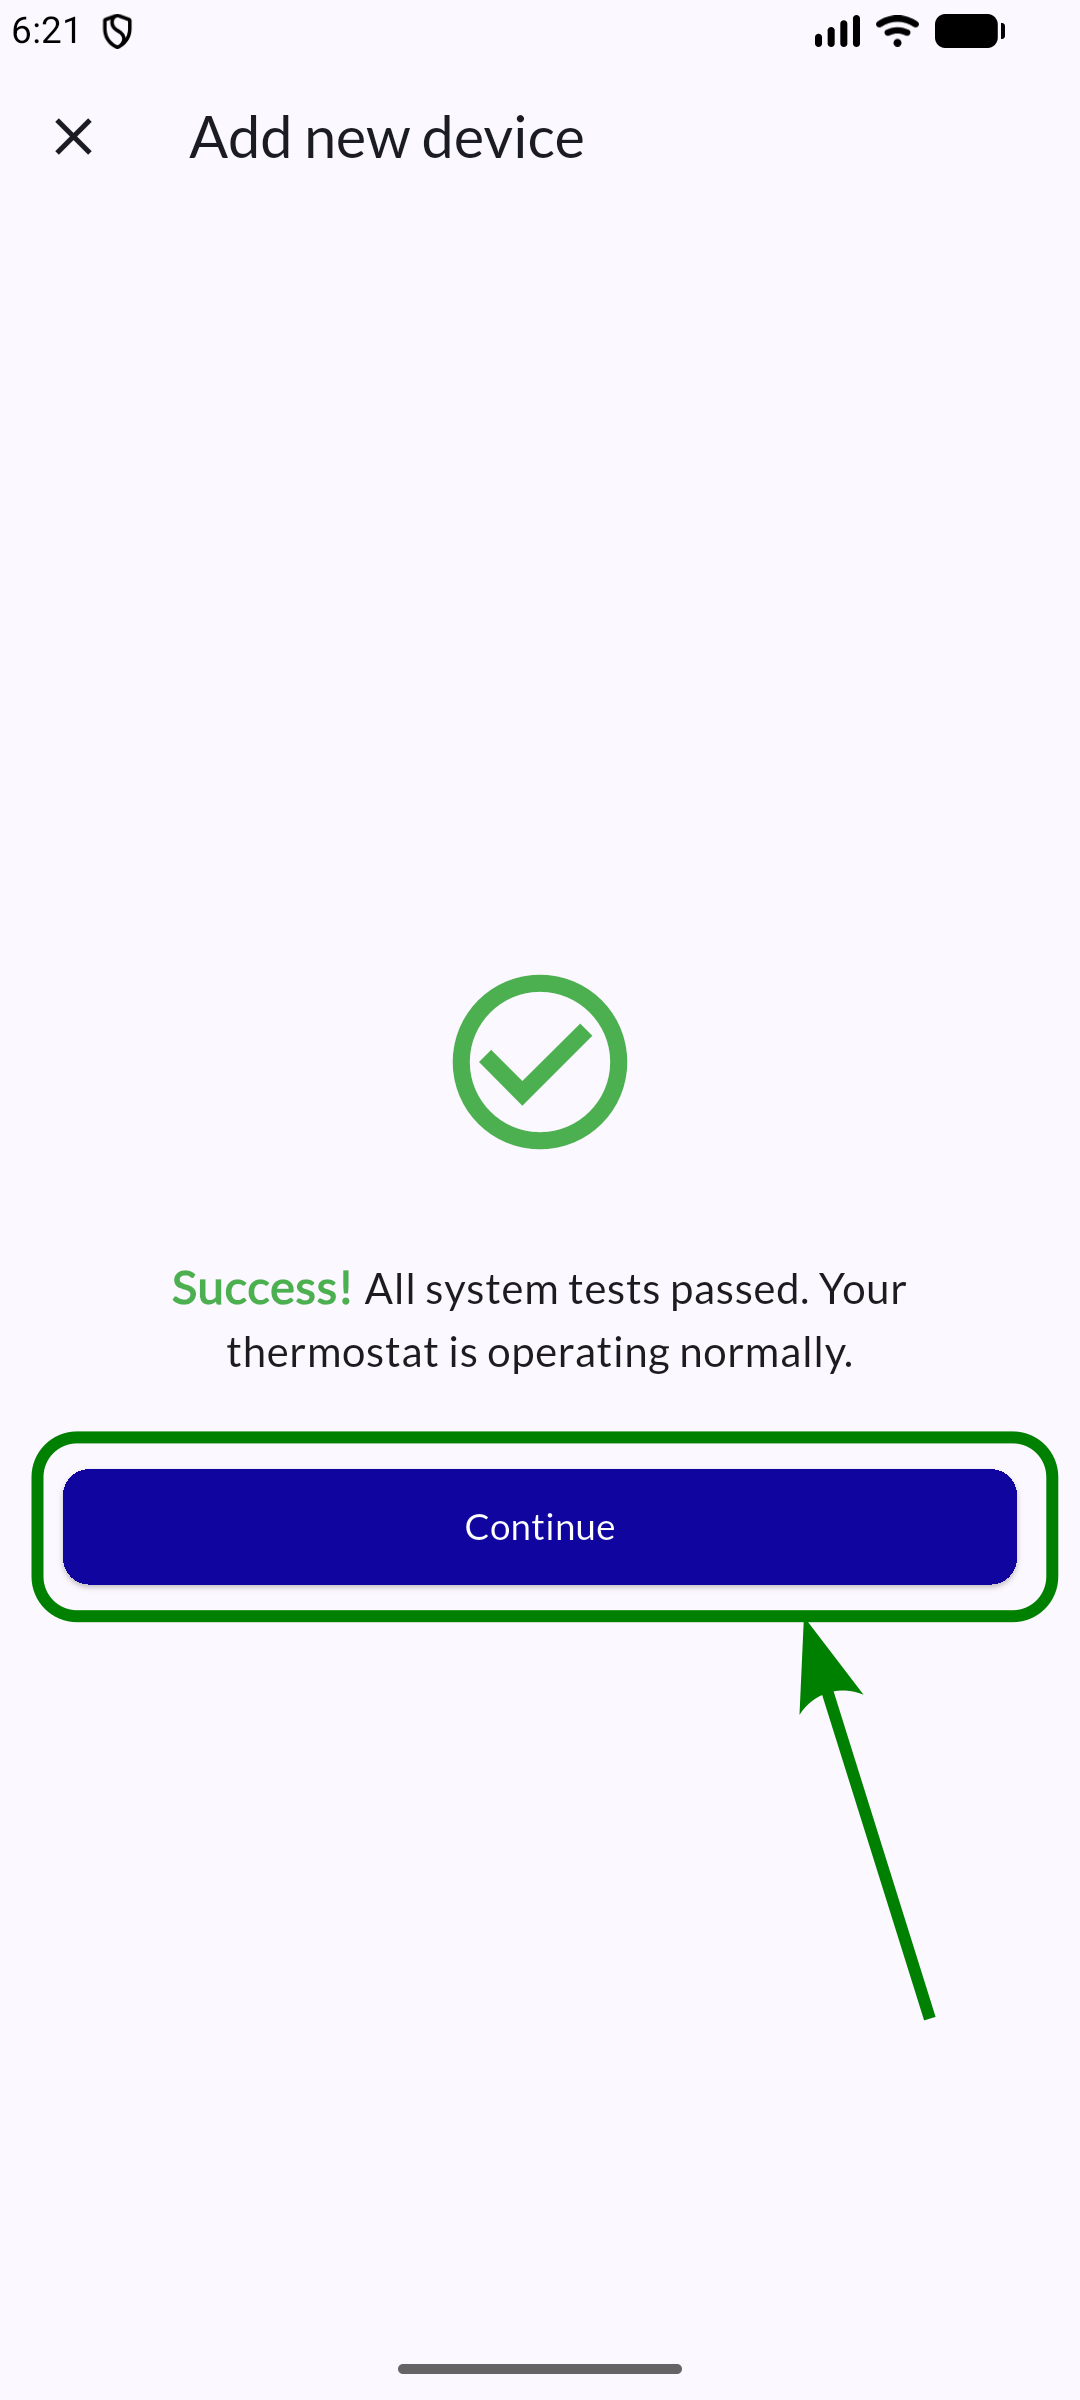
Step 8: Perform system tests
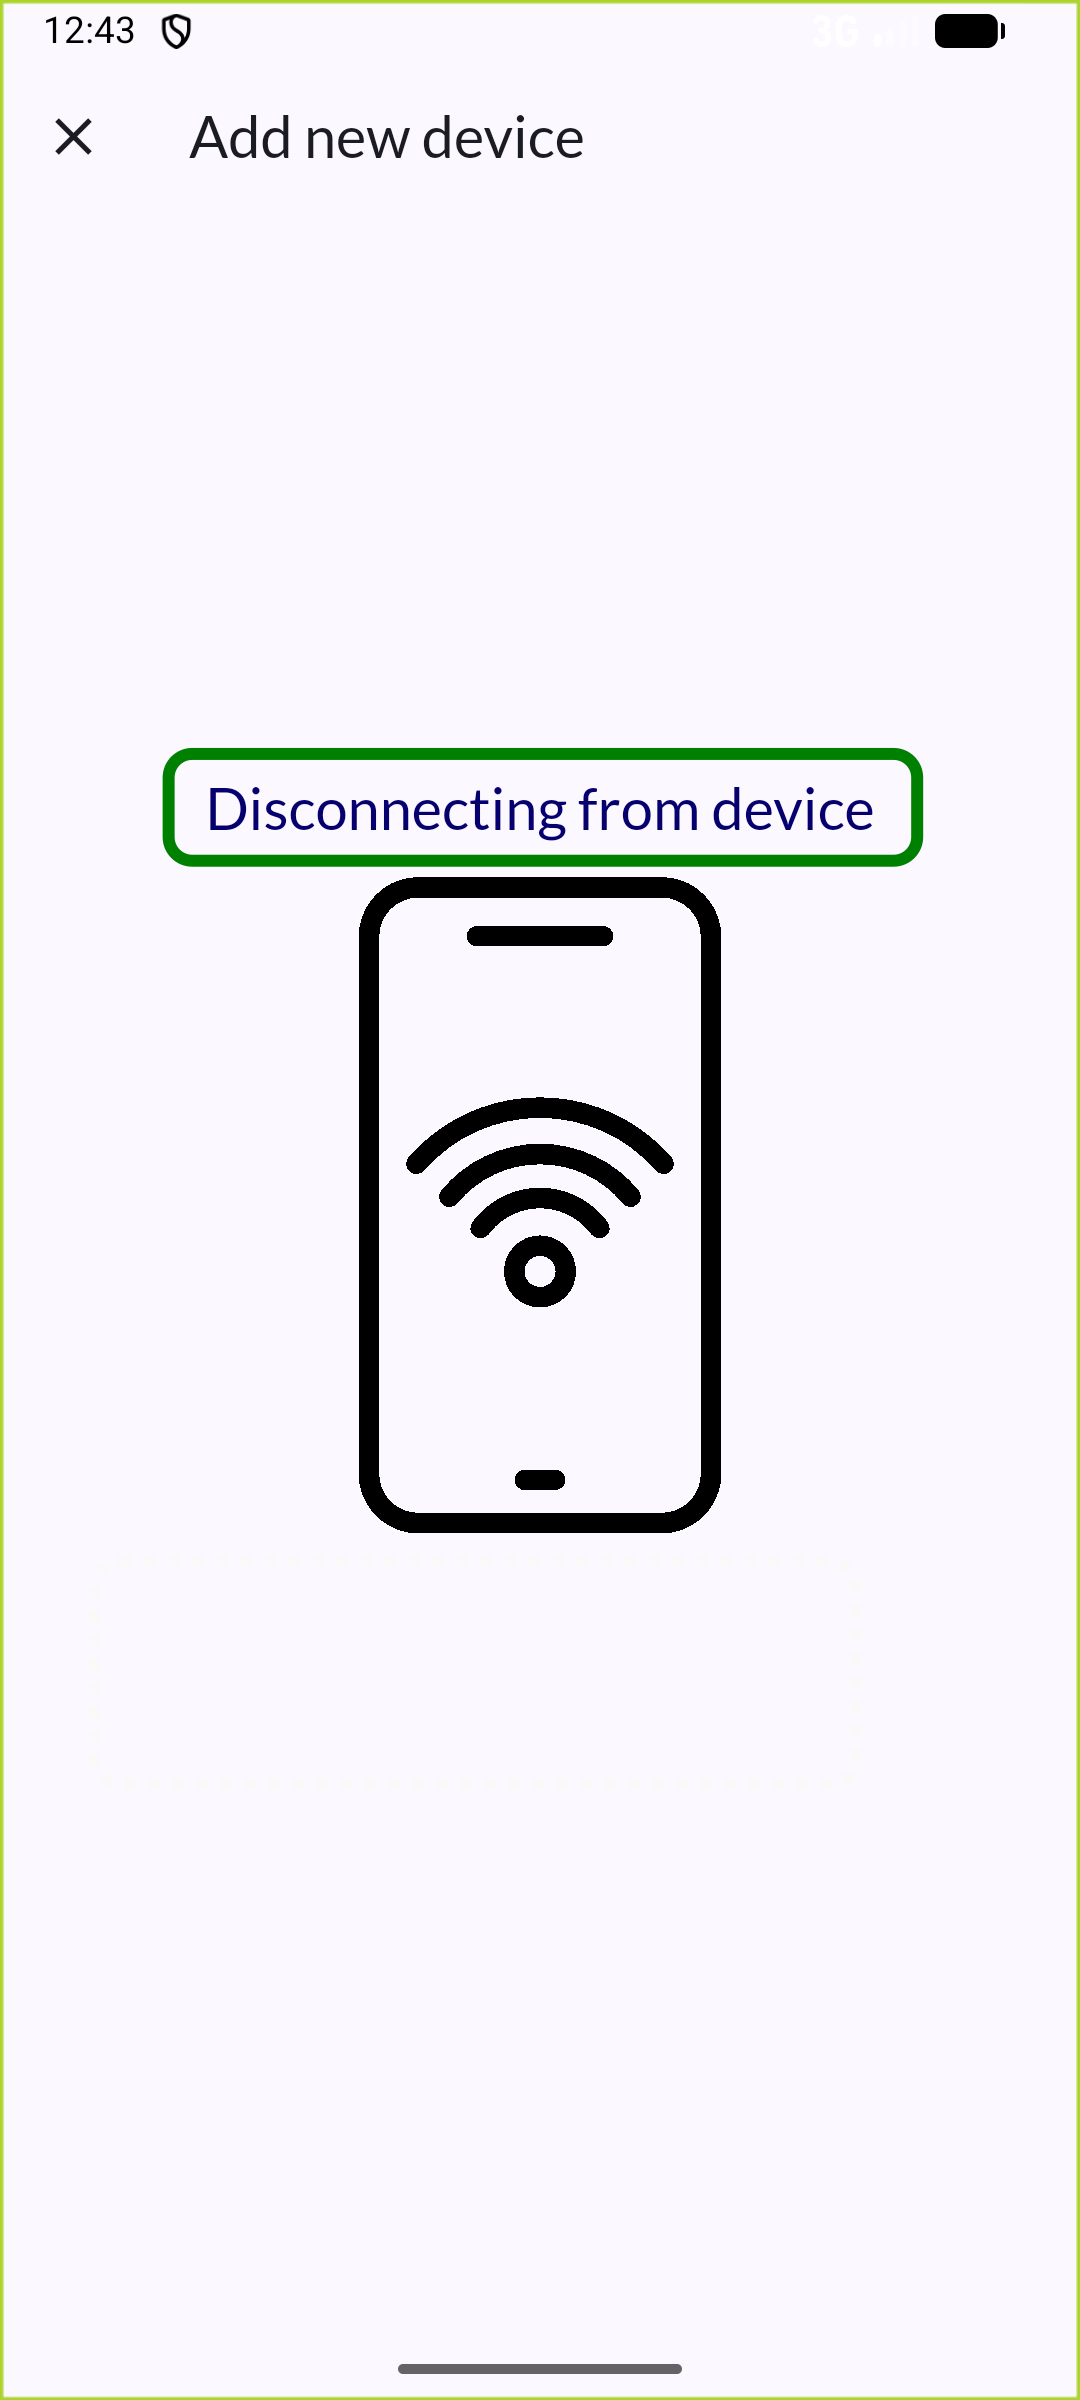
Step 9: Disconnect from device
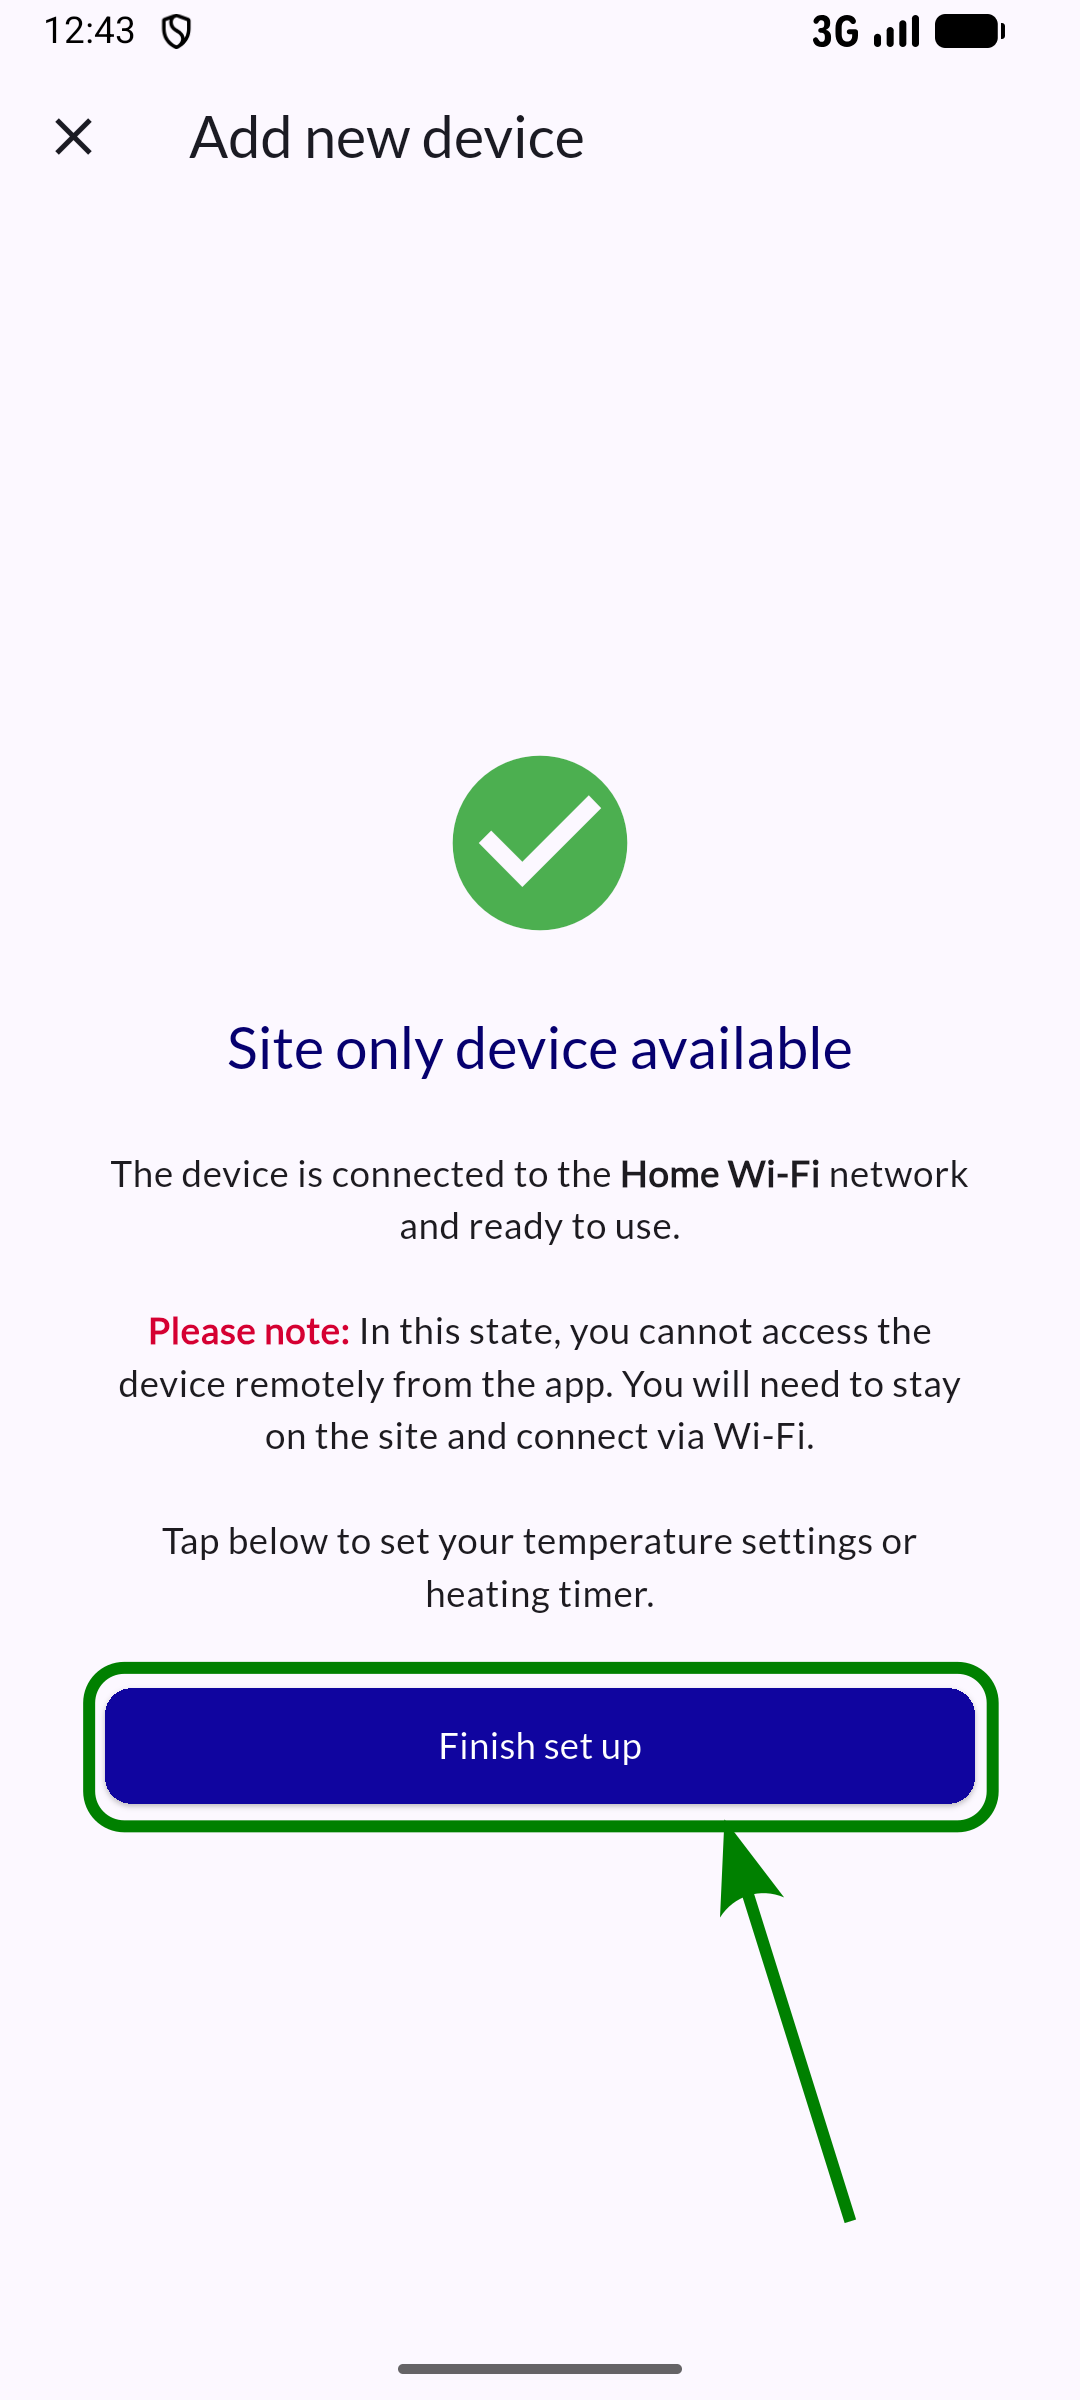
Step 10: Device successfully added
Step 11: Complete fine-grained control settings
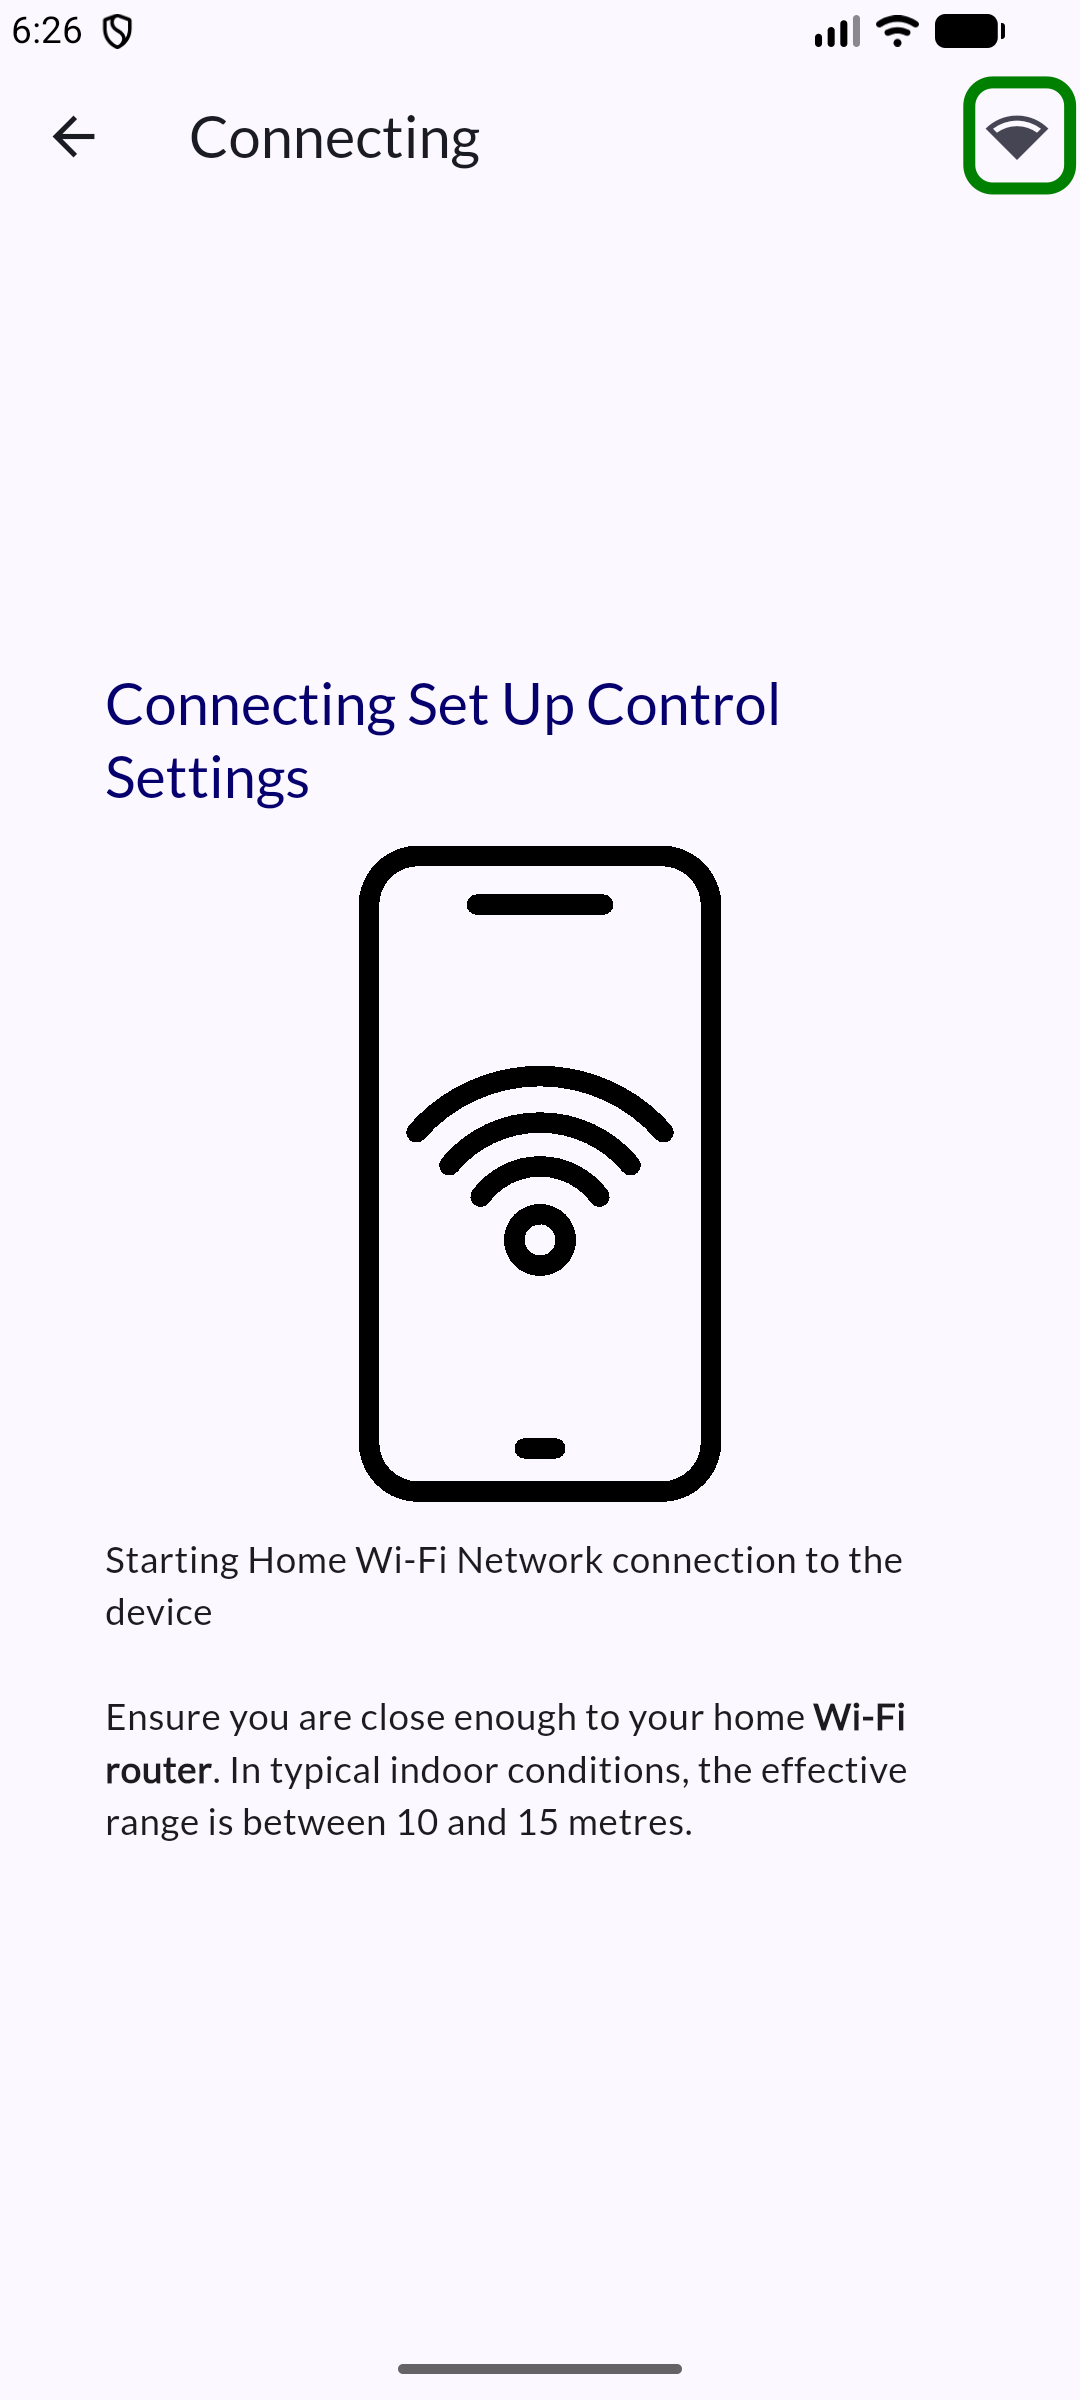
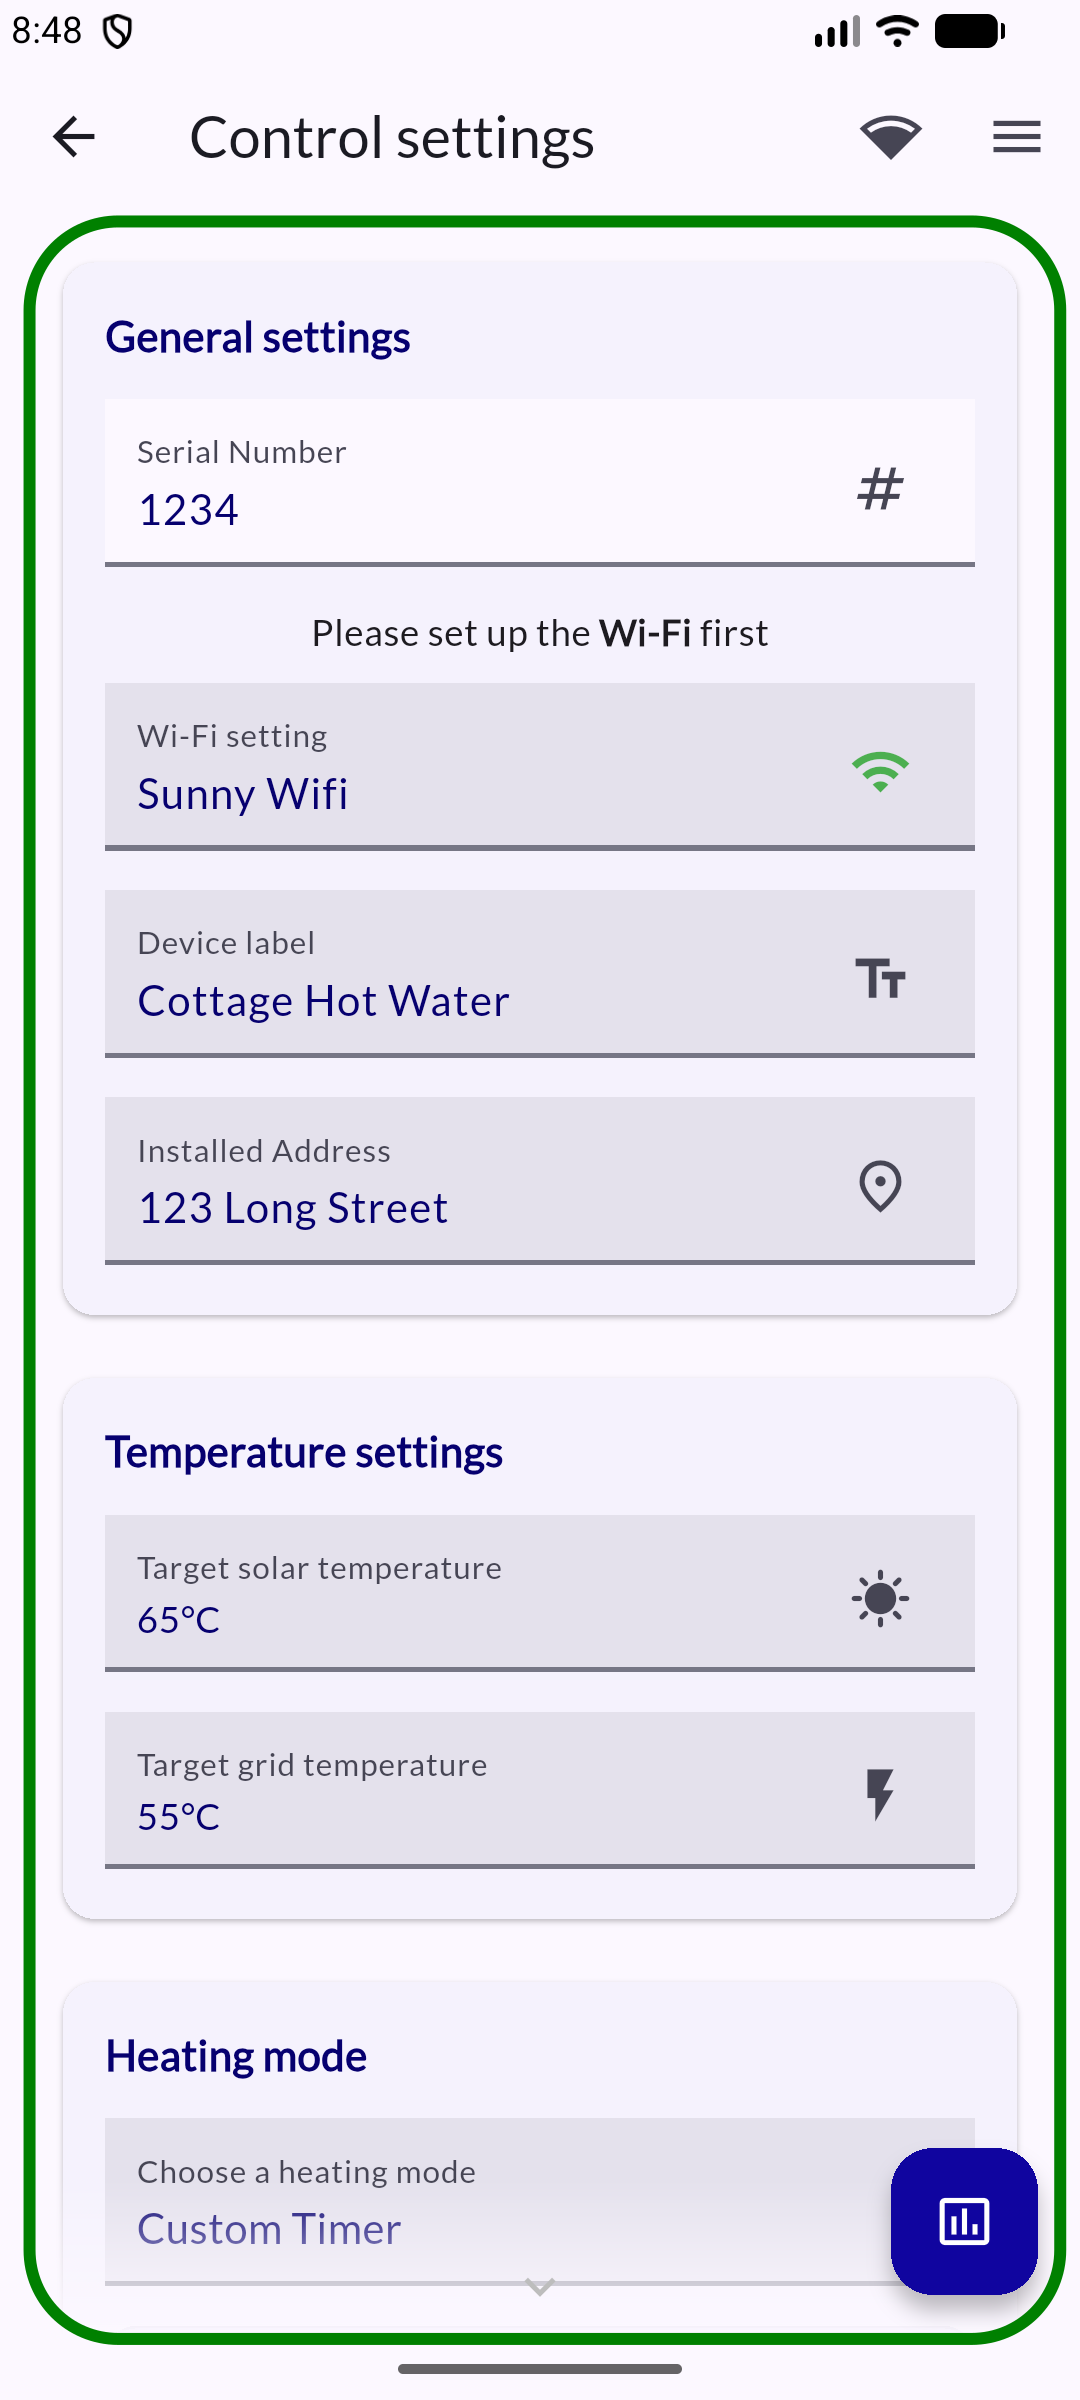
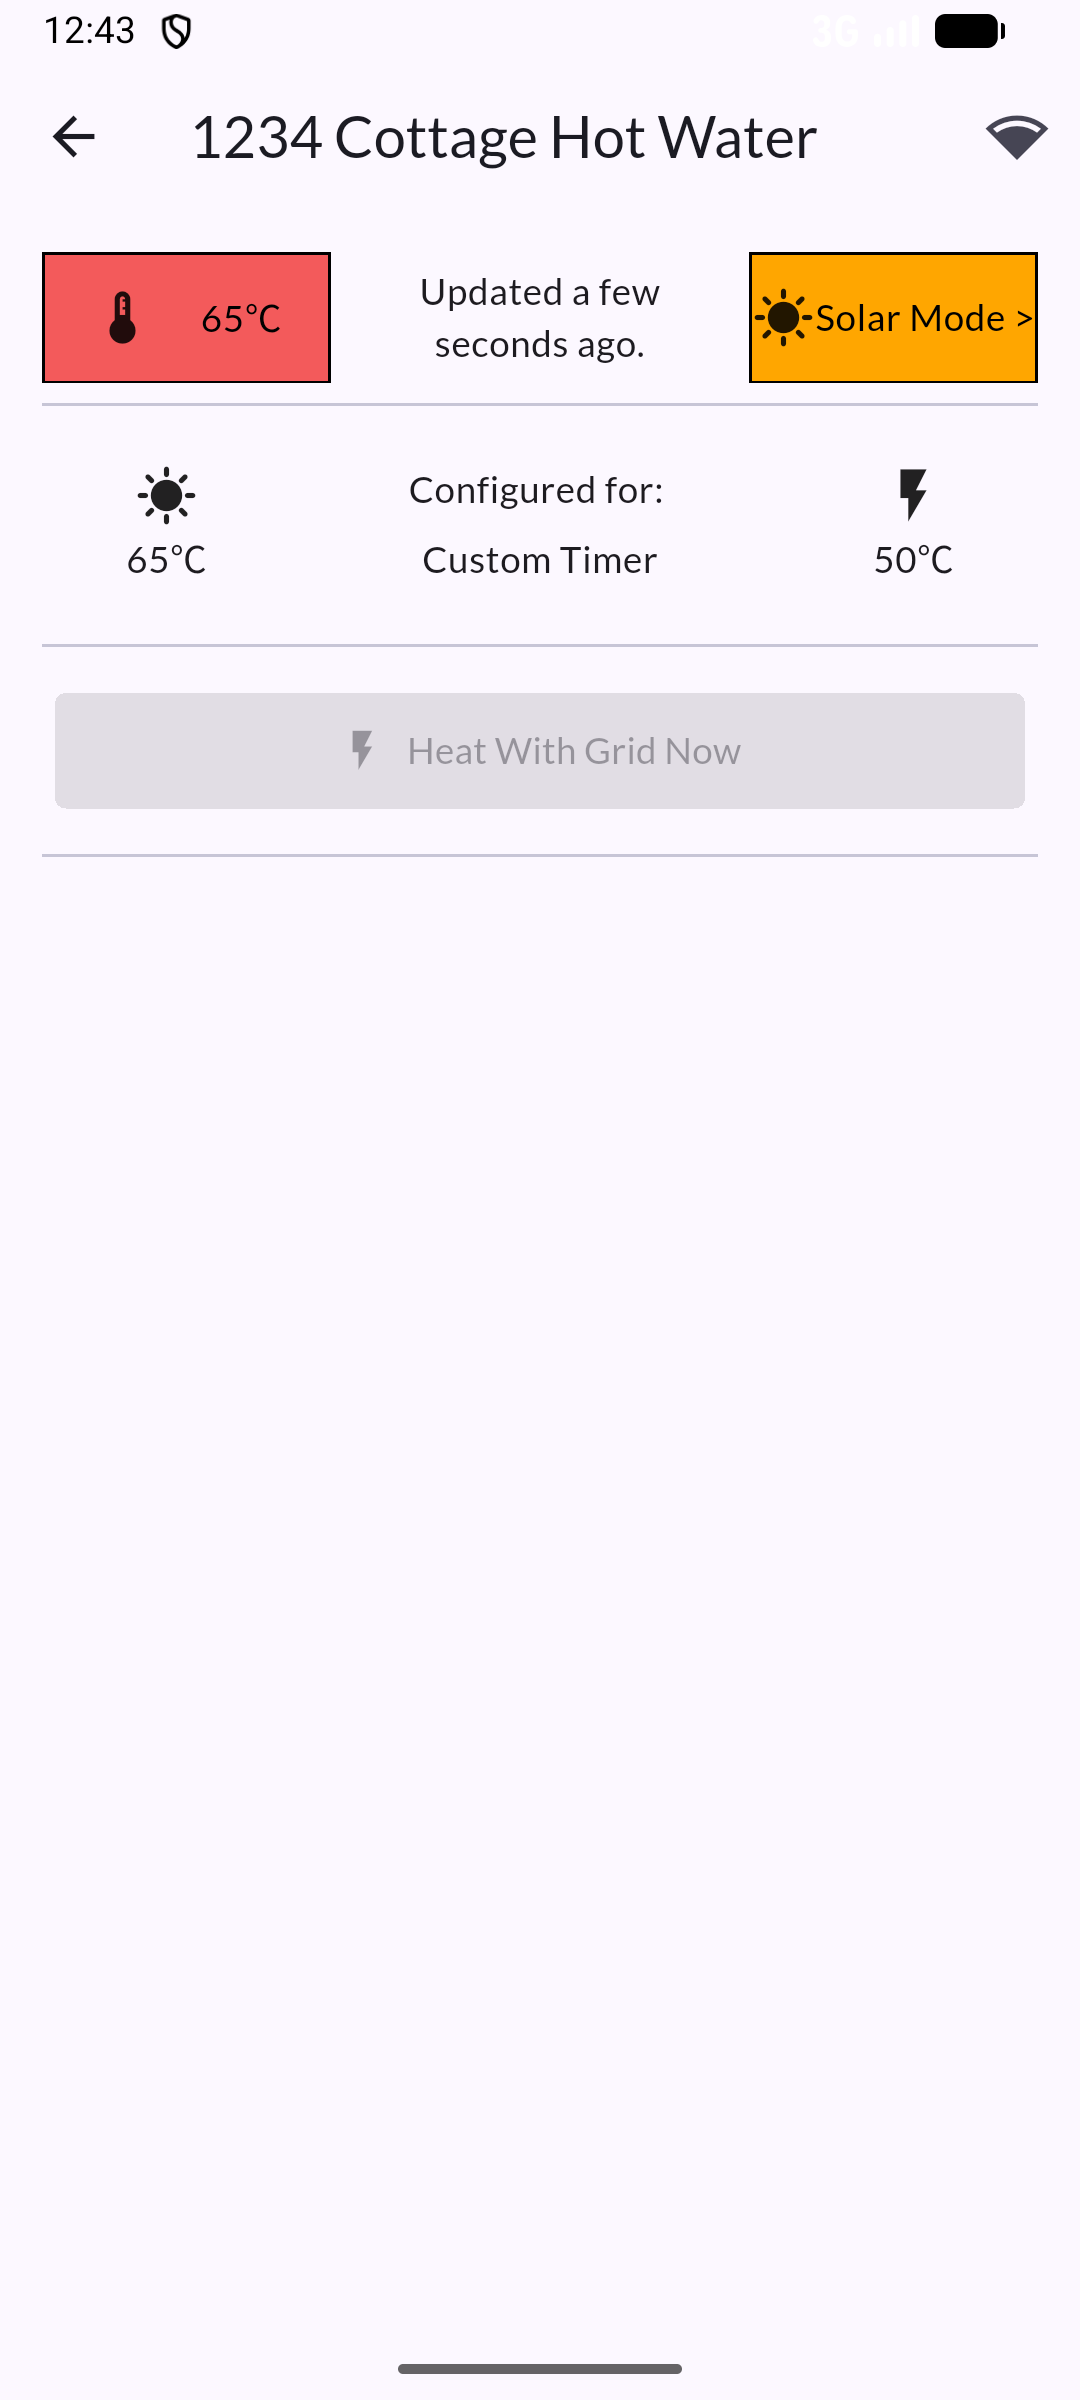
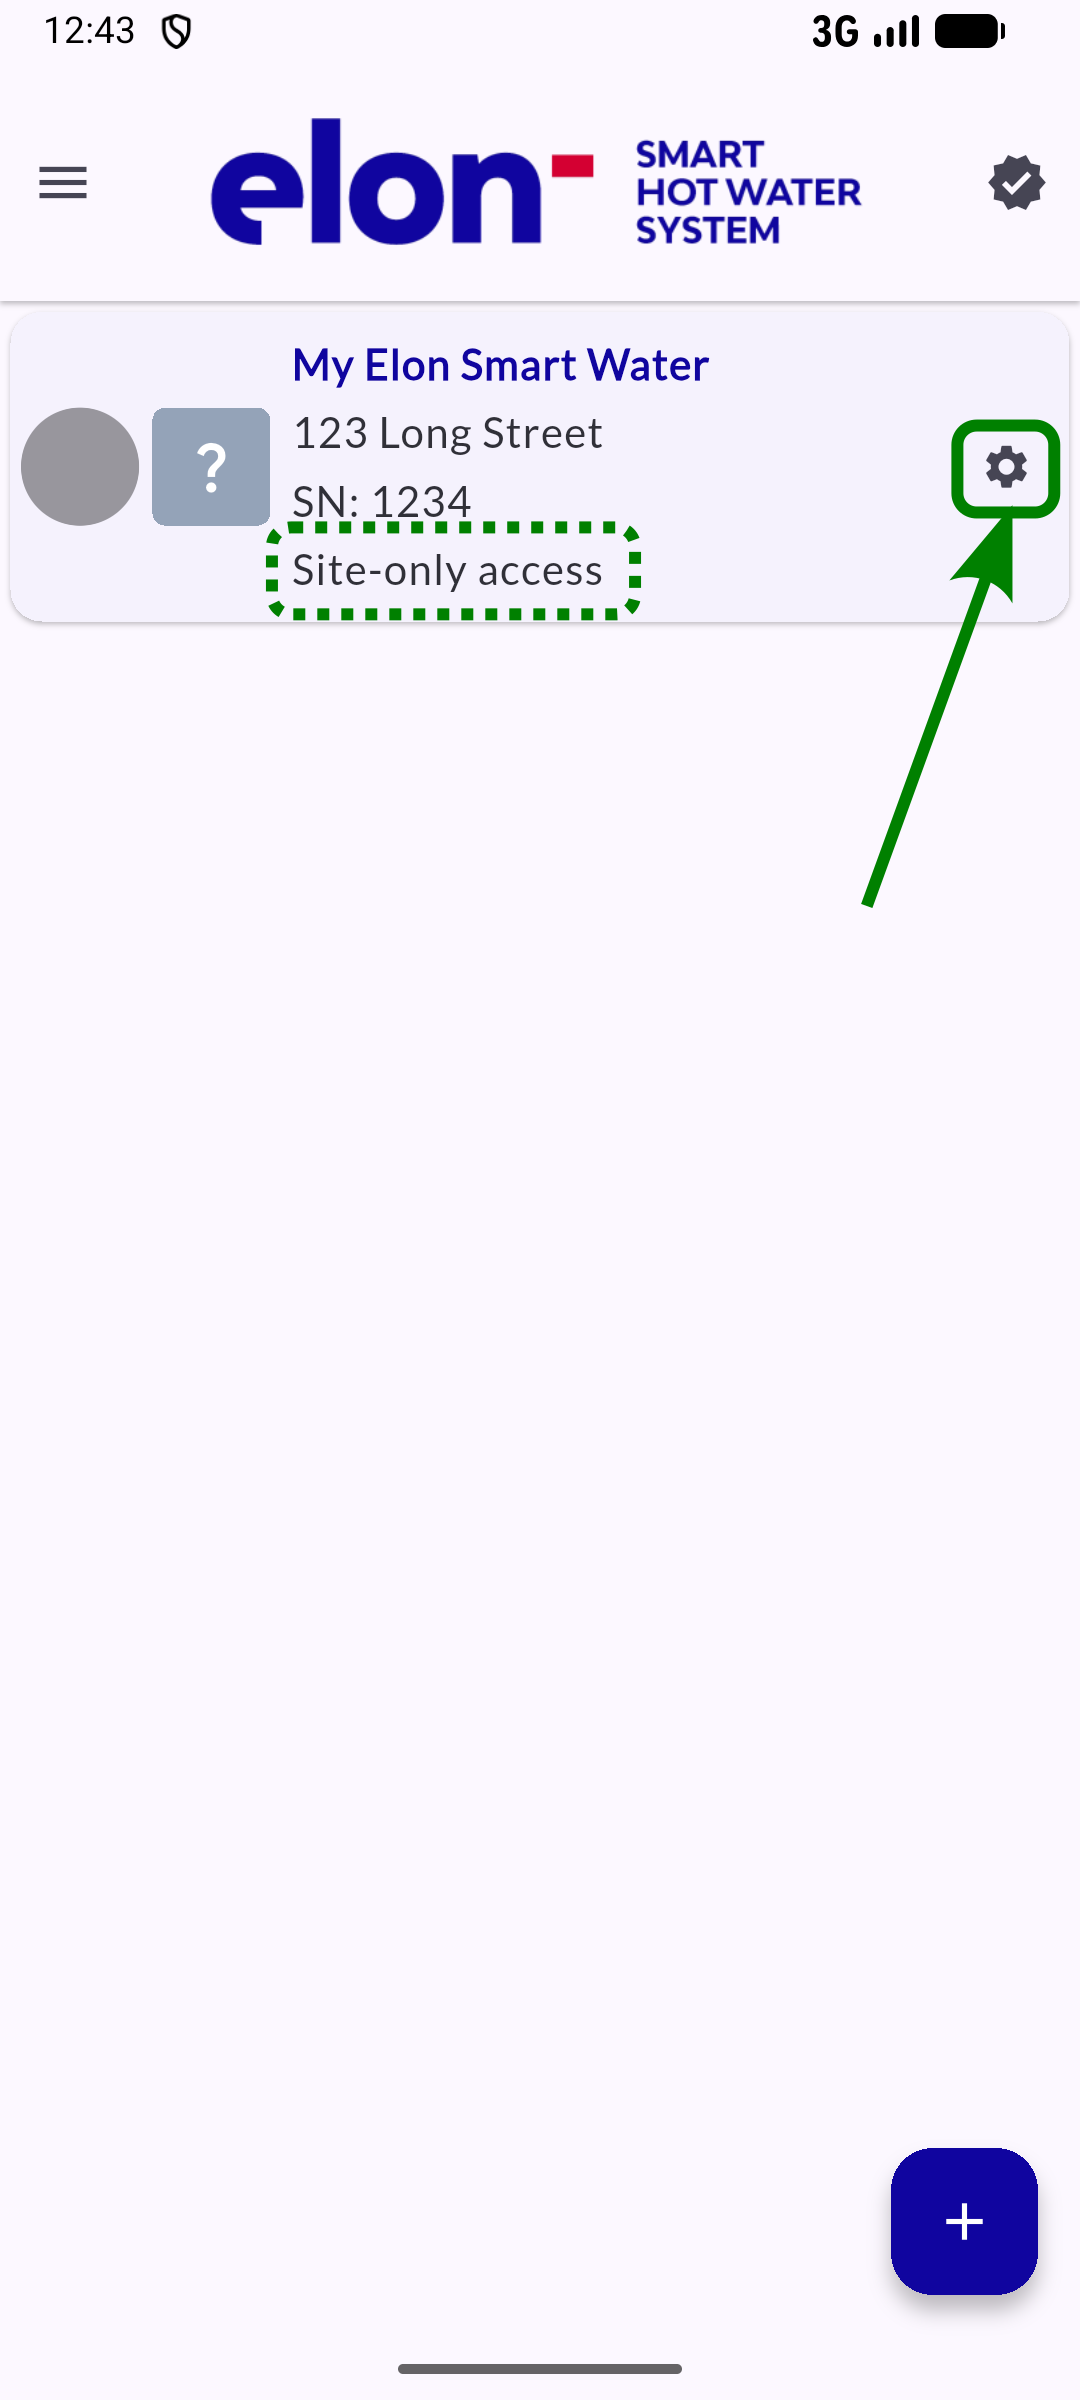
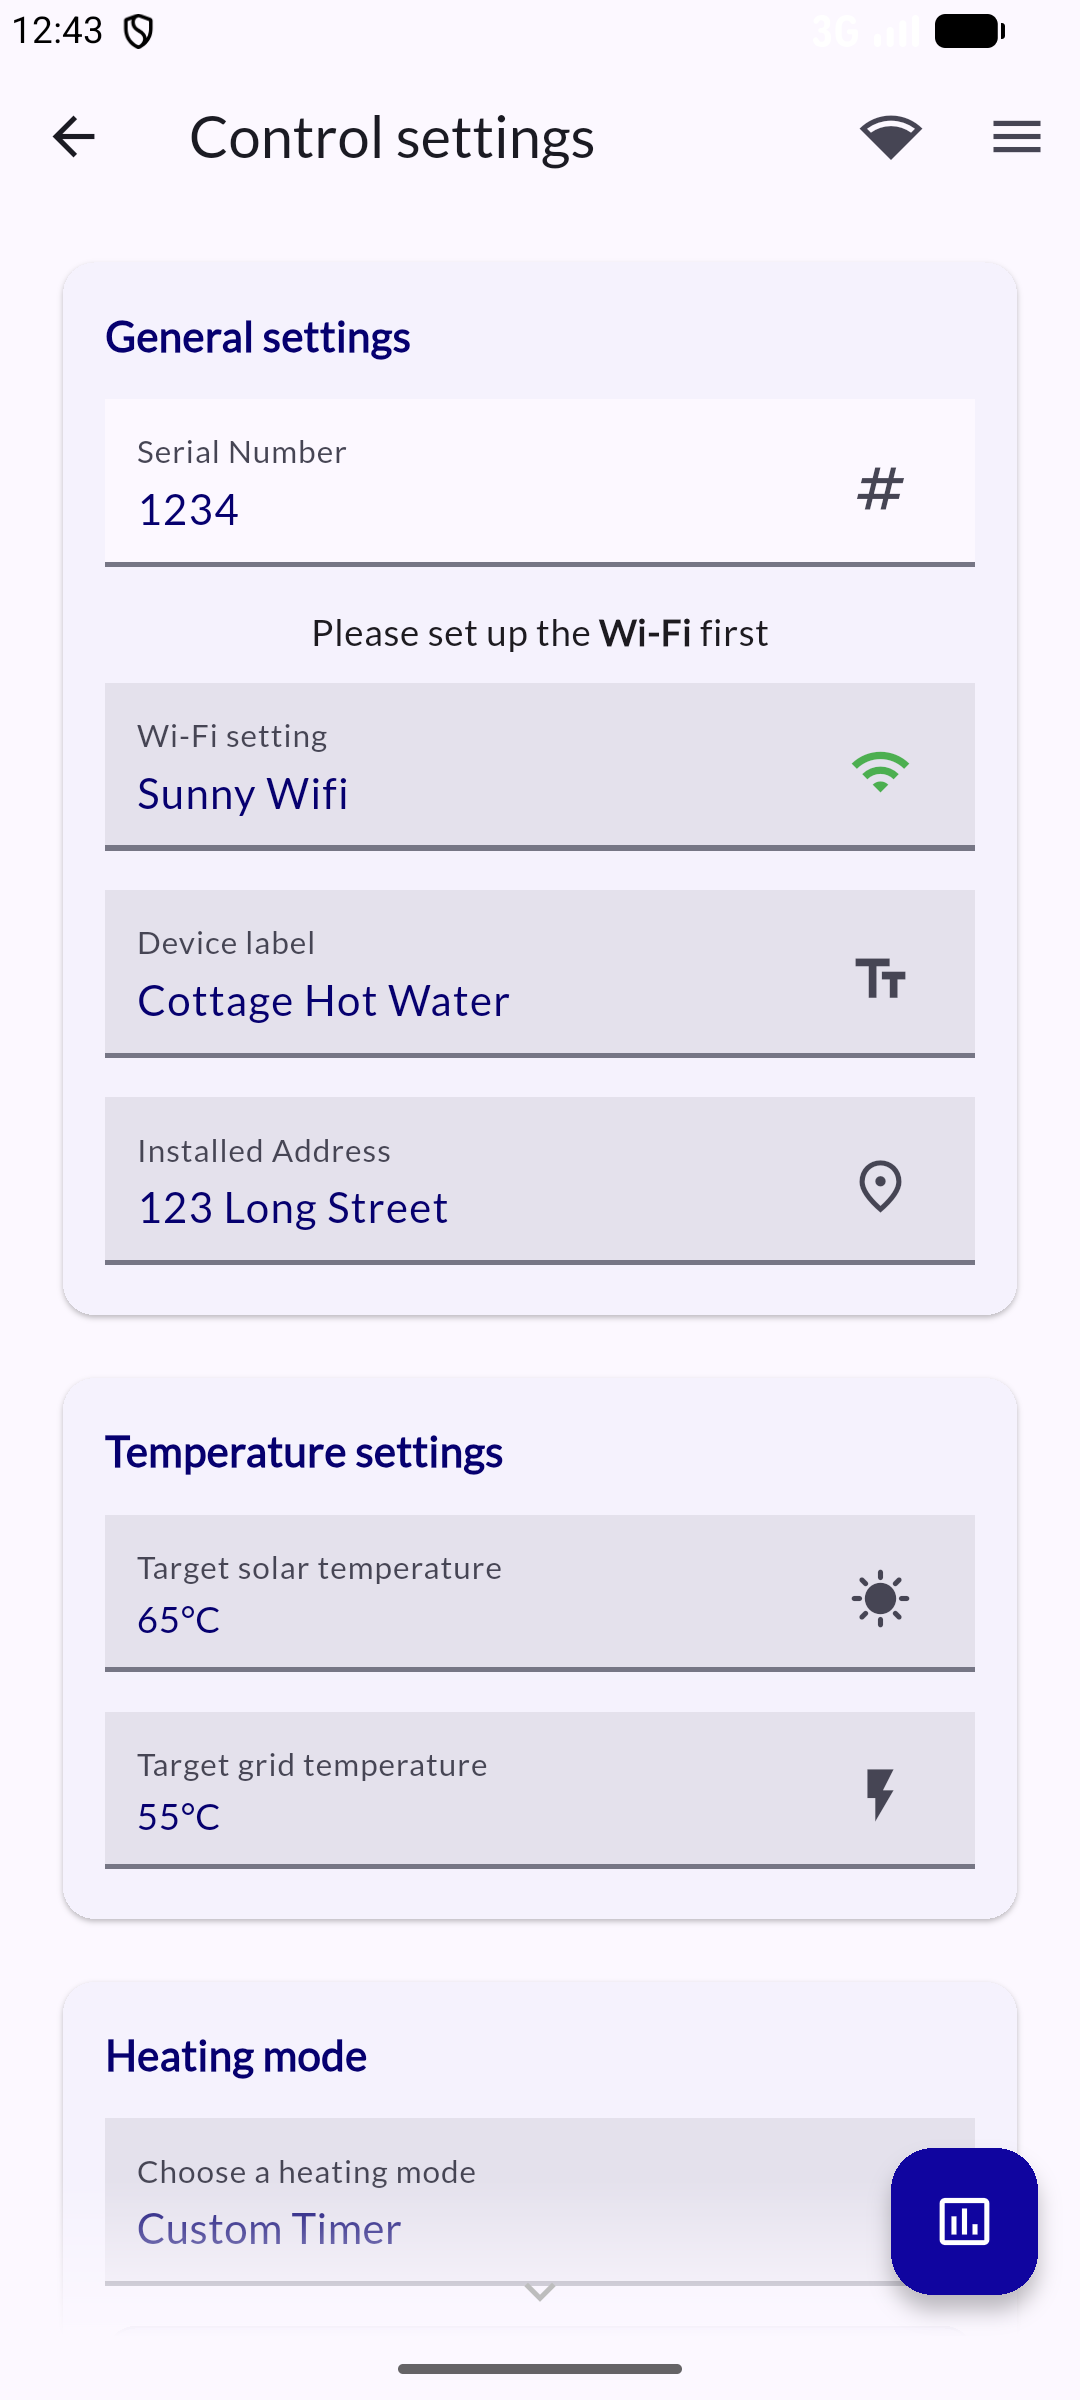
Control settings
When installing the device for the first time, the control settings screen is your primary entry point for smooth operation.
Connect to the device's control settings
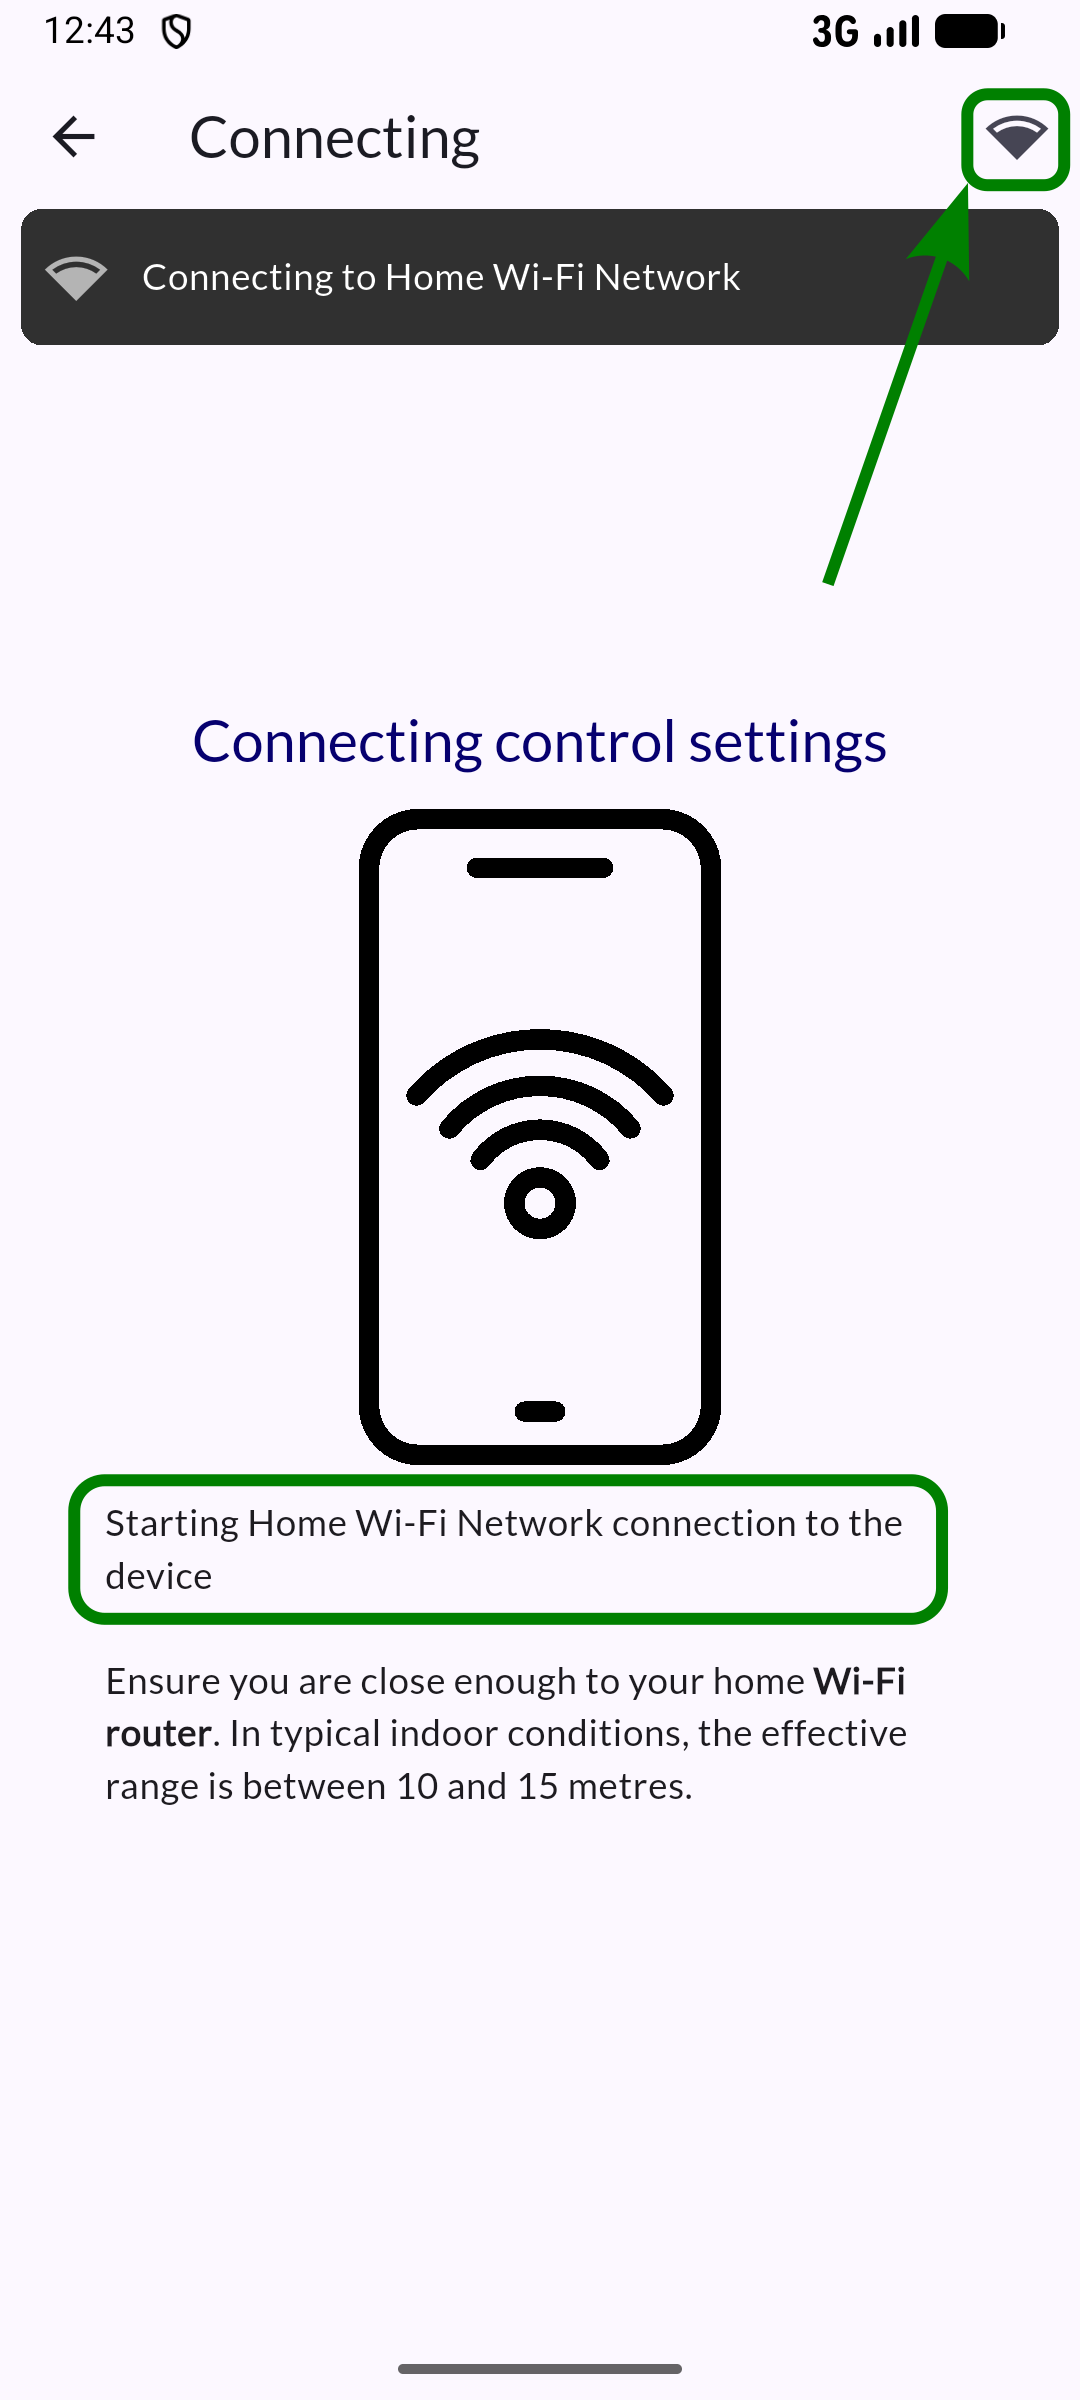
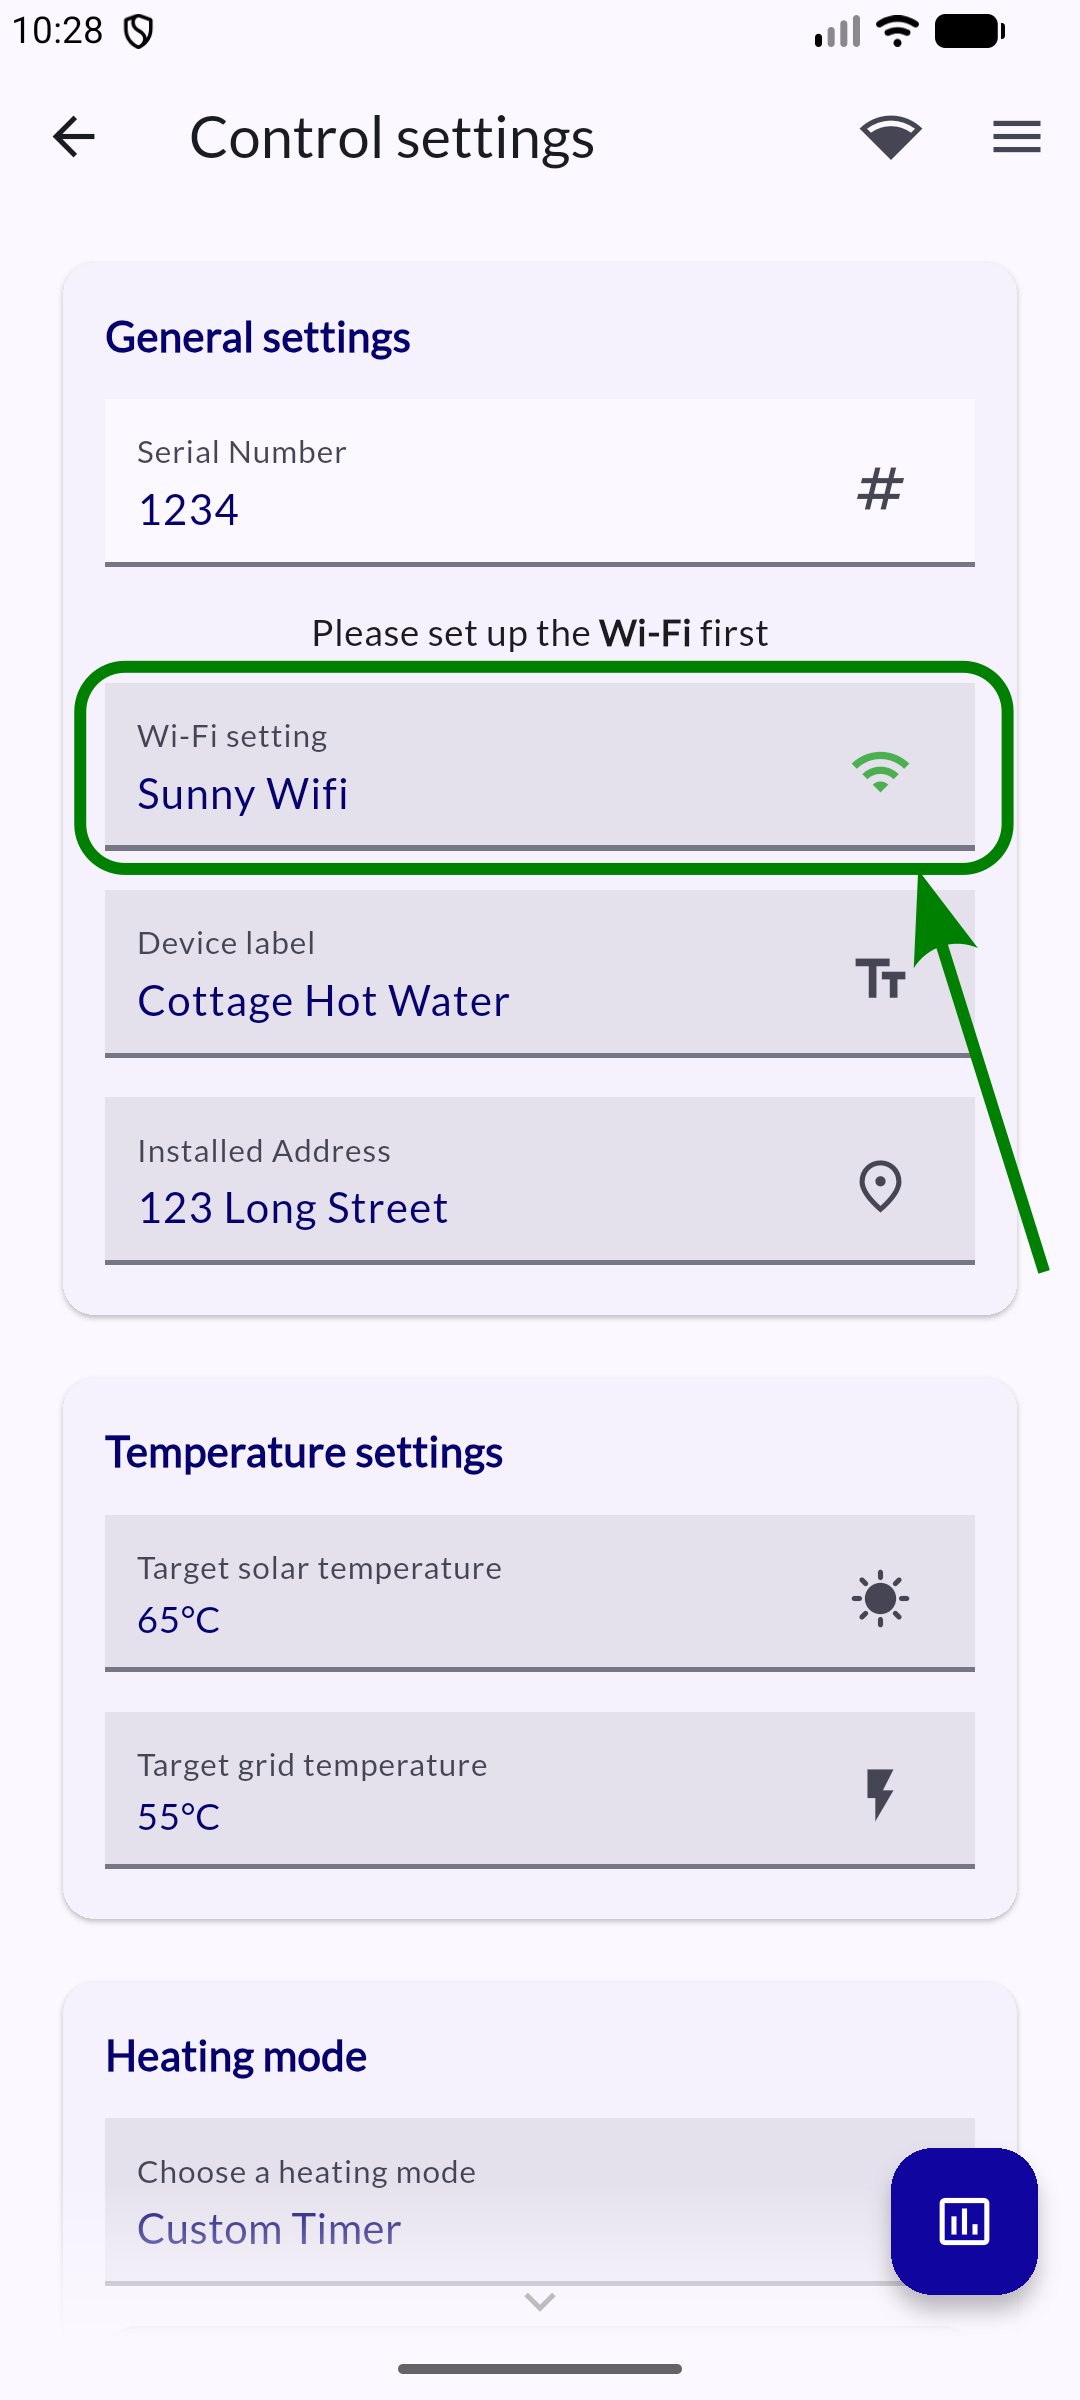
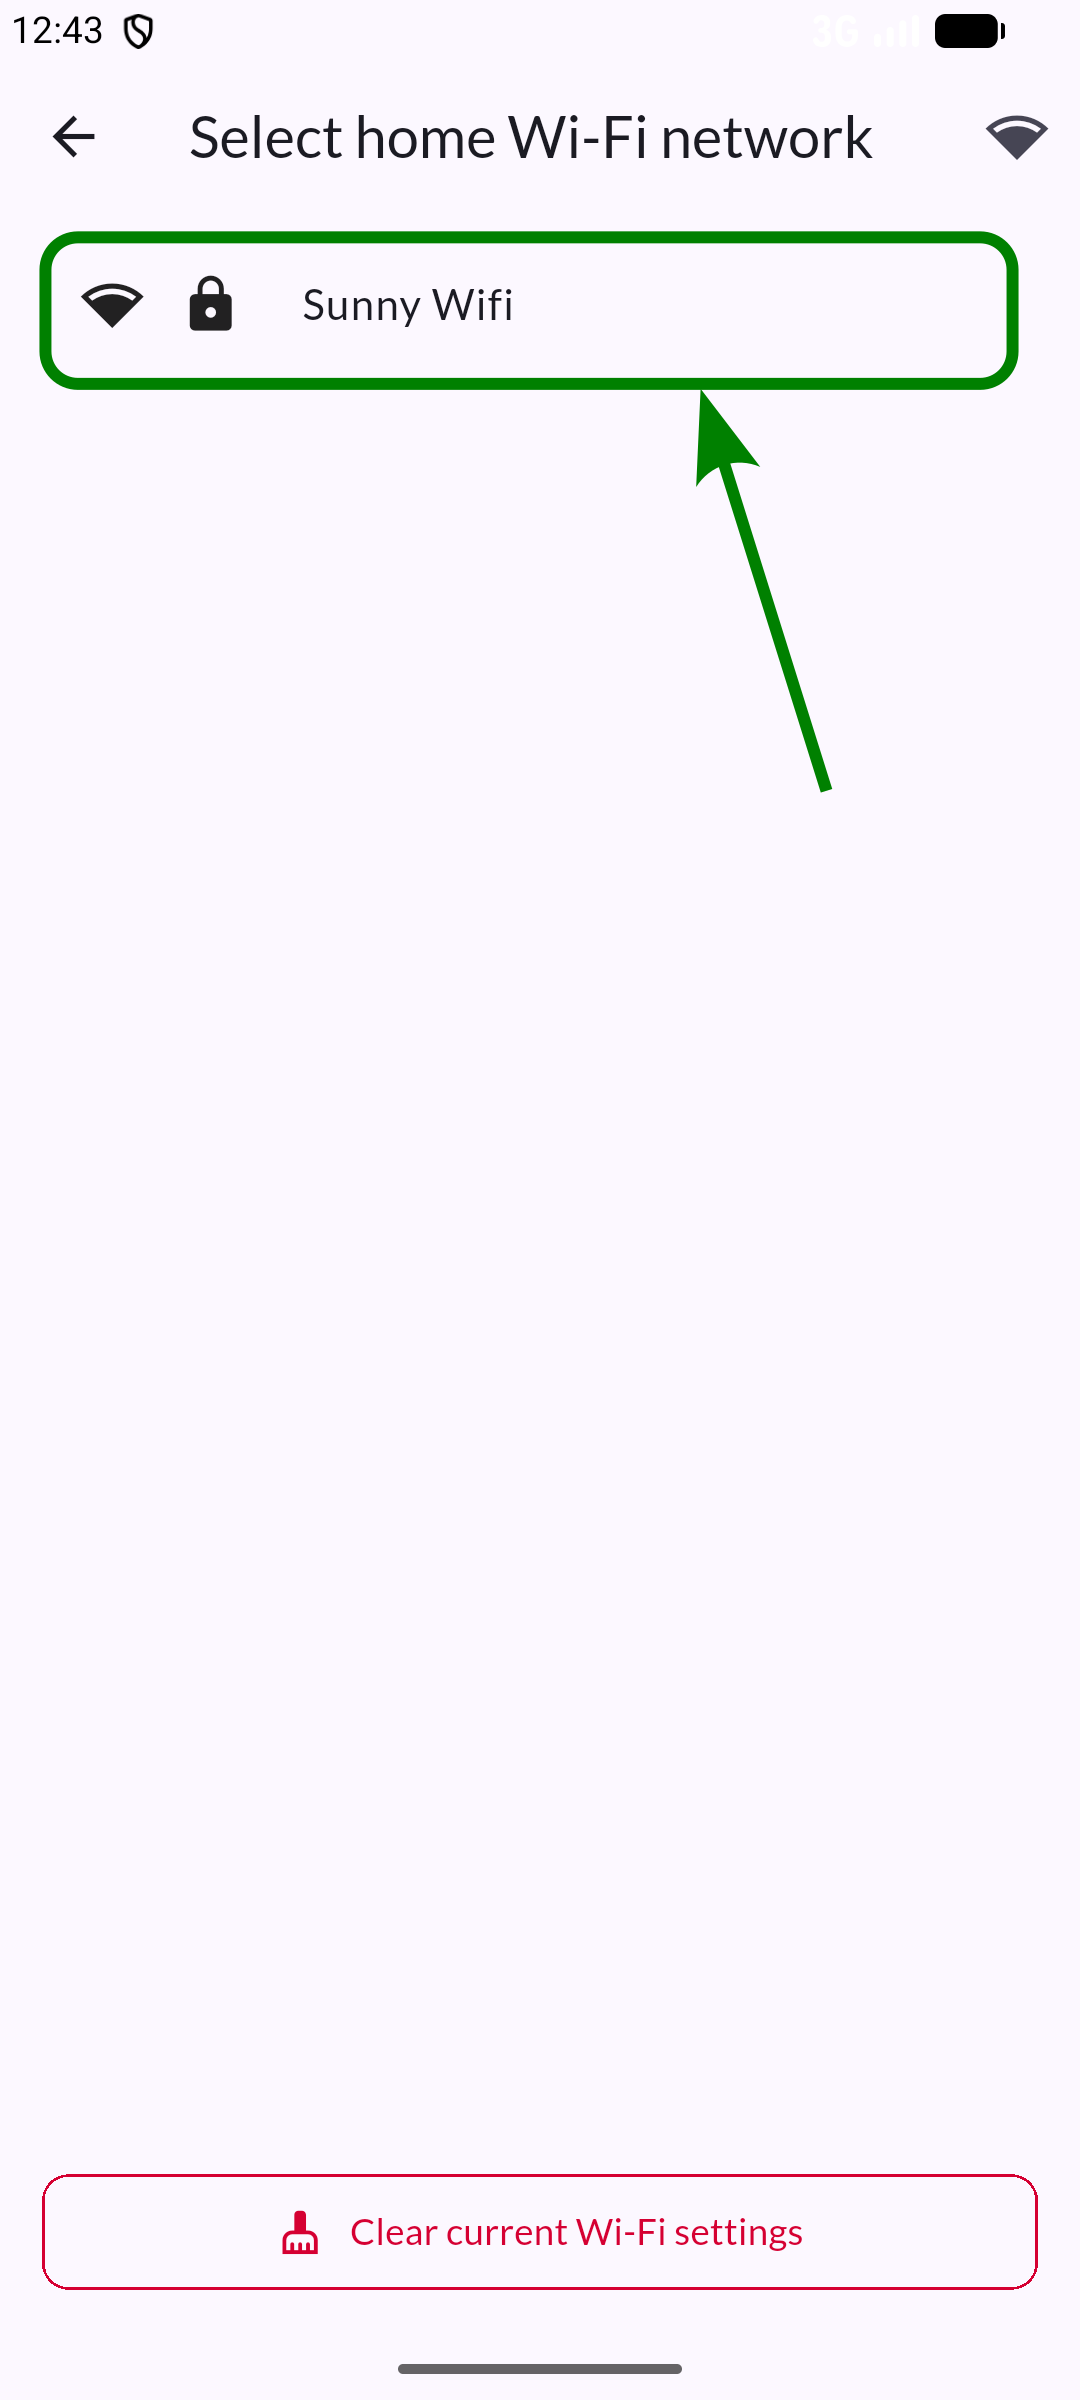
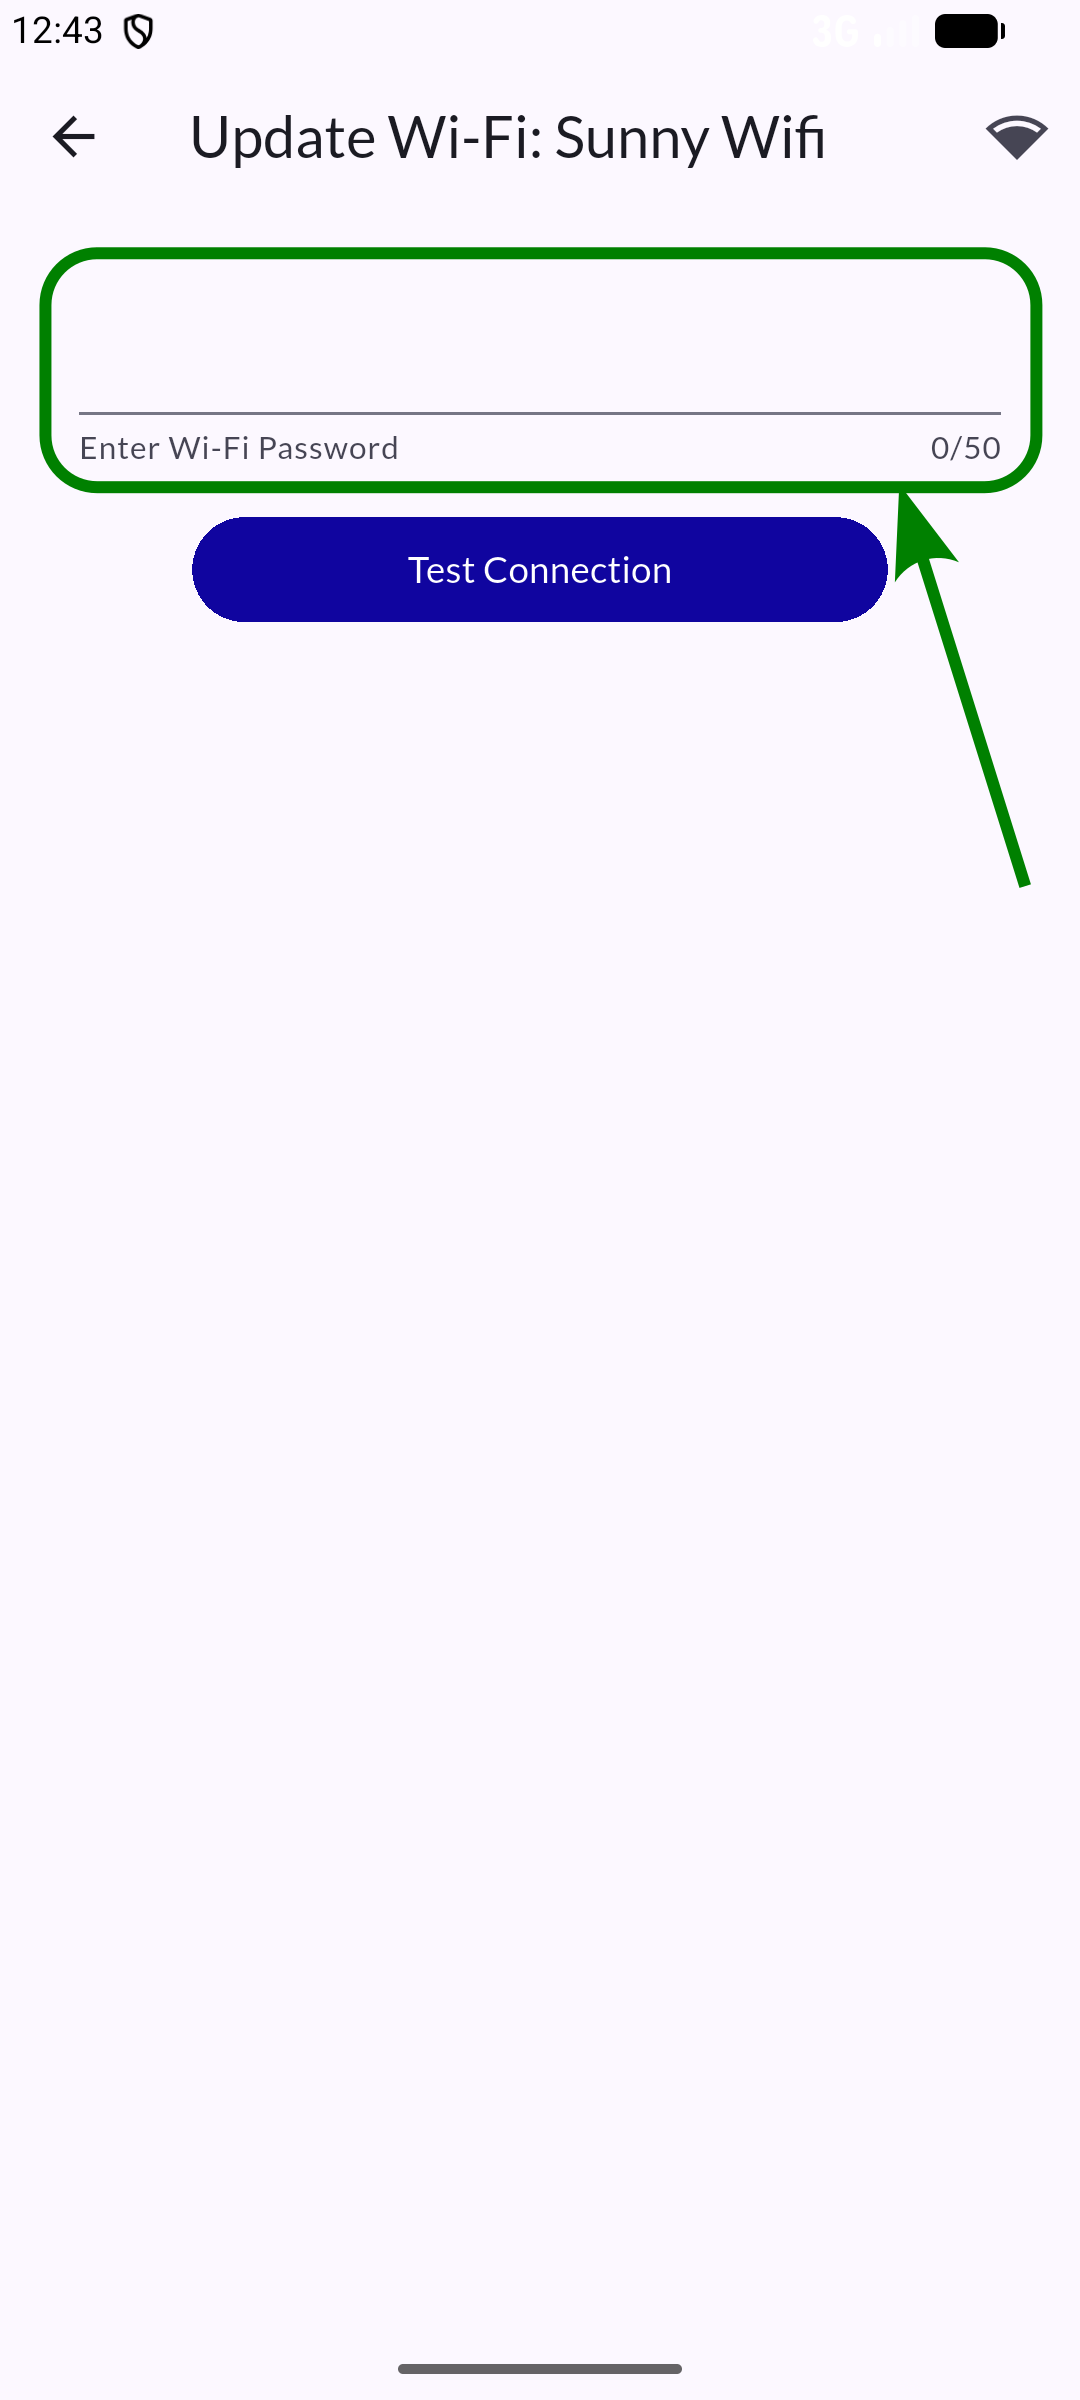
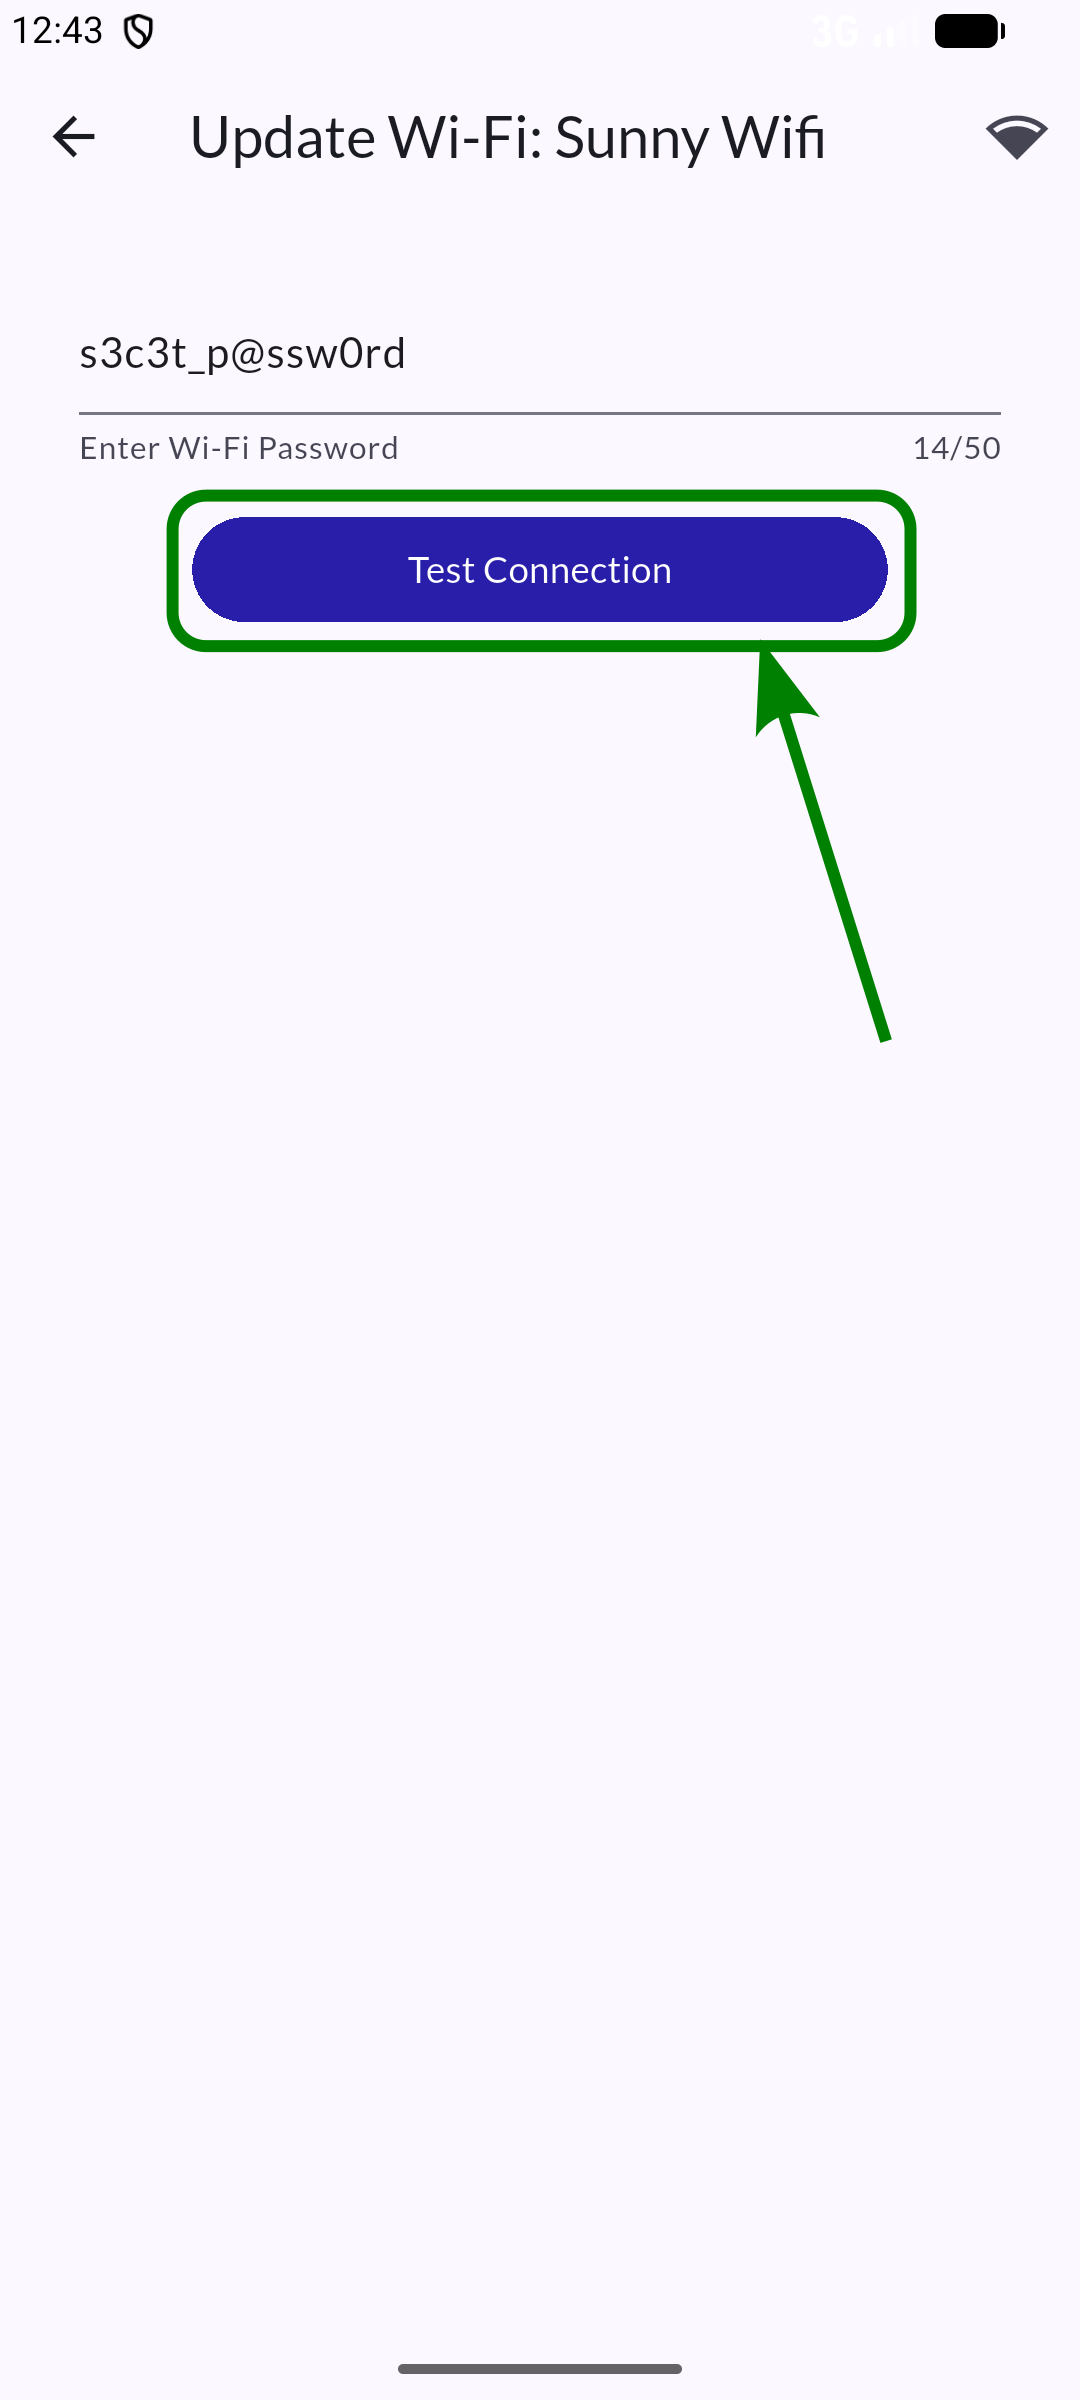
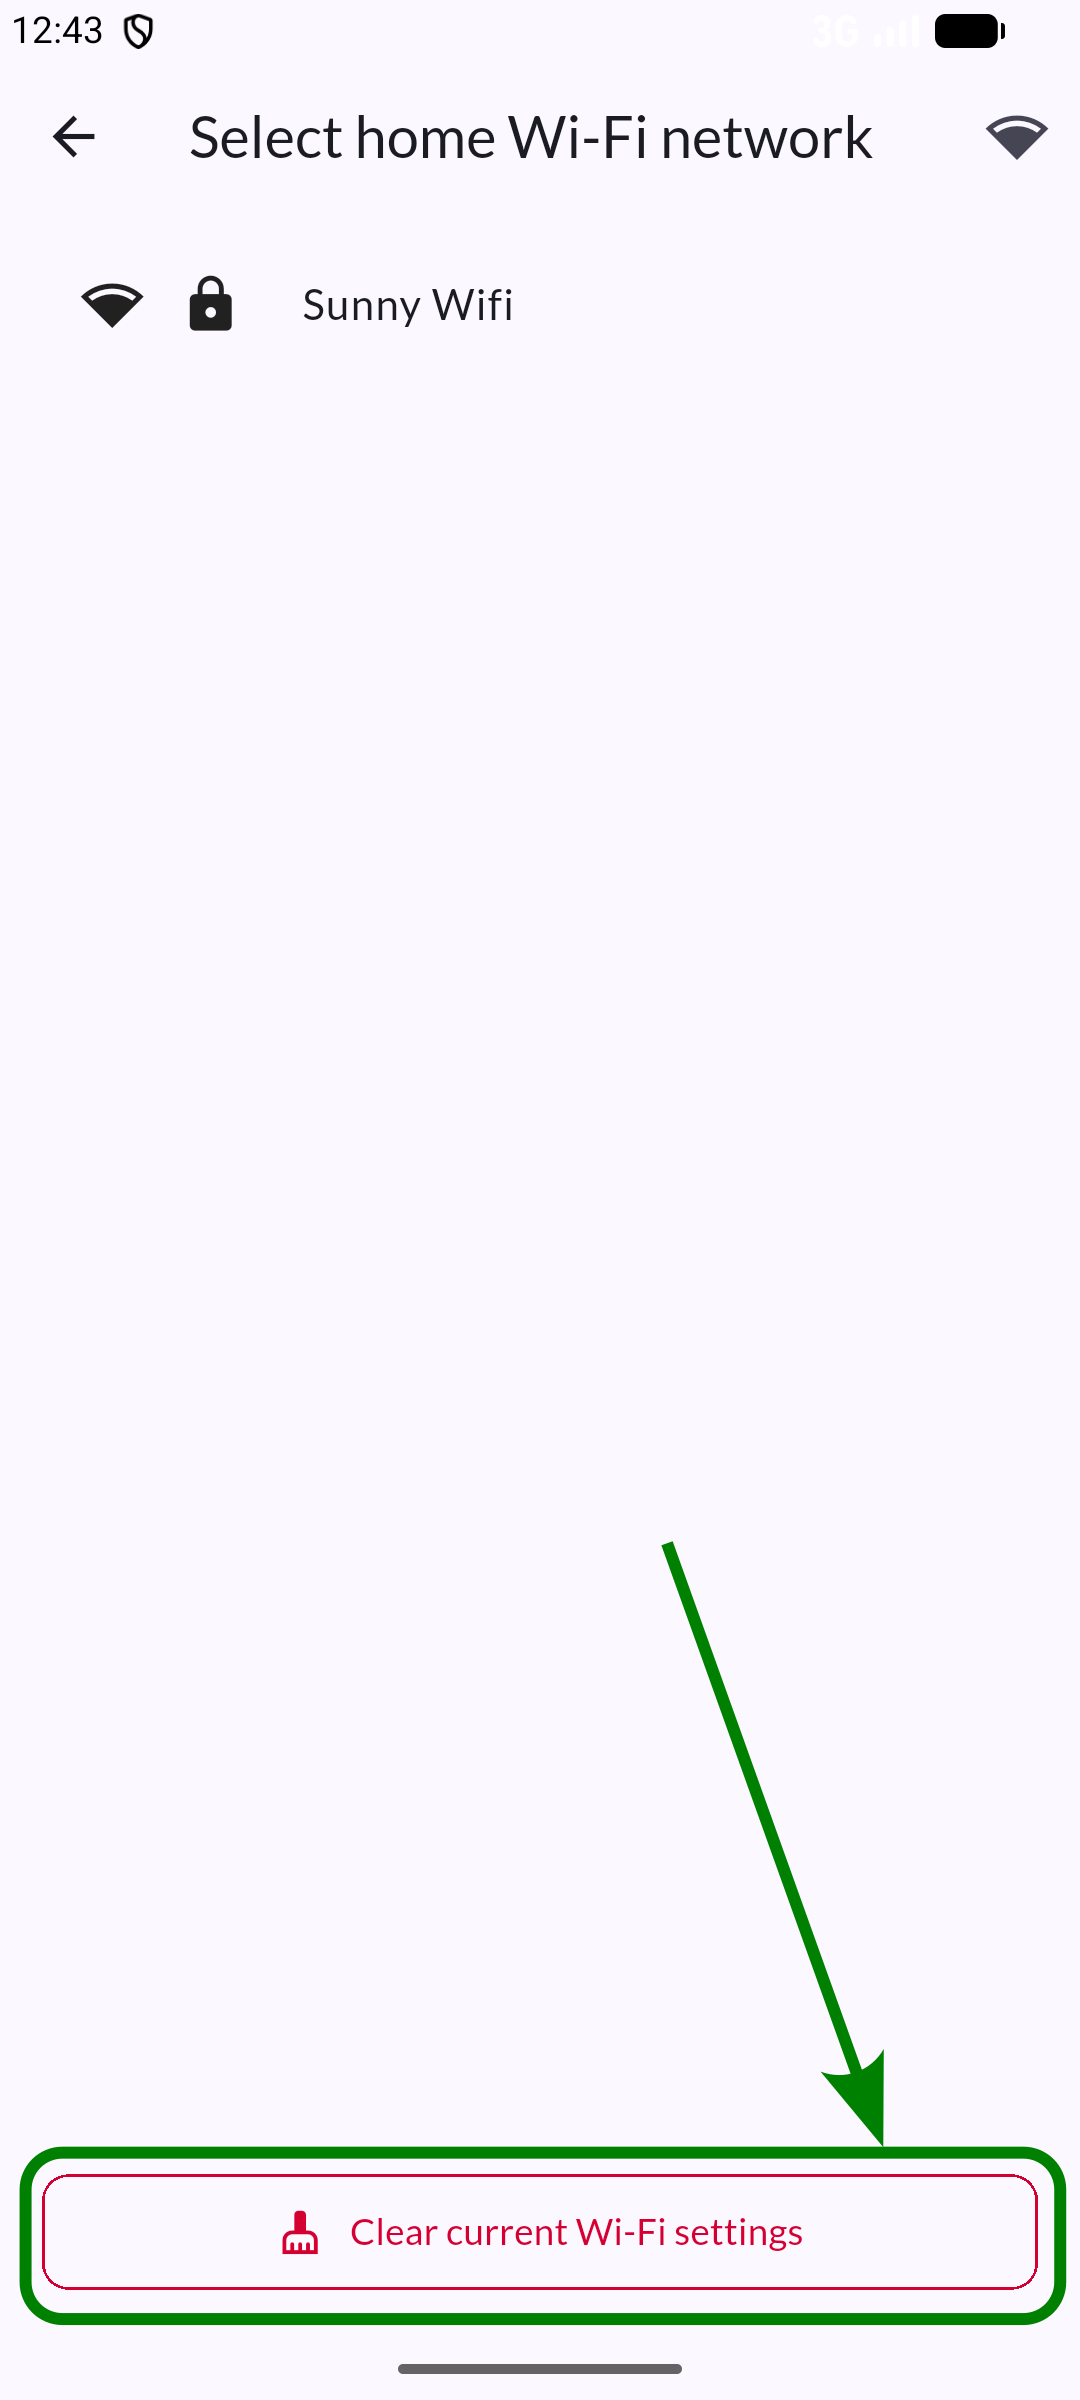
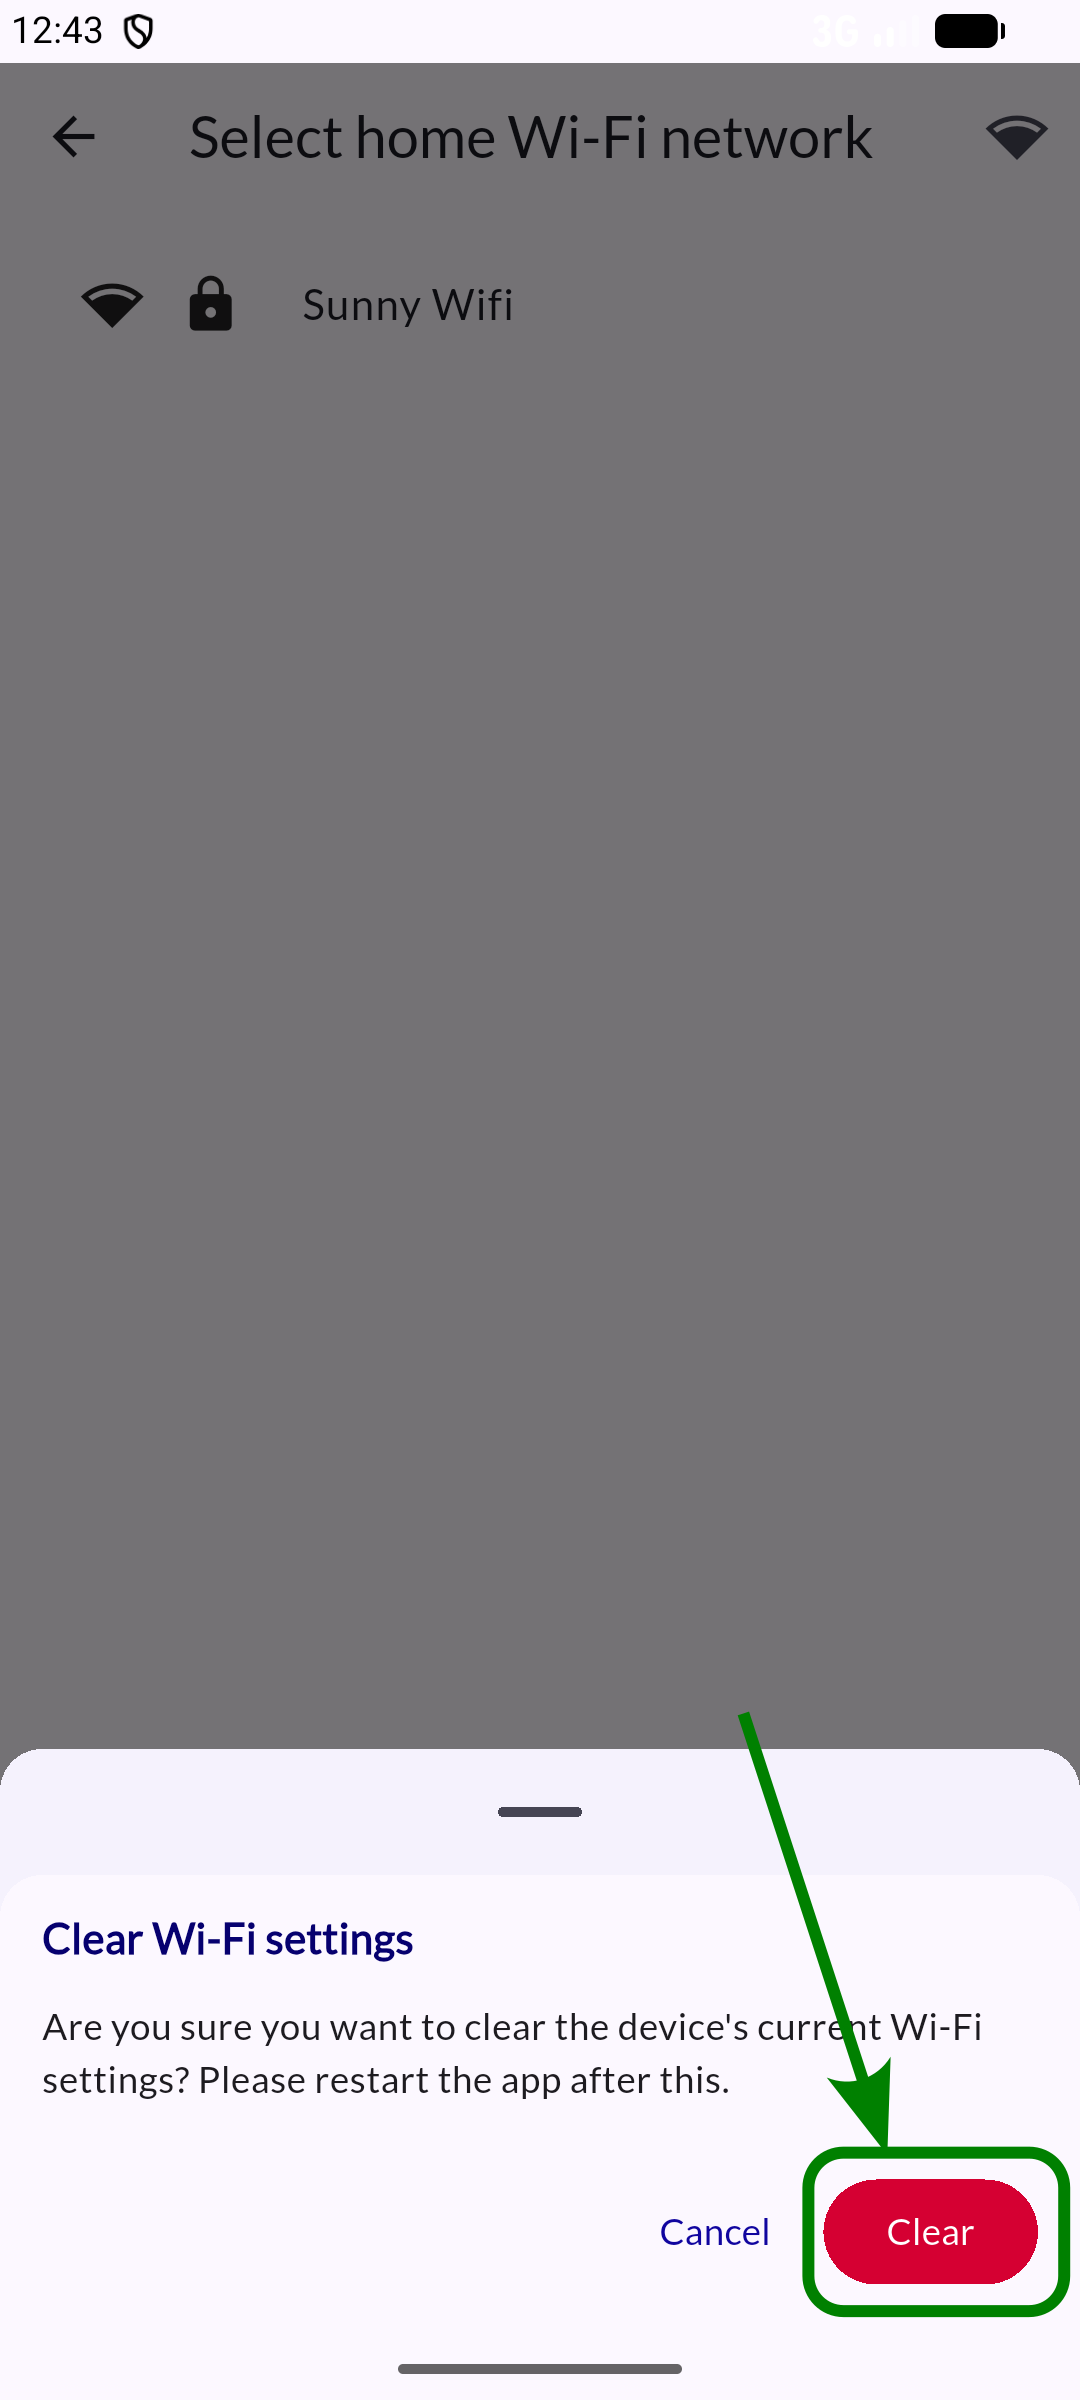
Wi-Fi settings
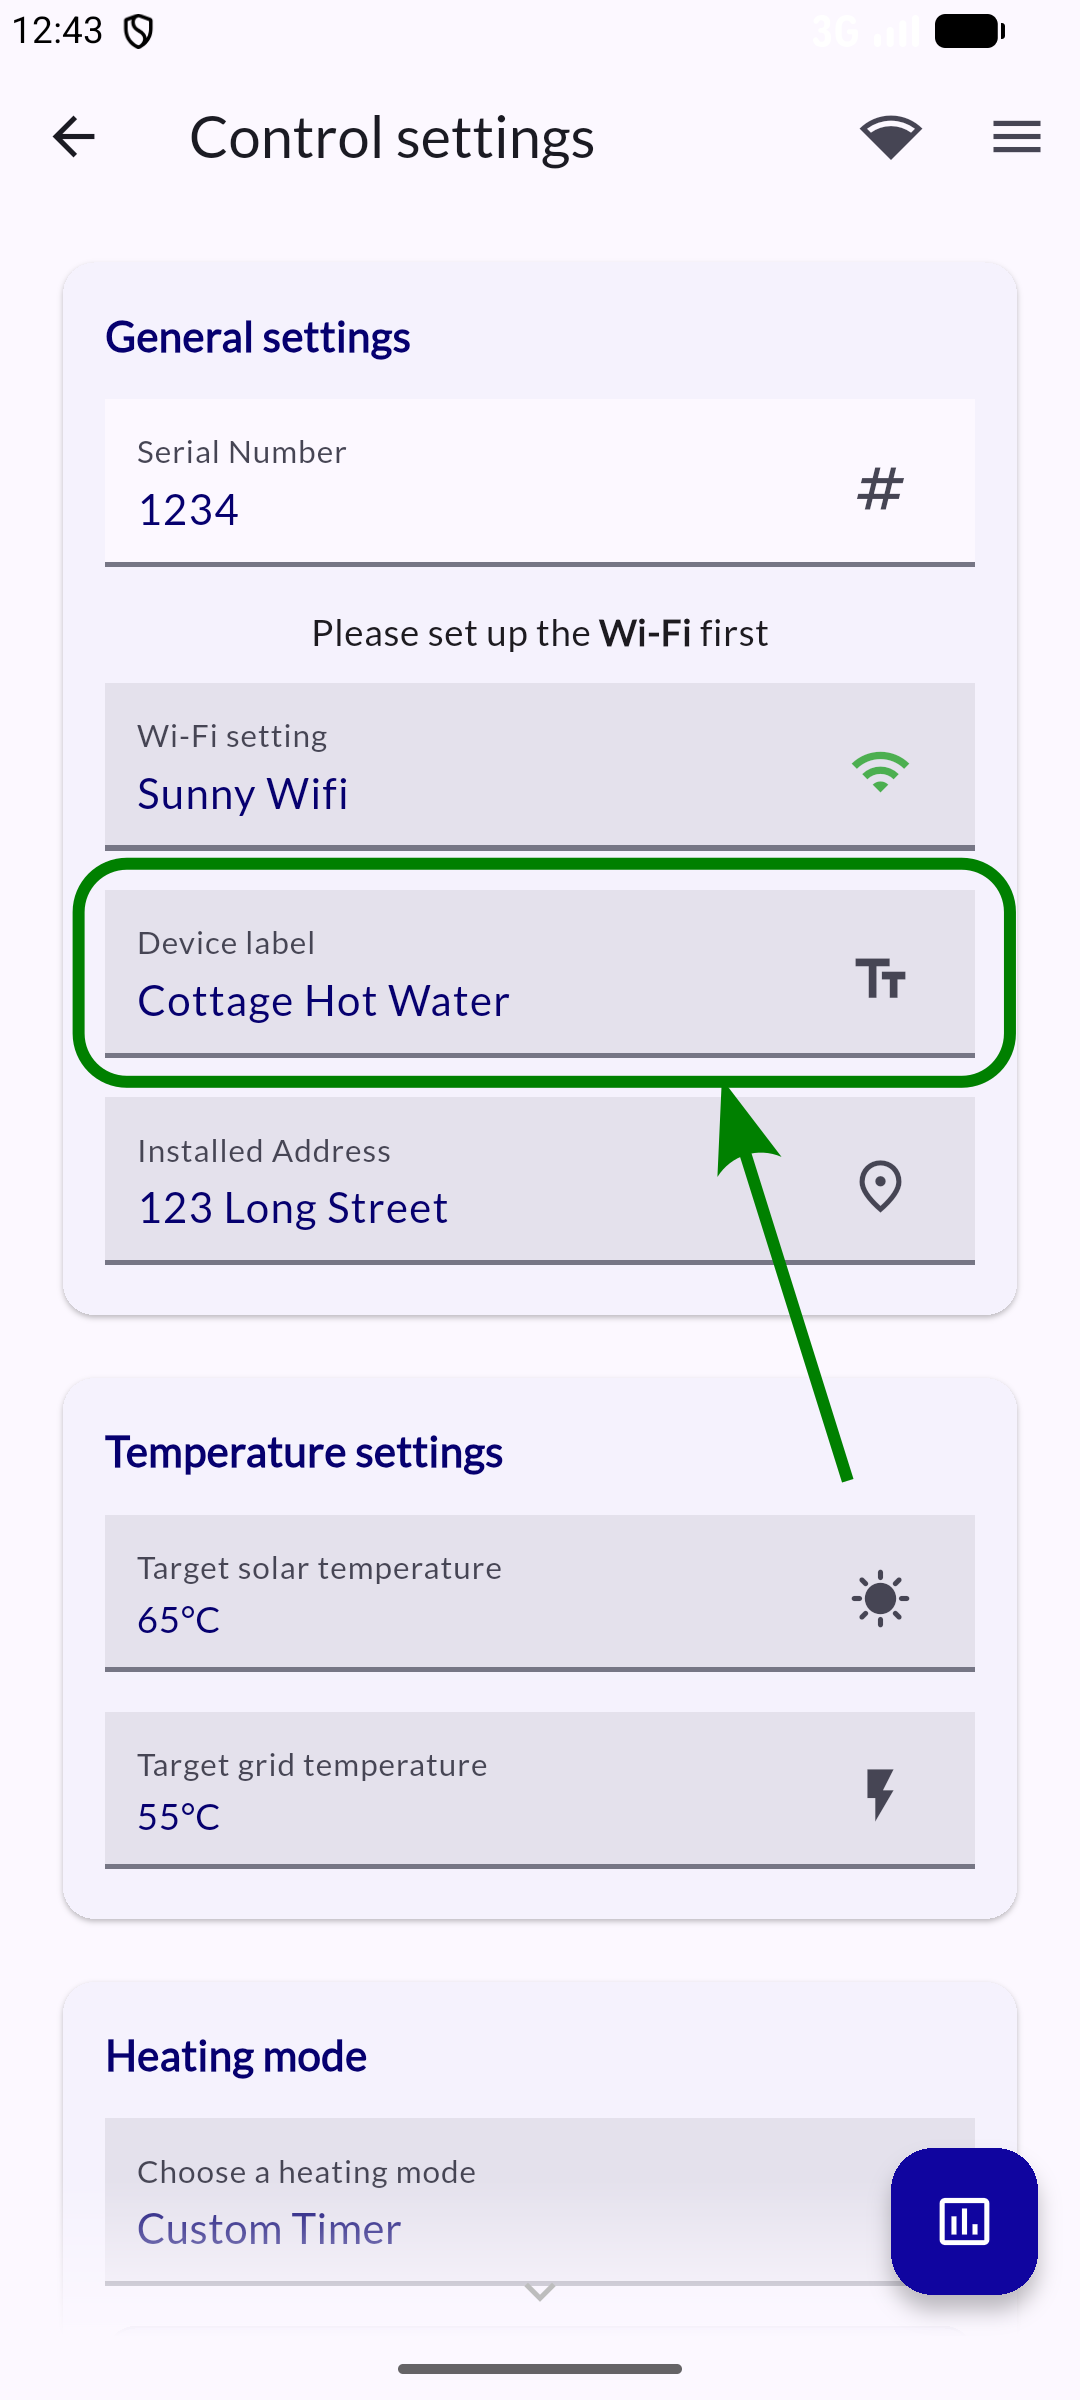
Device label
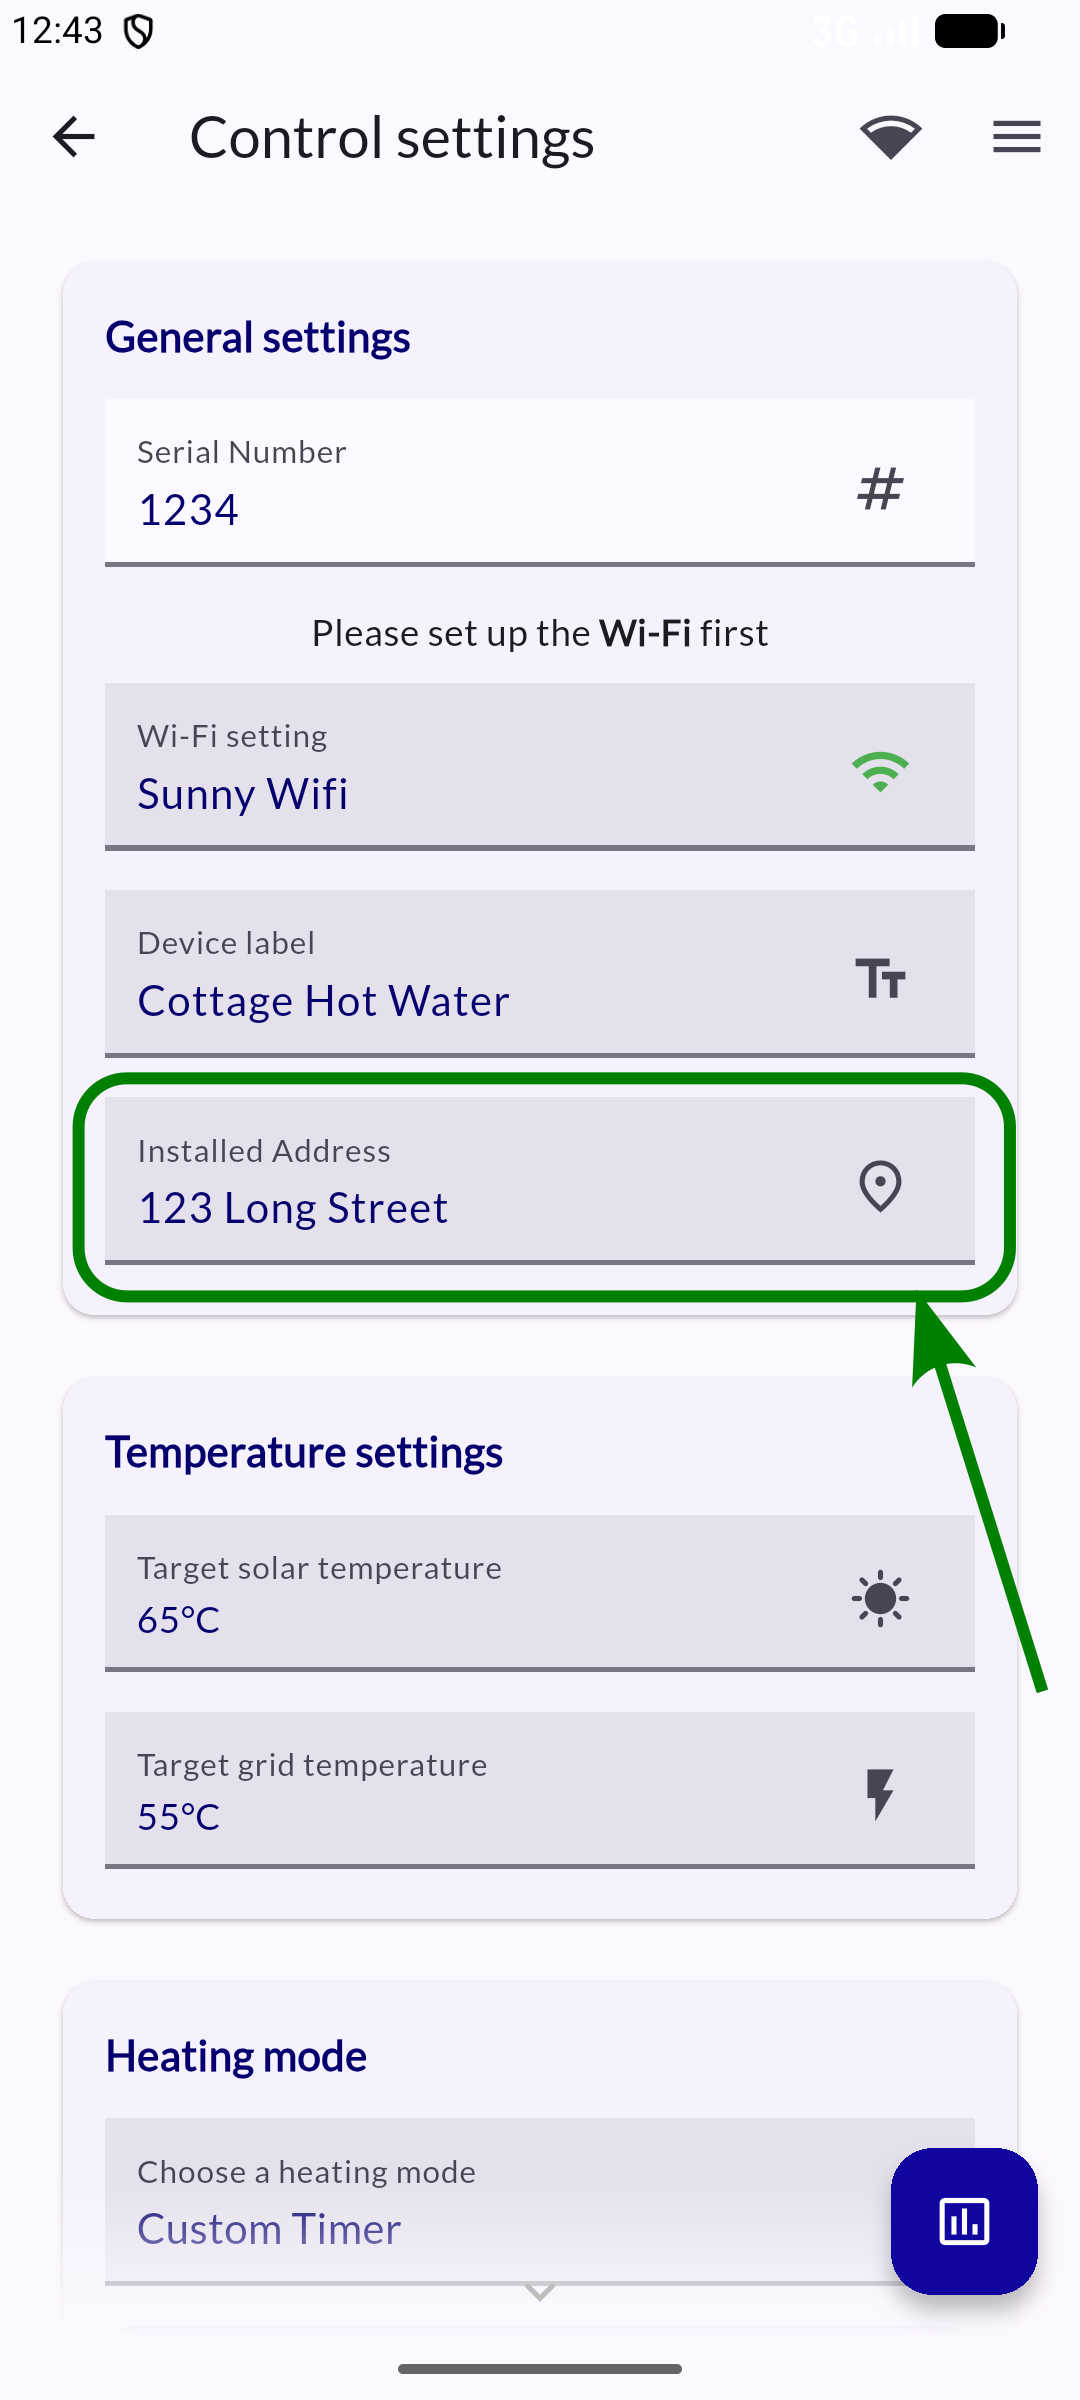
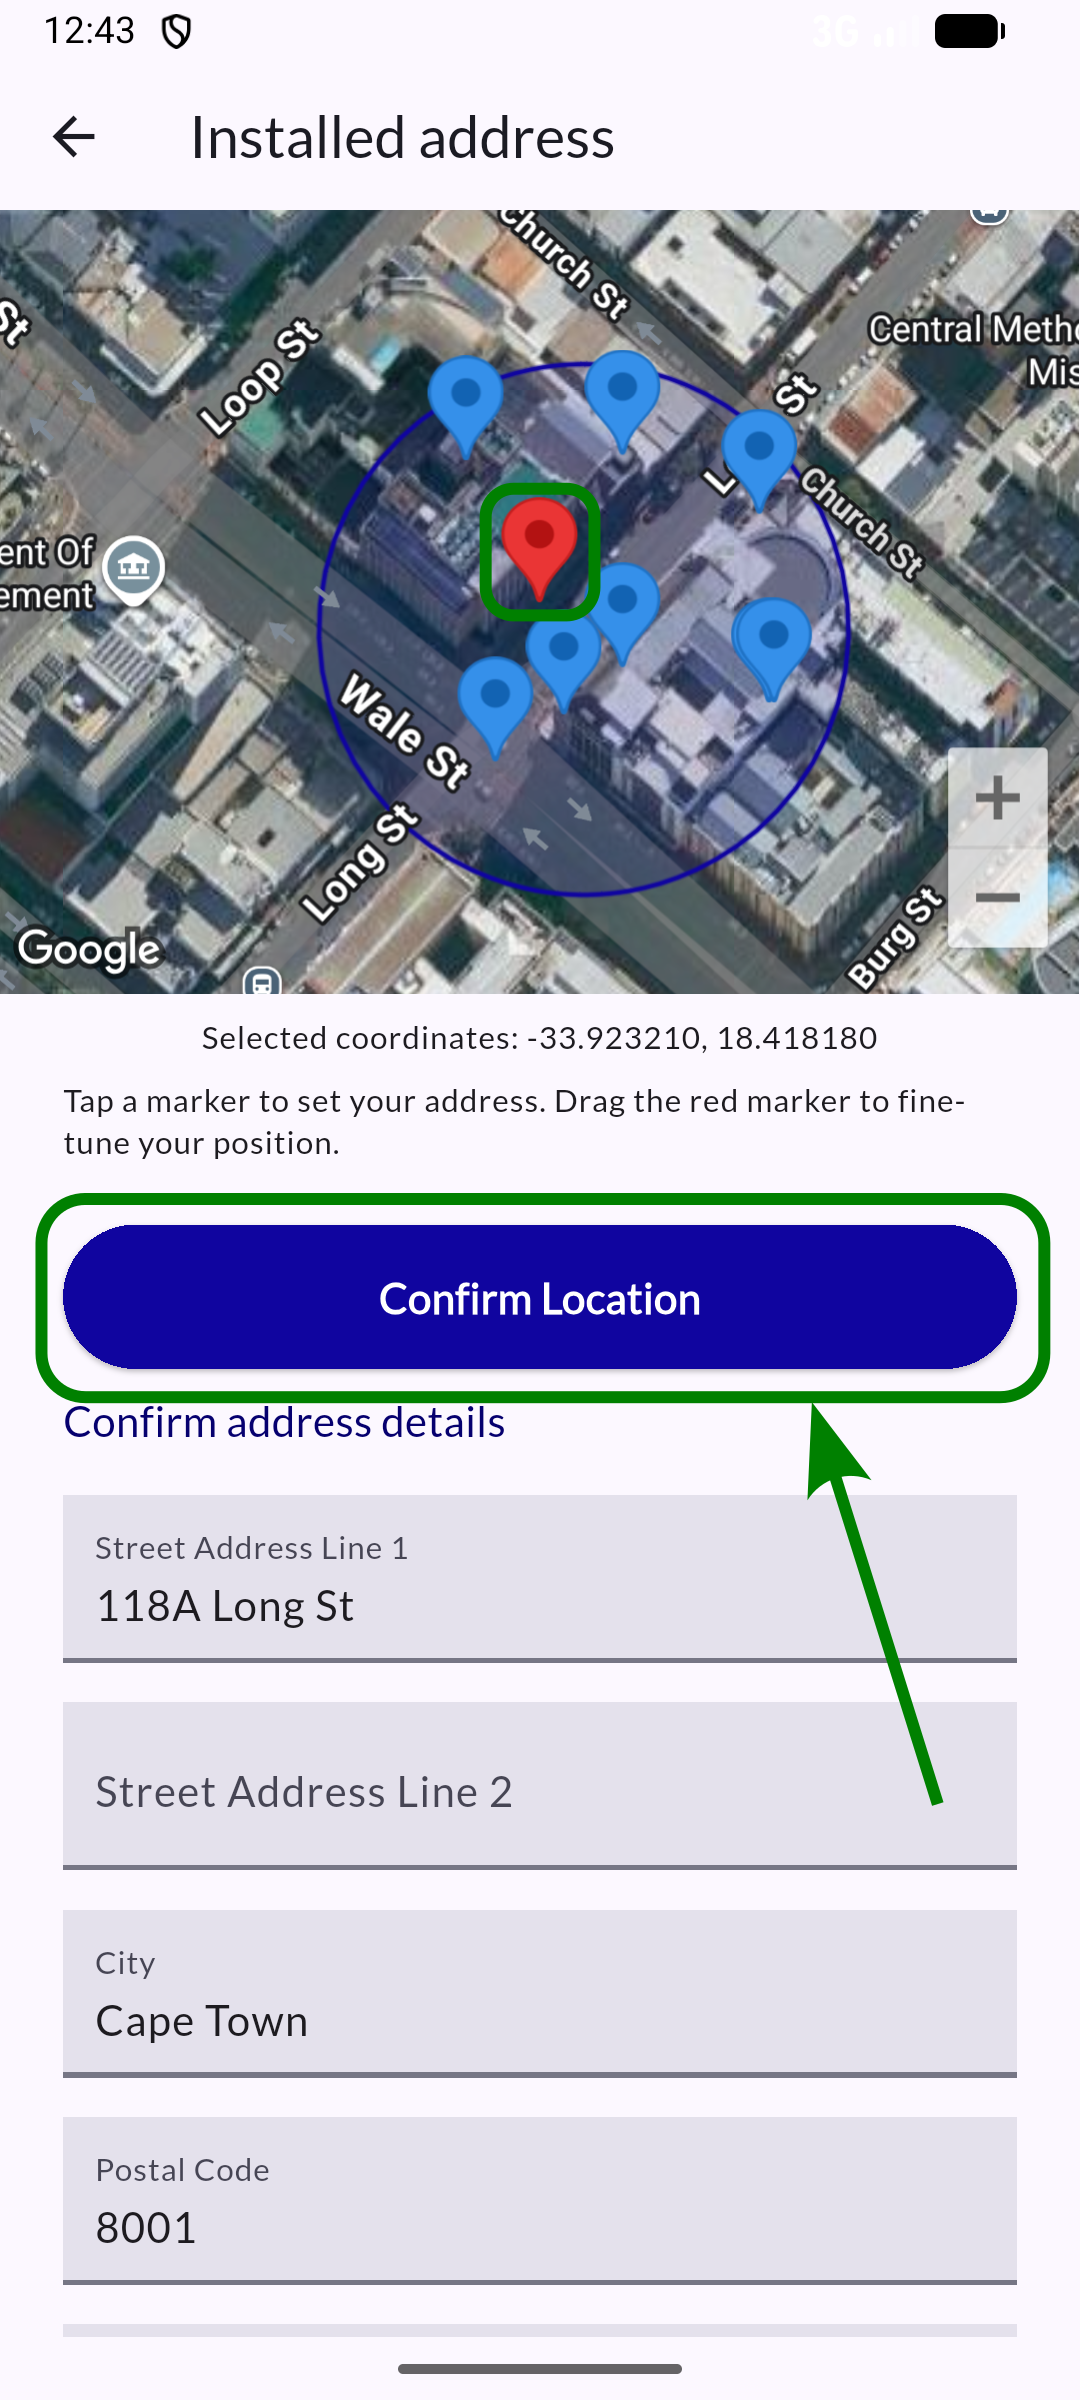
Installed address
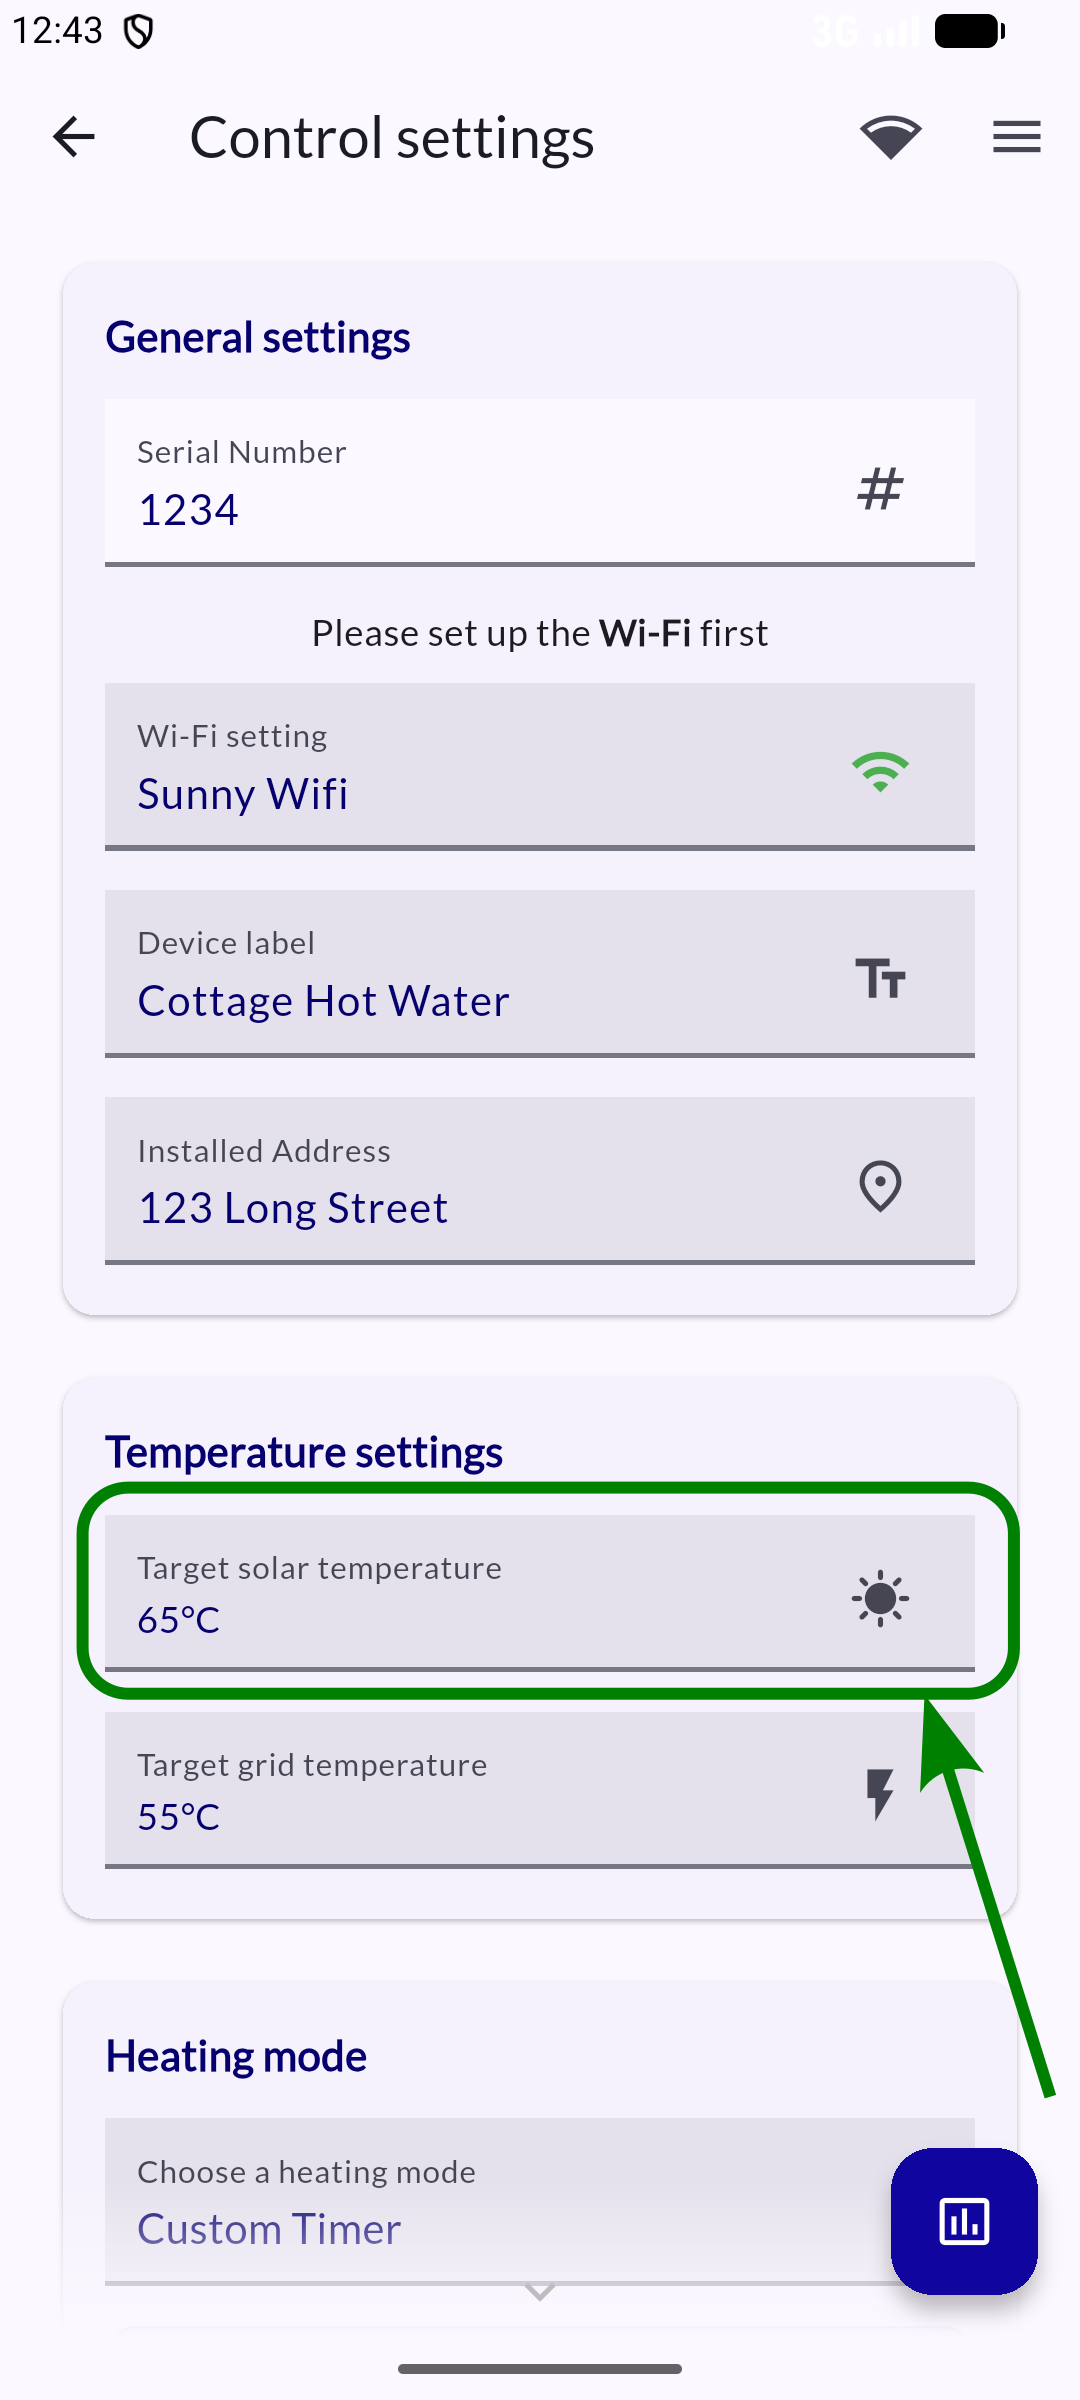
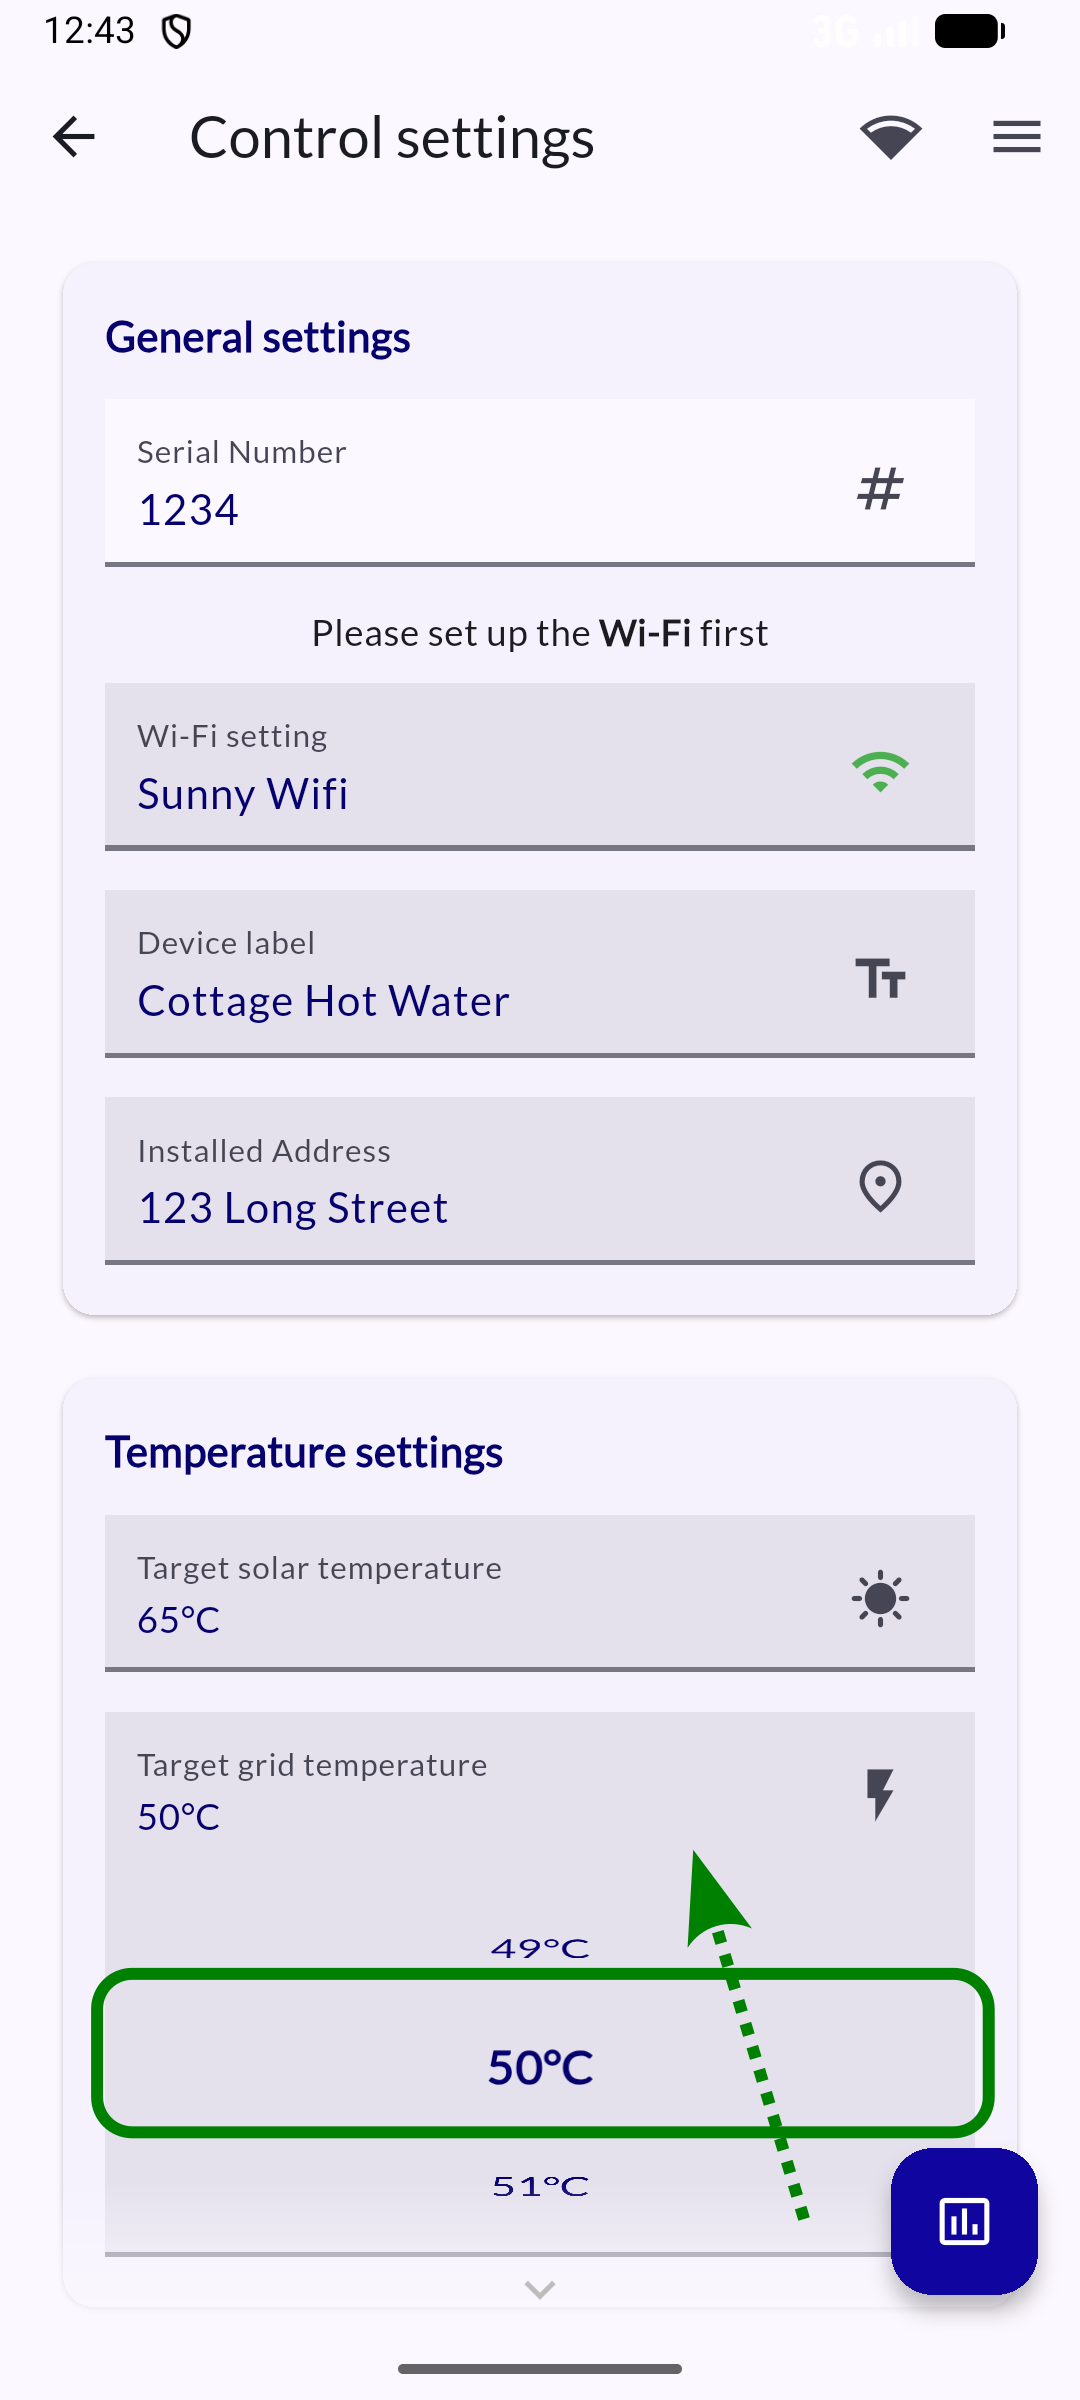
Temperature settings
Heating modes
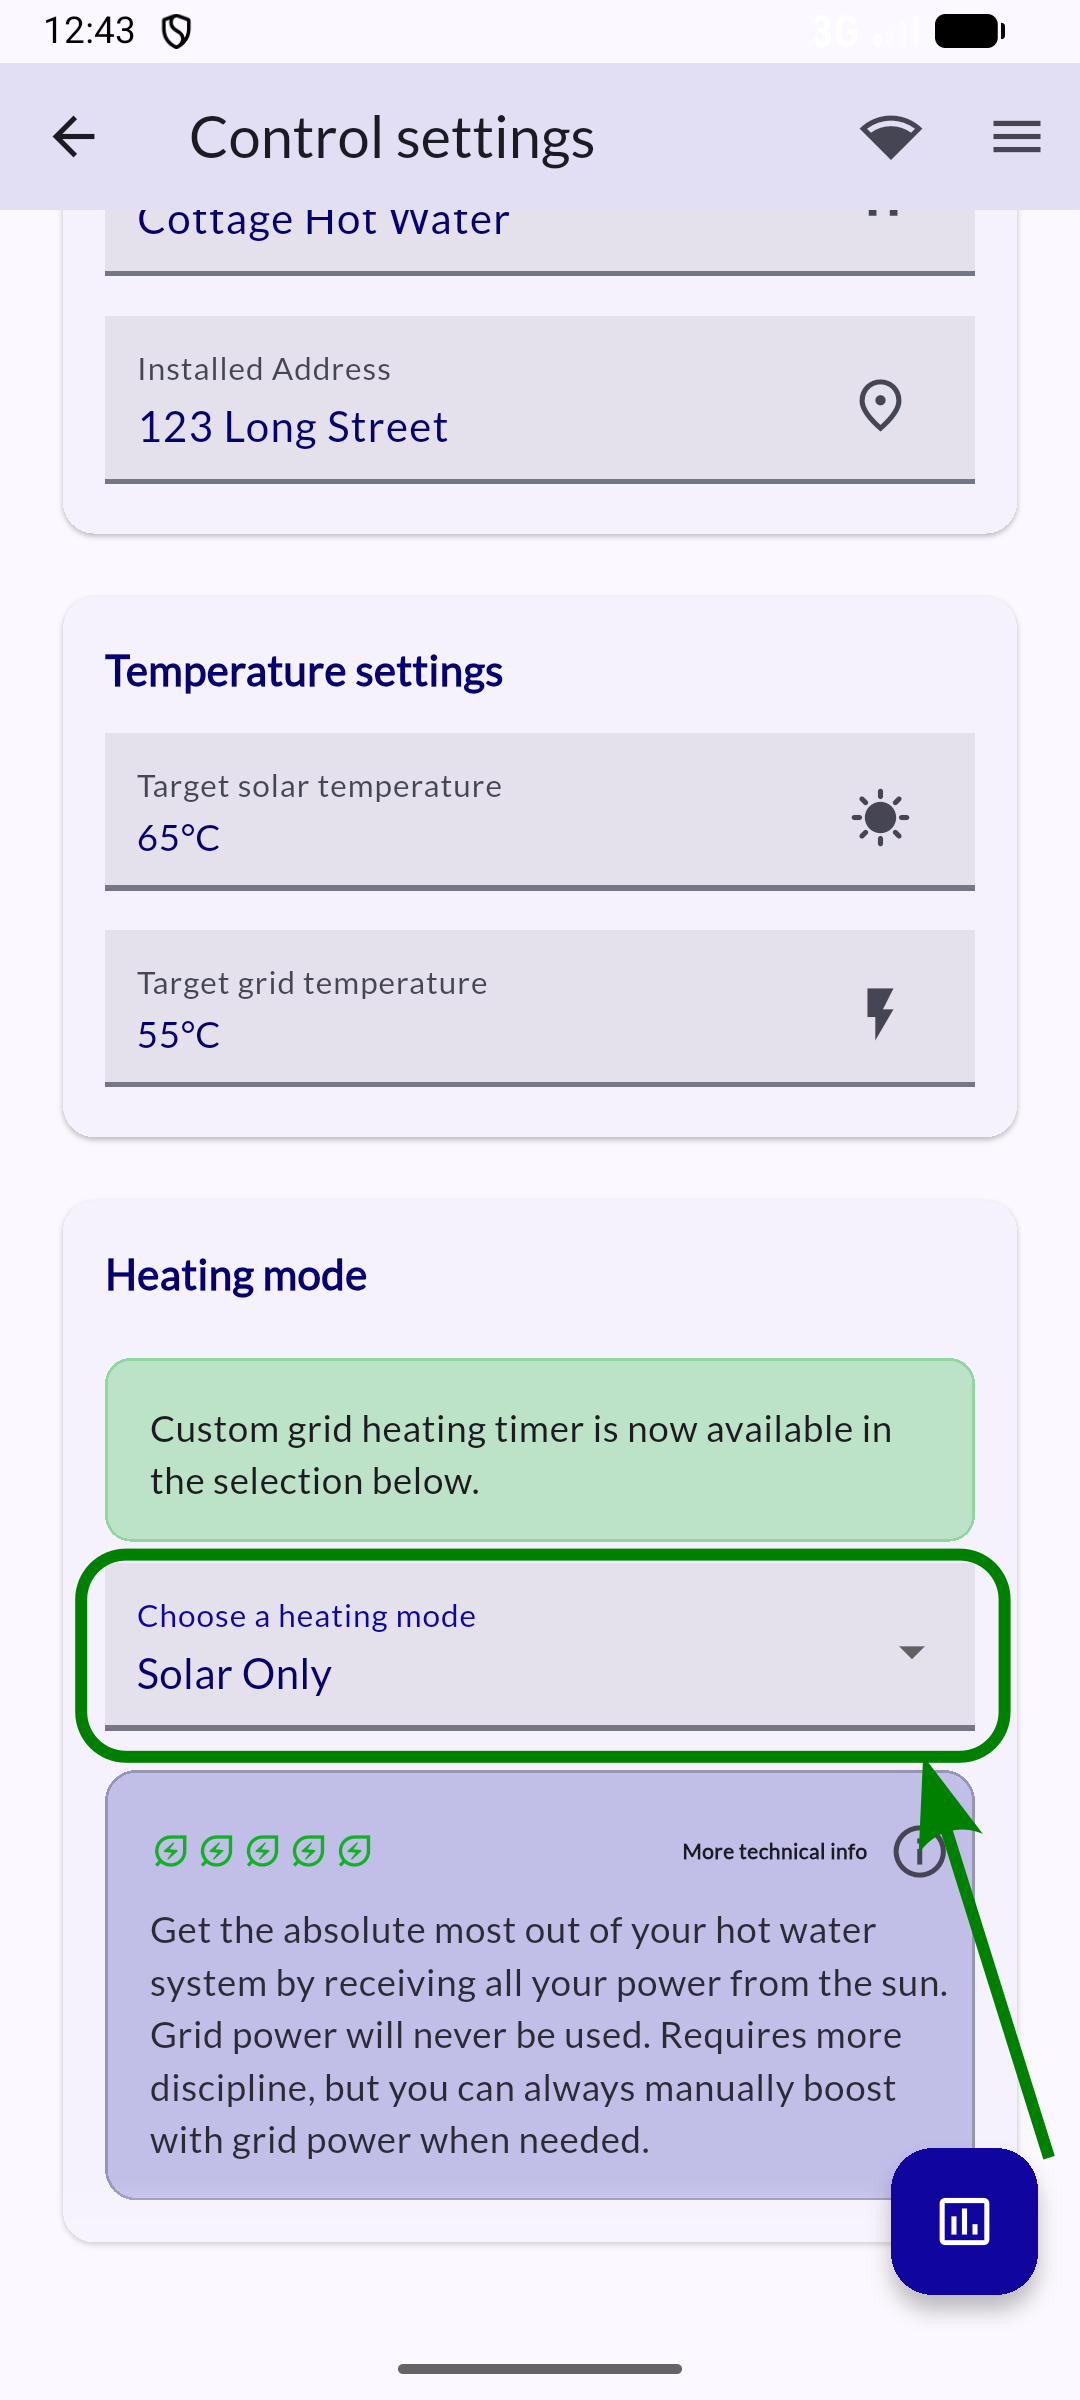
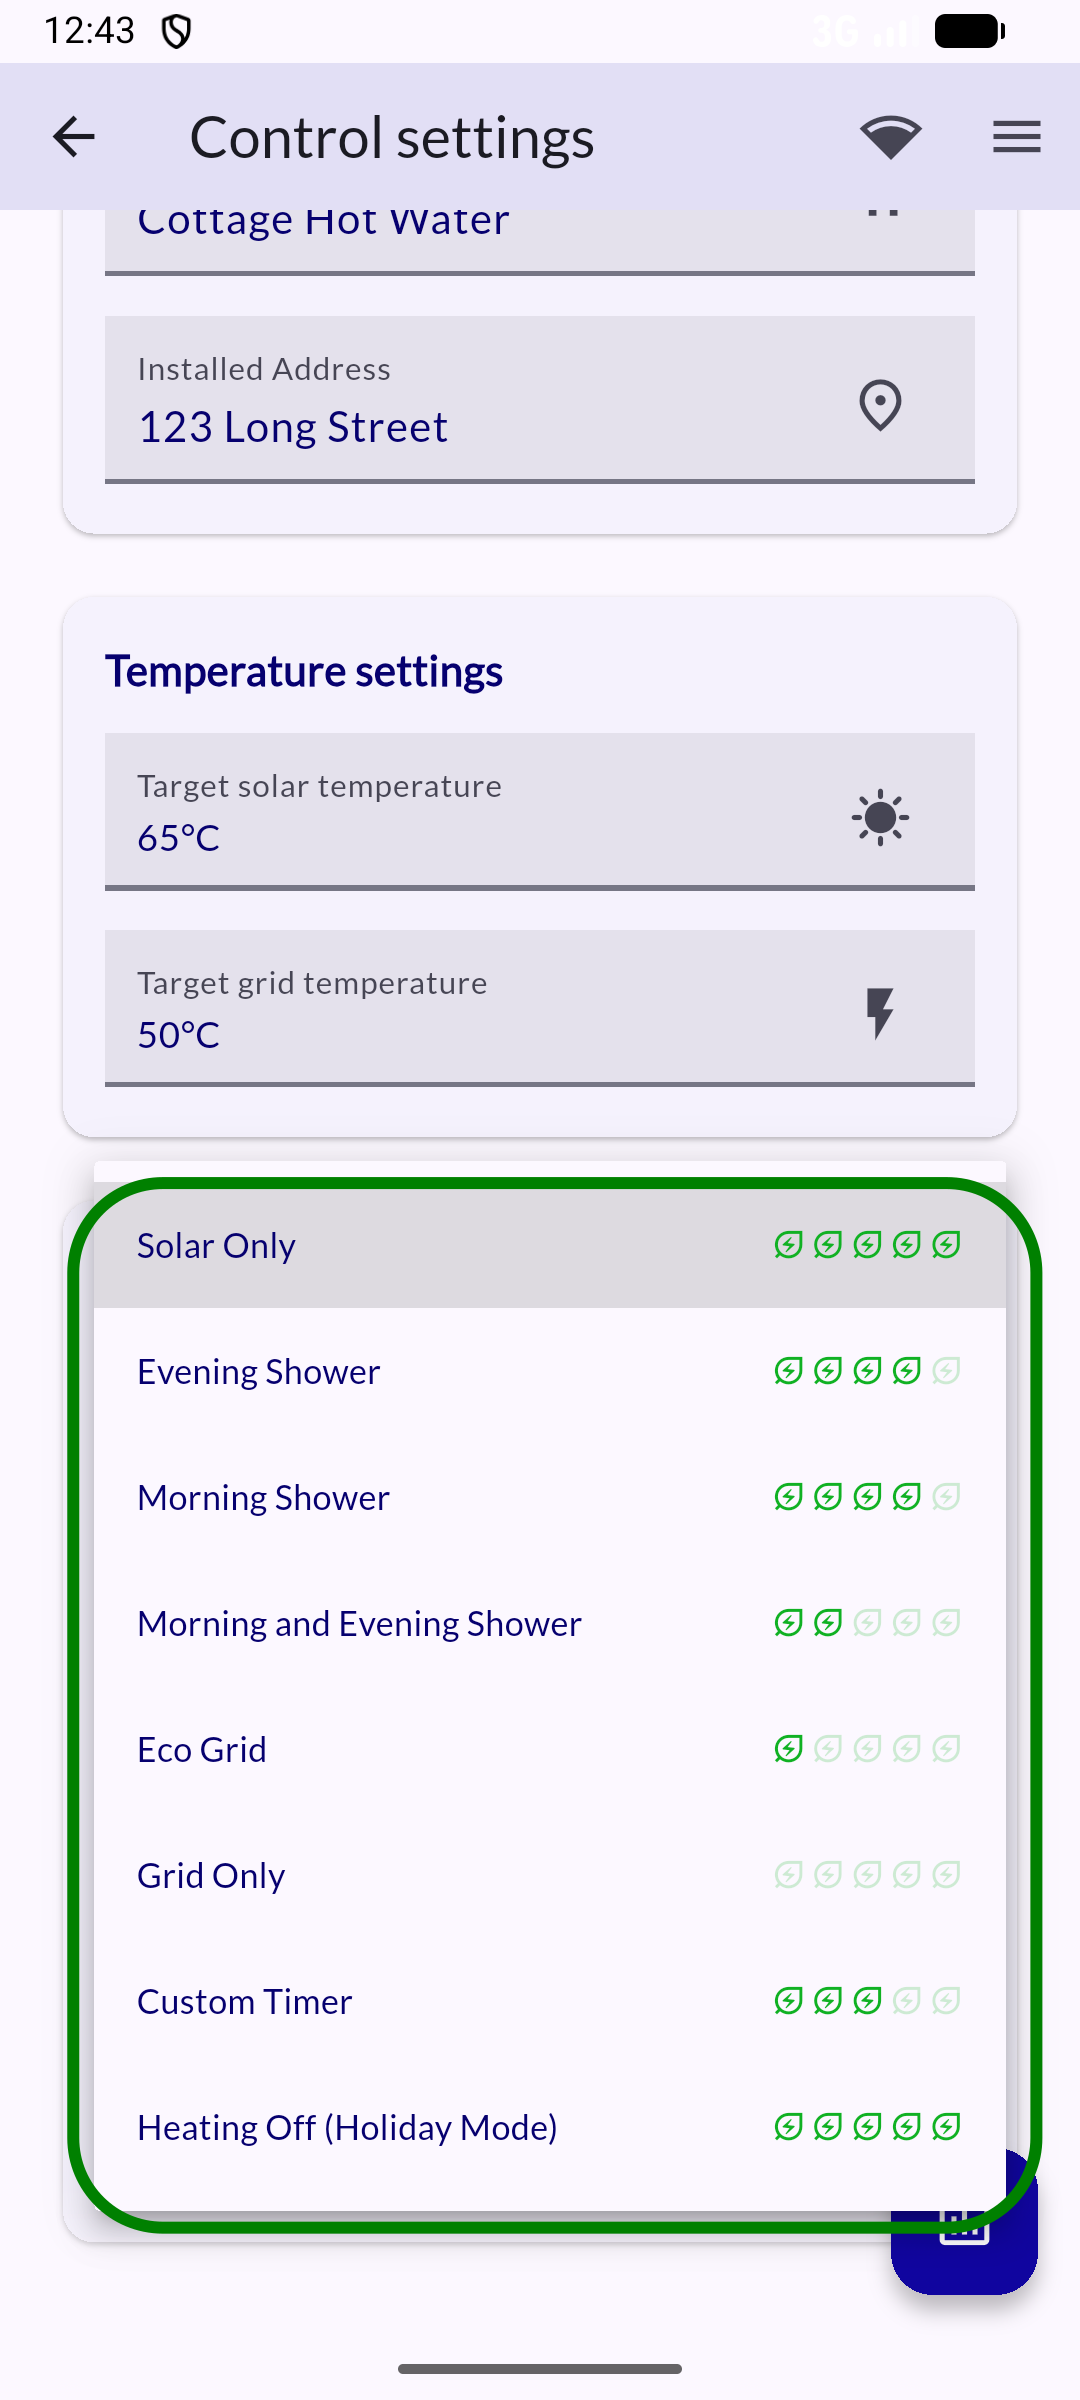
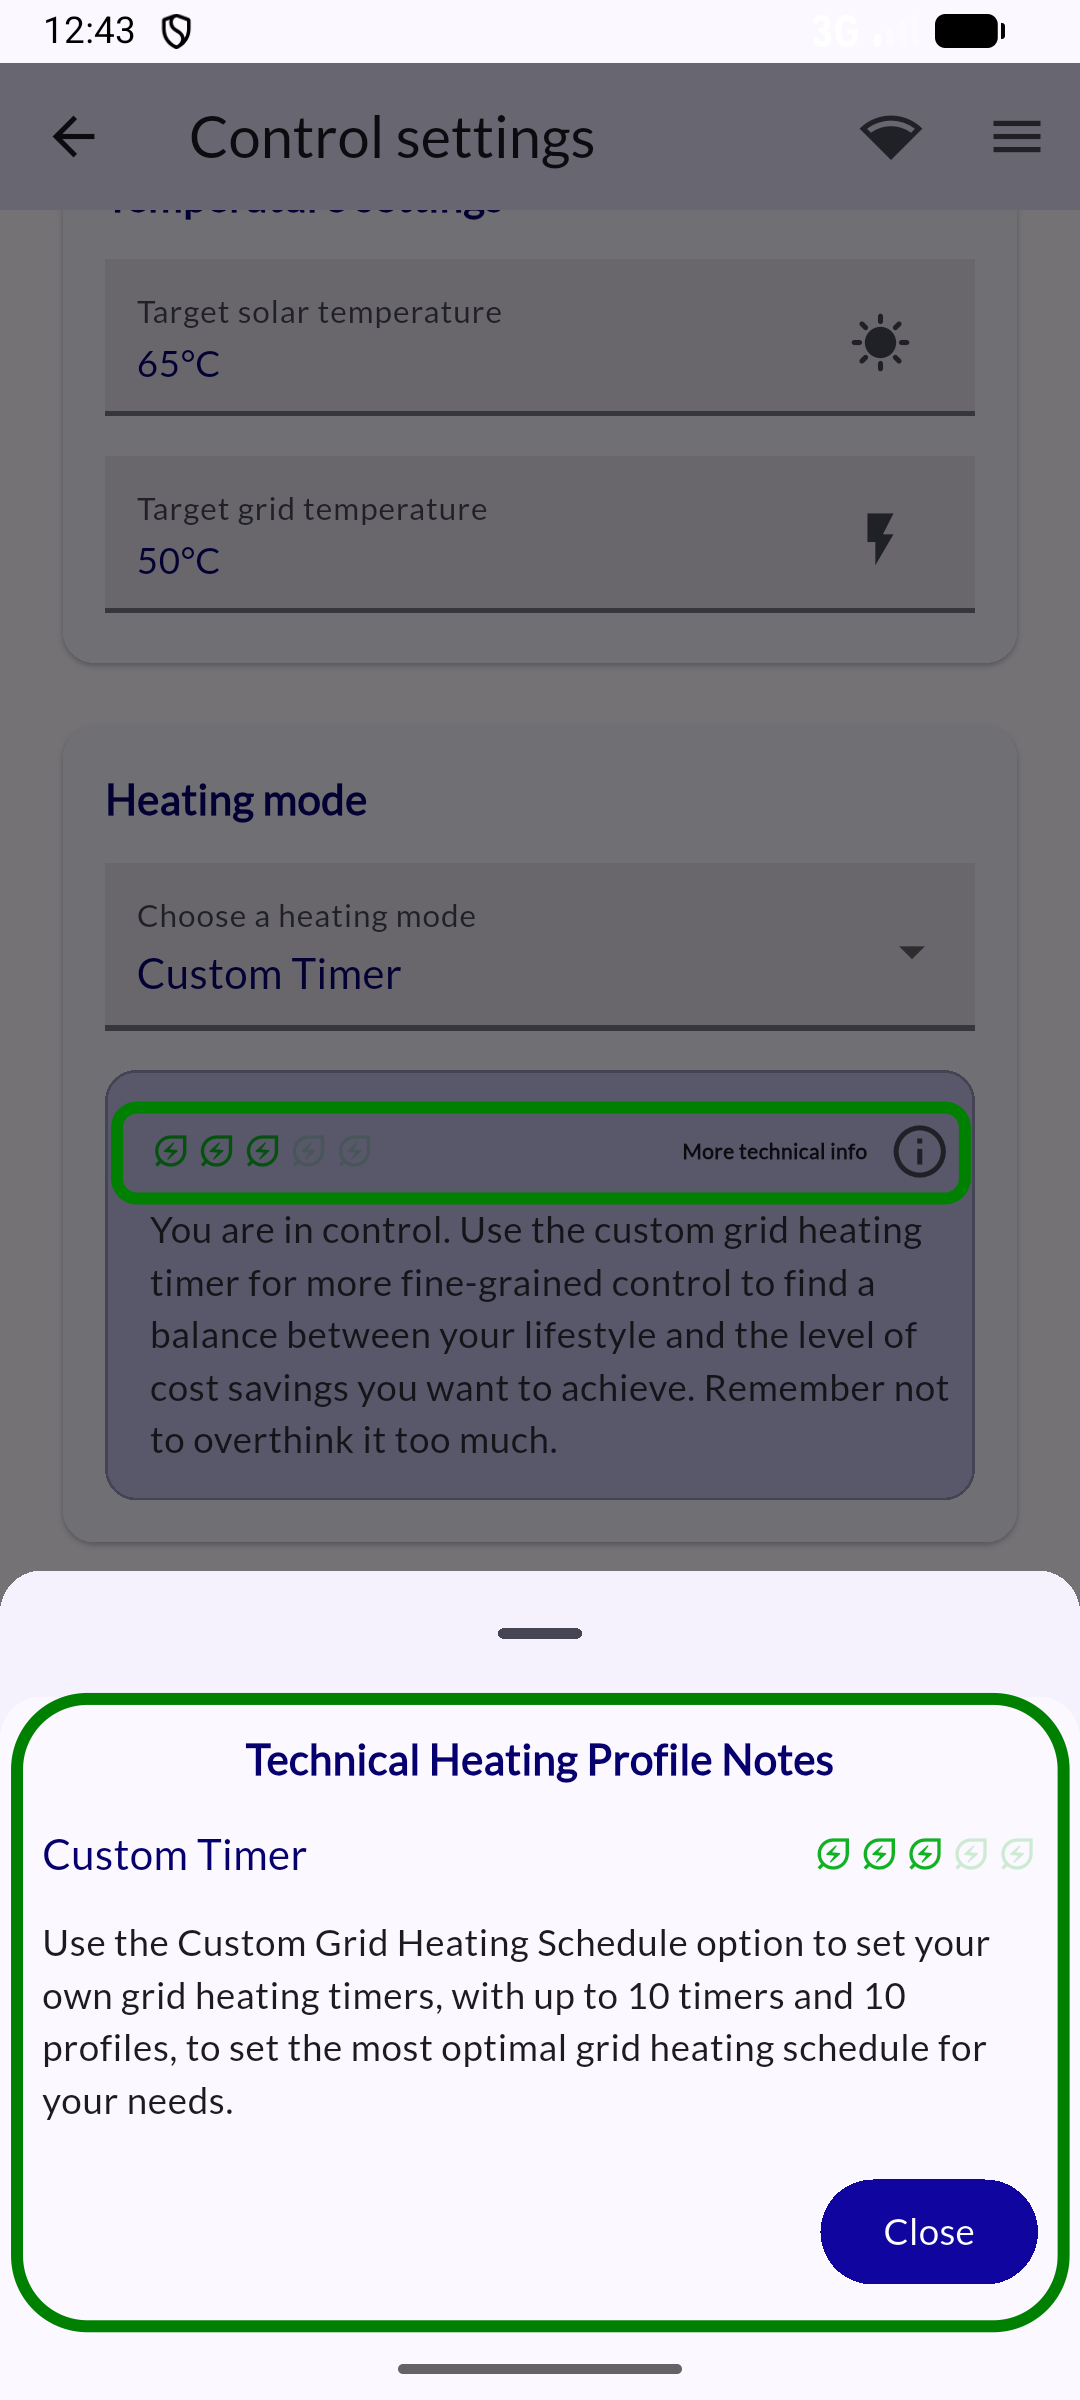
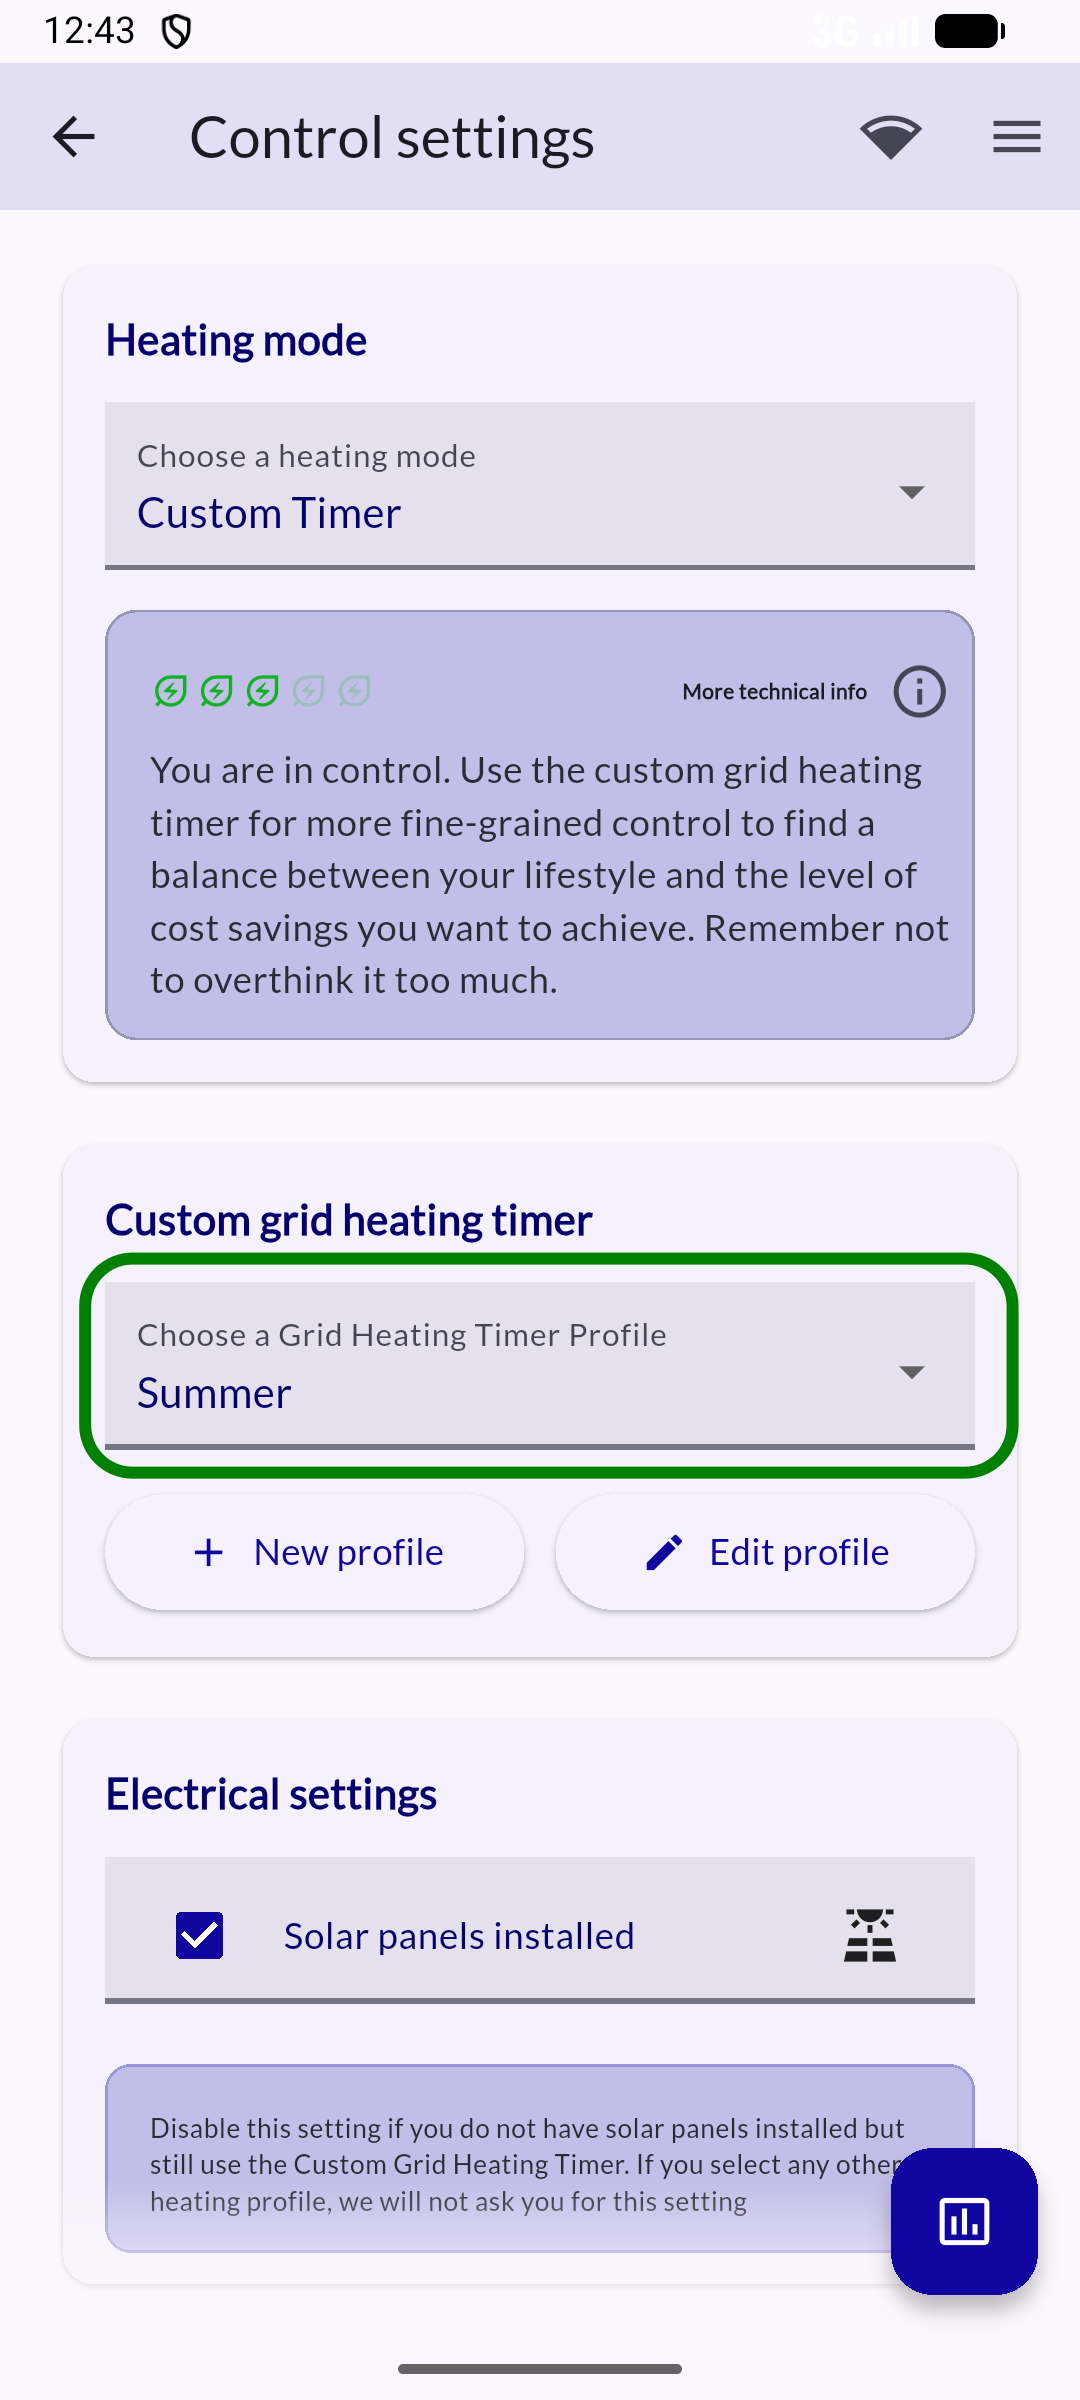
Custom grid heating timer
See the Custom grid heating timer help section for more details.
Offline device status
Device status while you are directly connected to the device's Wi-Fi or hotspot, and not from the remote cloud.
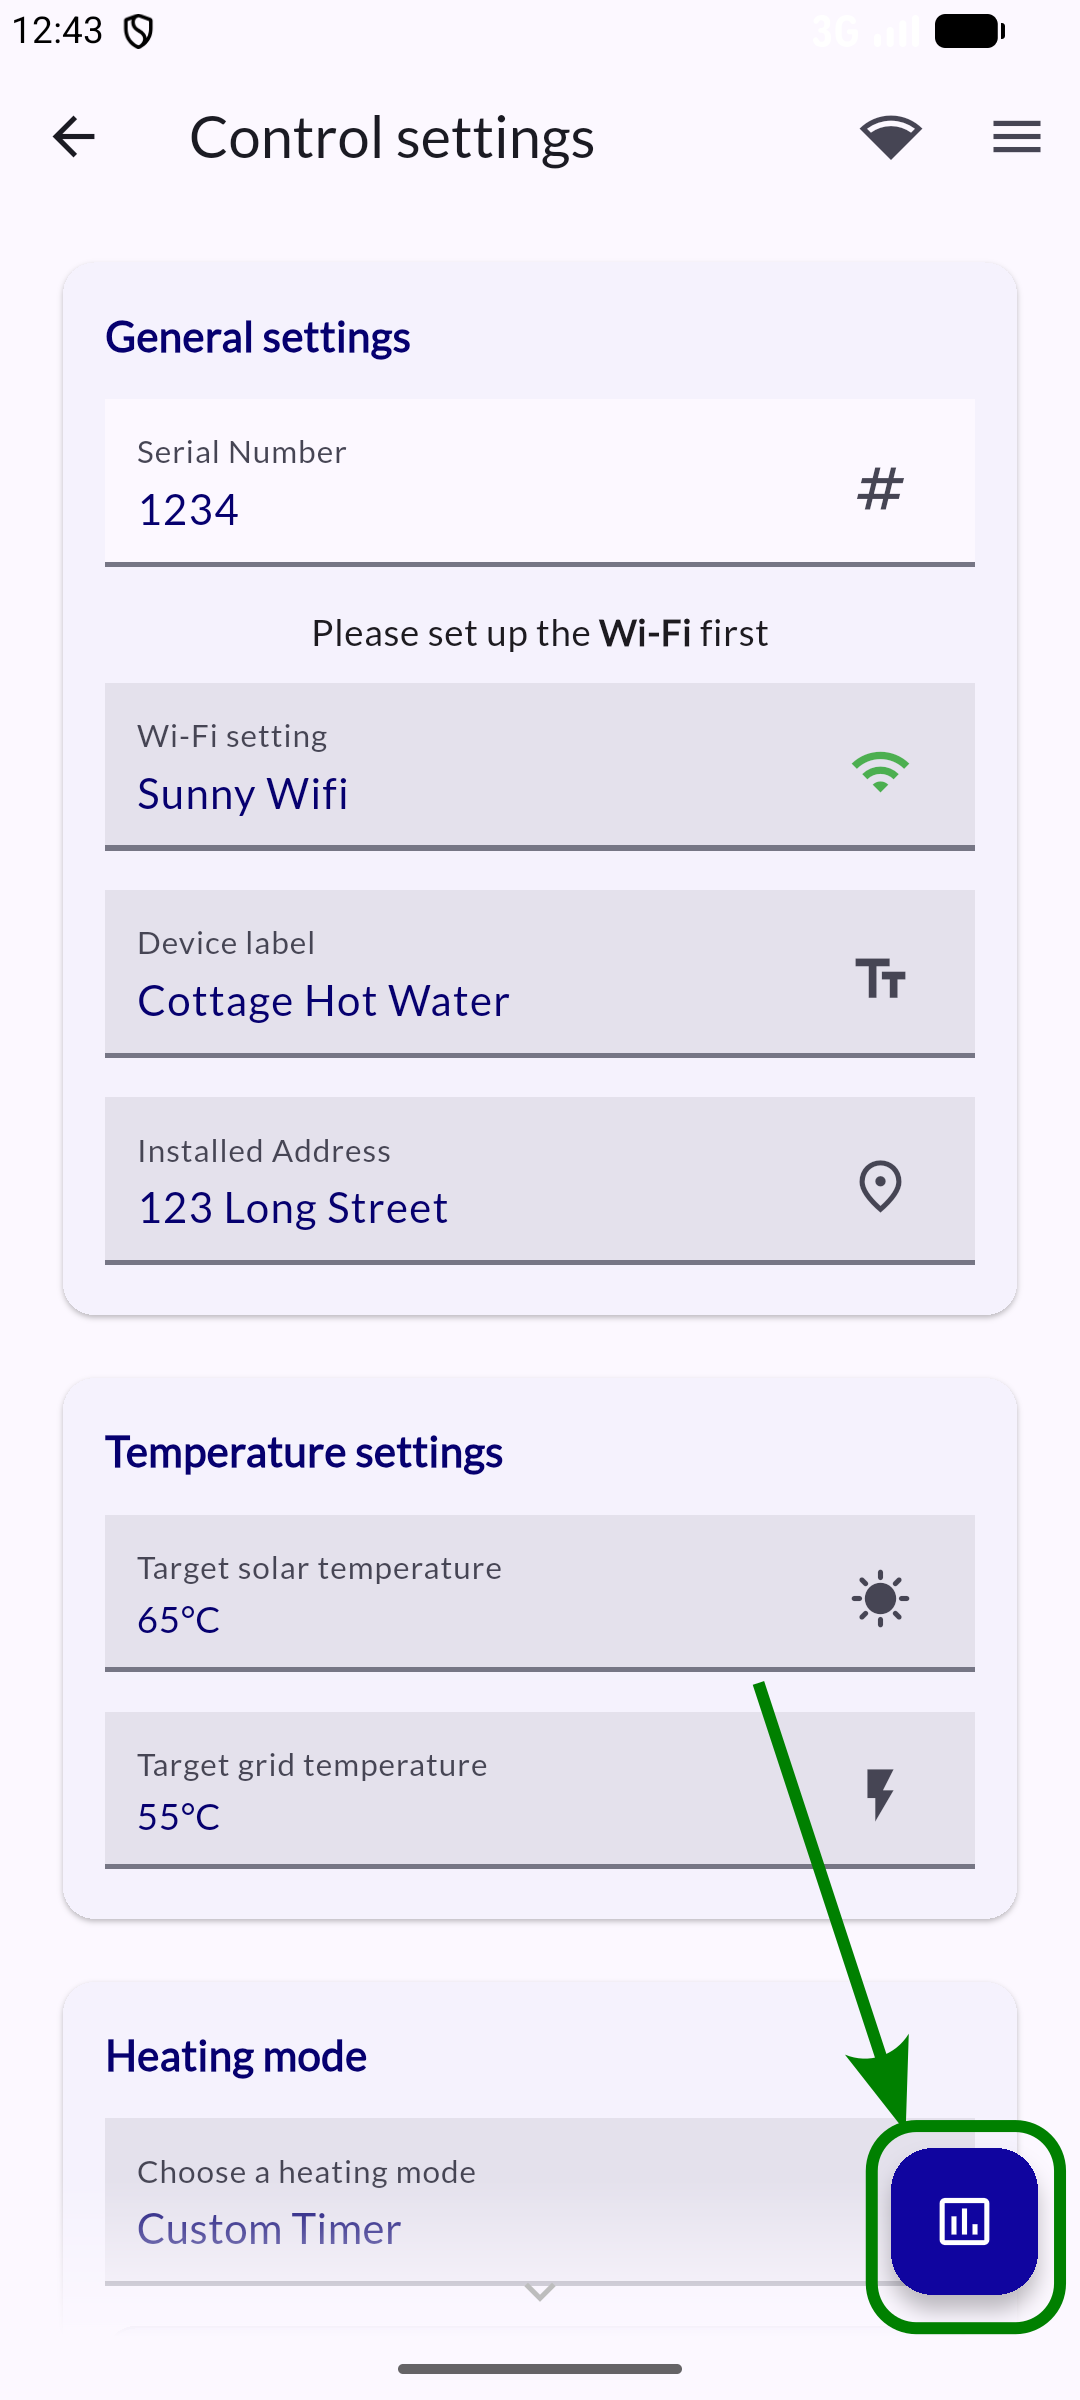
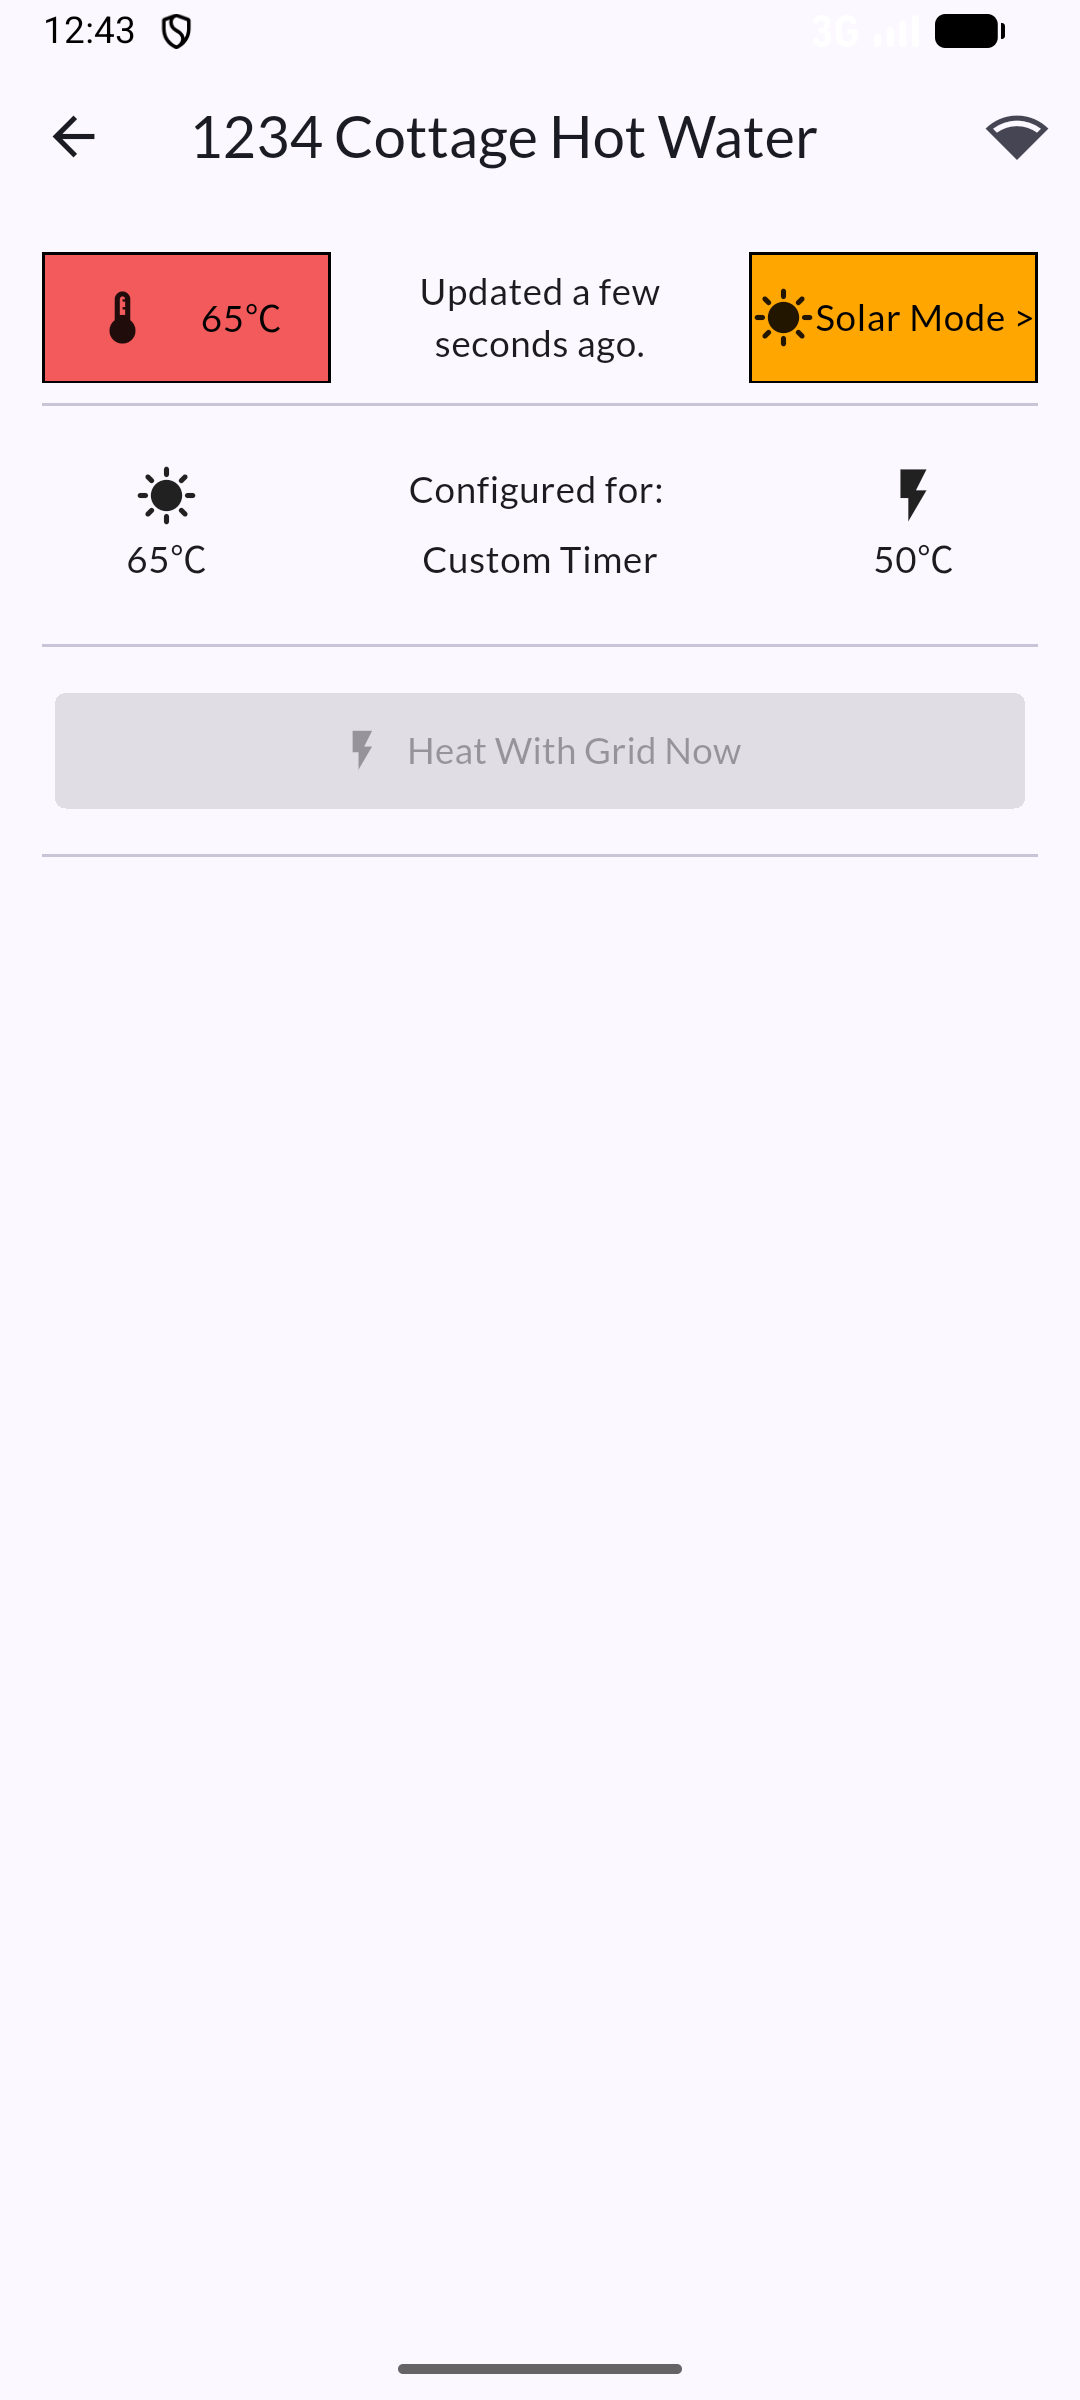
Grid heating timer
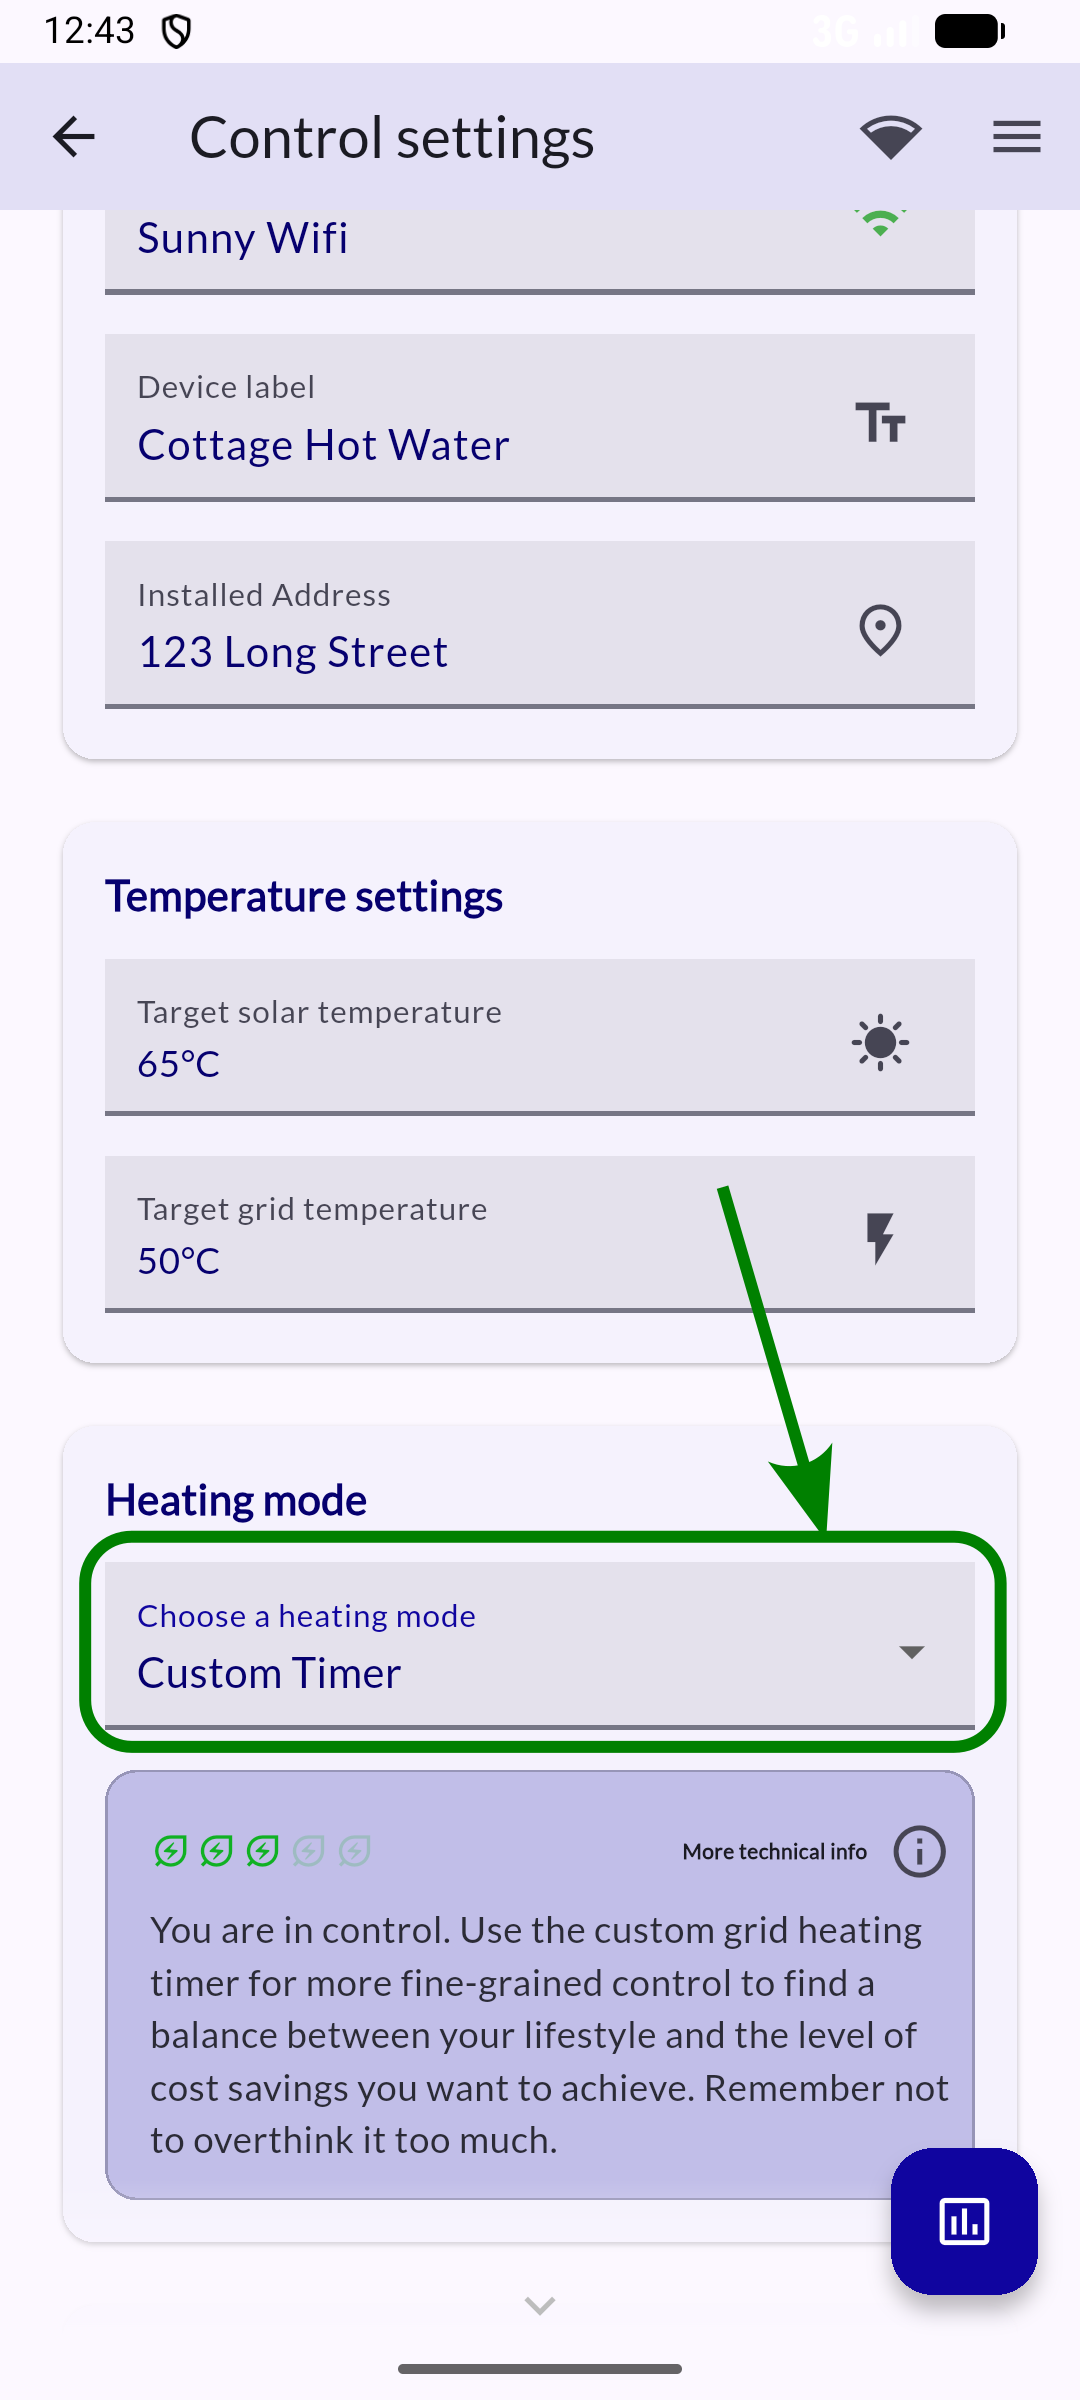
Control settings section
Heating mode selection
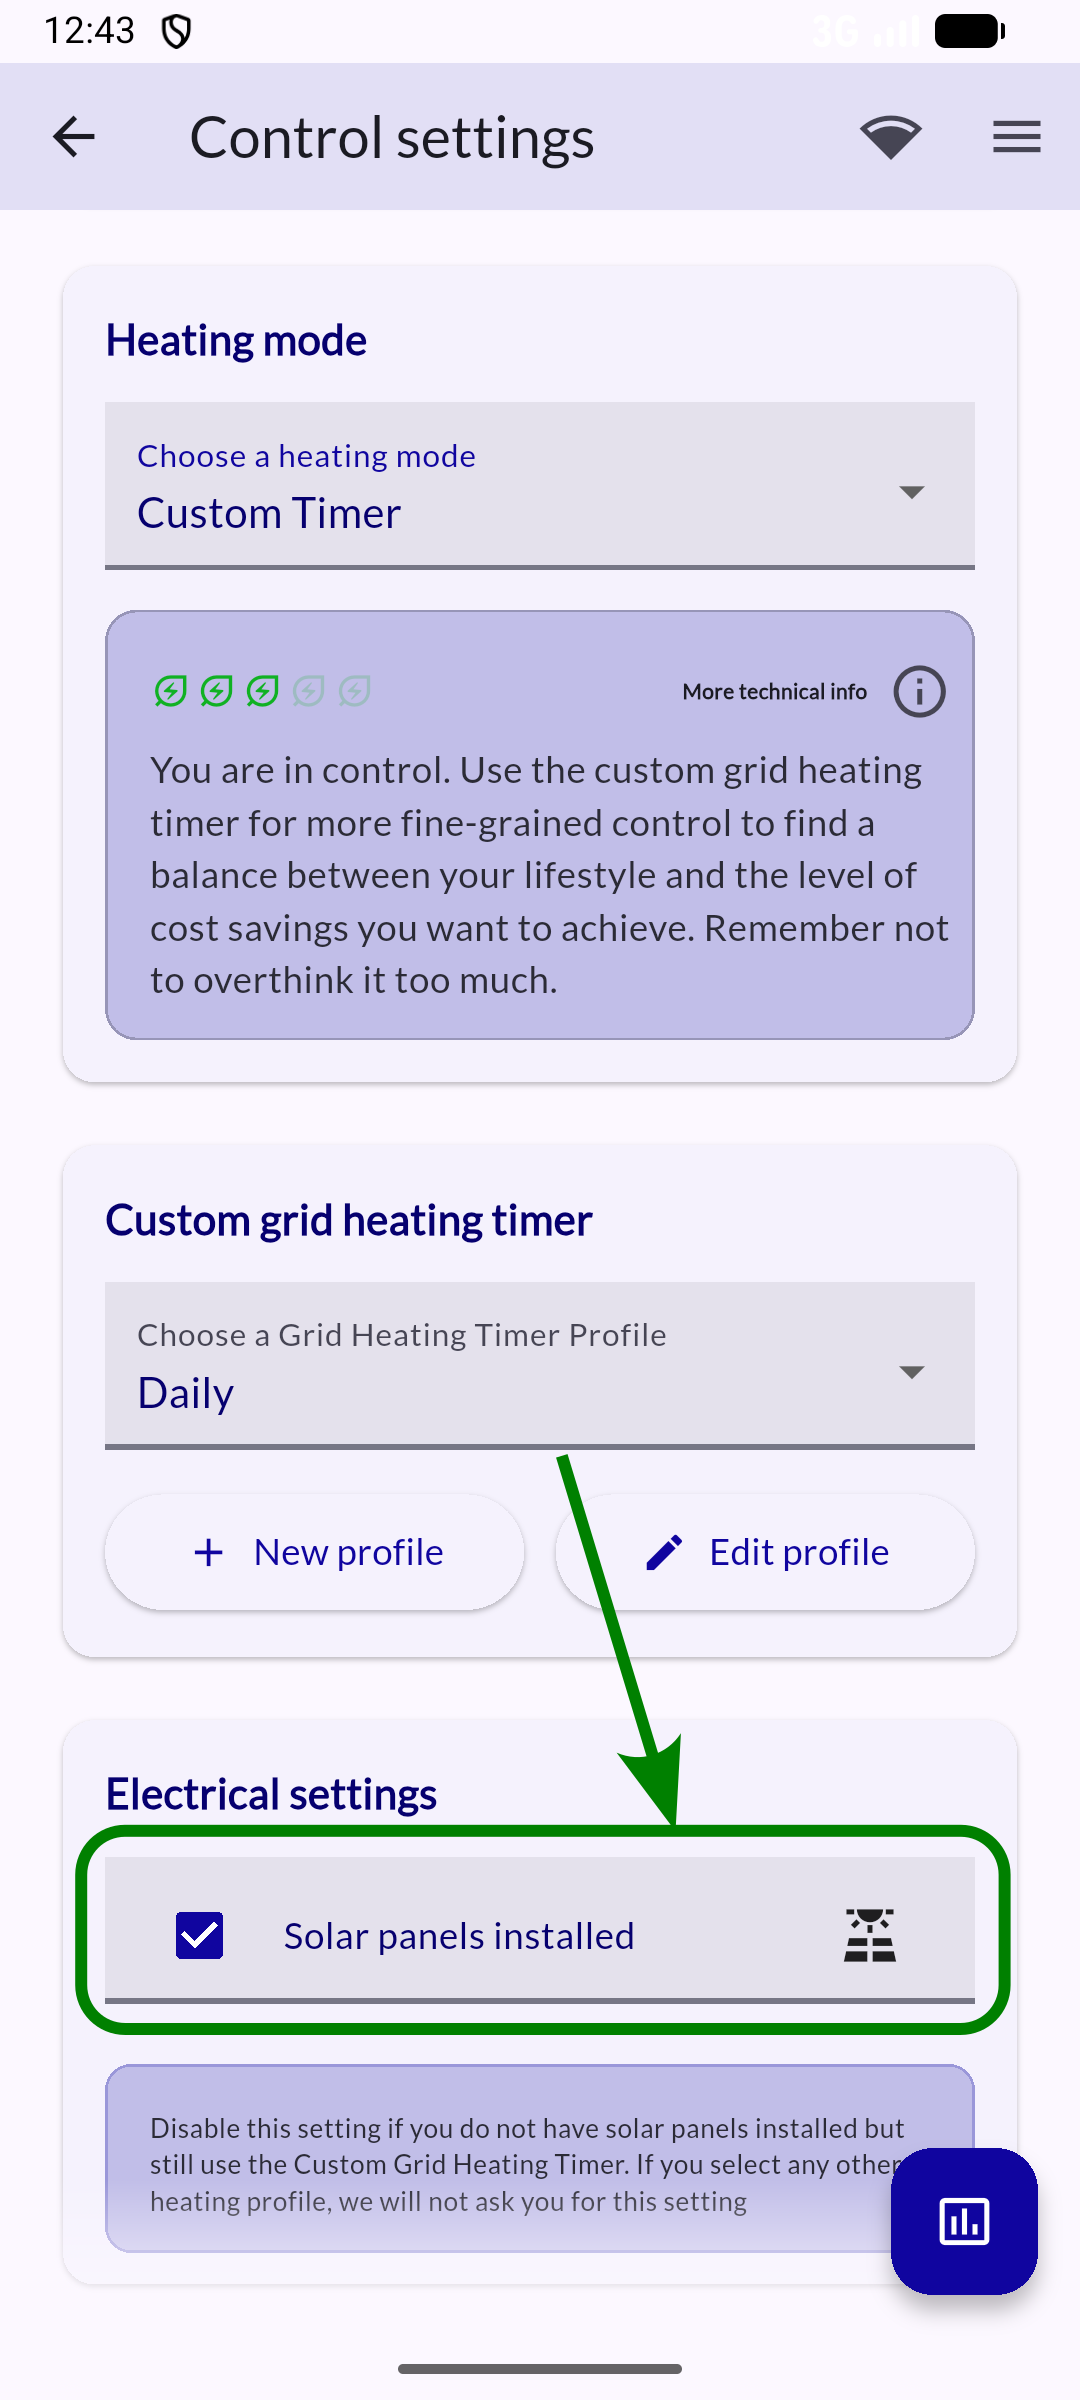
Electrical settings
Please keep this setting enabled if you use Customer Timer with solar panels installed.
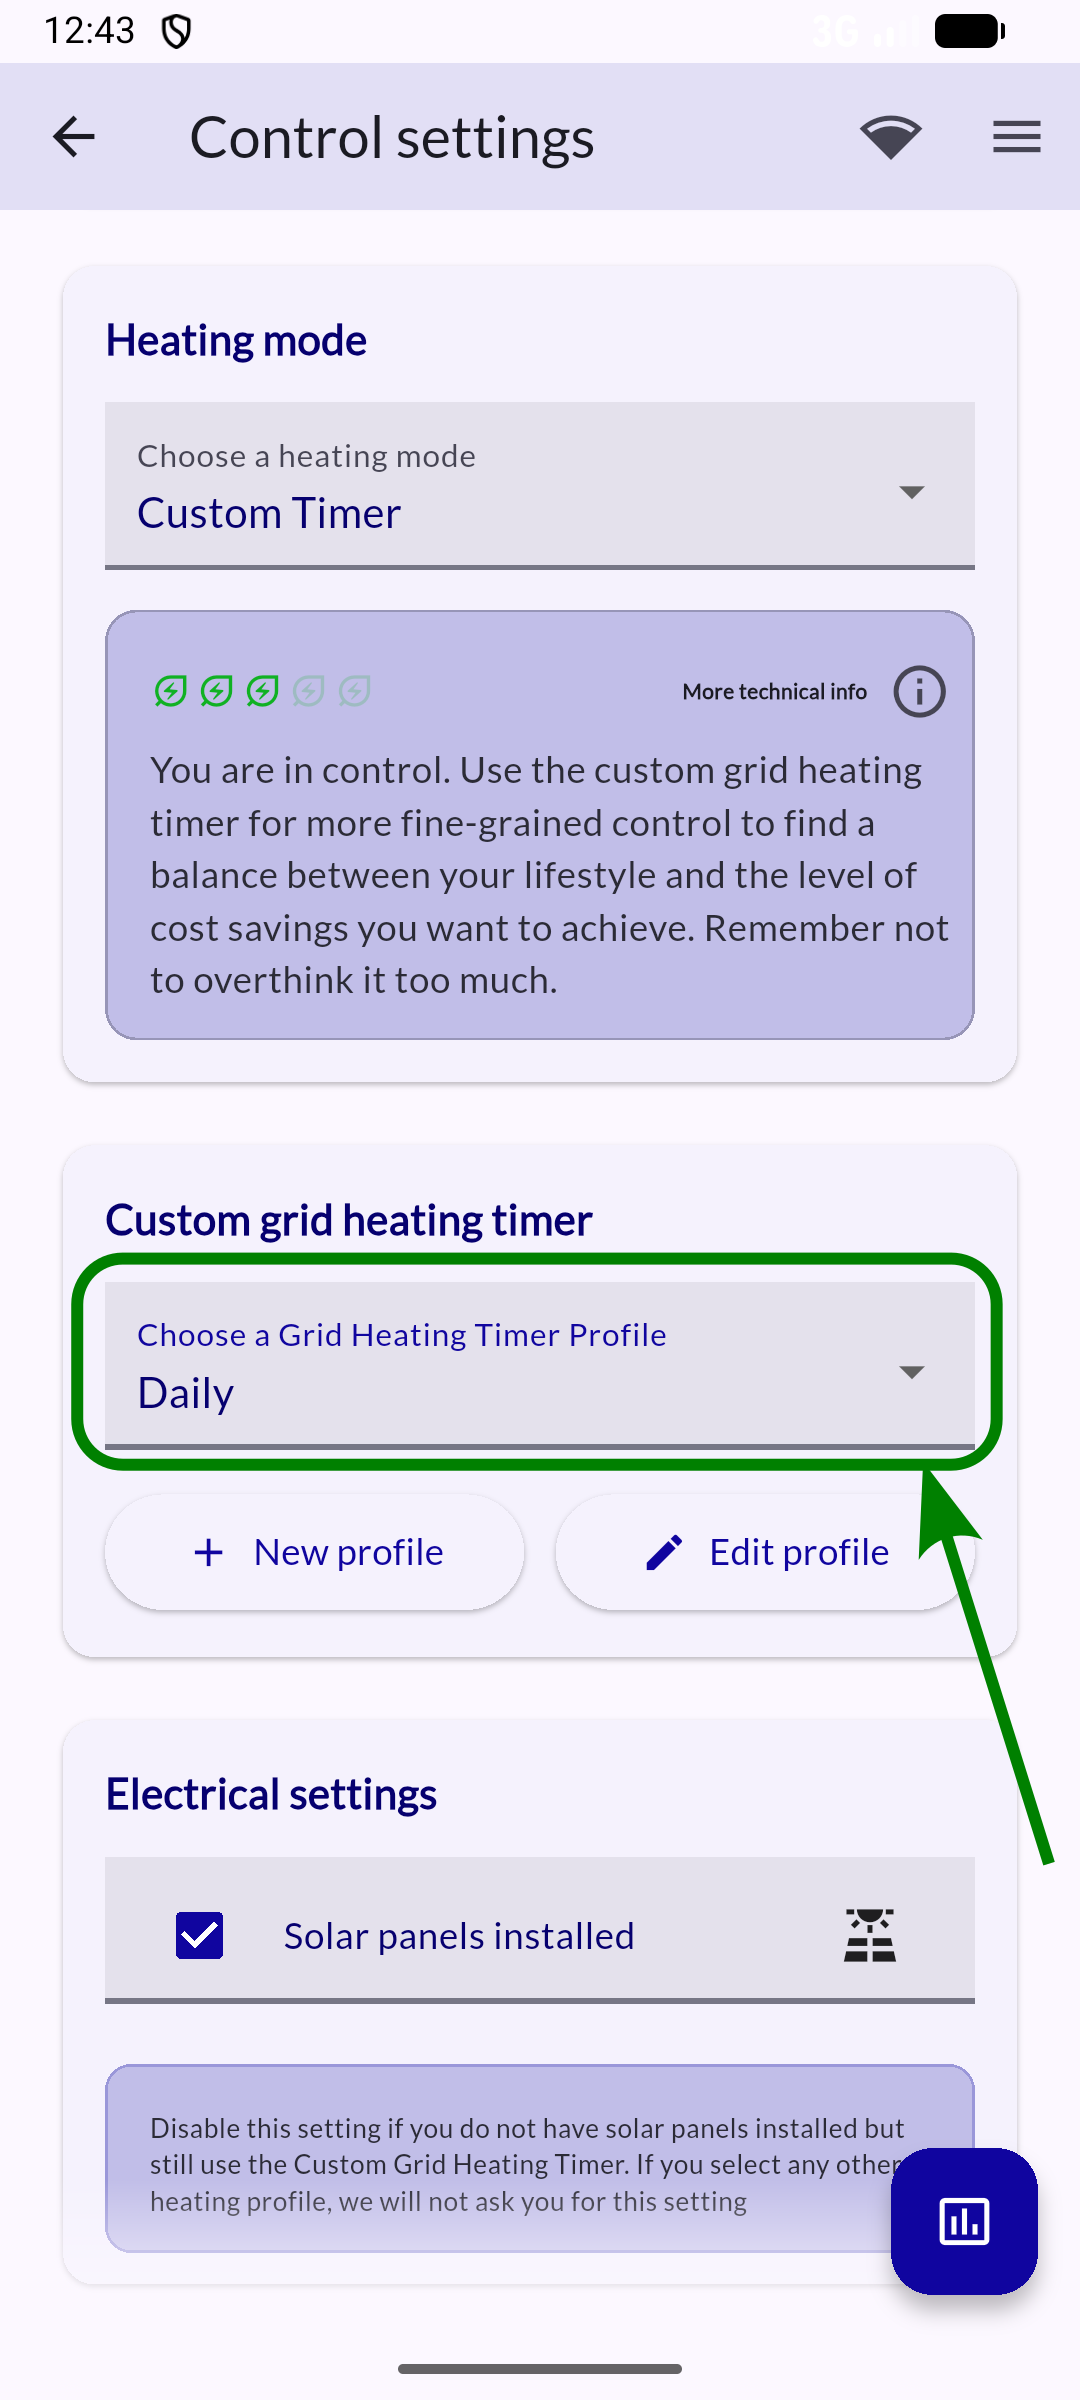
Heating profile selection
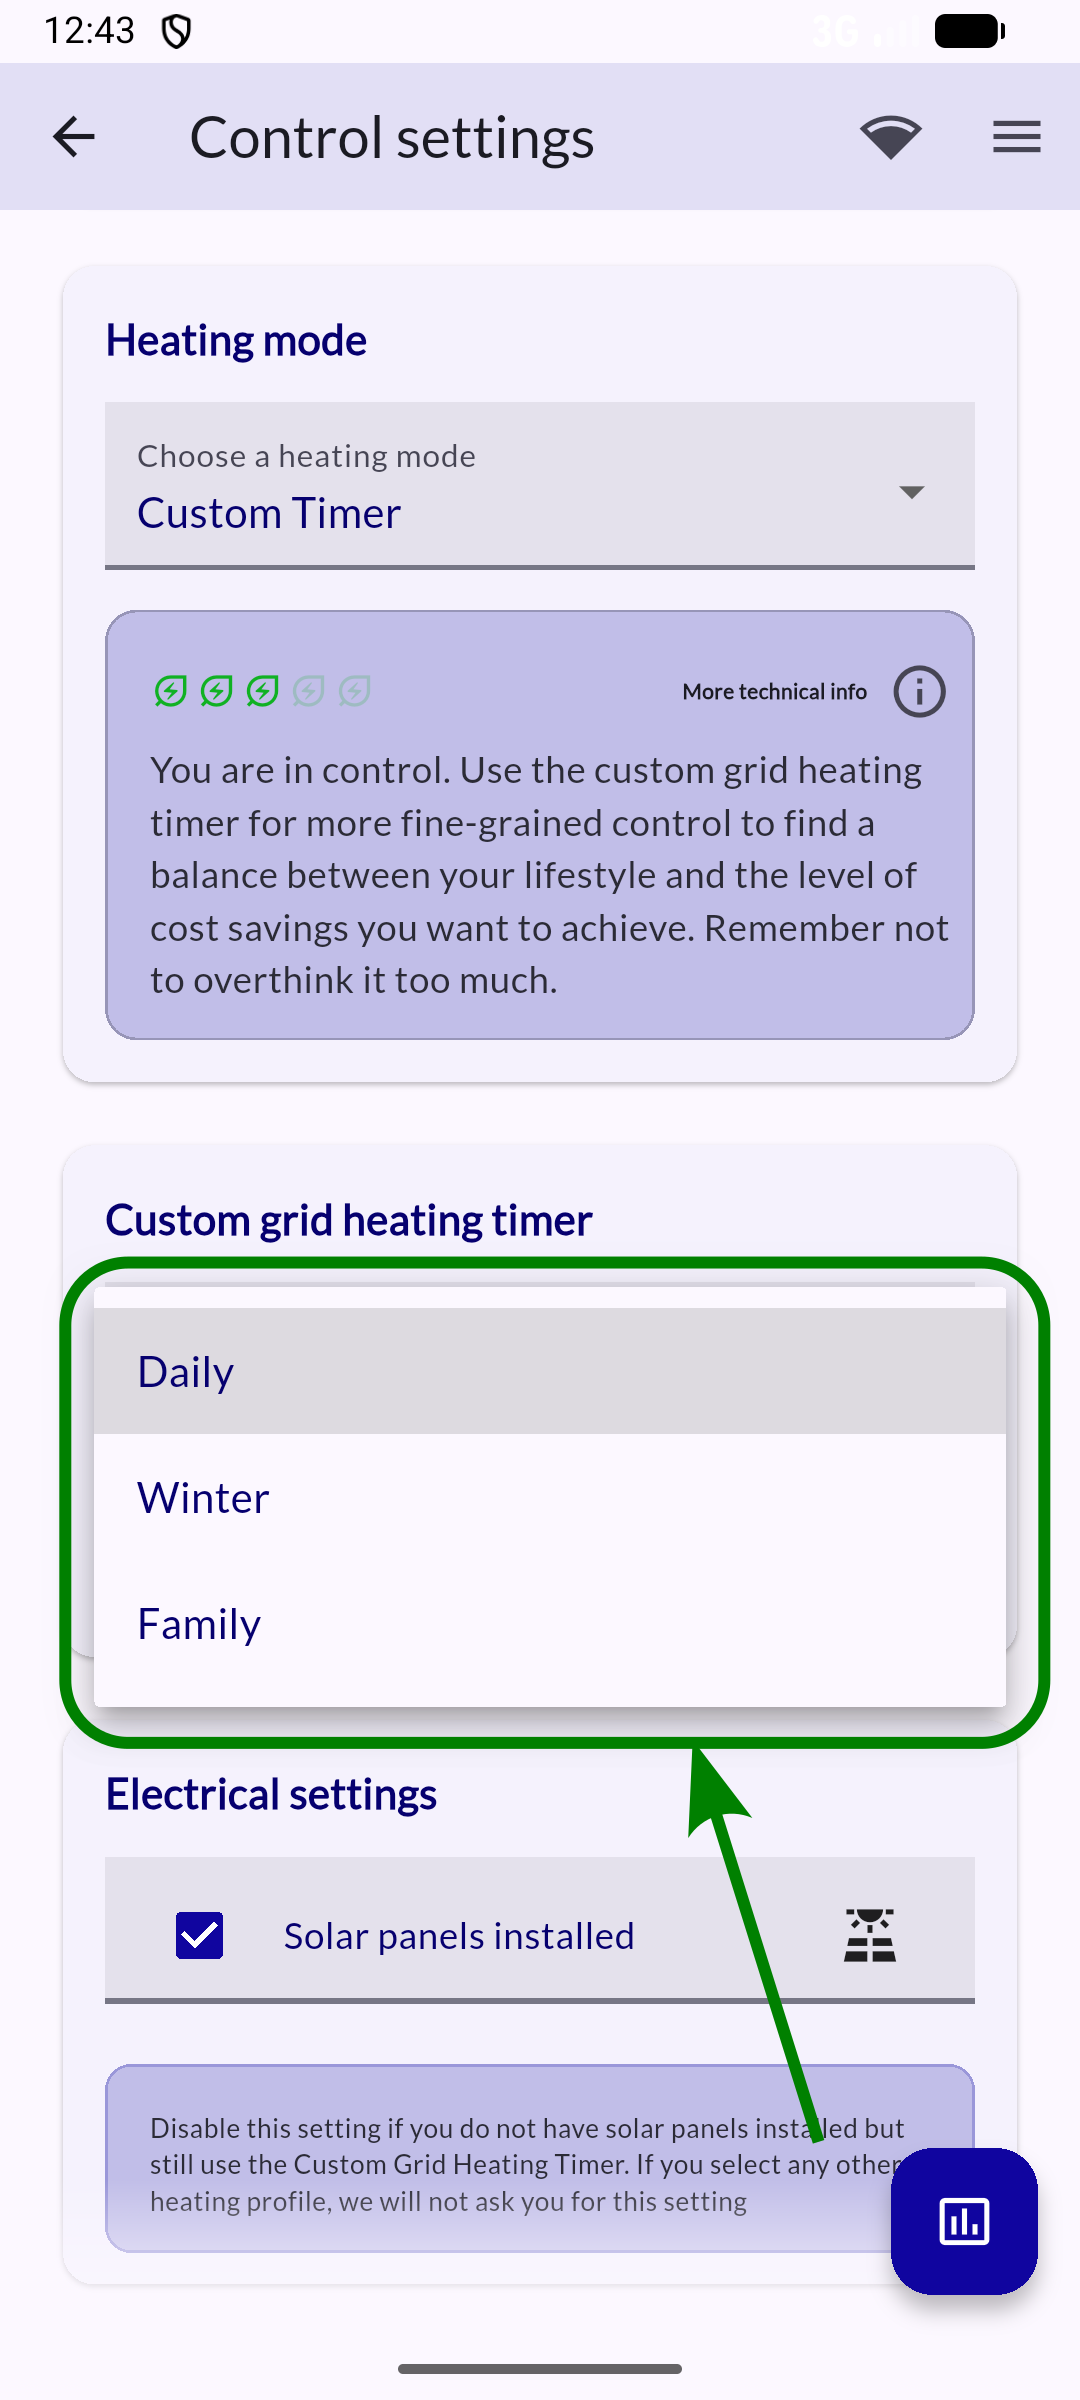
New heating profile
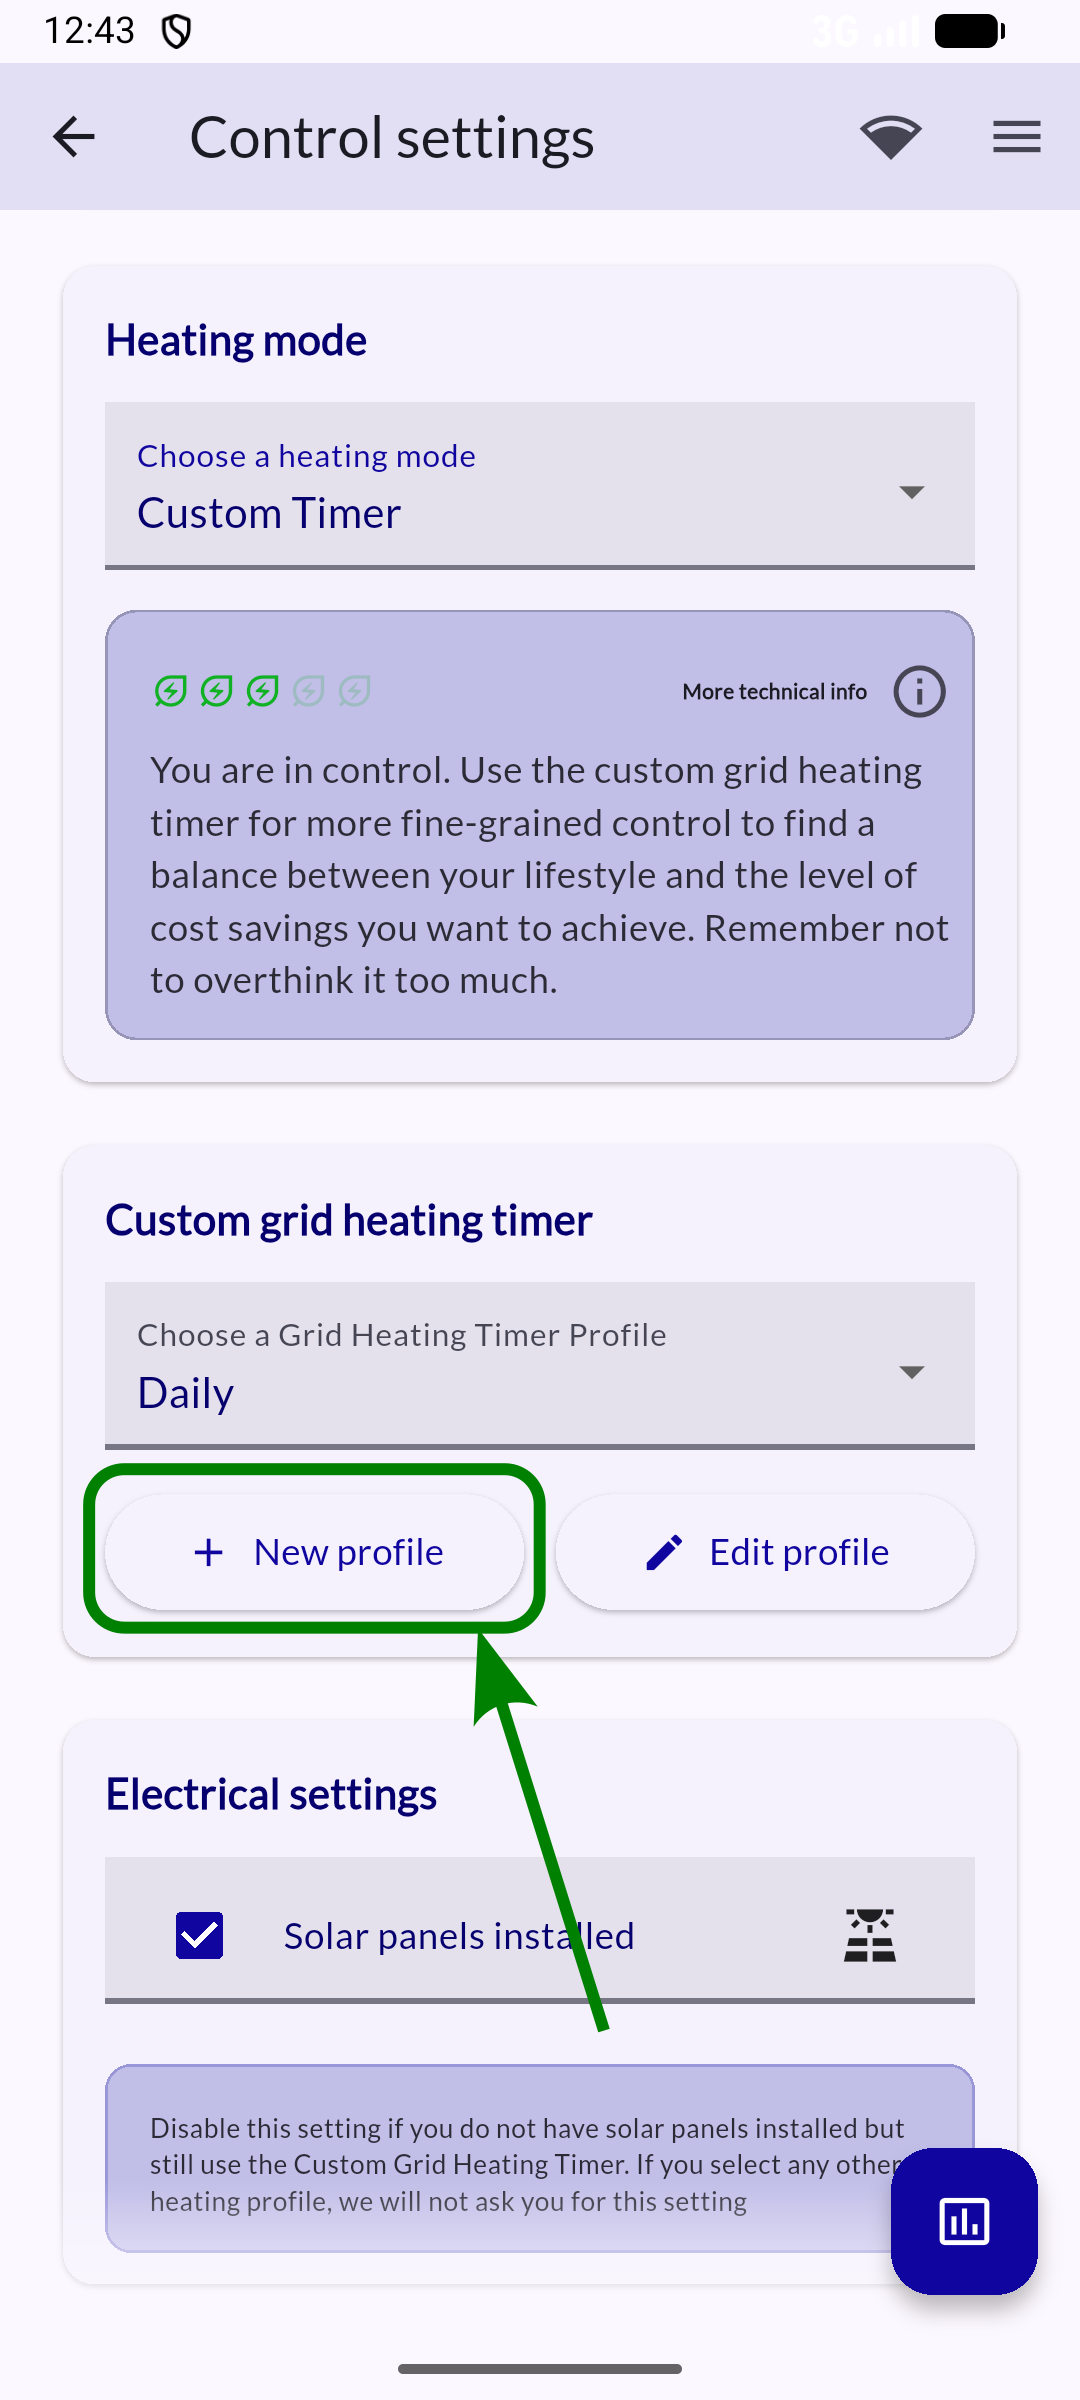
Edit heating profile
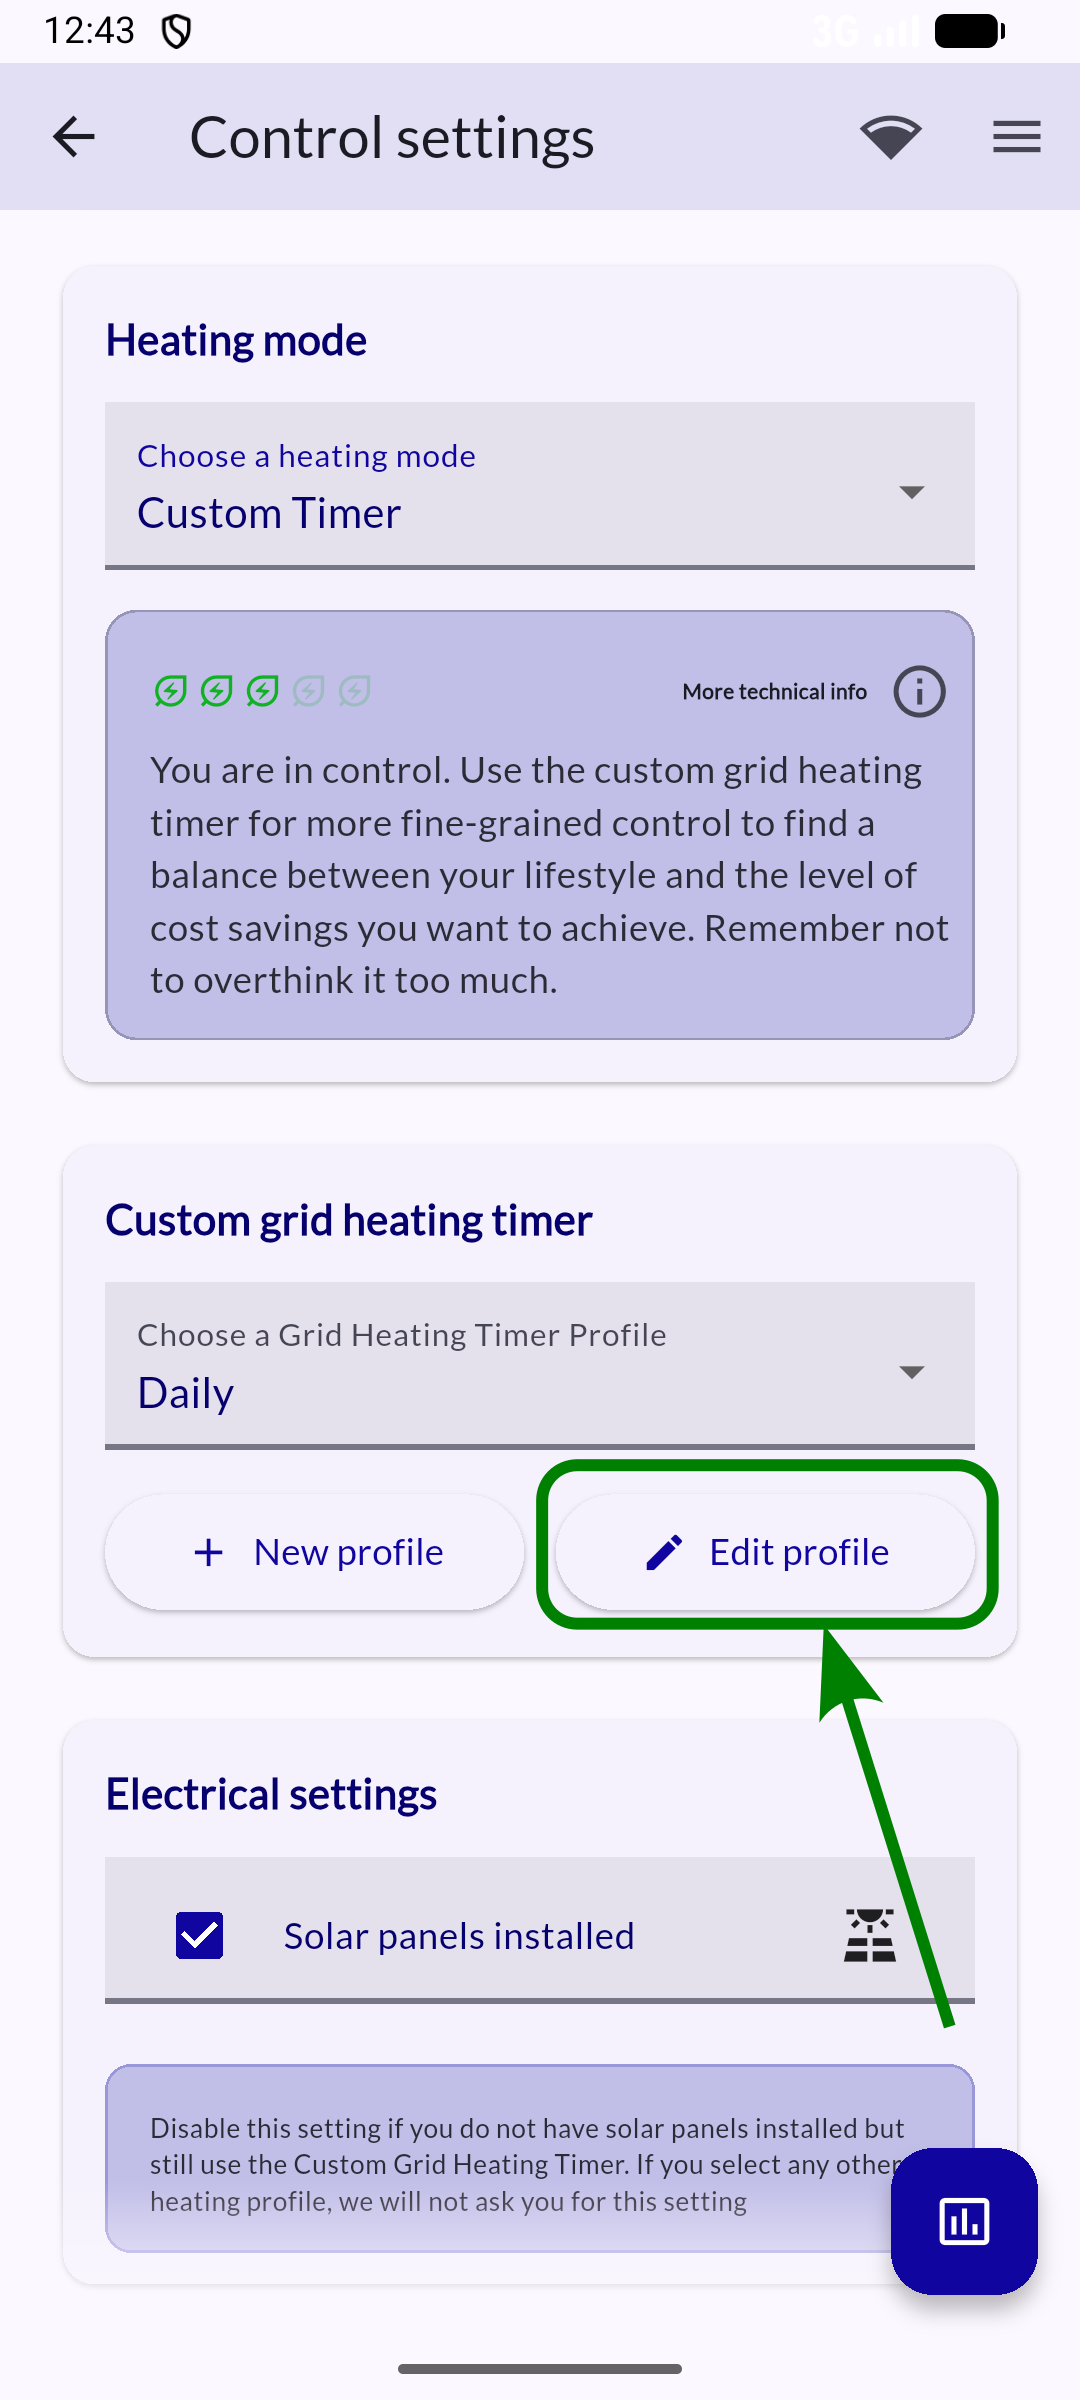
Custom grid heating timer section
Heating profile setup
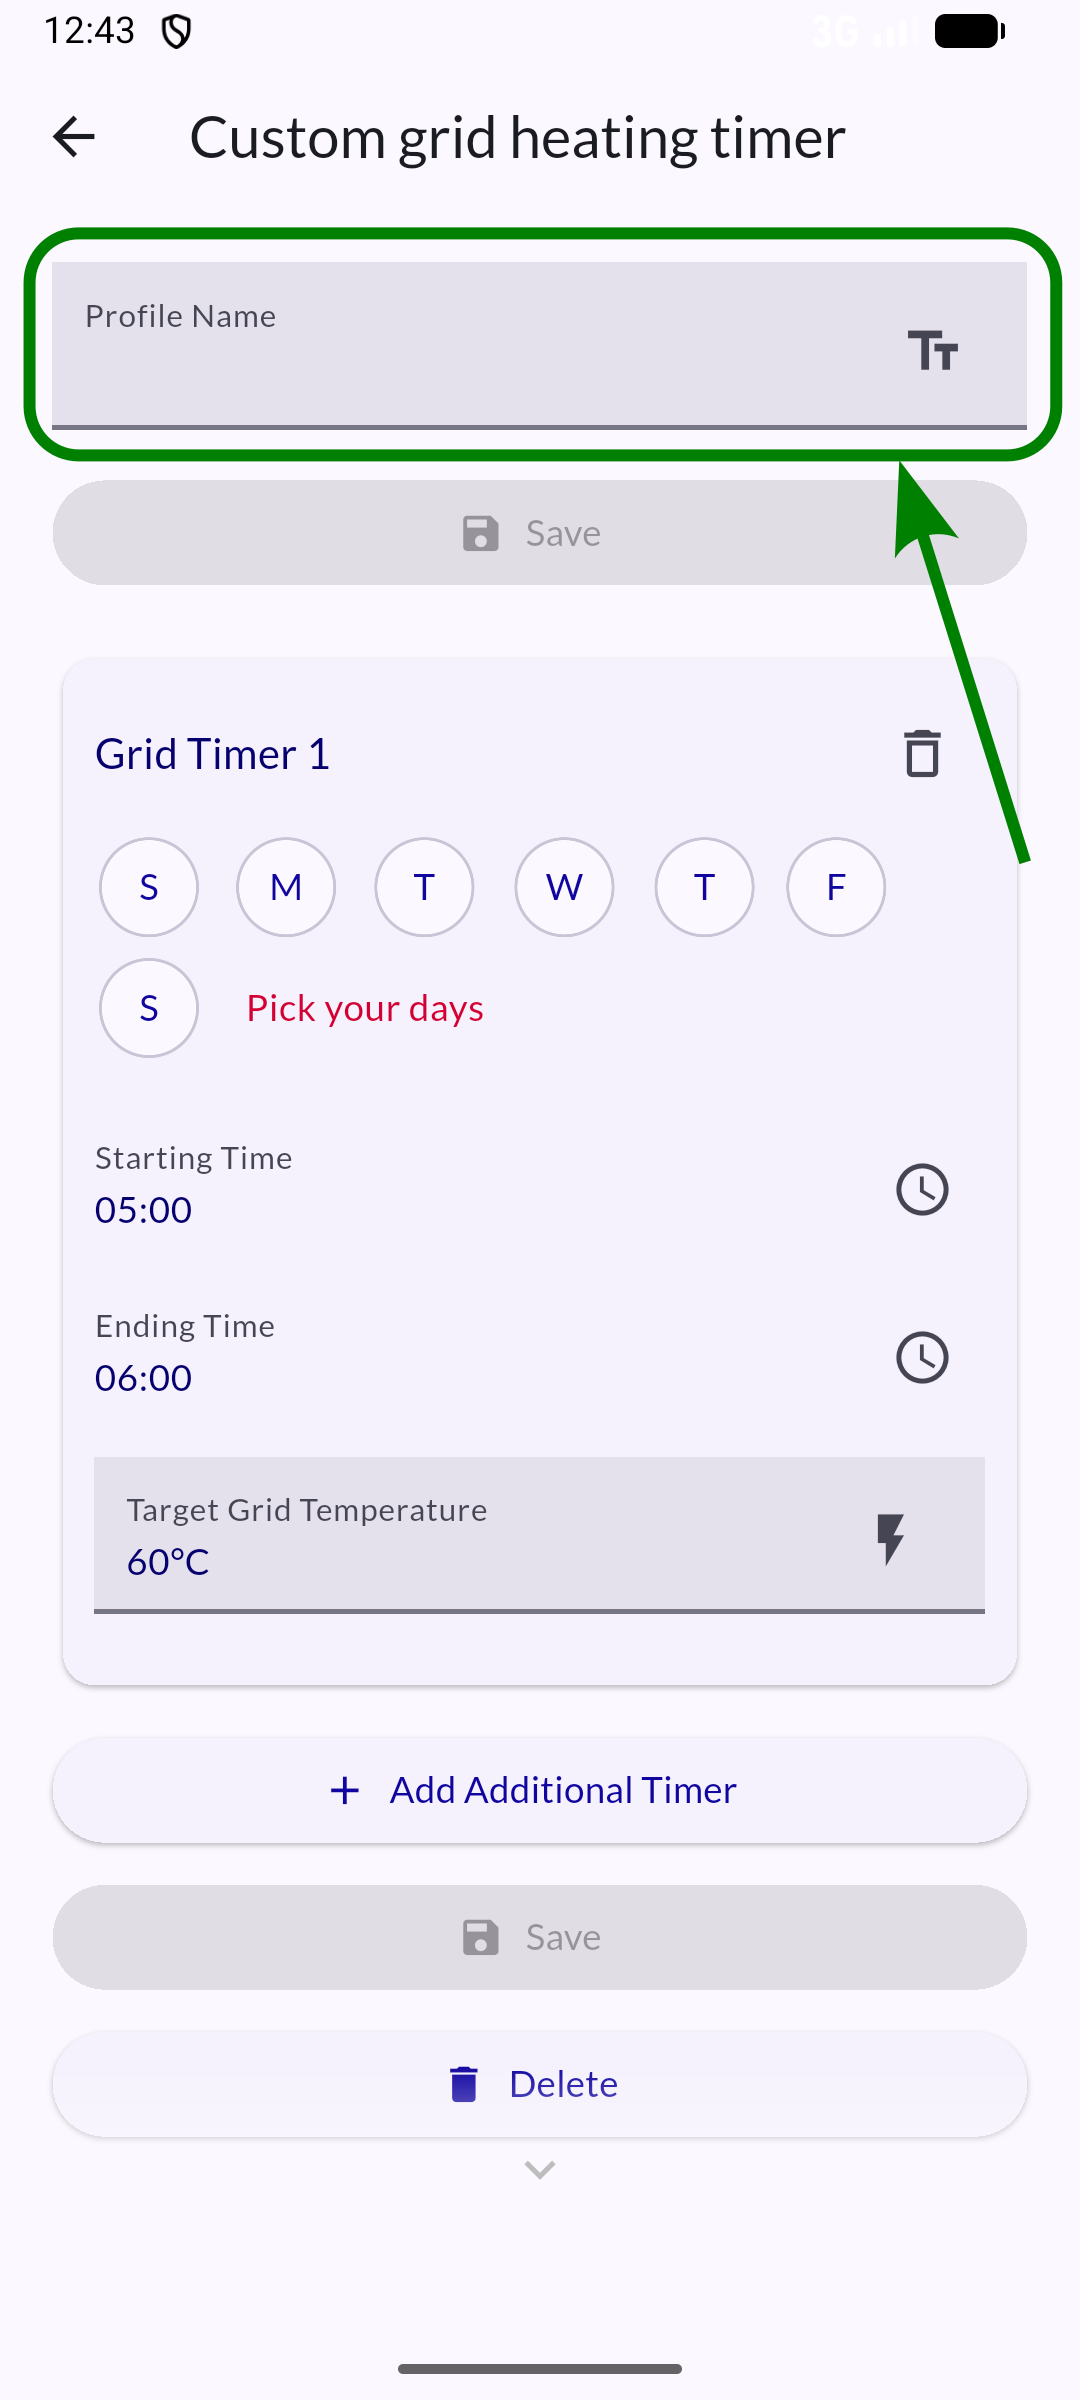
Timer setup
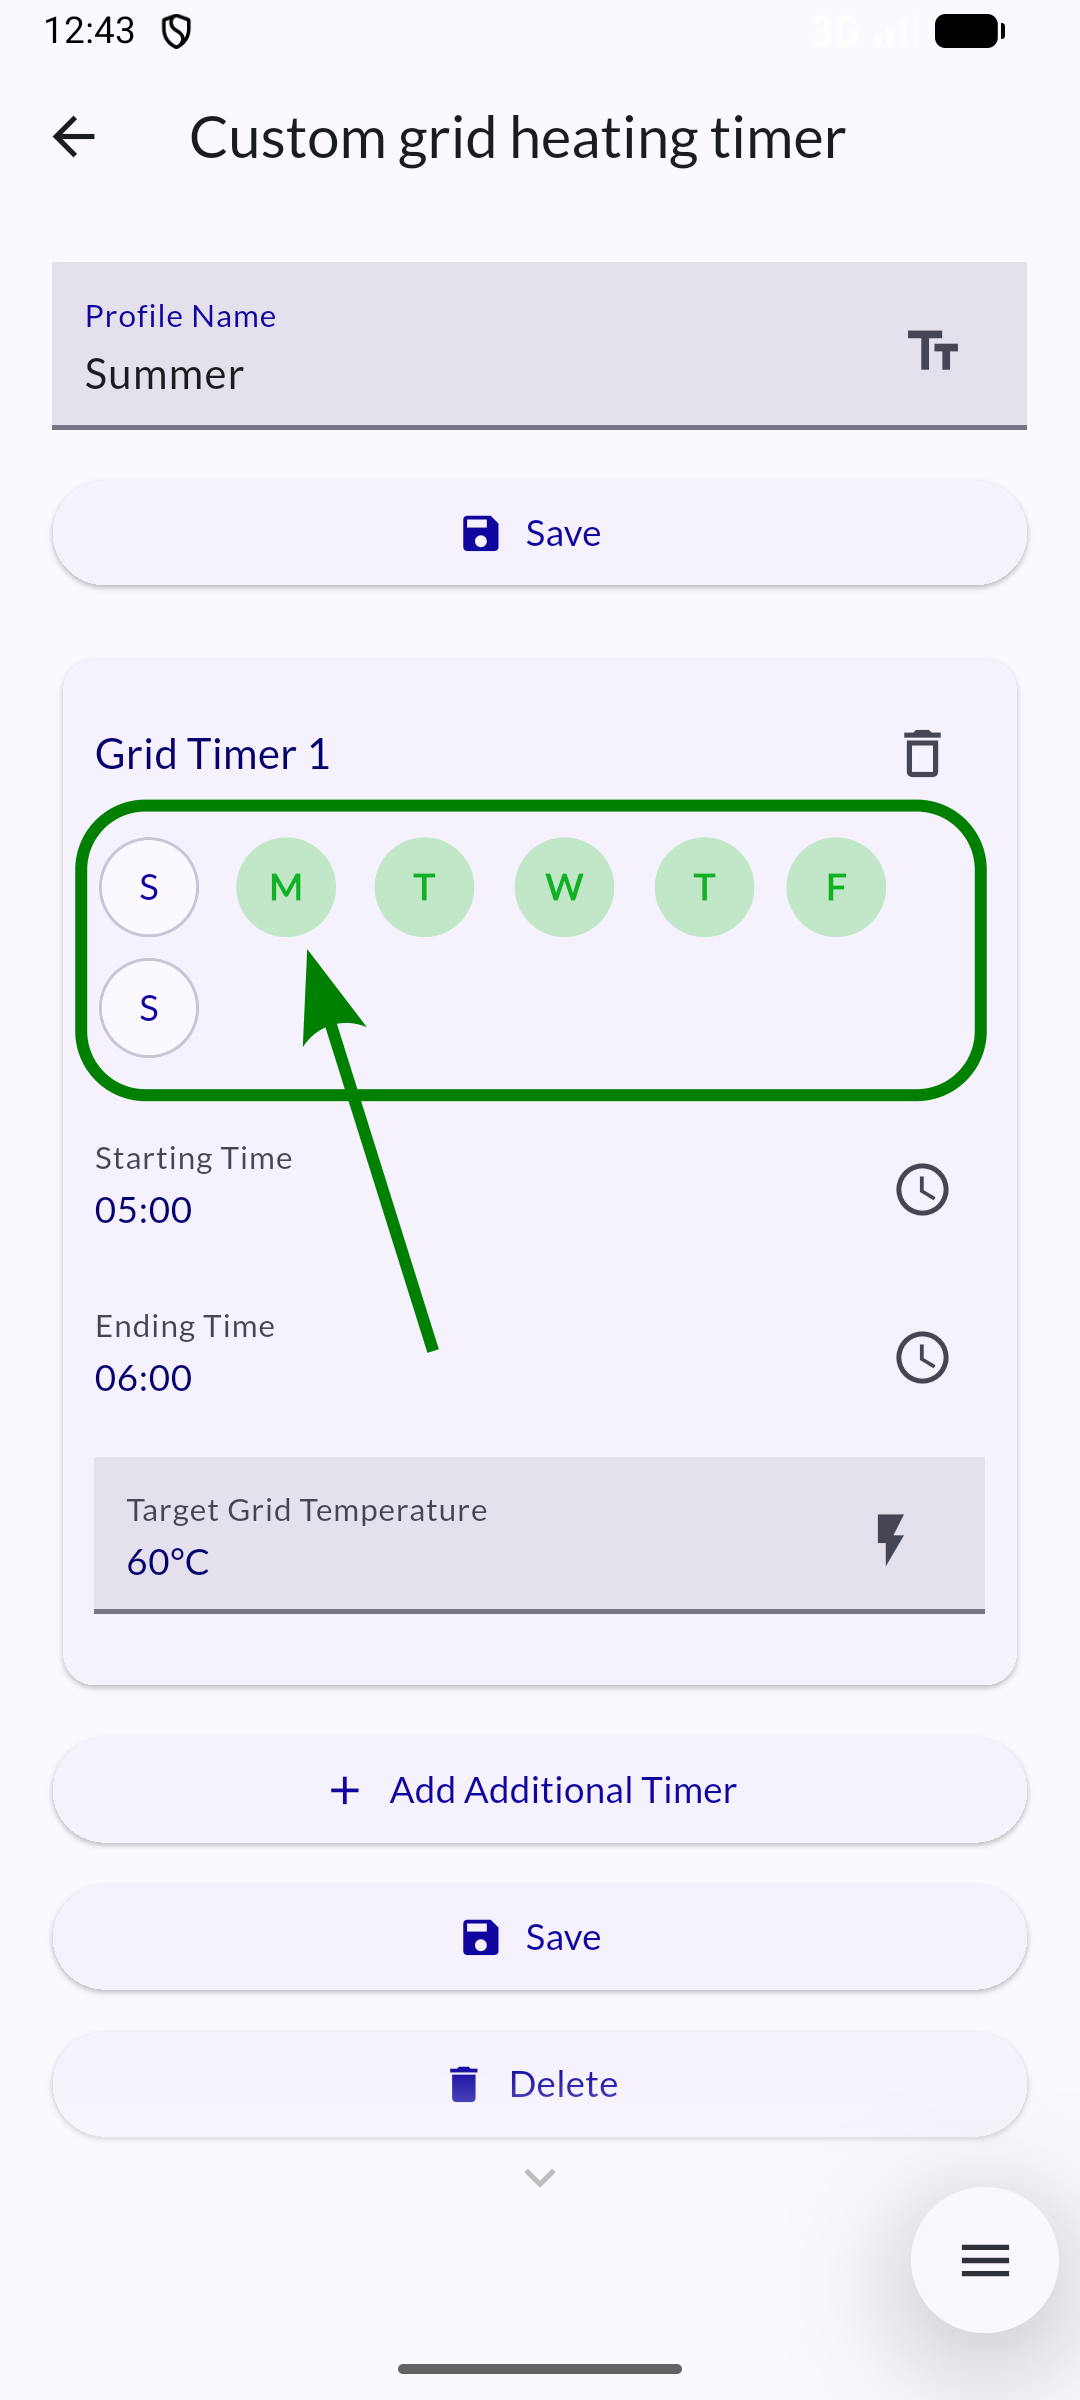
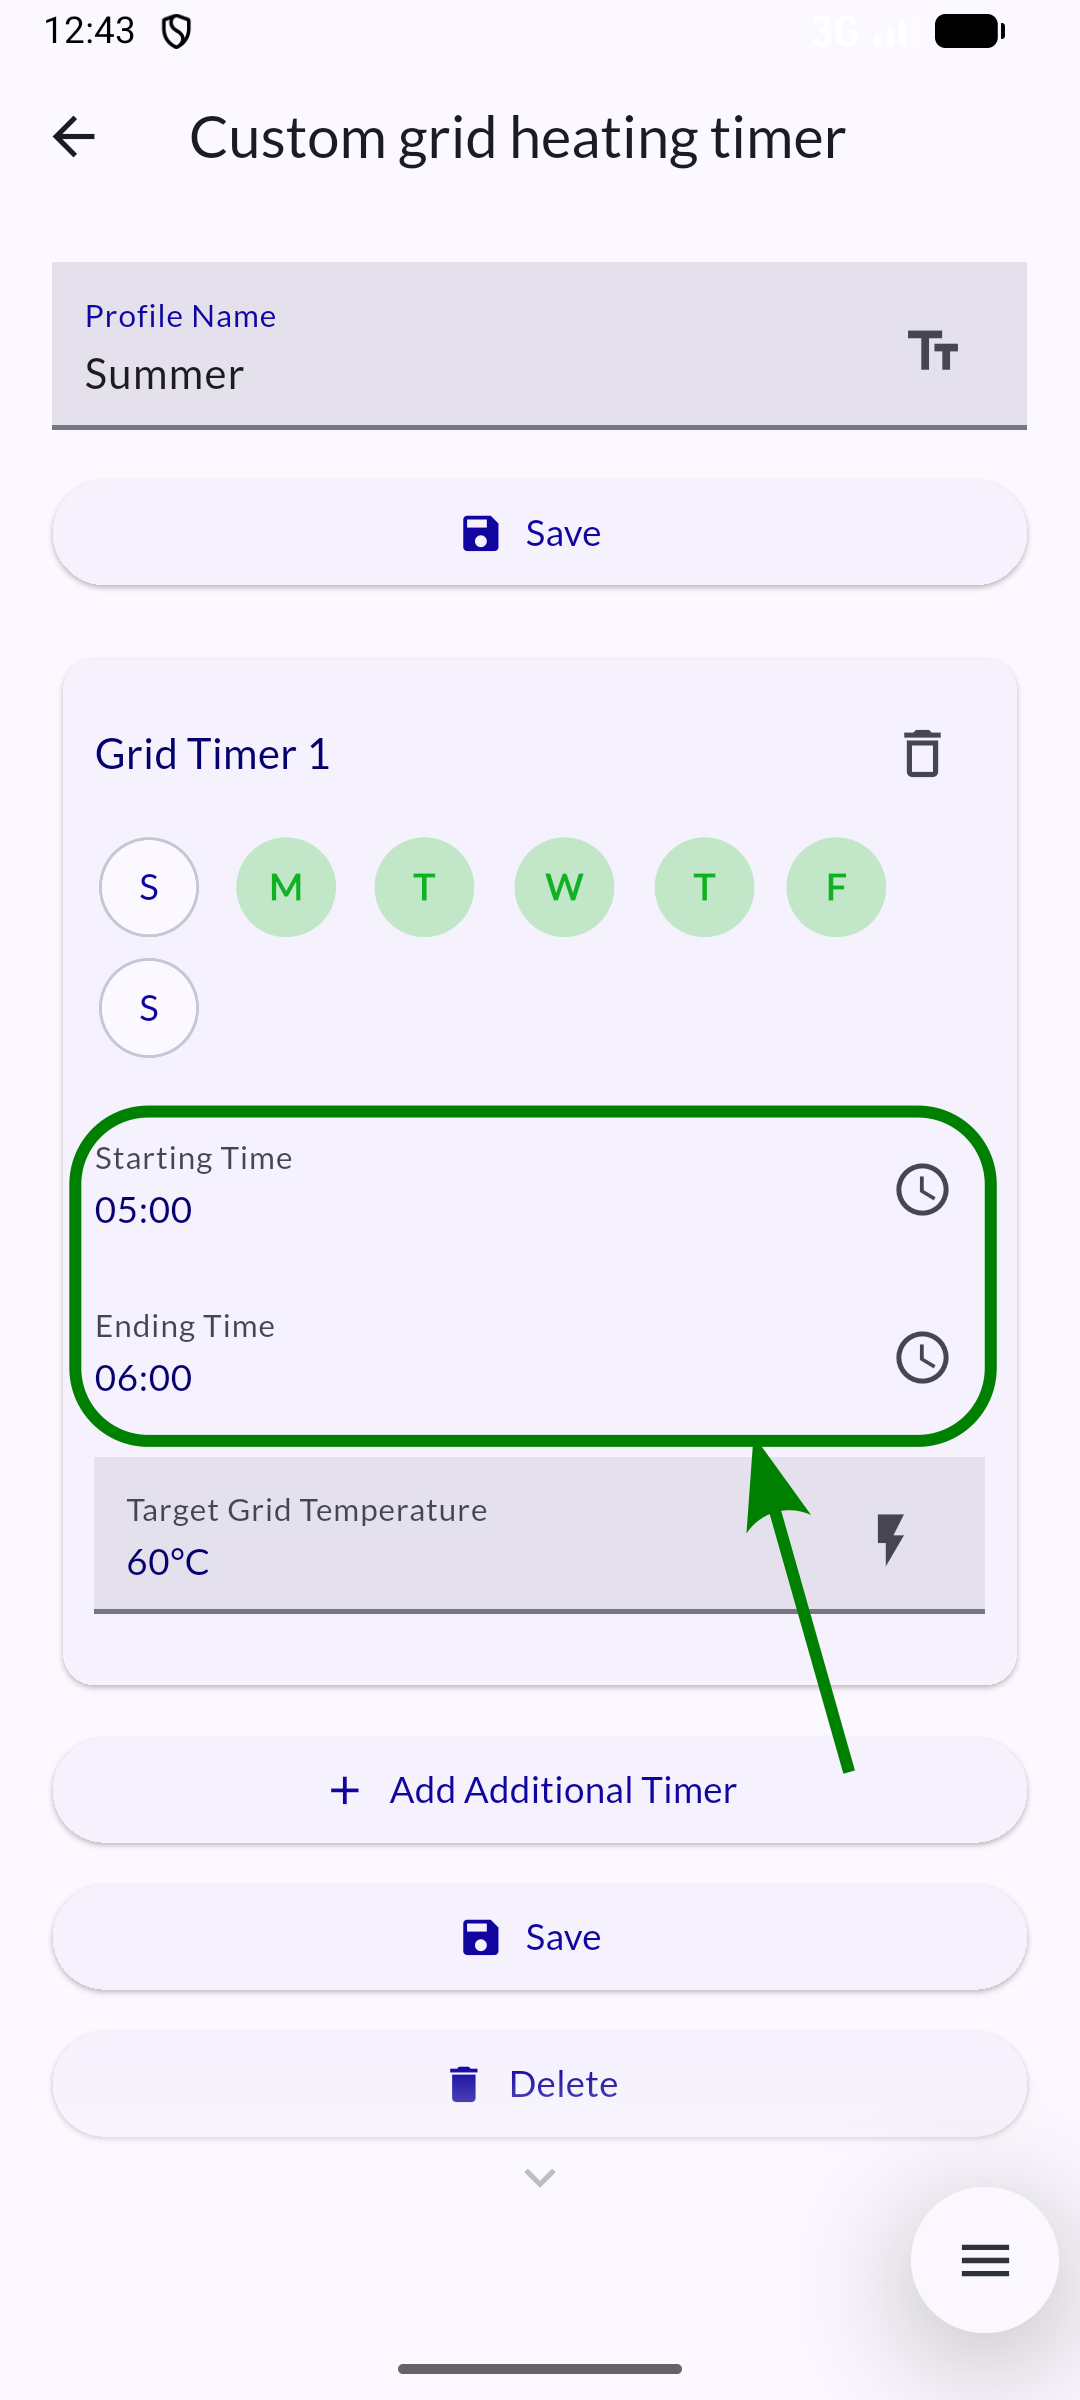
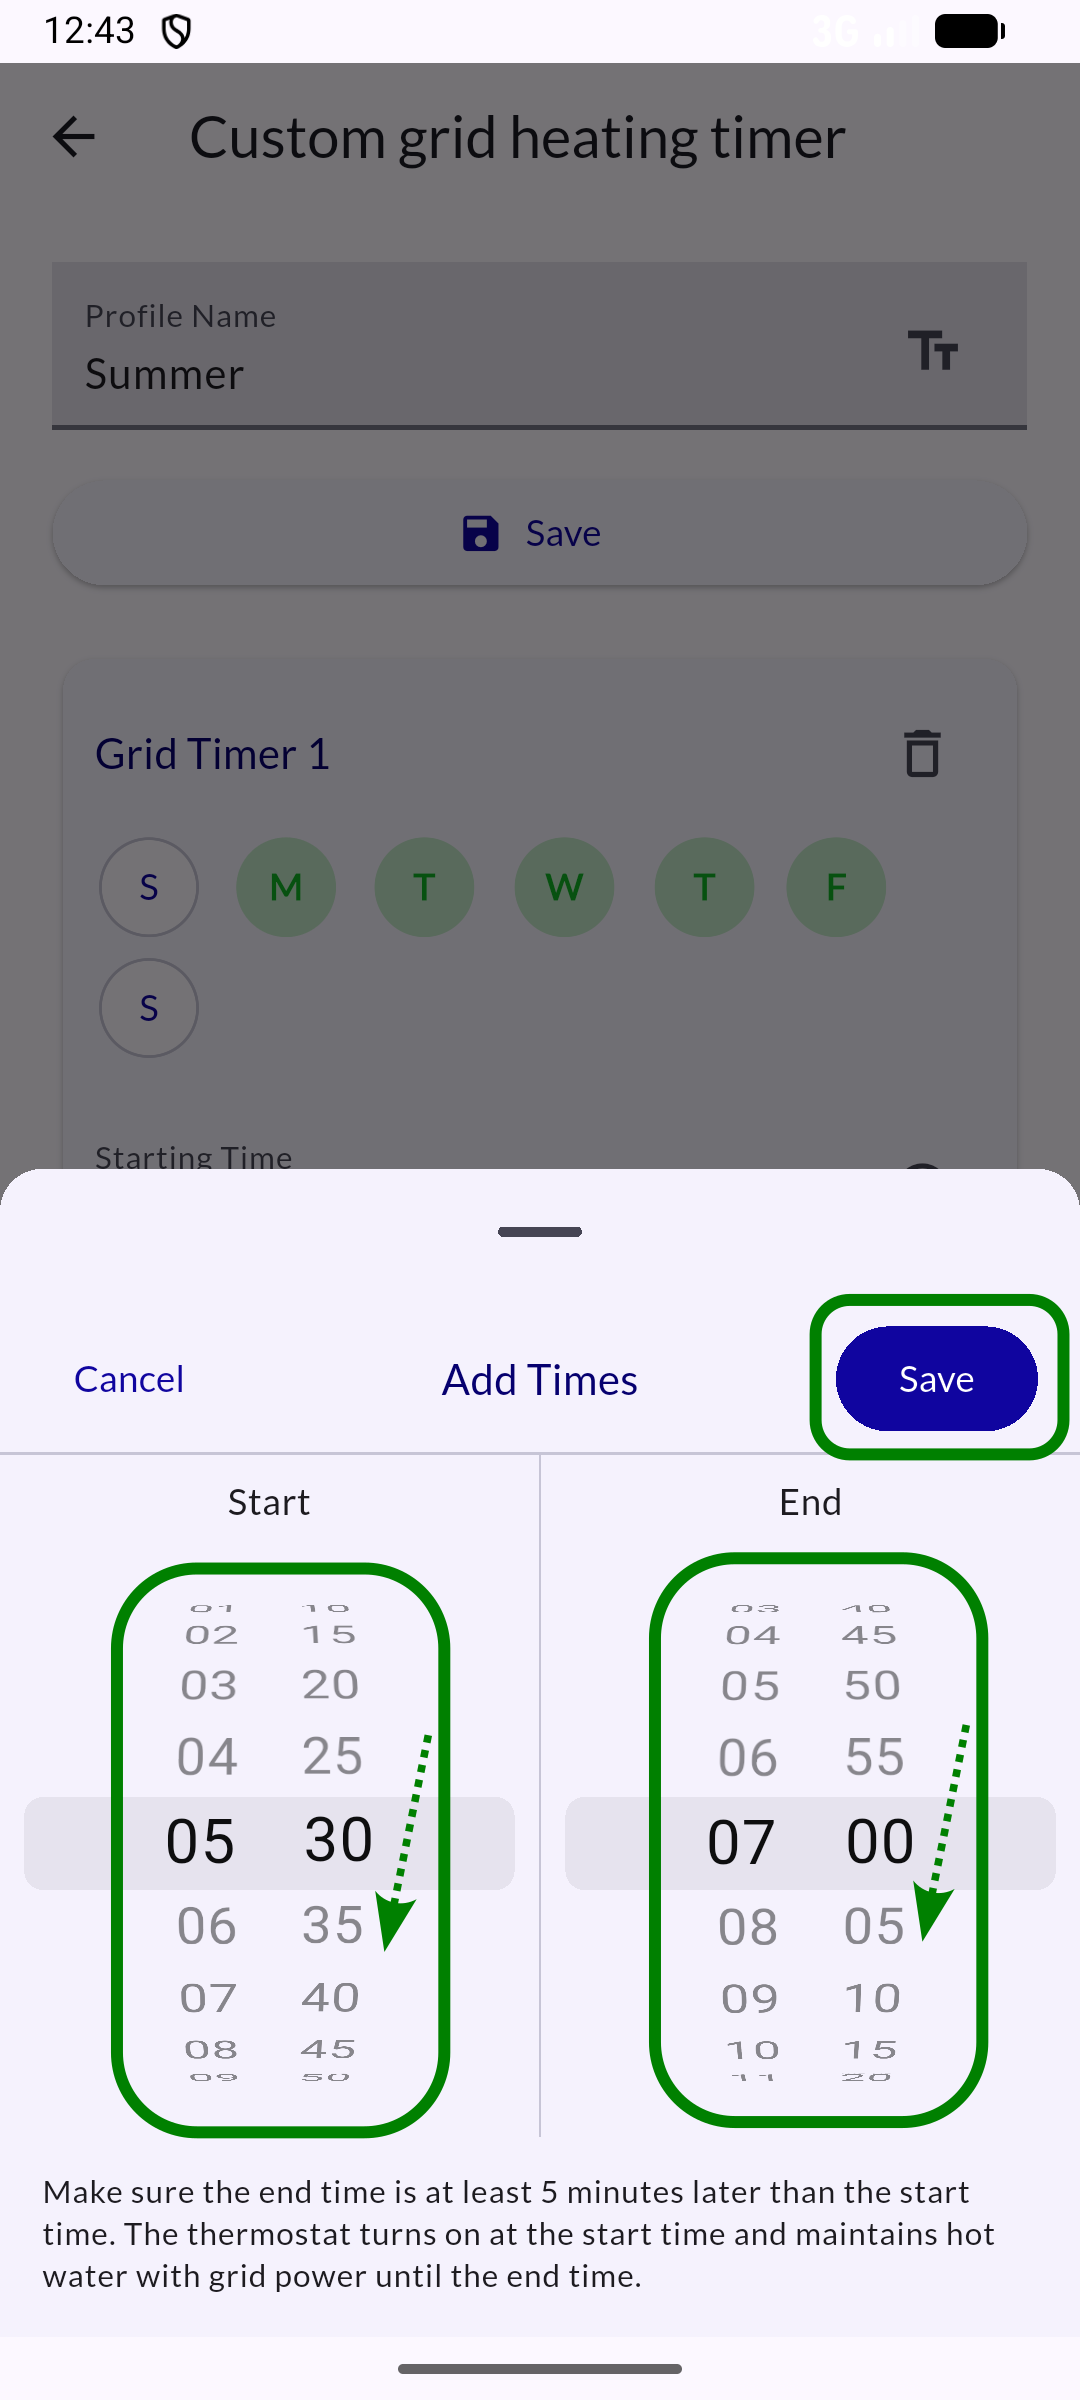
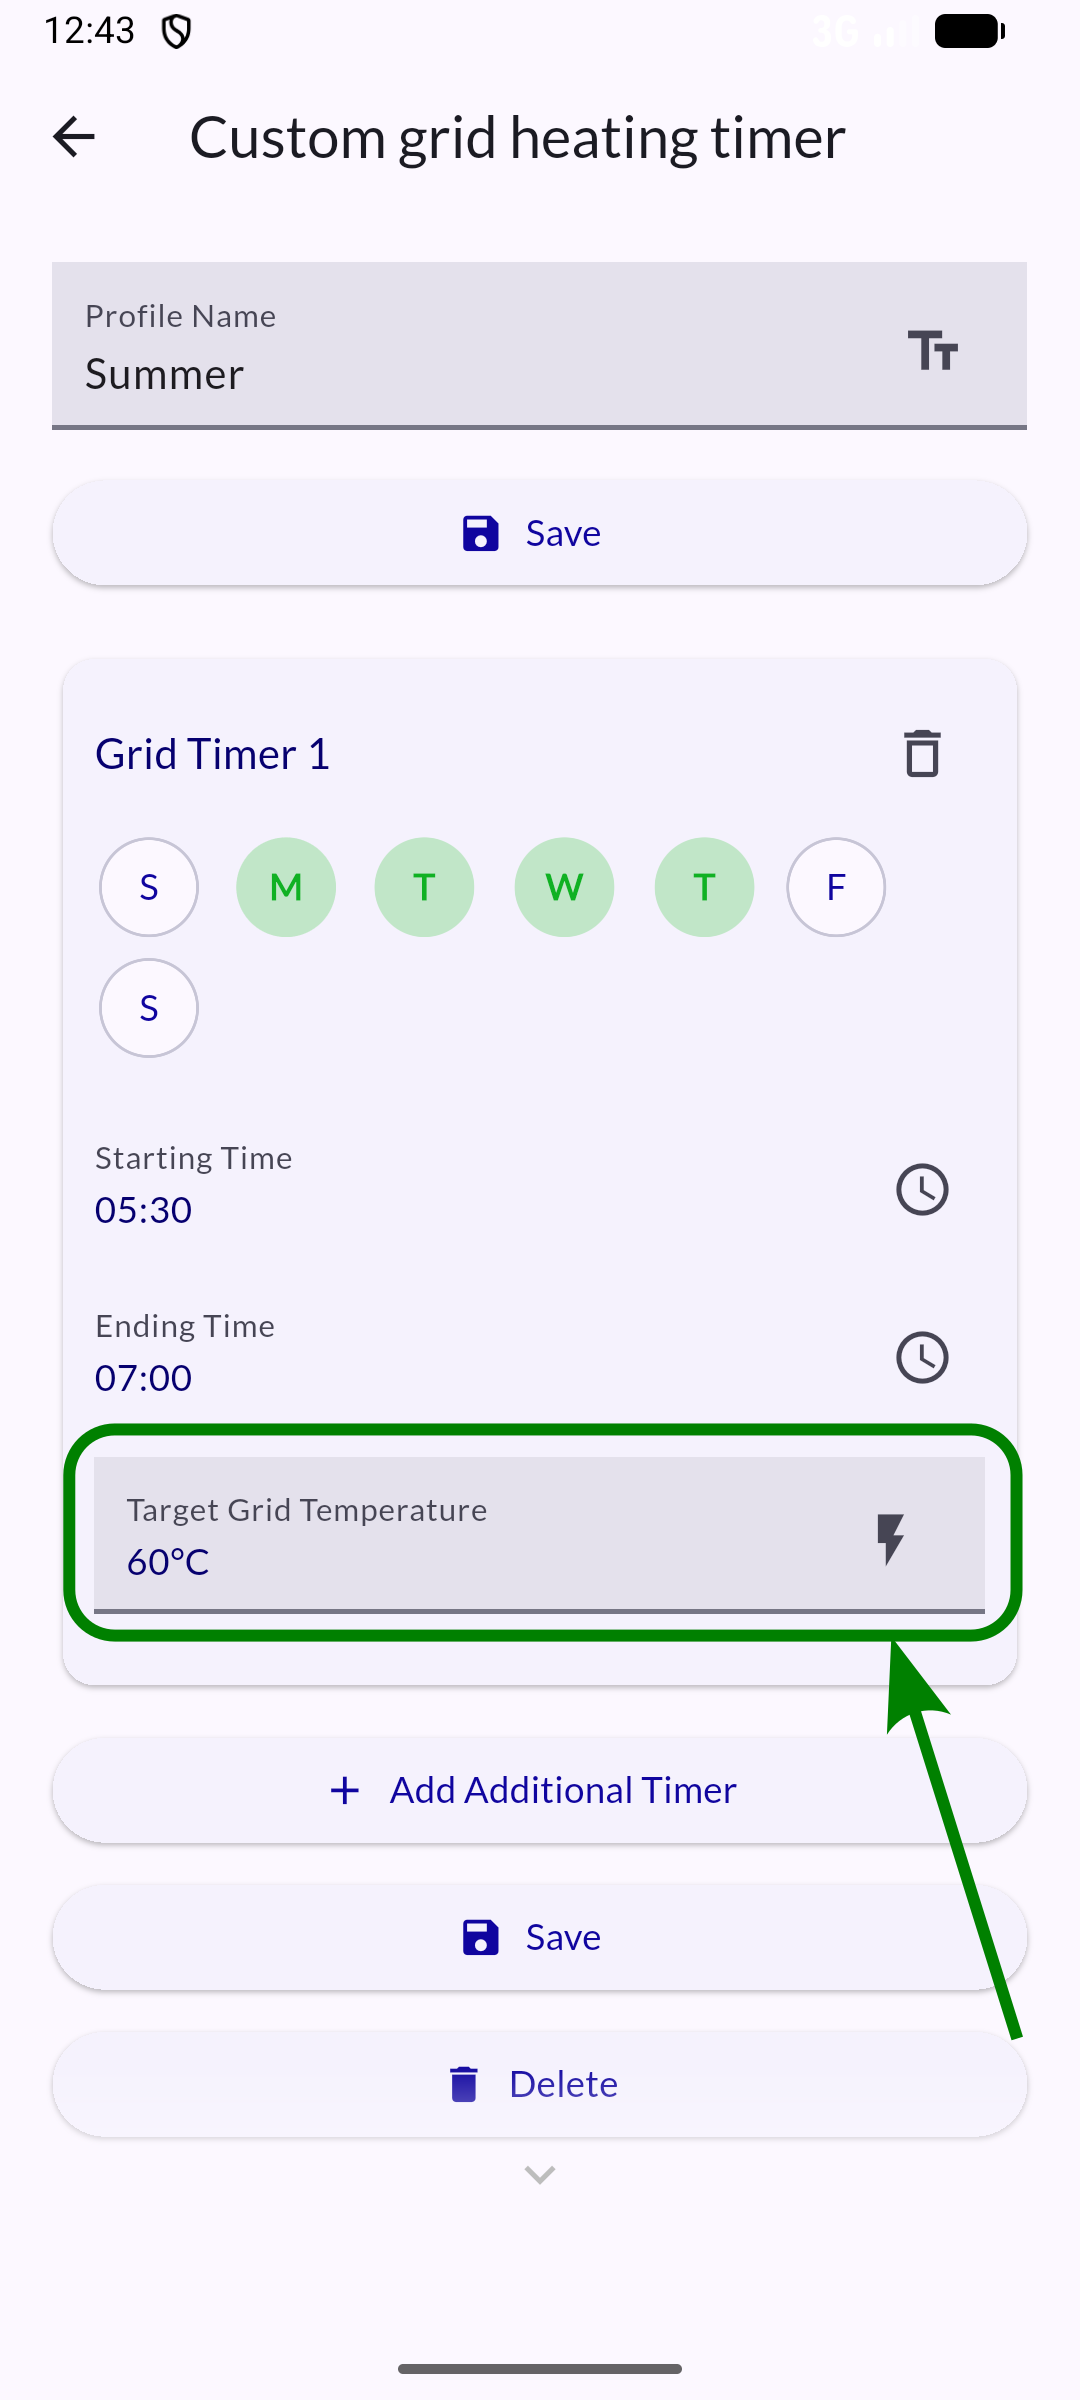
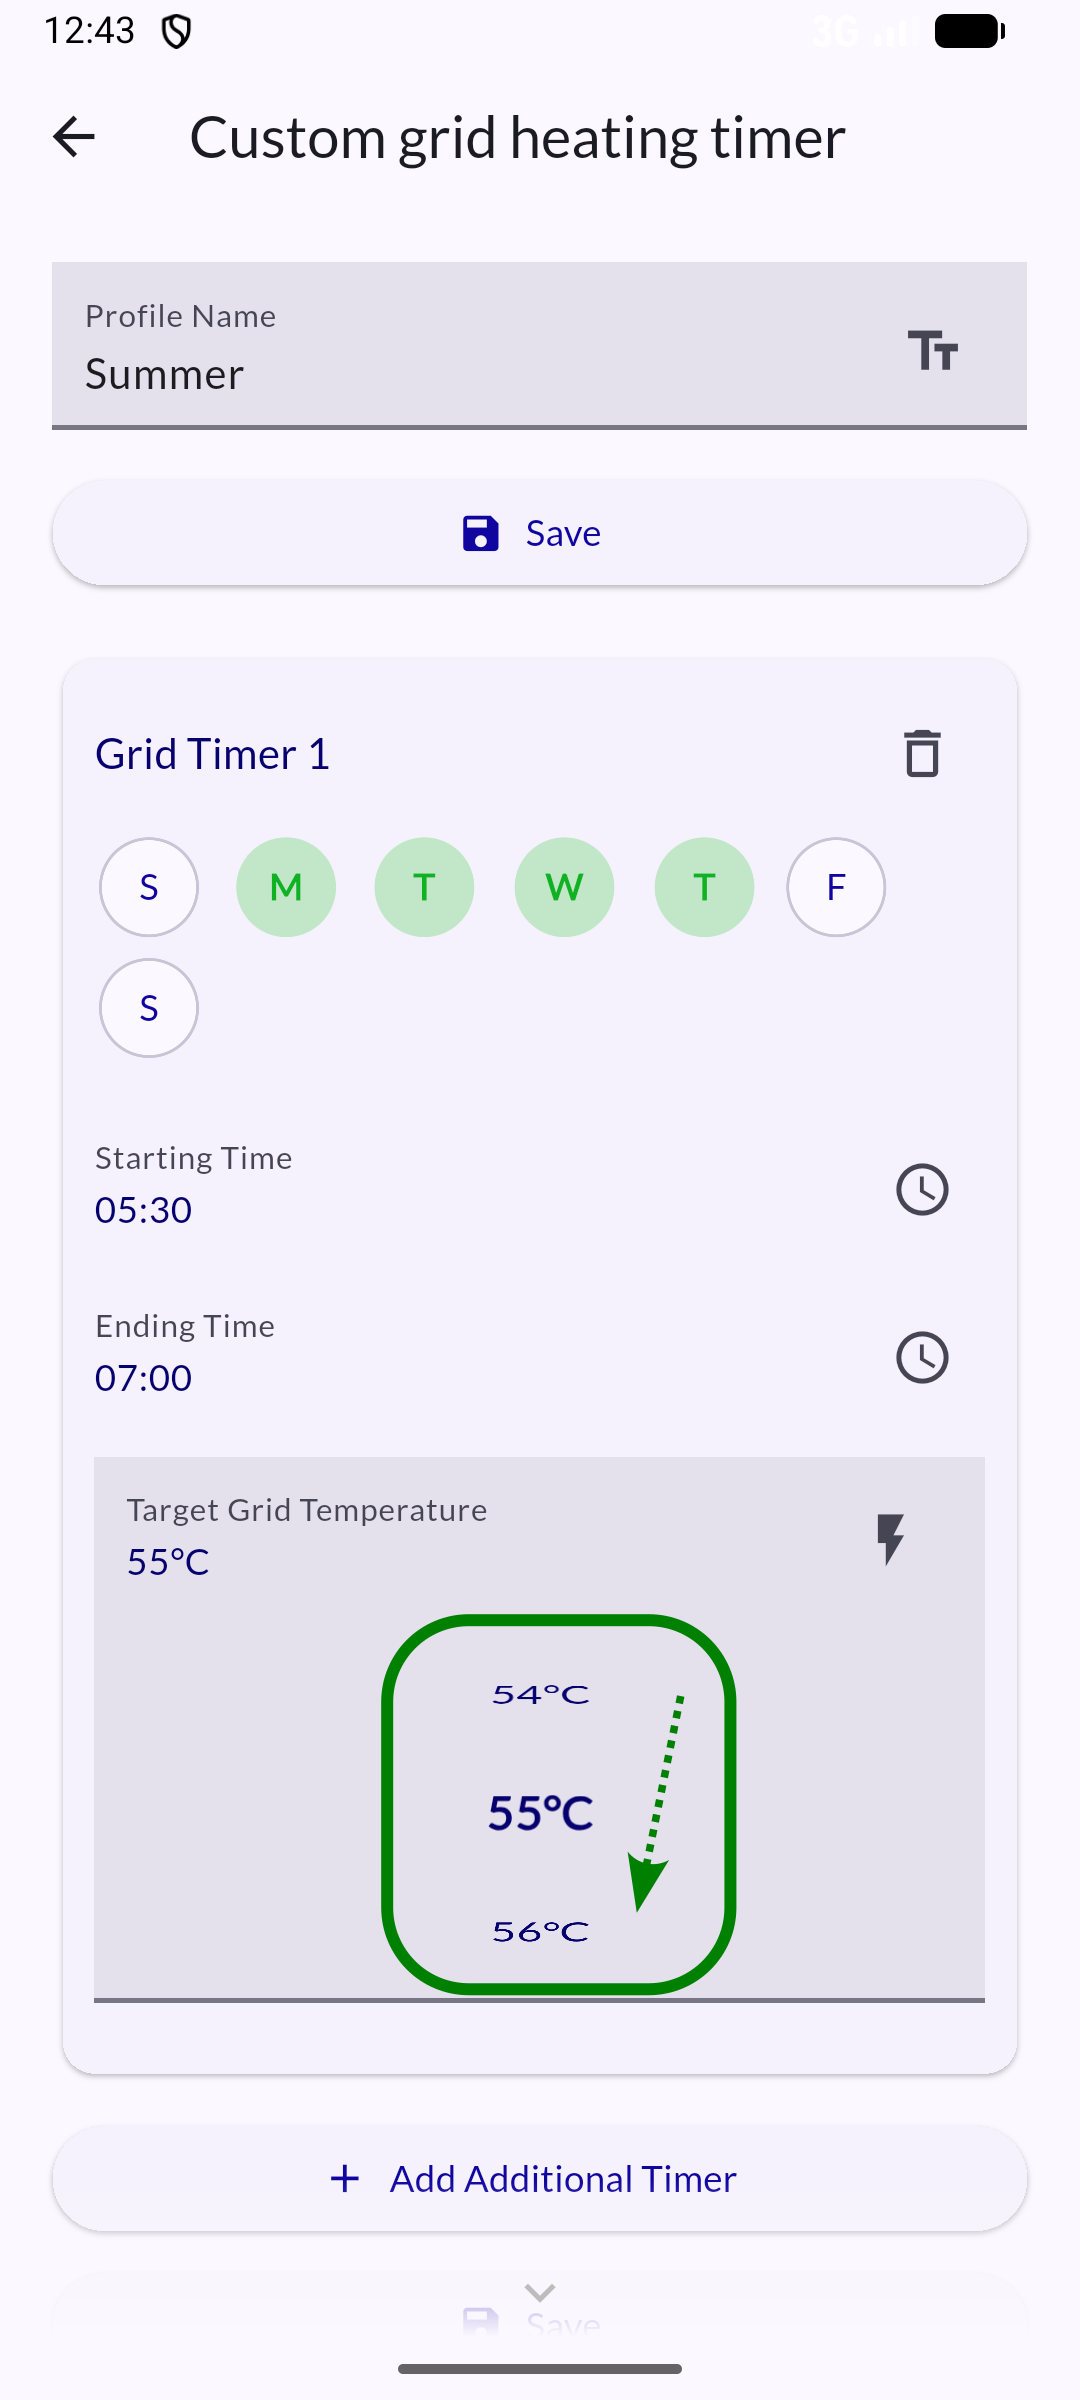
Add more grid timers and refine profile
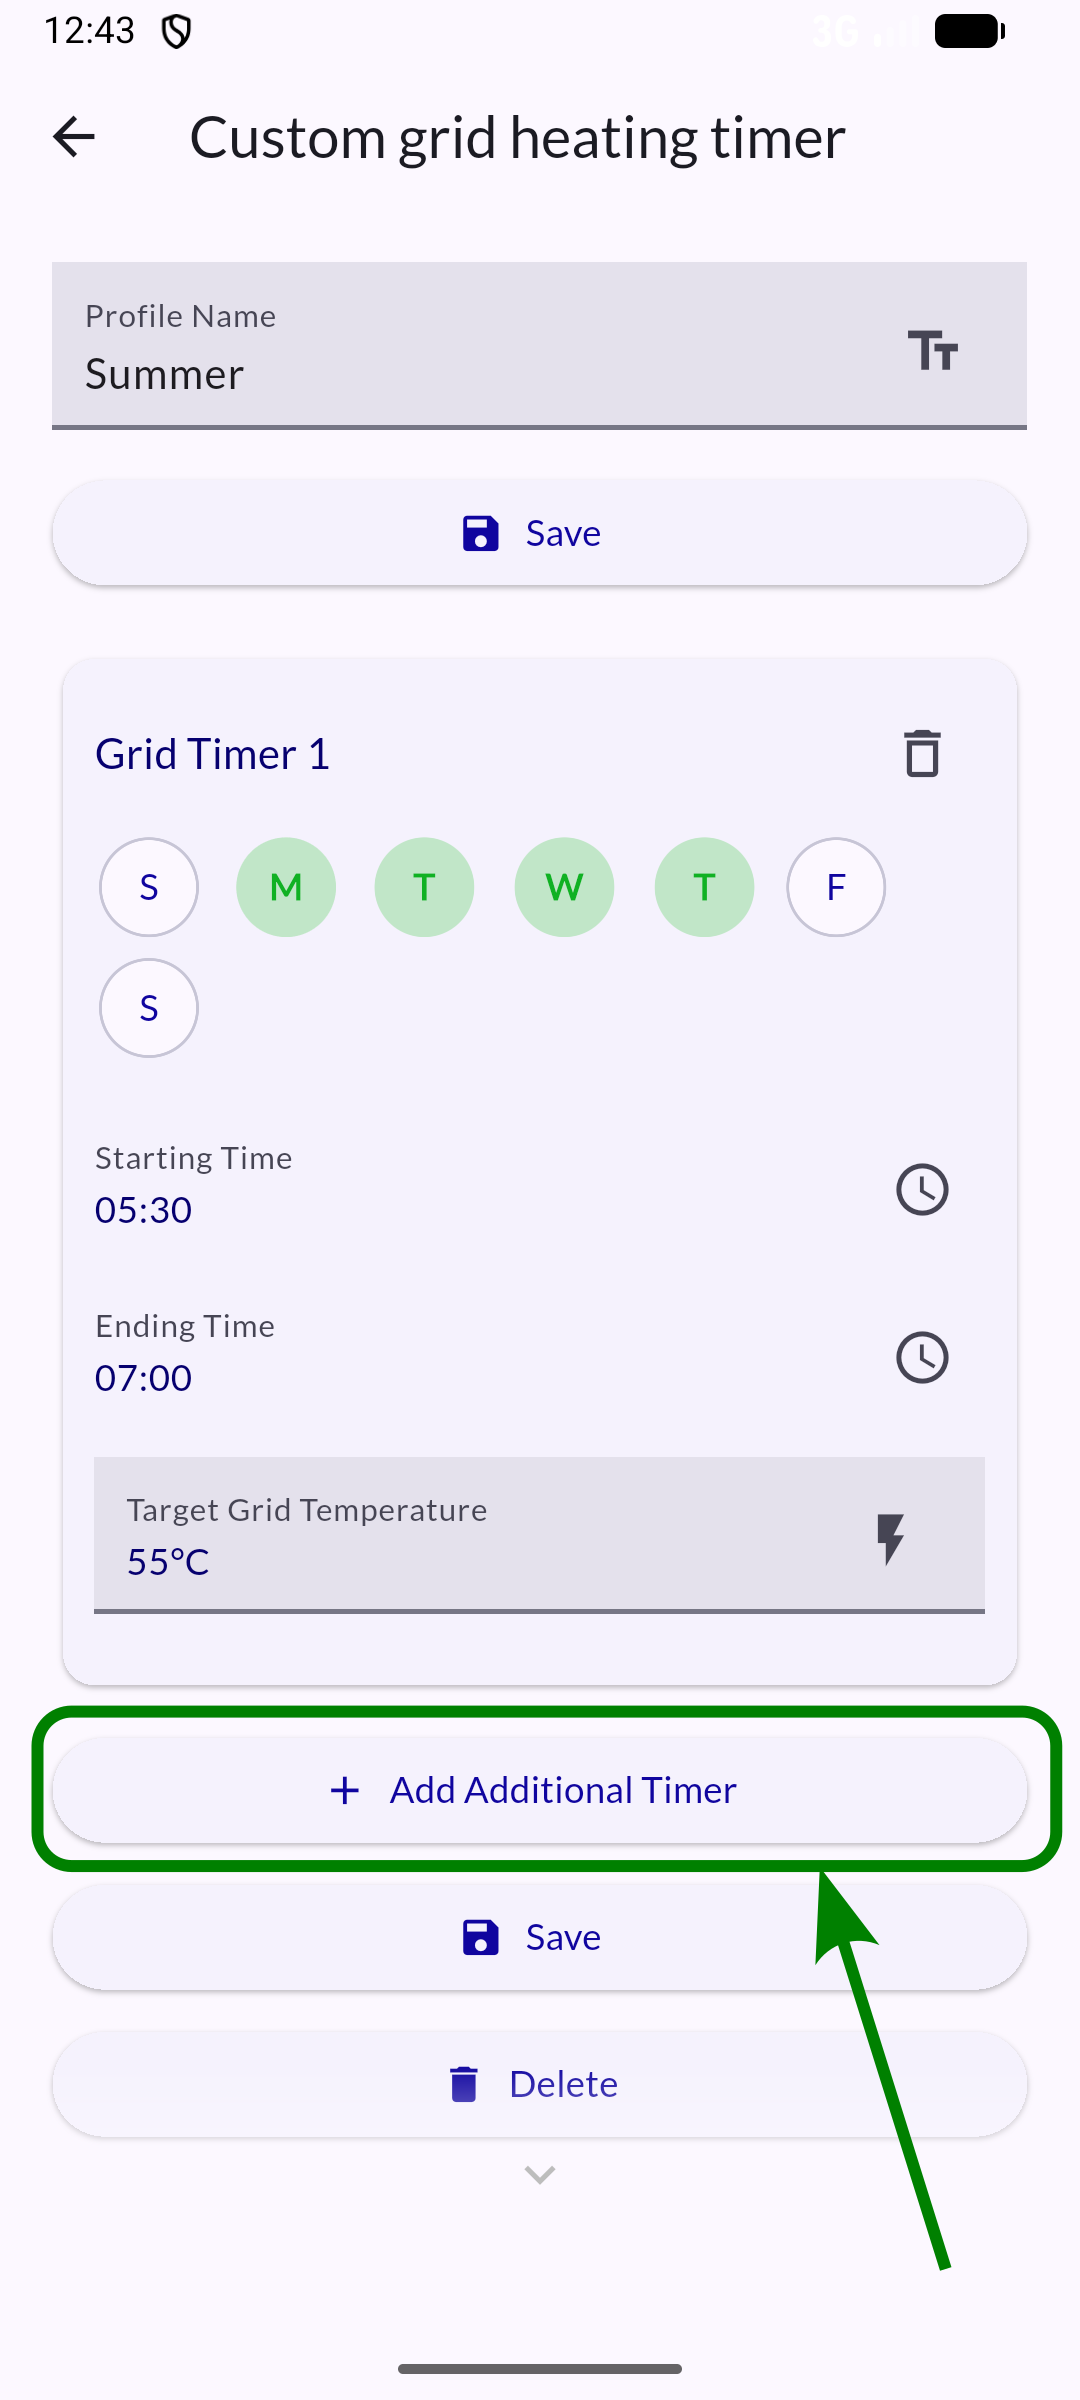
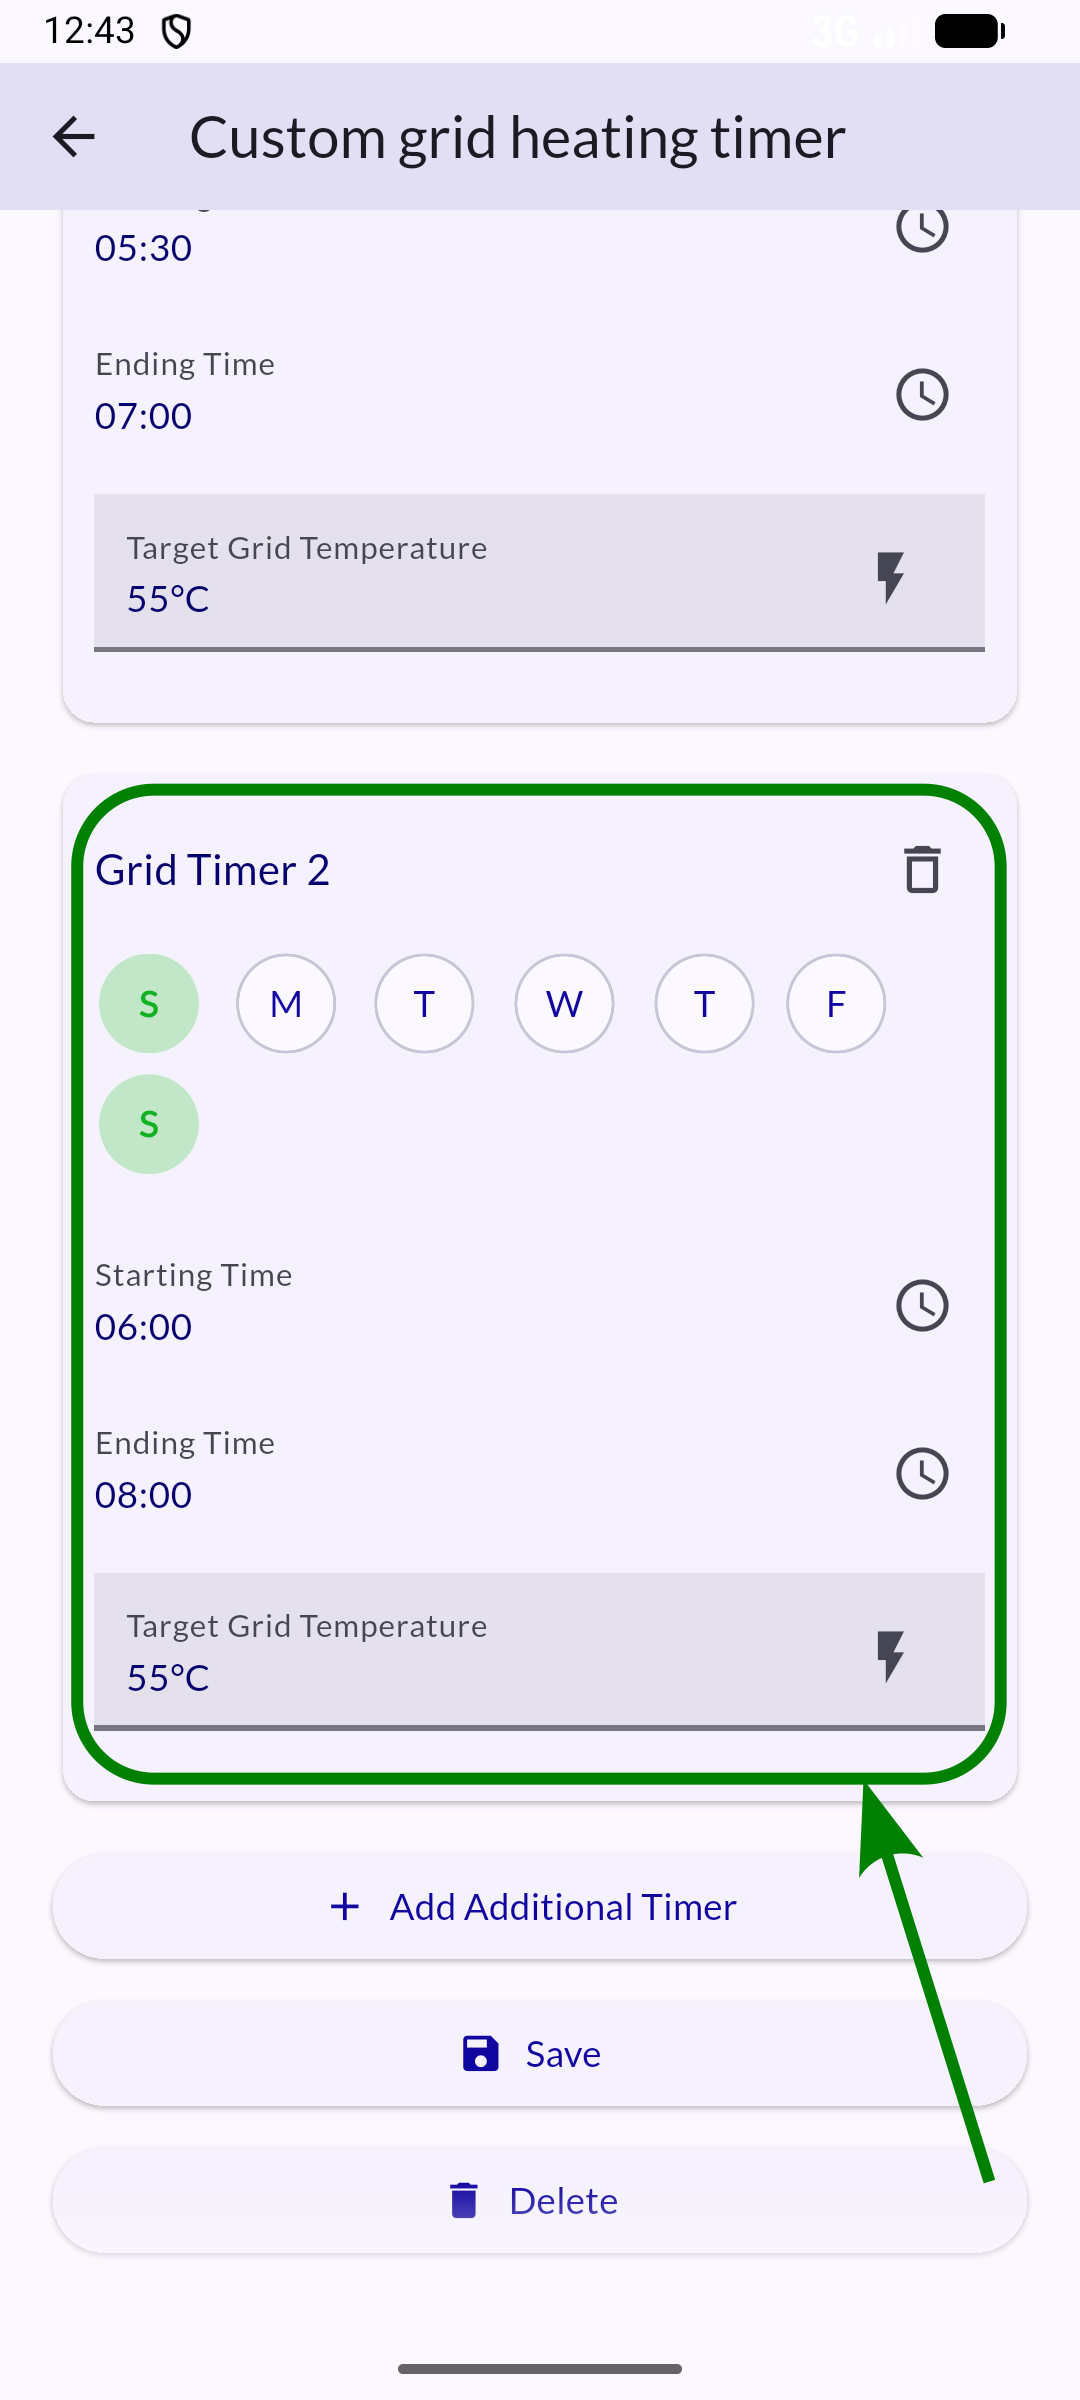
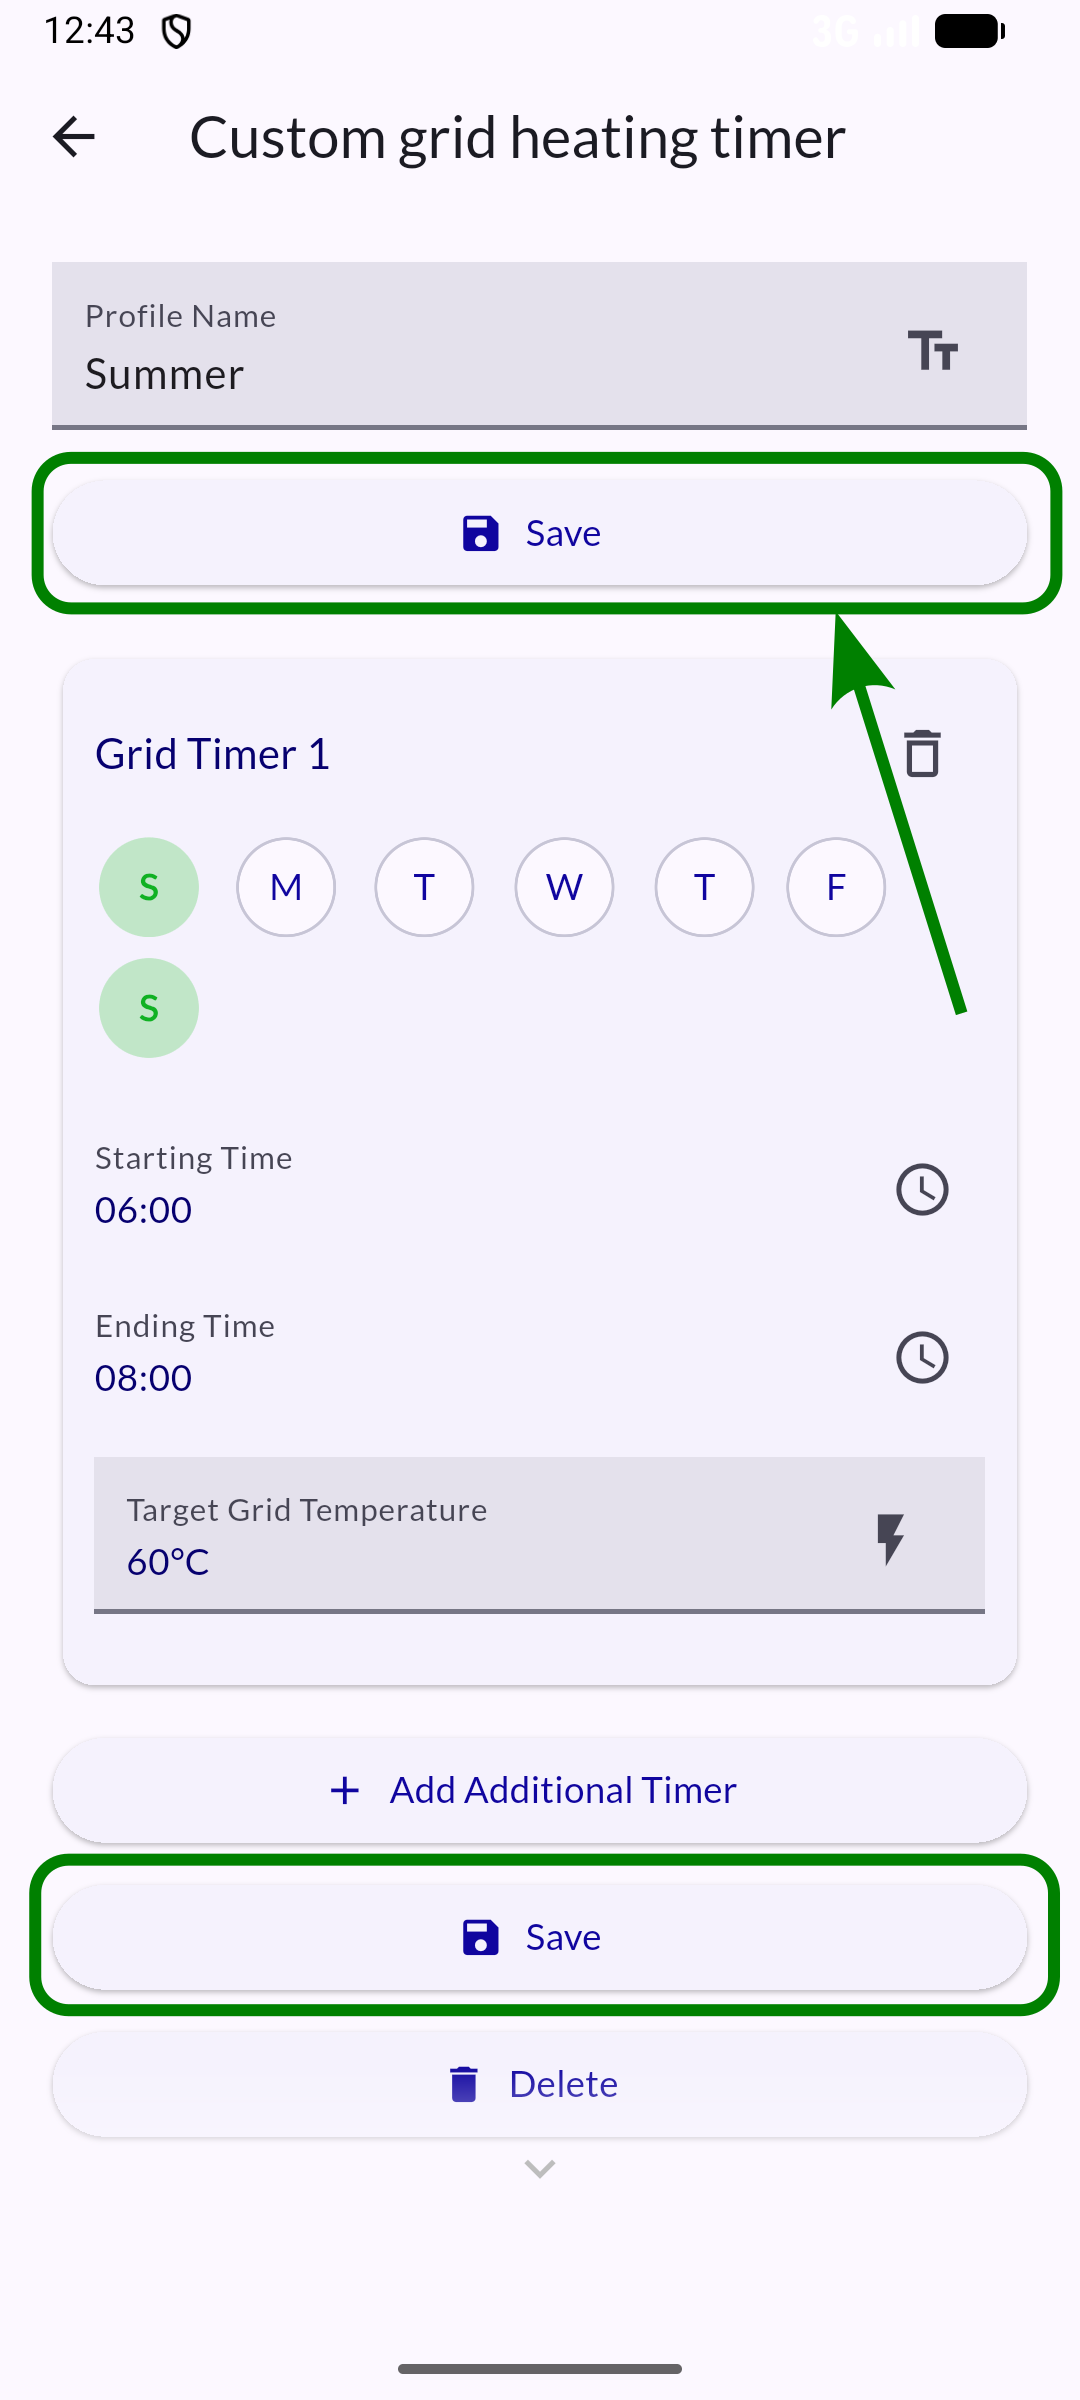
Confirm new heating profile
Create new home owner account
Get started here
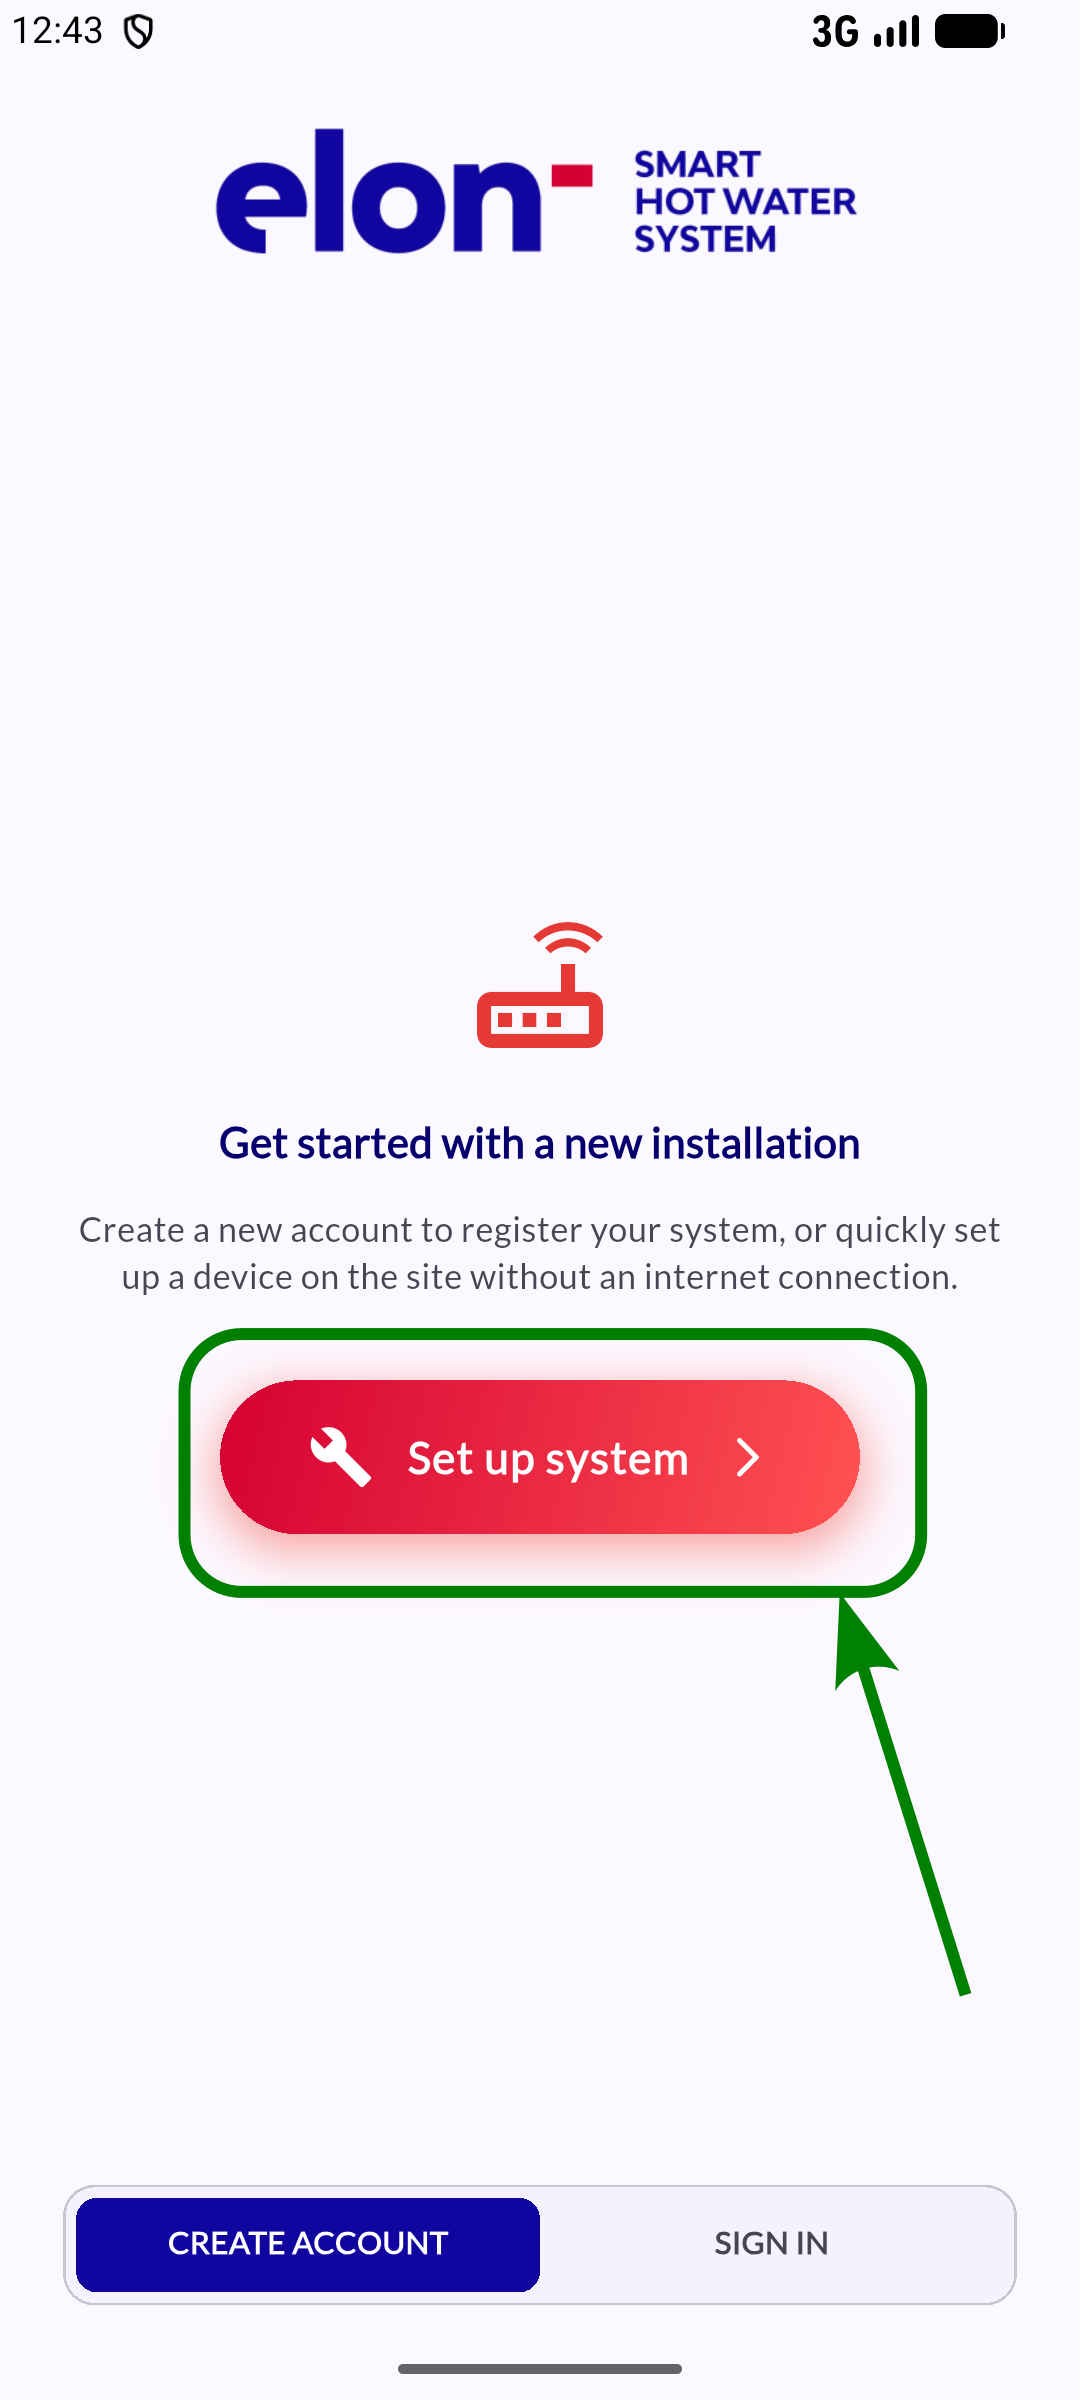
Step 1: Create an account
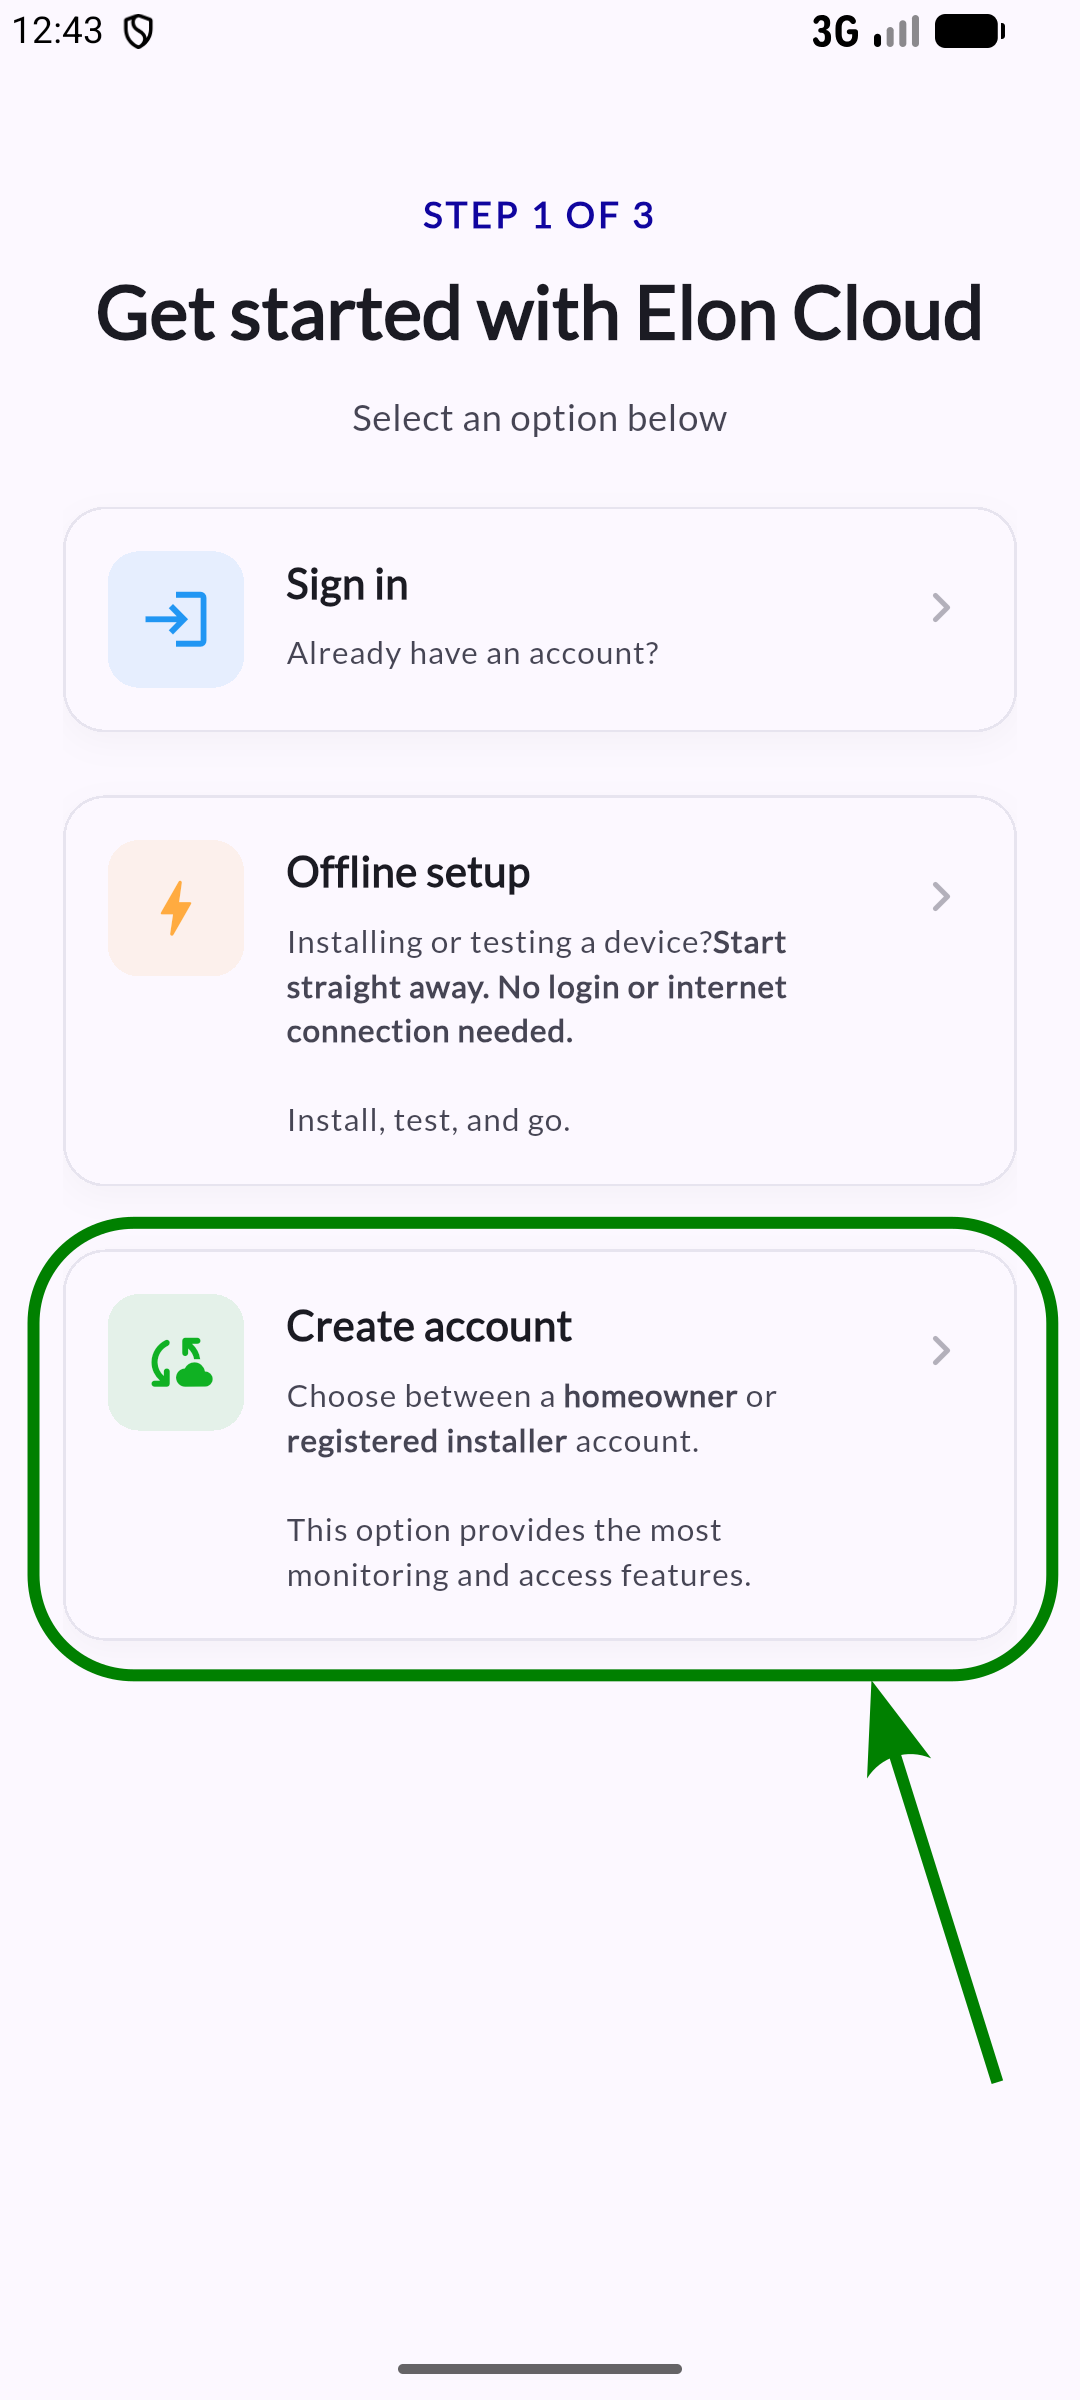
Step 2: Choose between installer and homeowner roles
Step 3: Final step to complete your personal account details
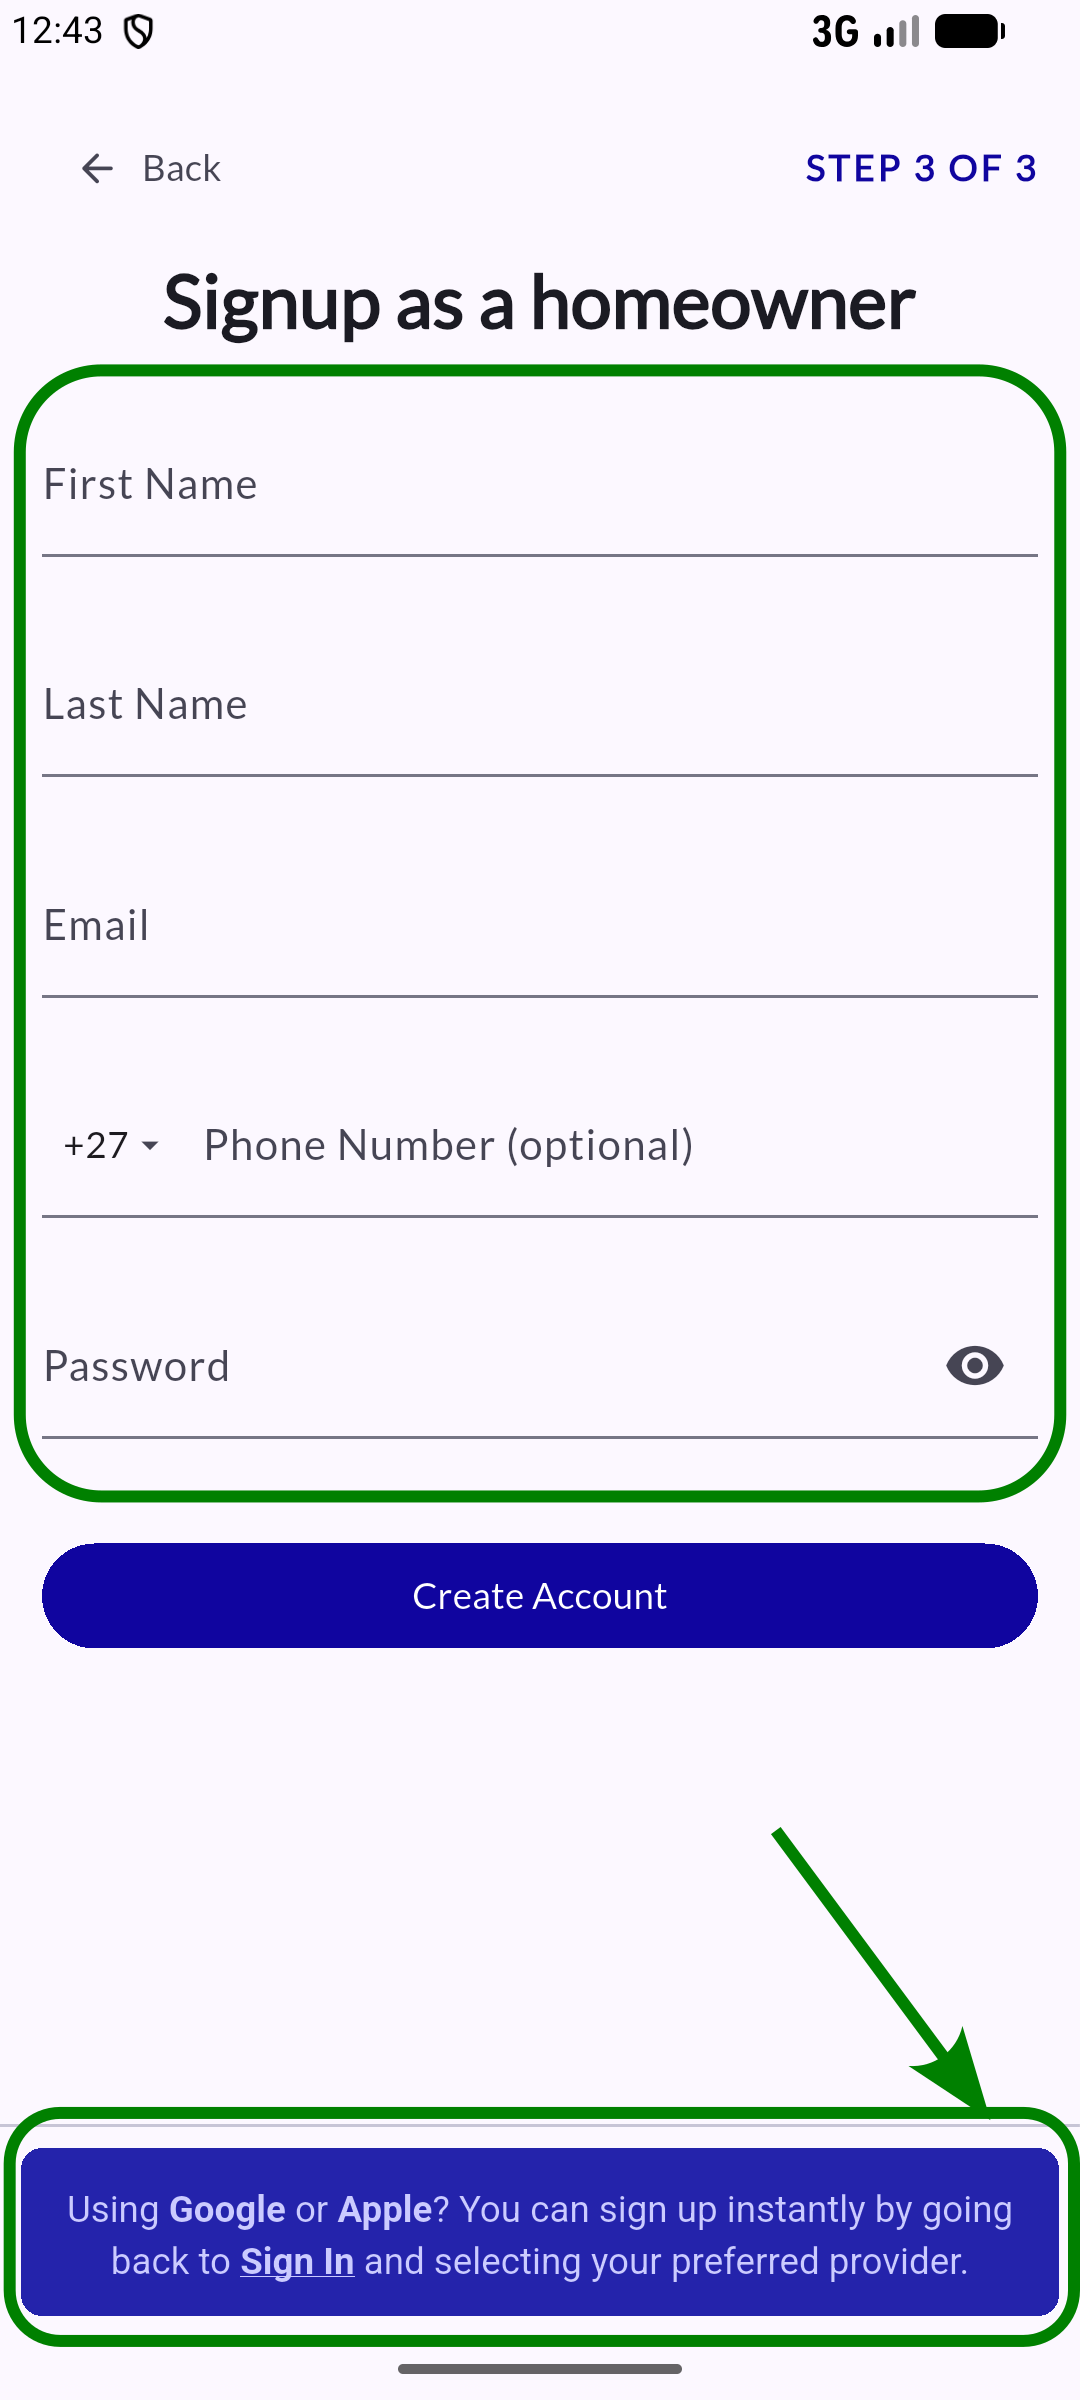
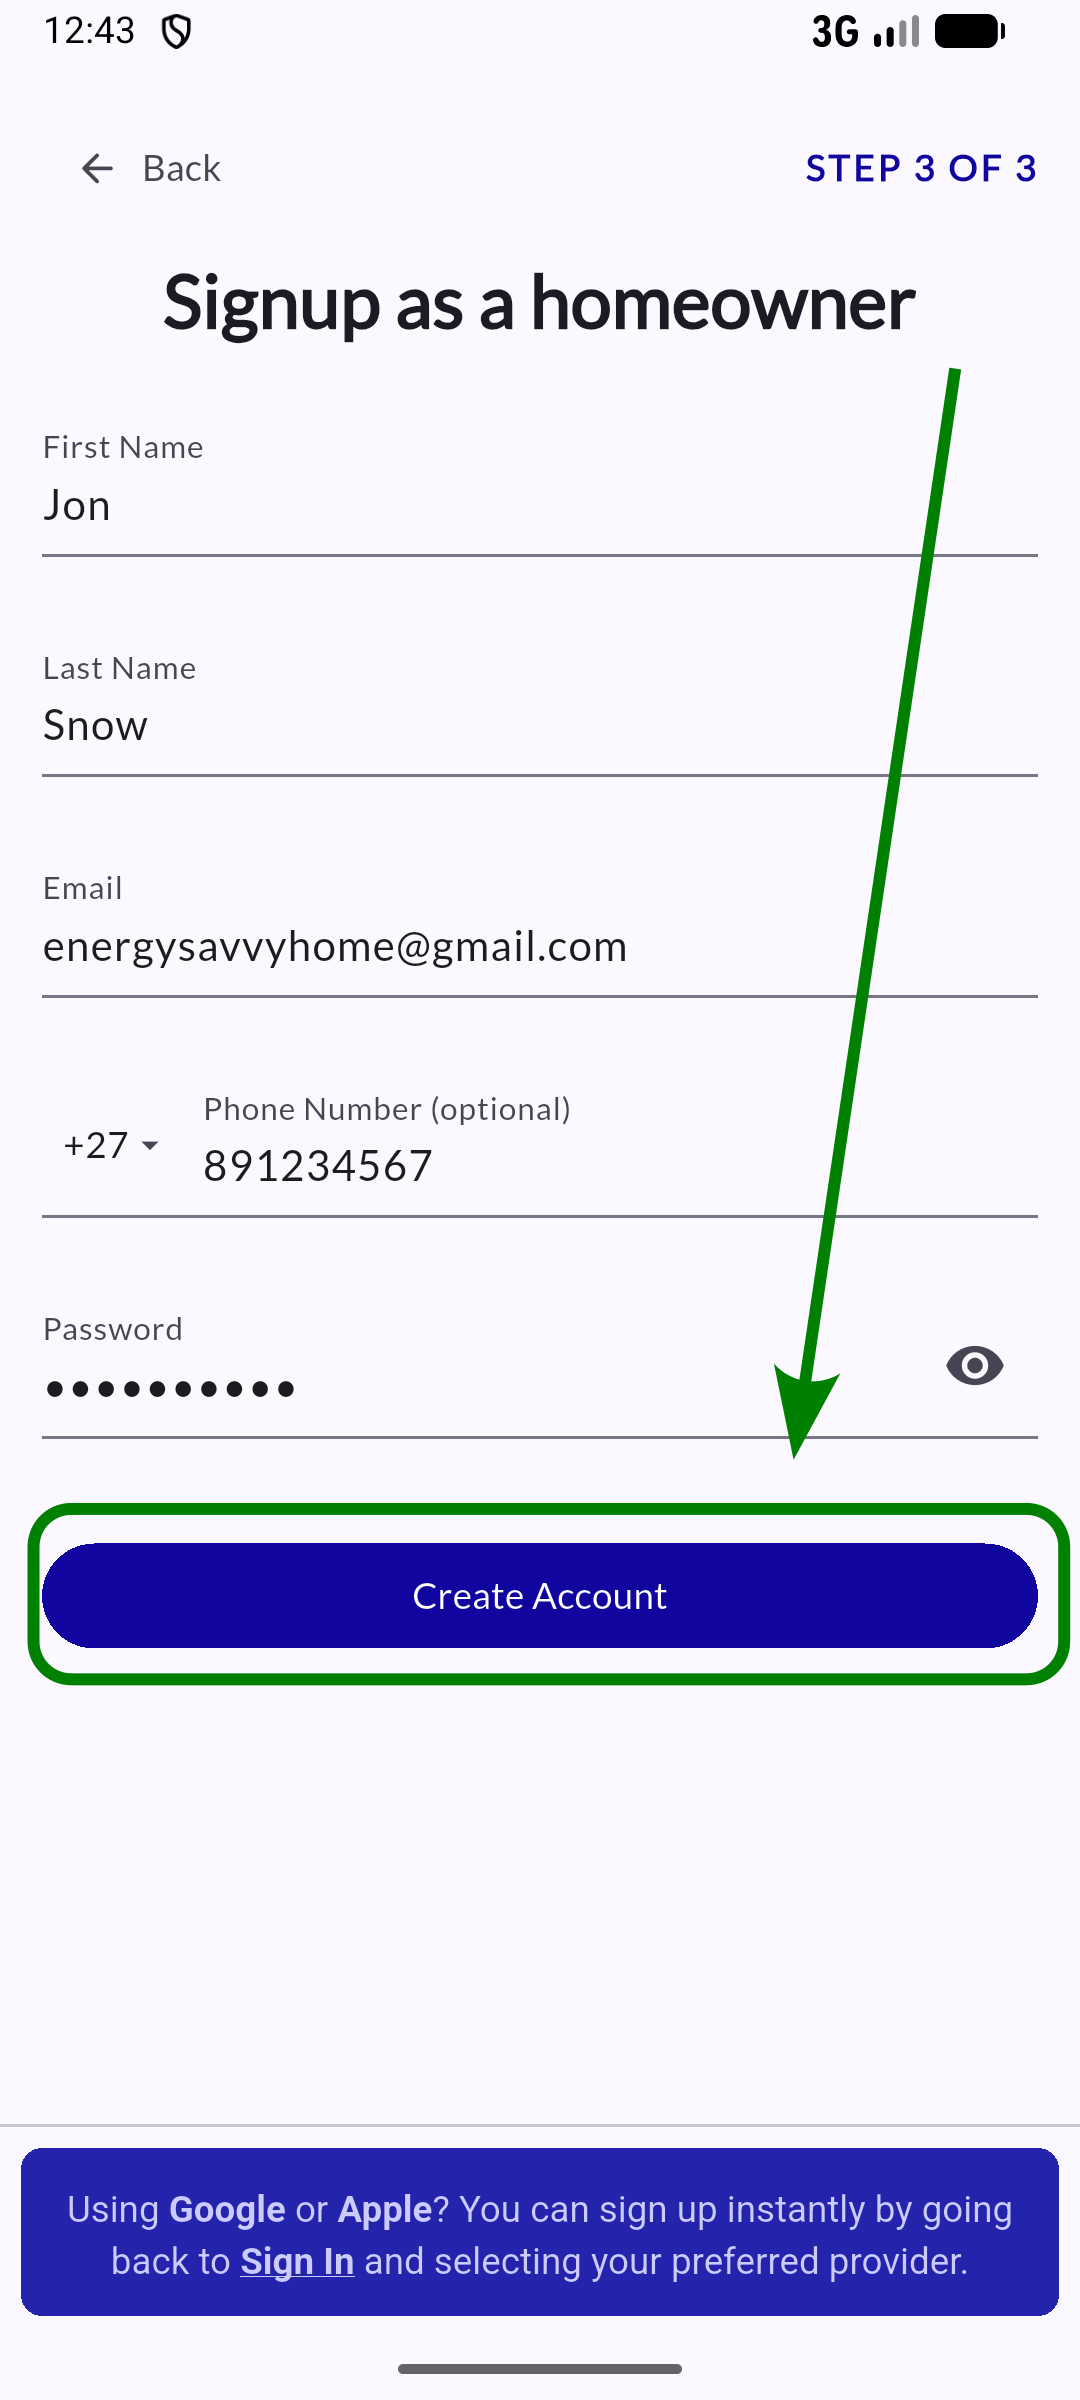
Final confirmation steps
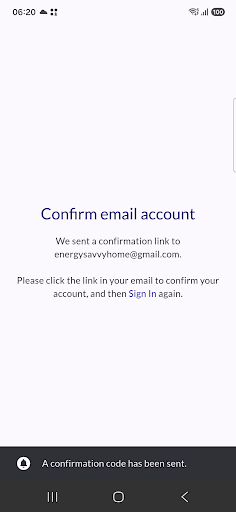
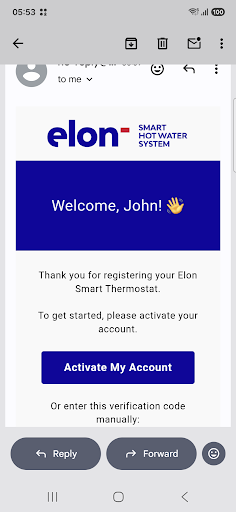
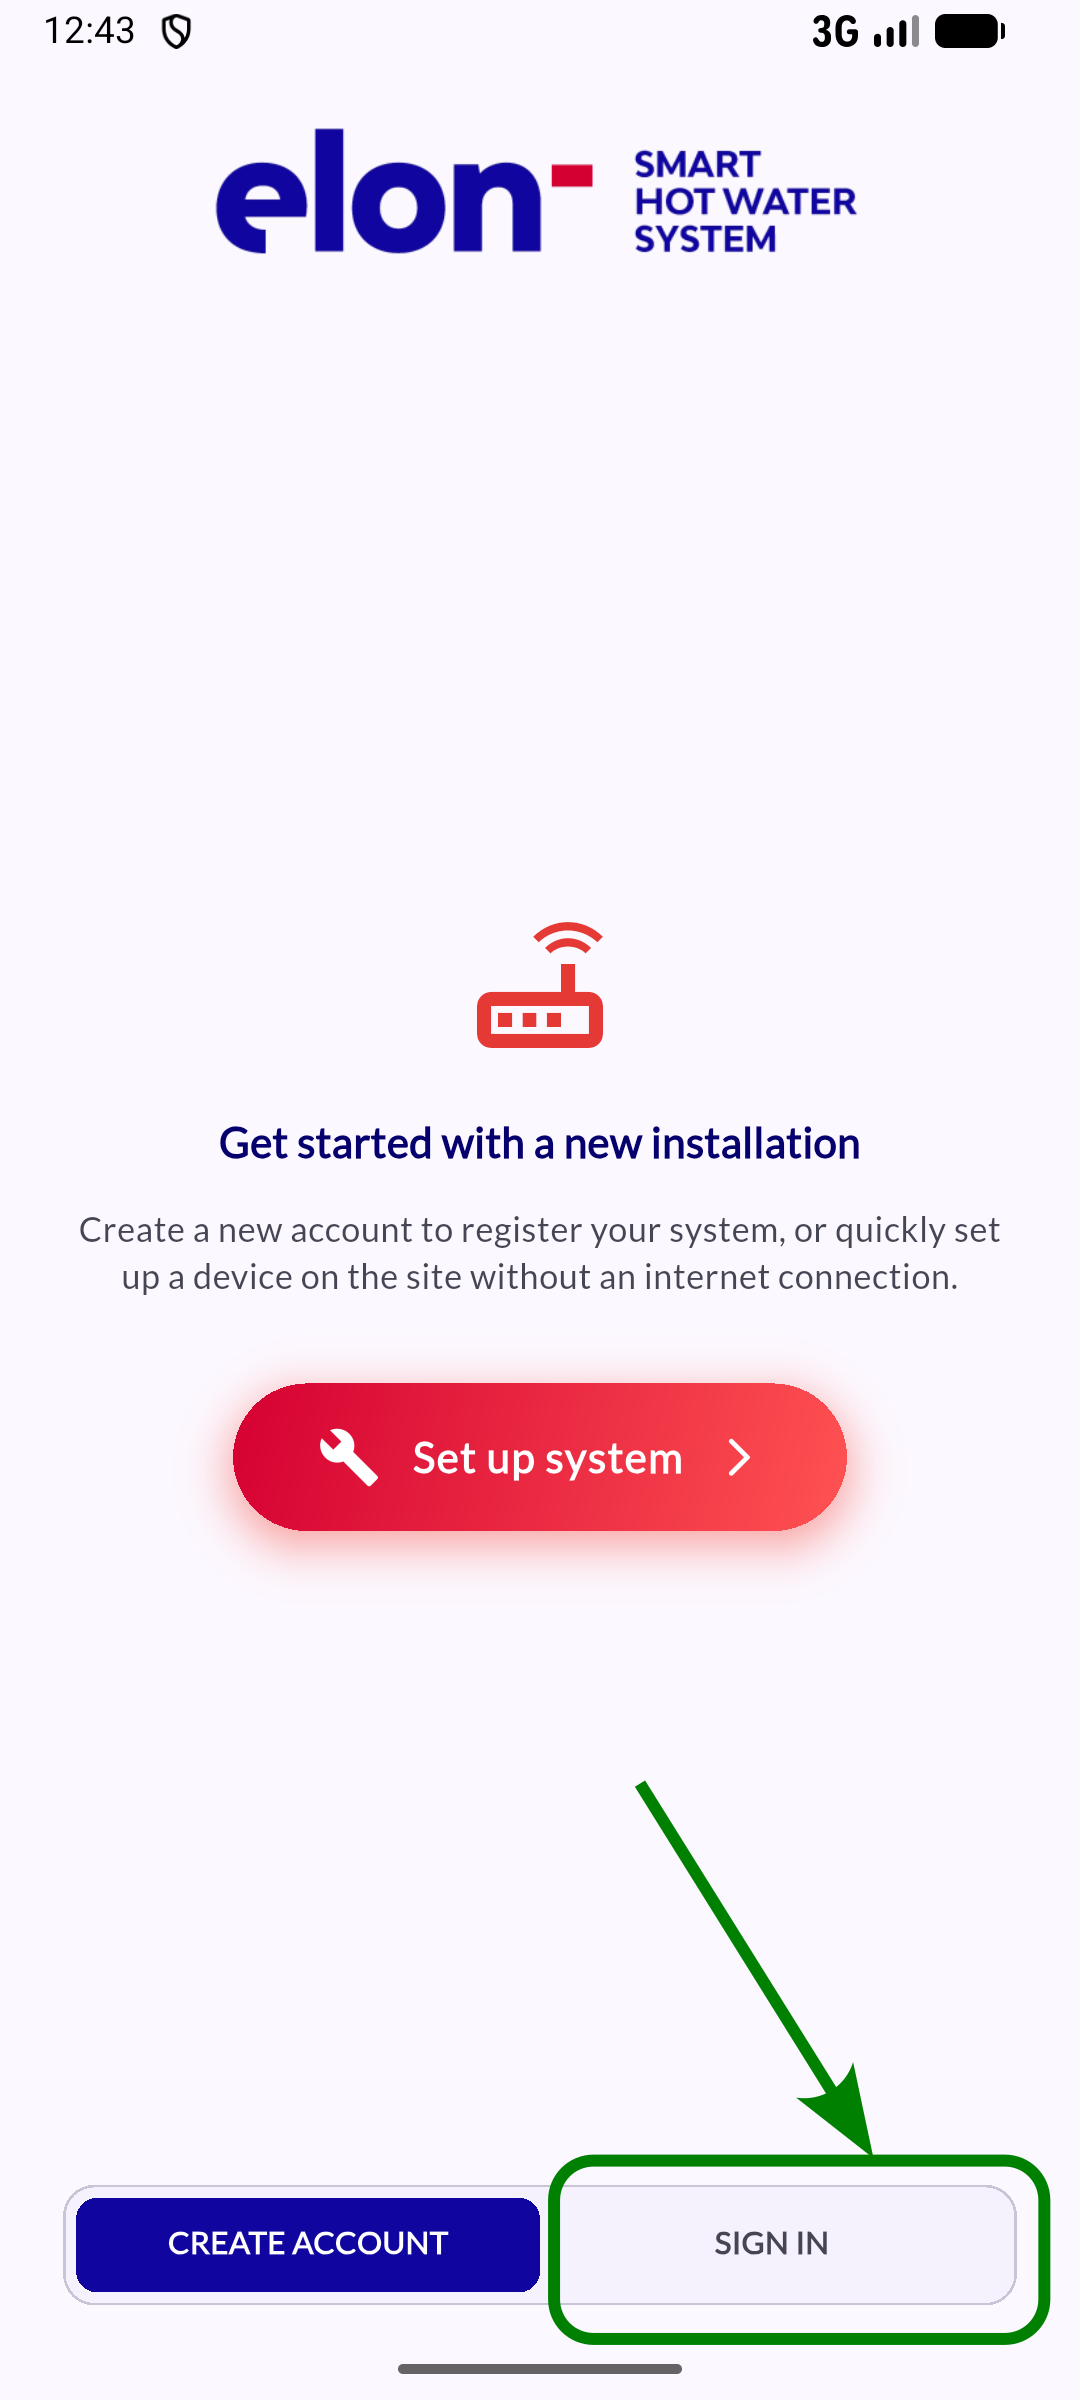
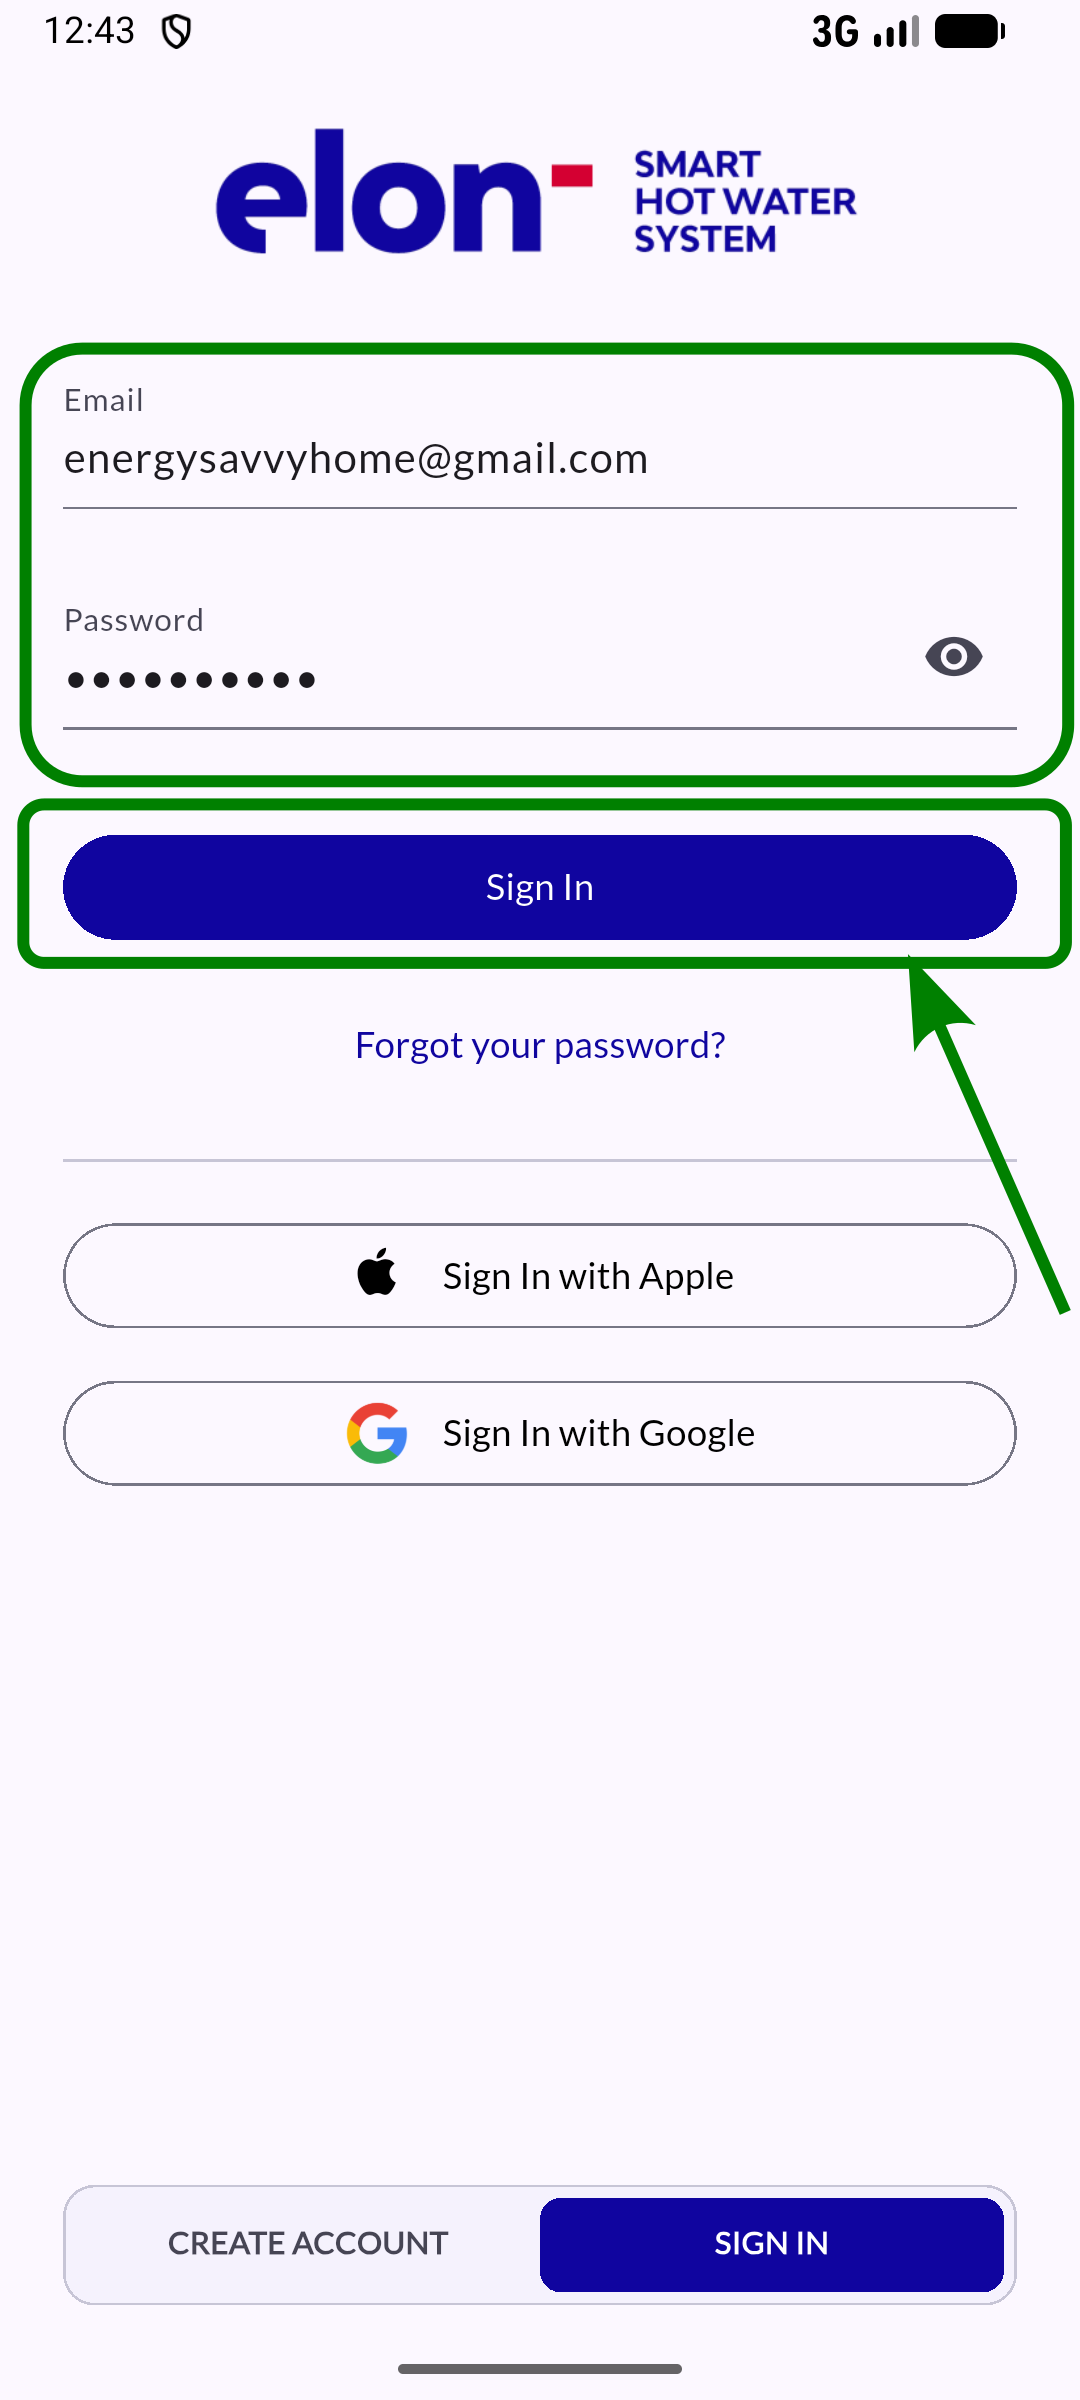
First action to perform on the app after registration
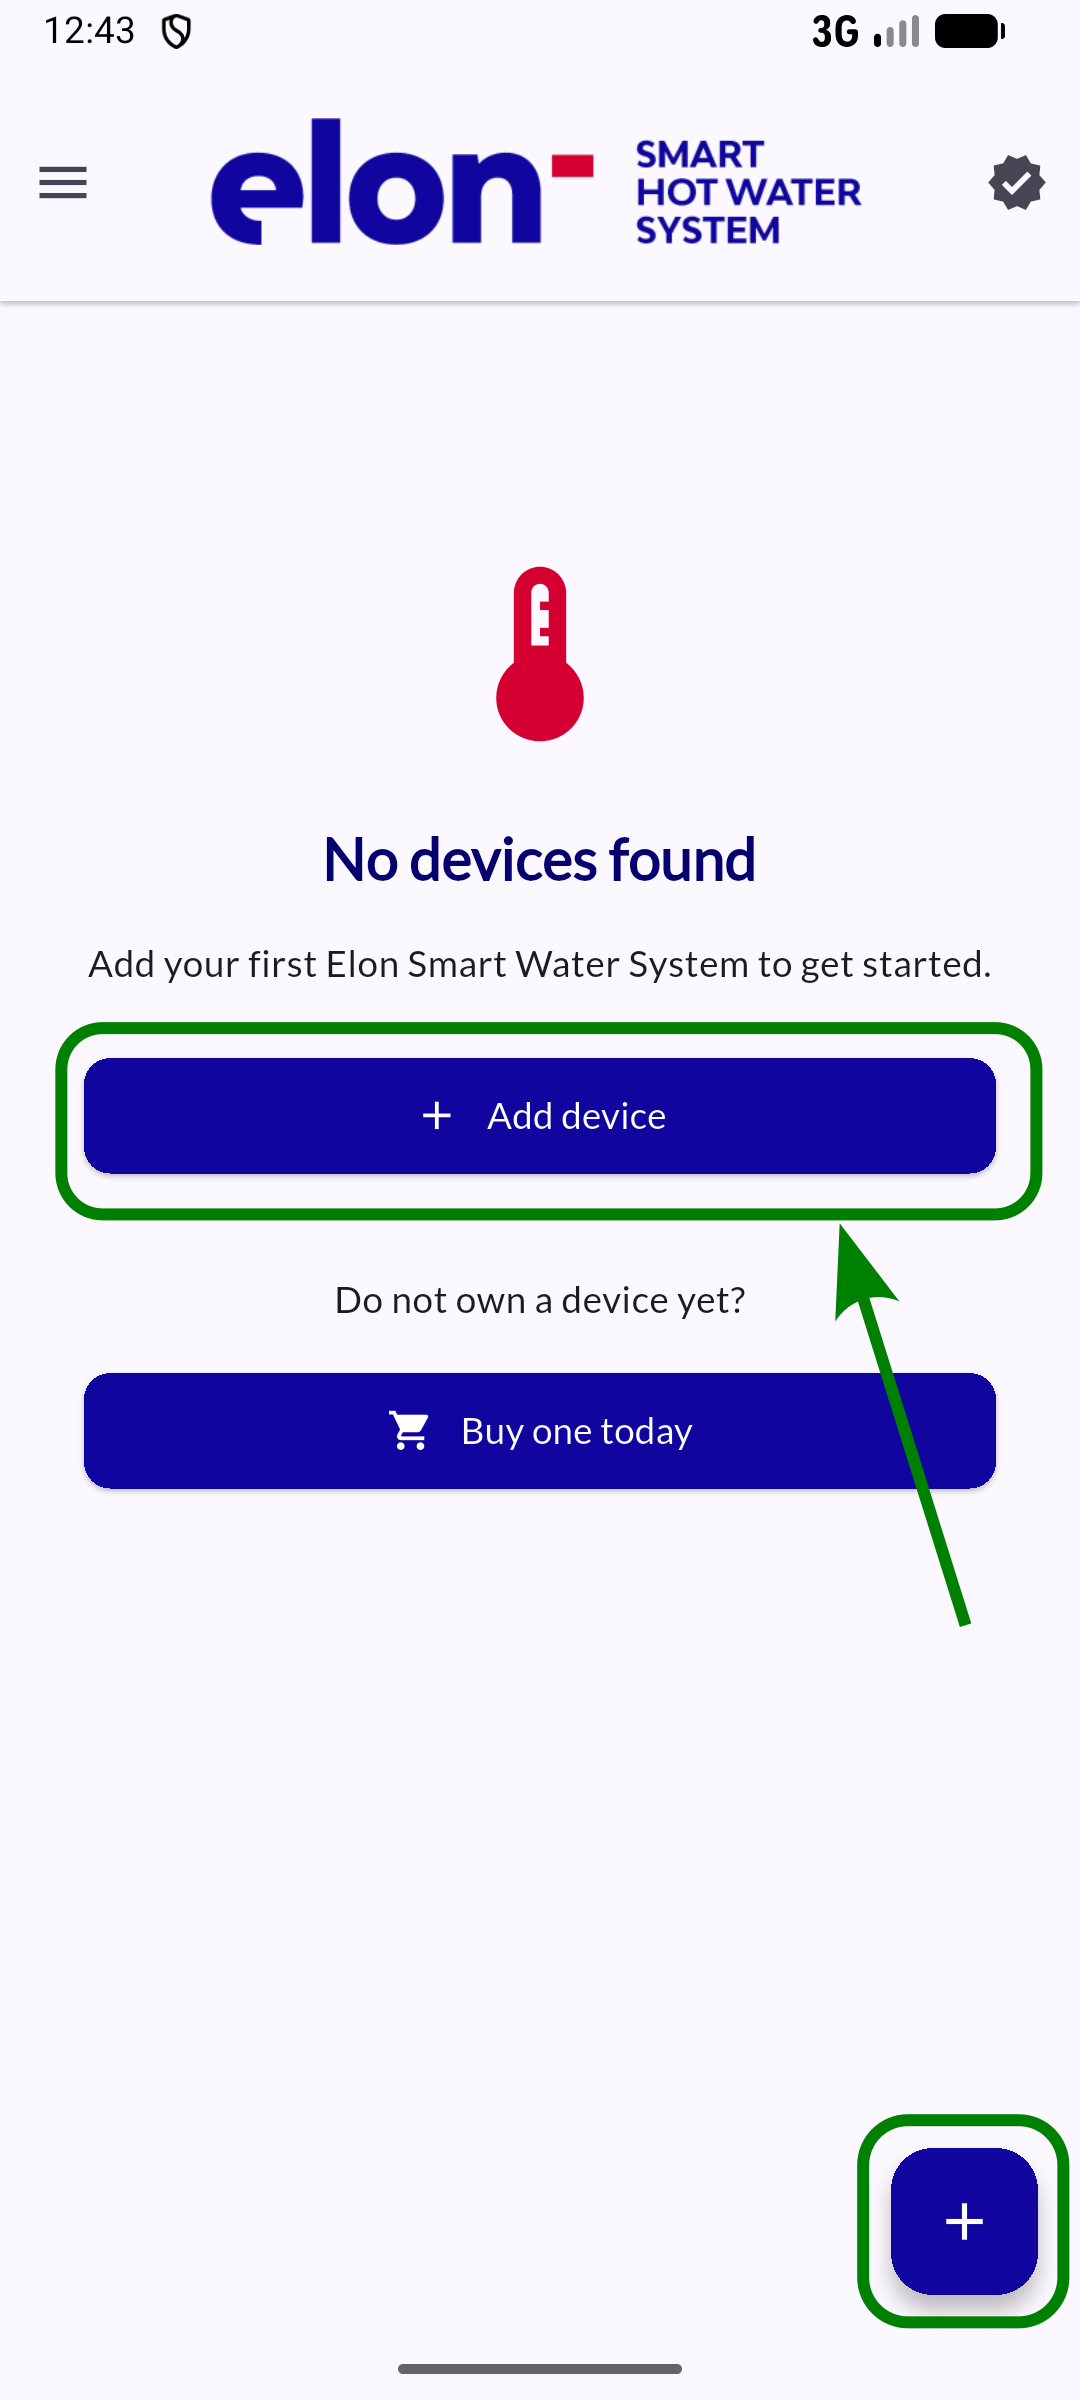
Add and set up a new device as home owner
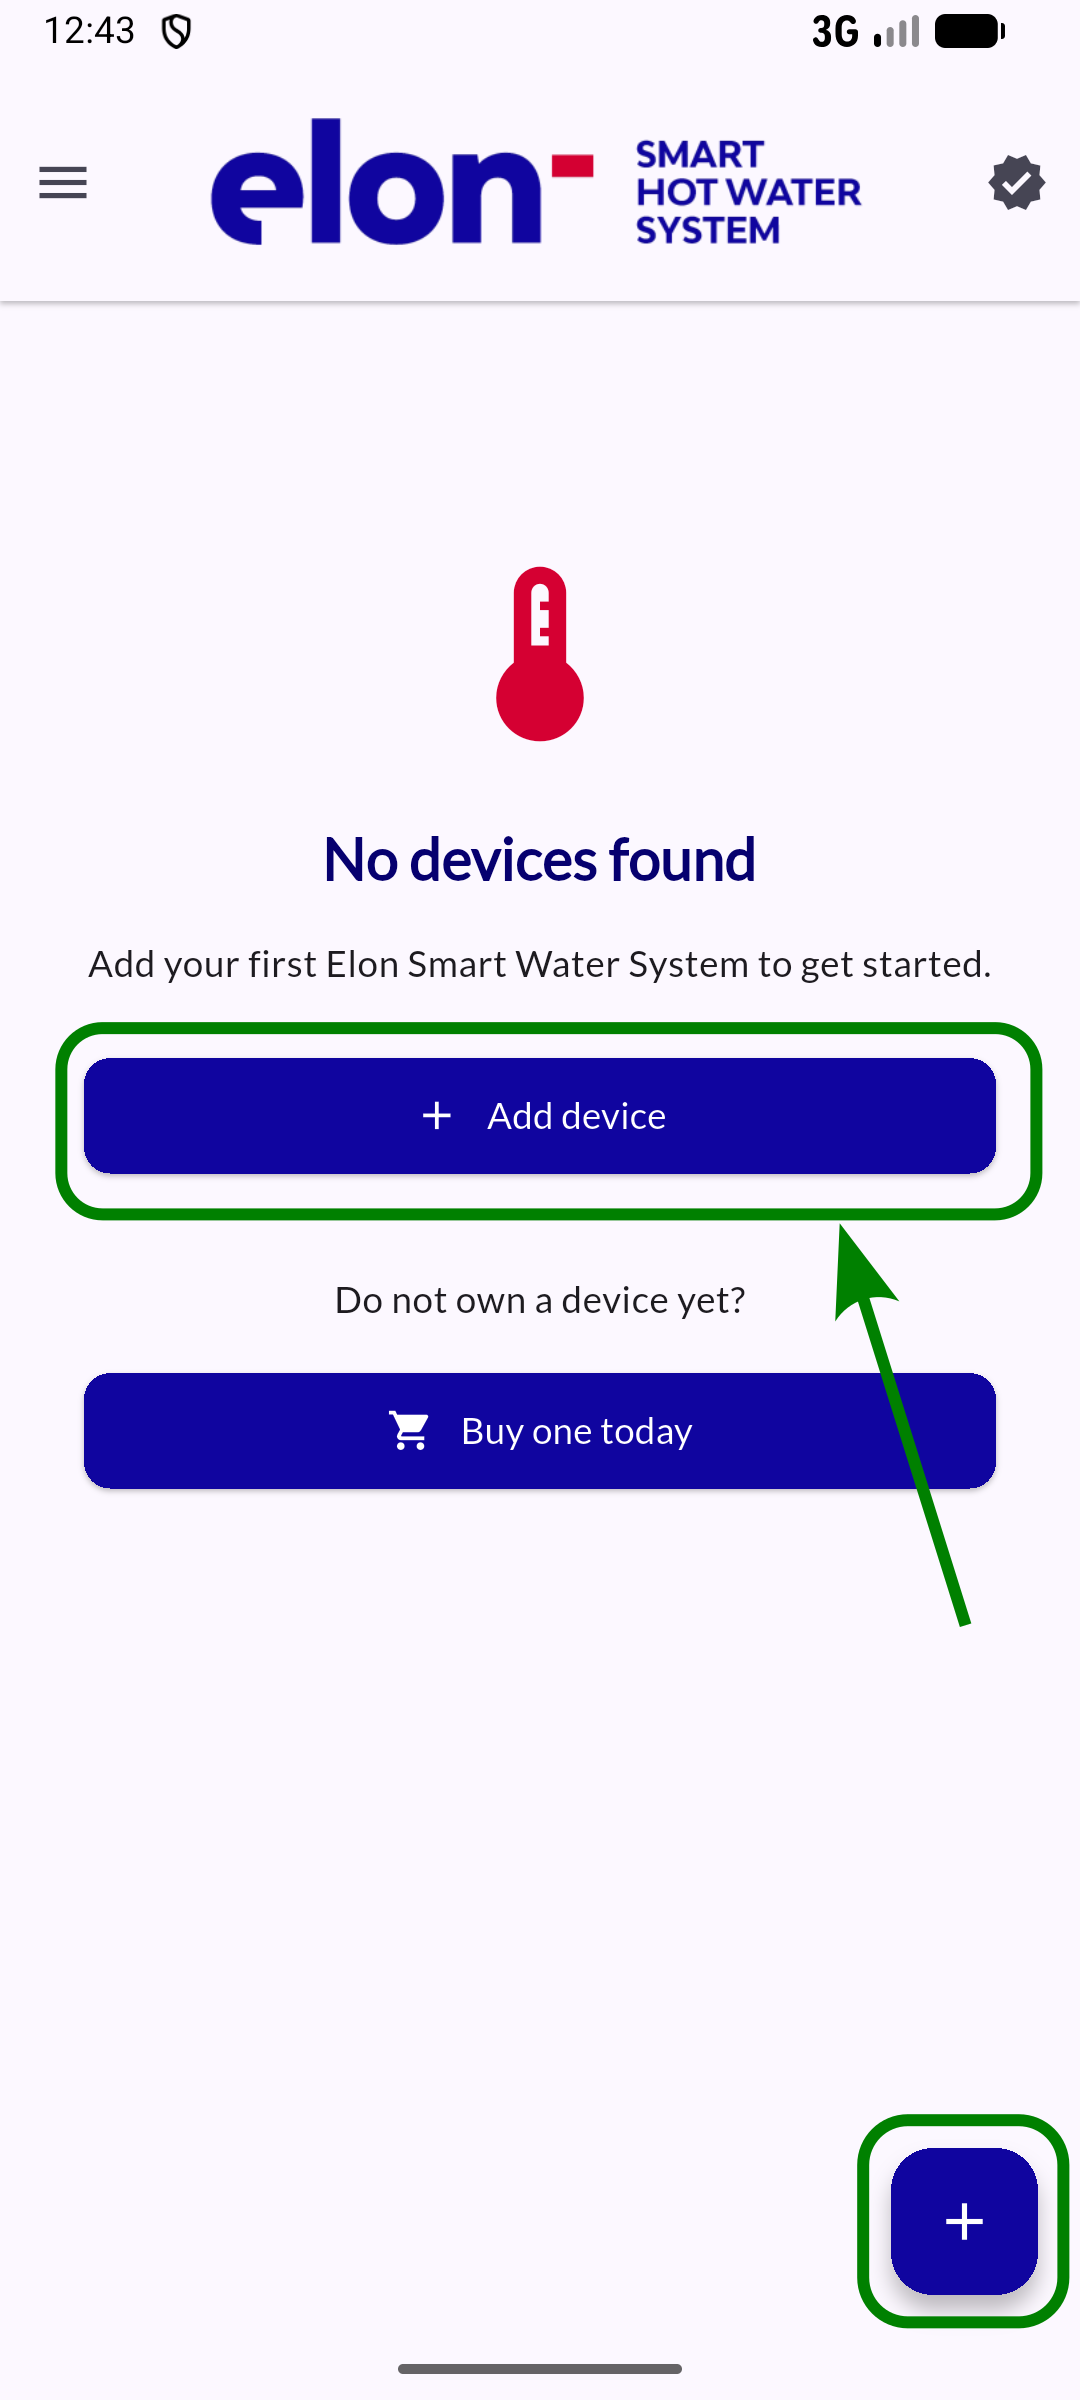
Step 1: Check if the homeowner is present
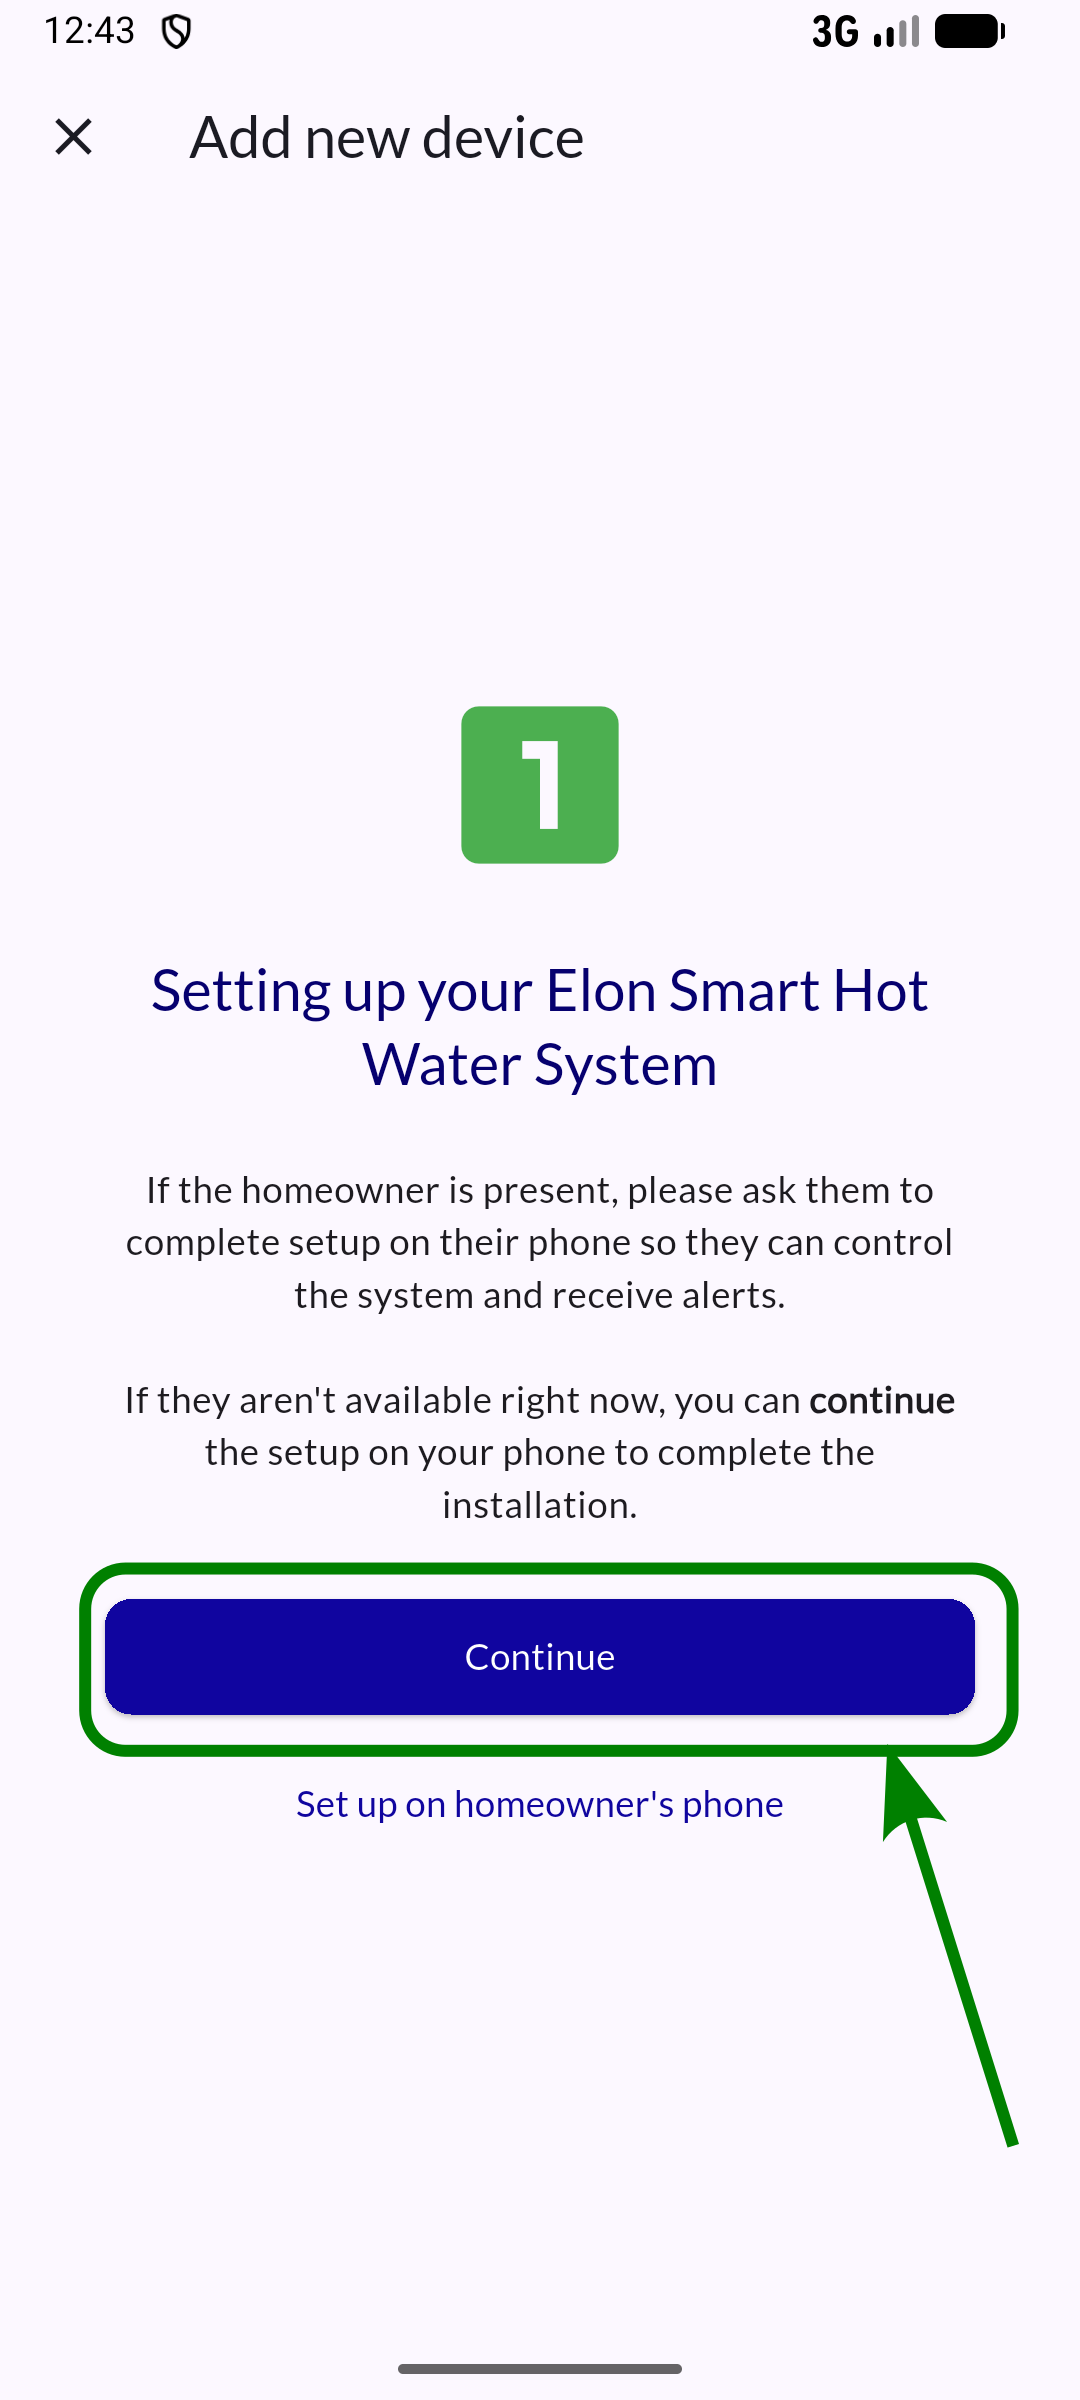
Step 2: Scan the device QR code
Step 3: Choose ownership level
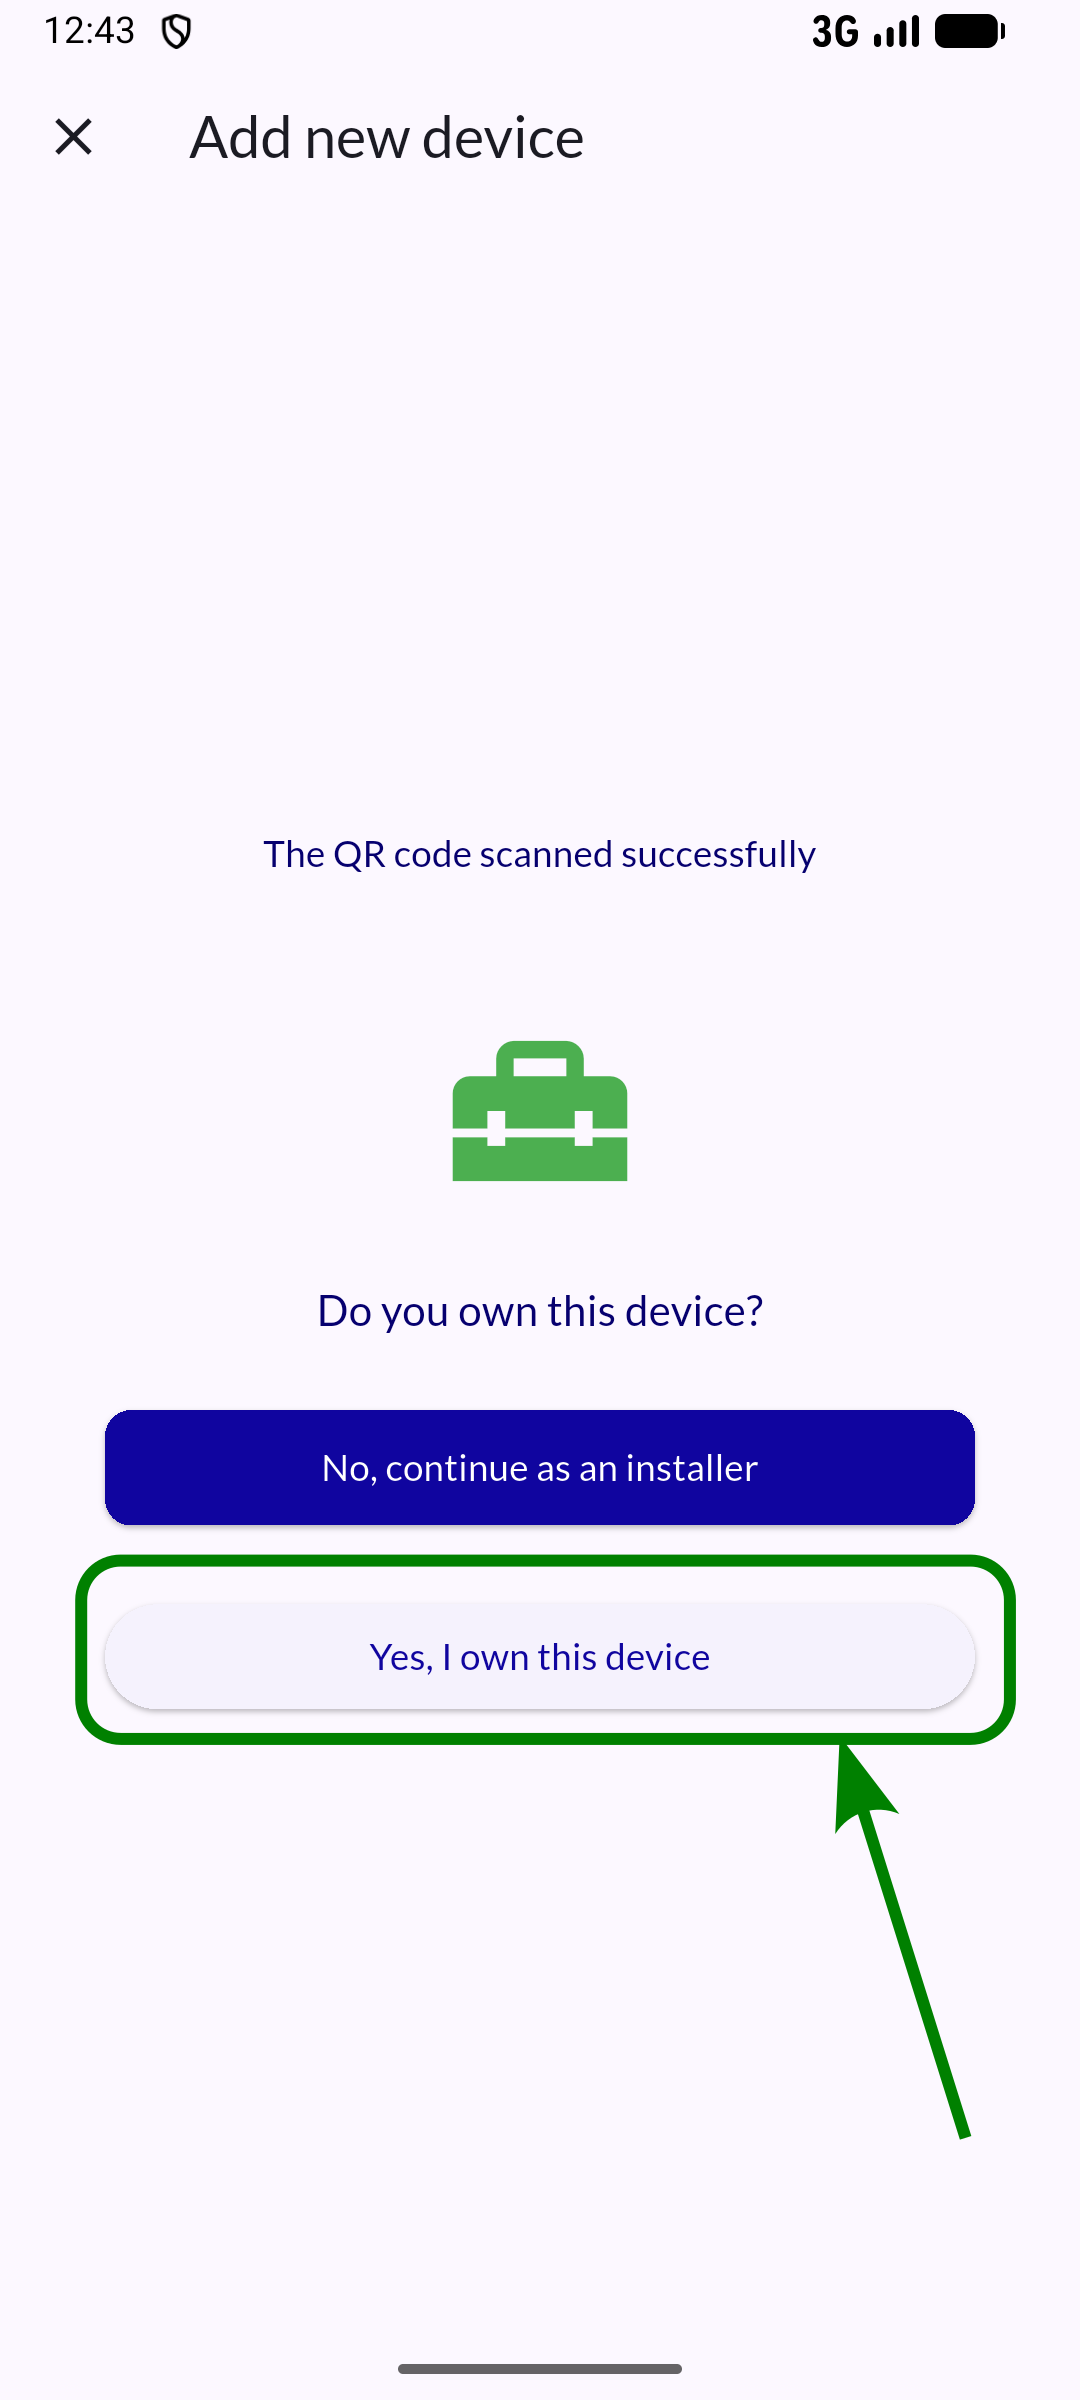
Step 4: Confirm ownership on the system
Step 5: Complete address
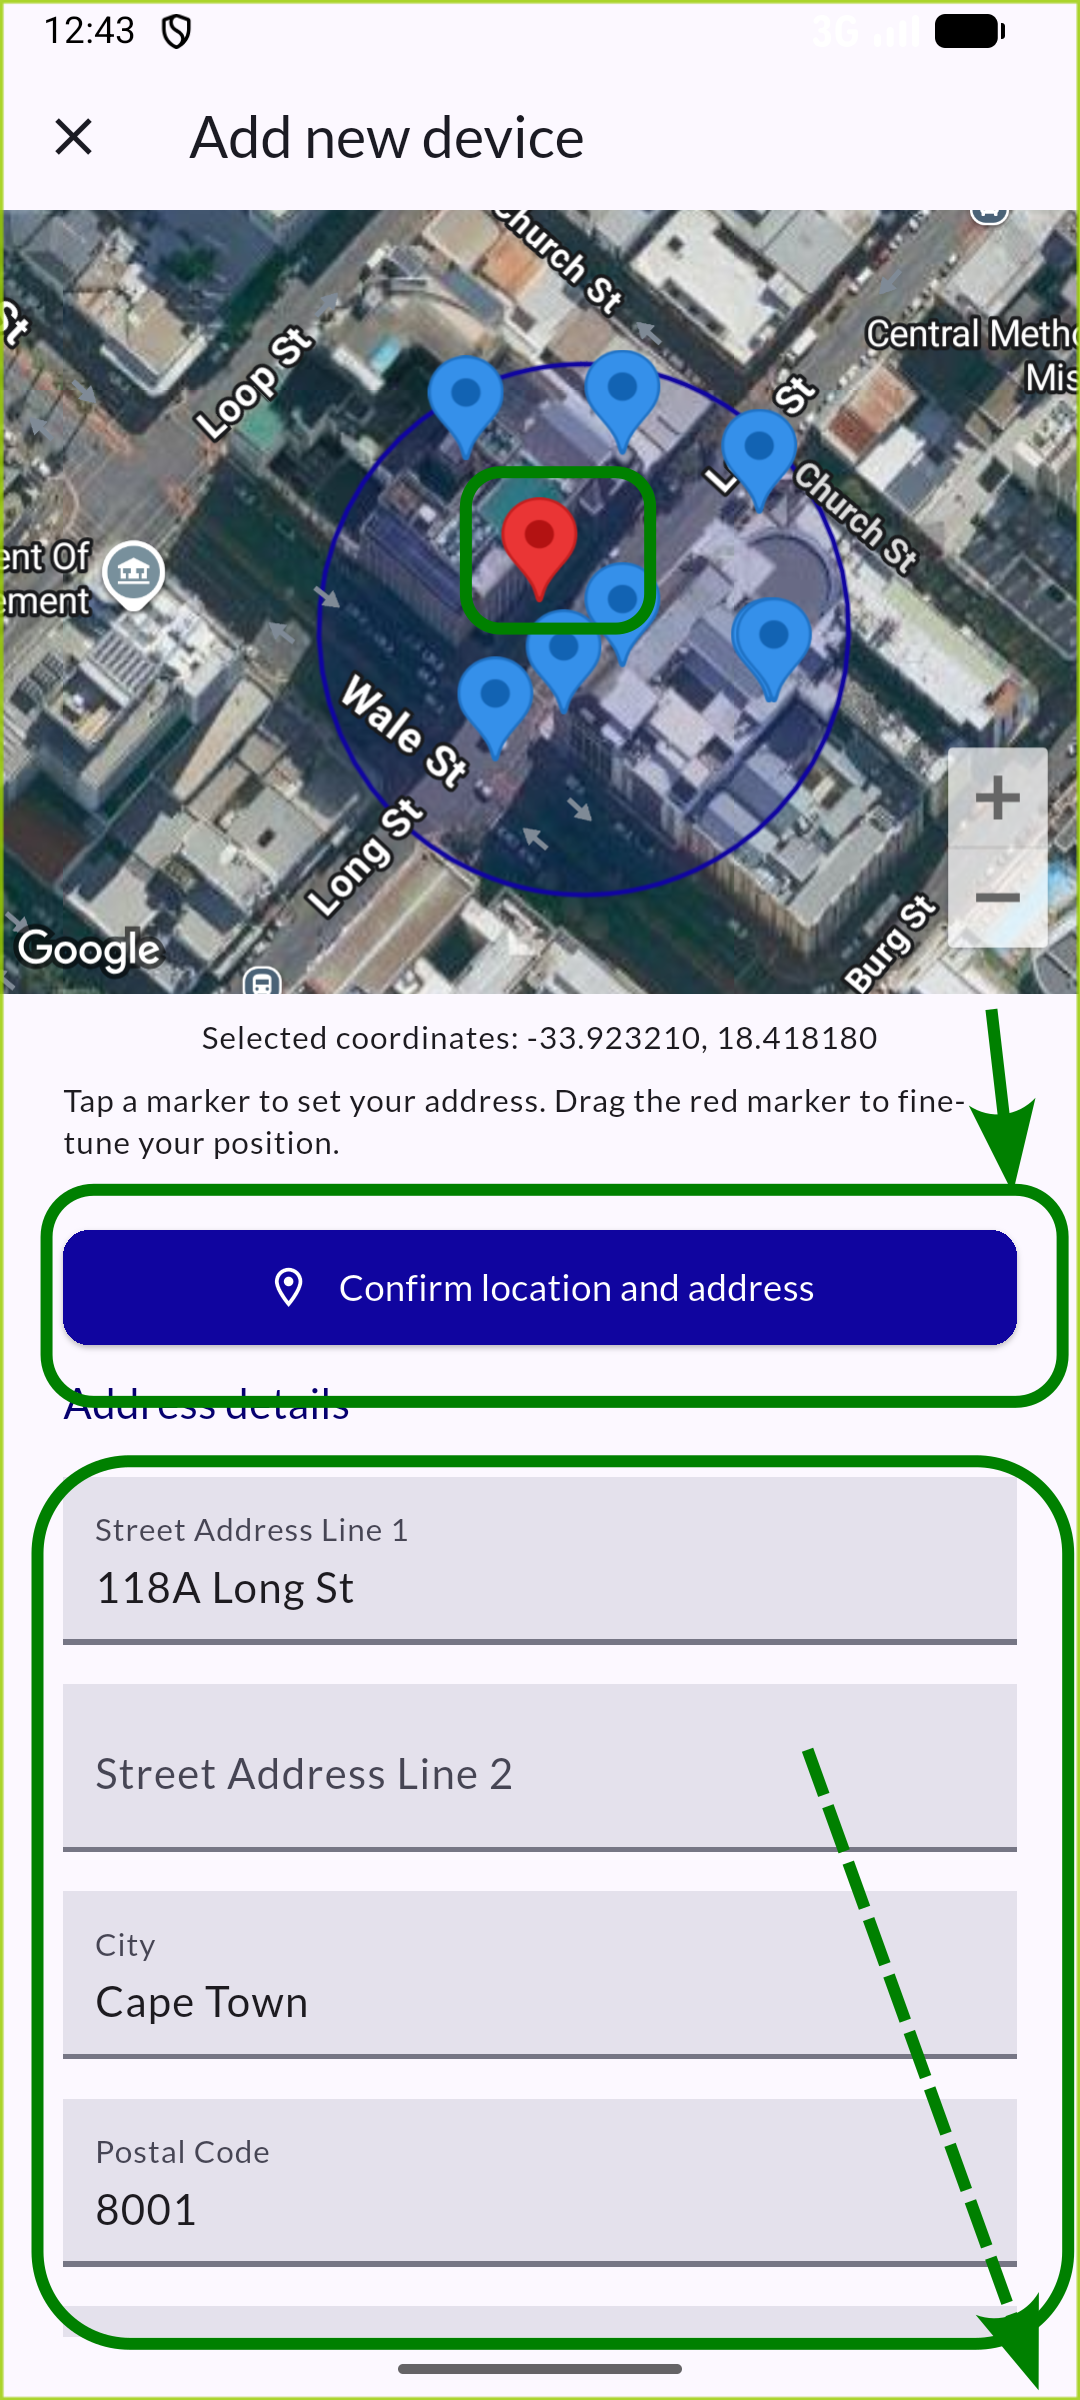
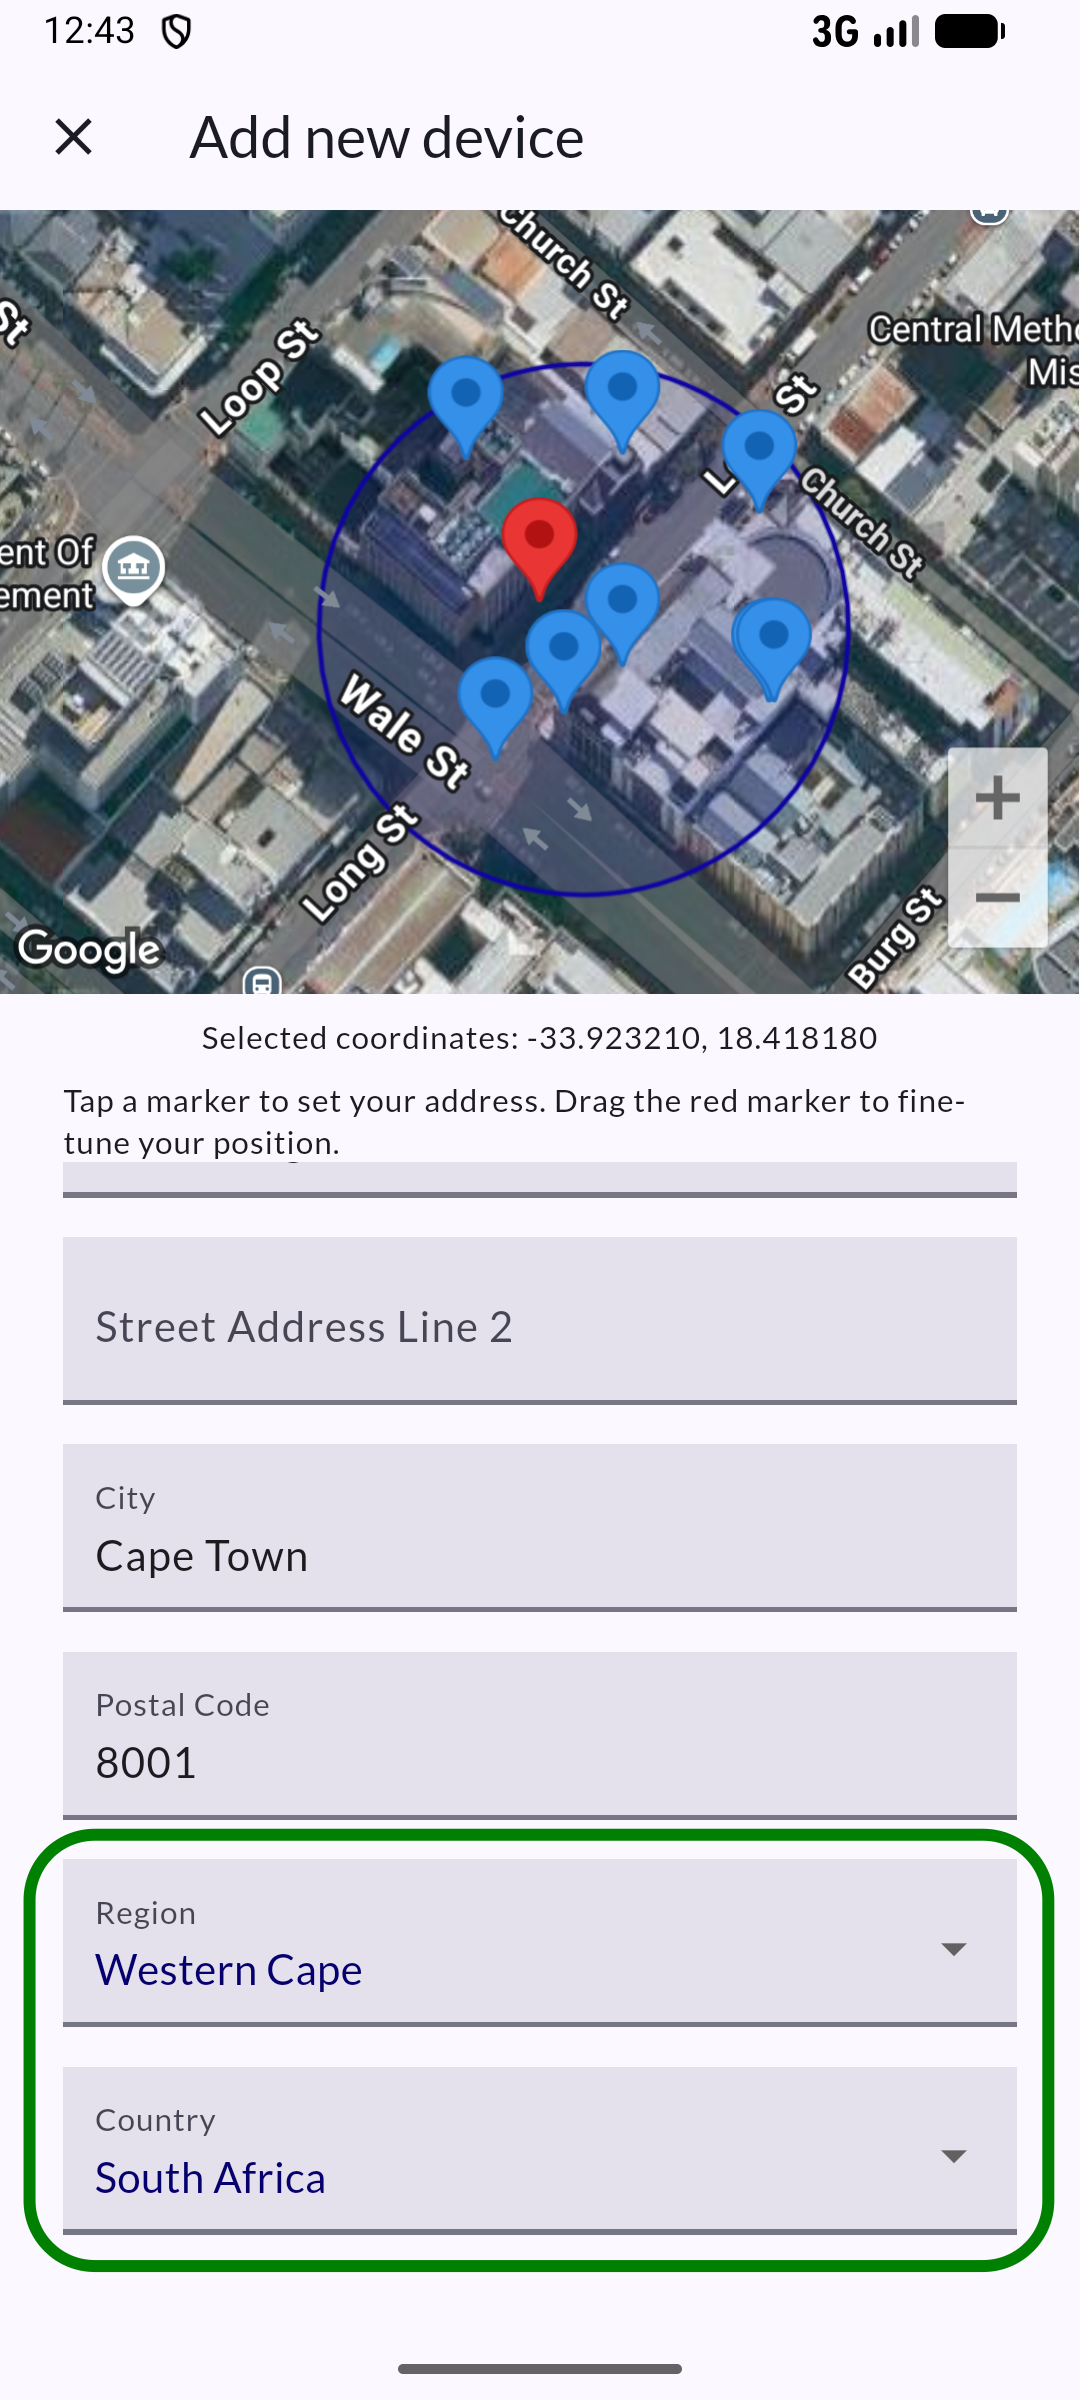
Step 6: Connect to device
Connection fault finding
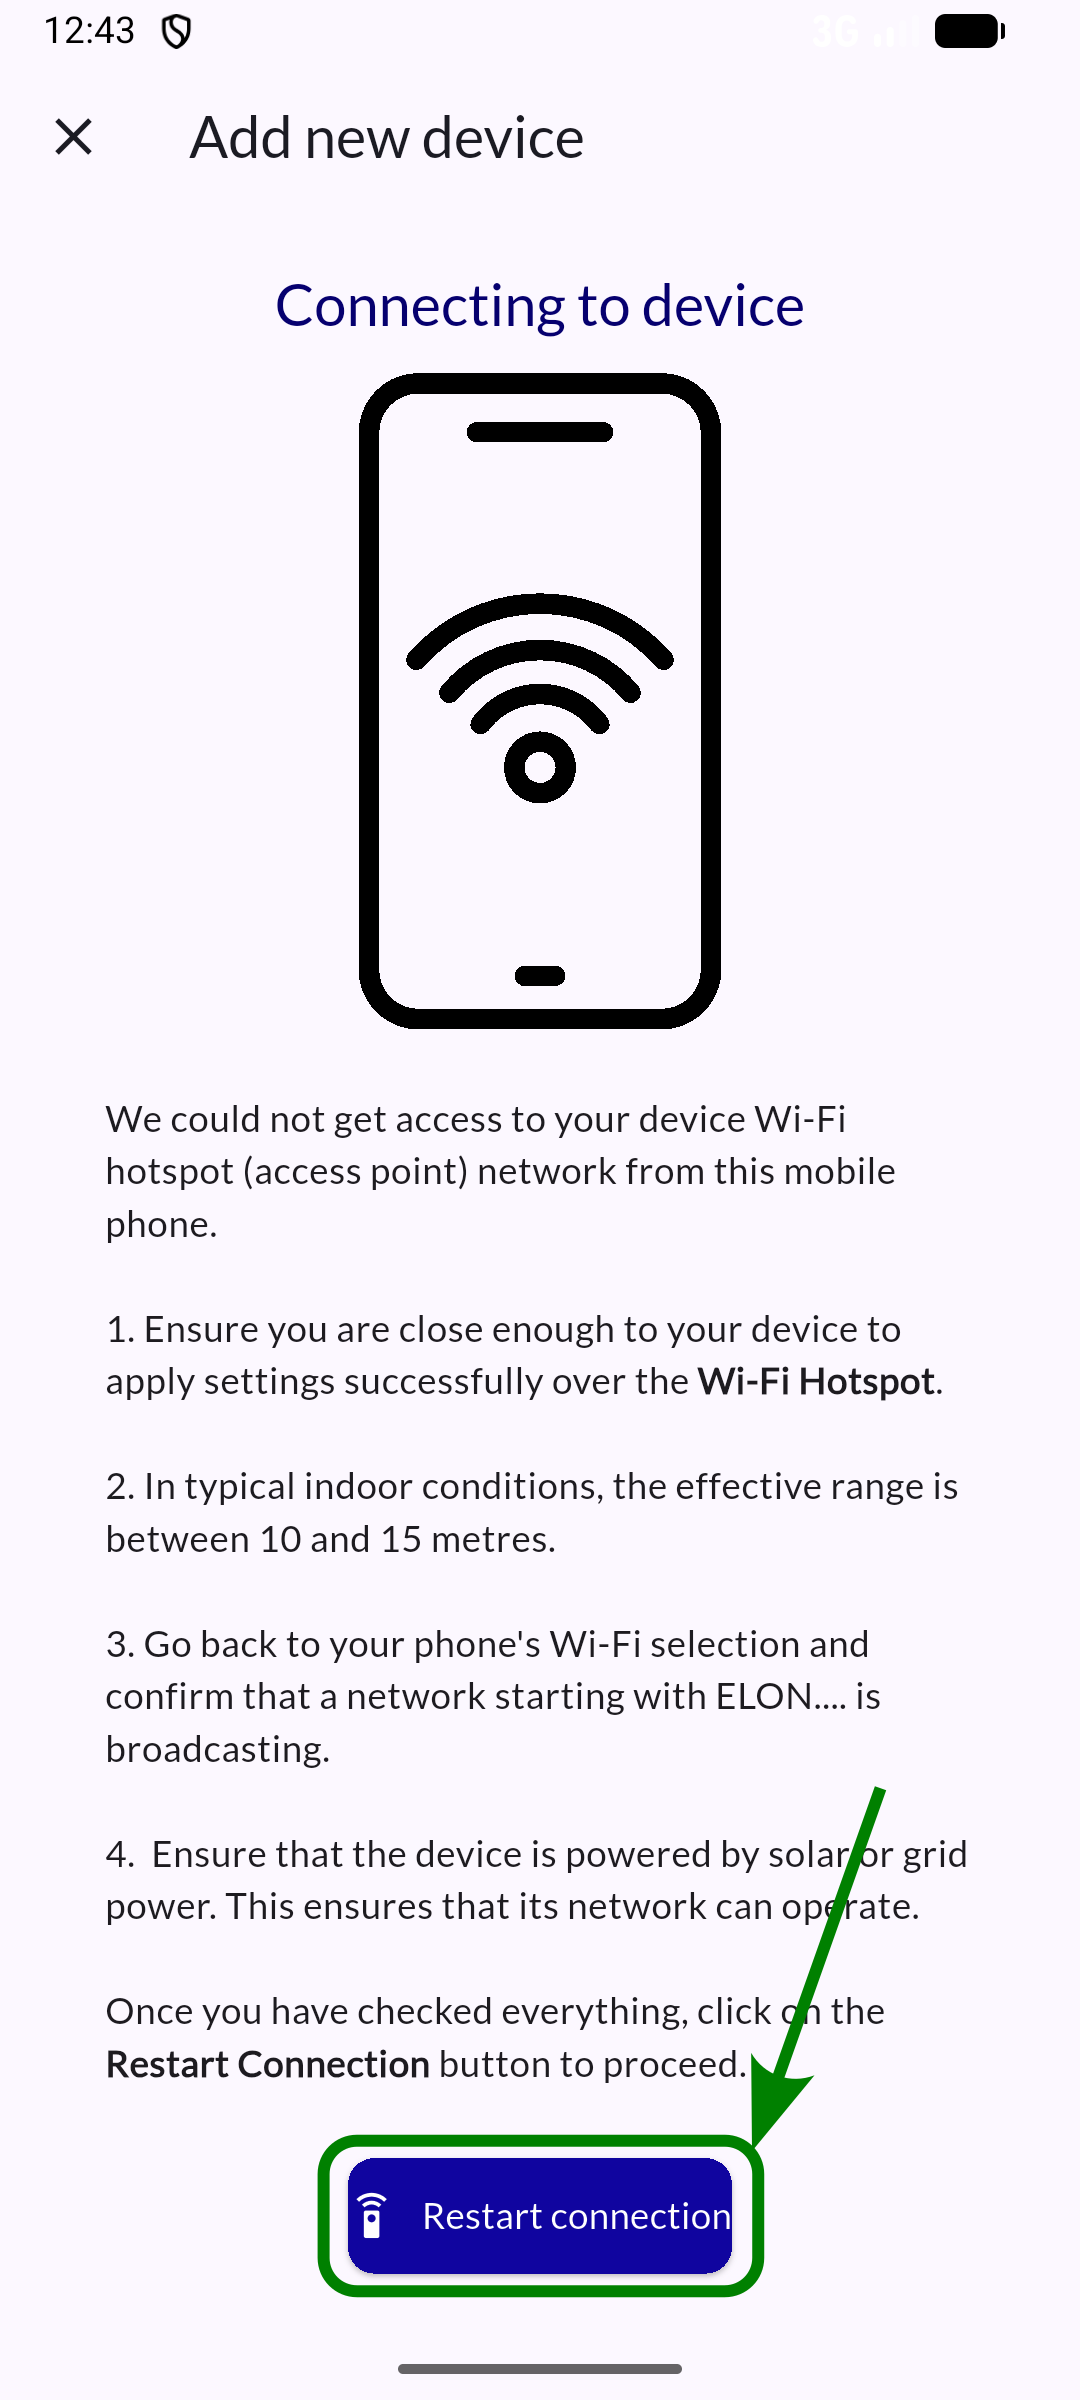
Step 7: Set up Wi-Fi
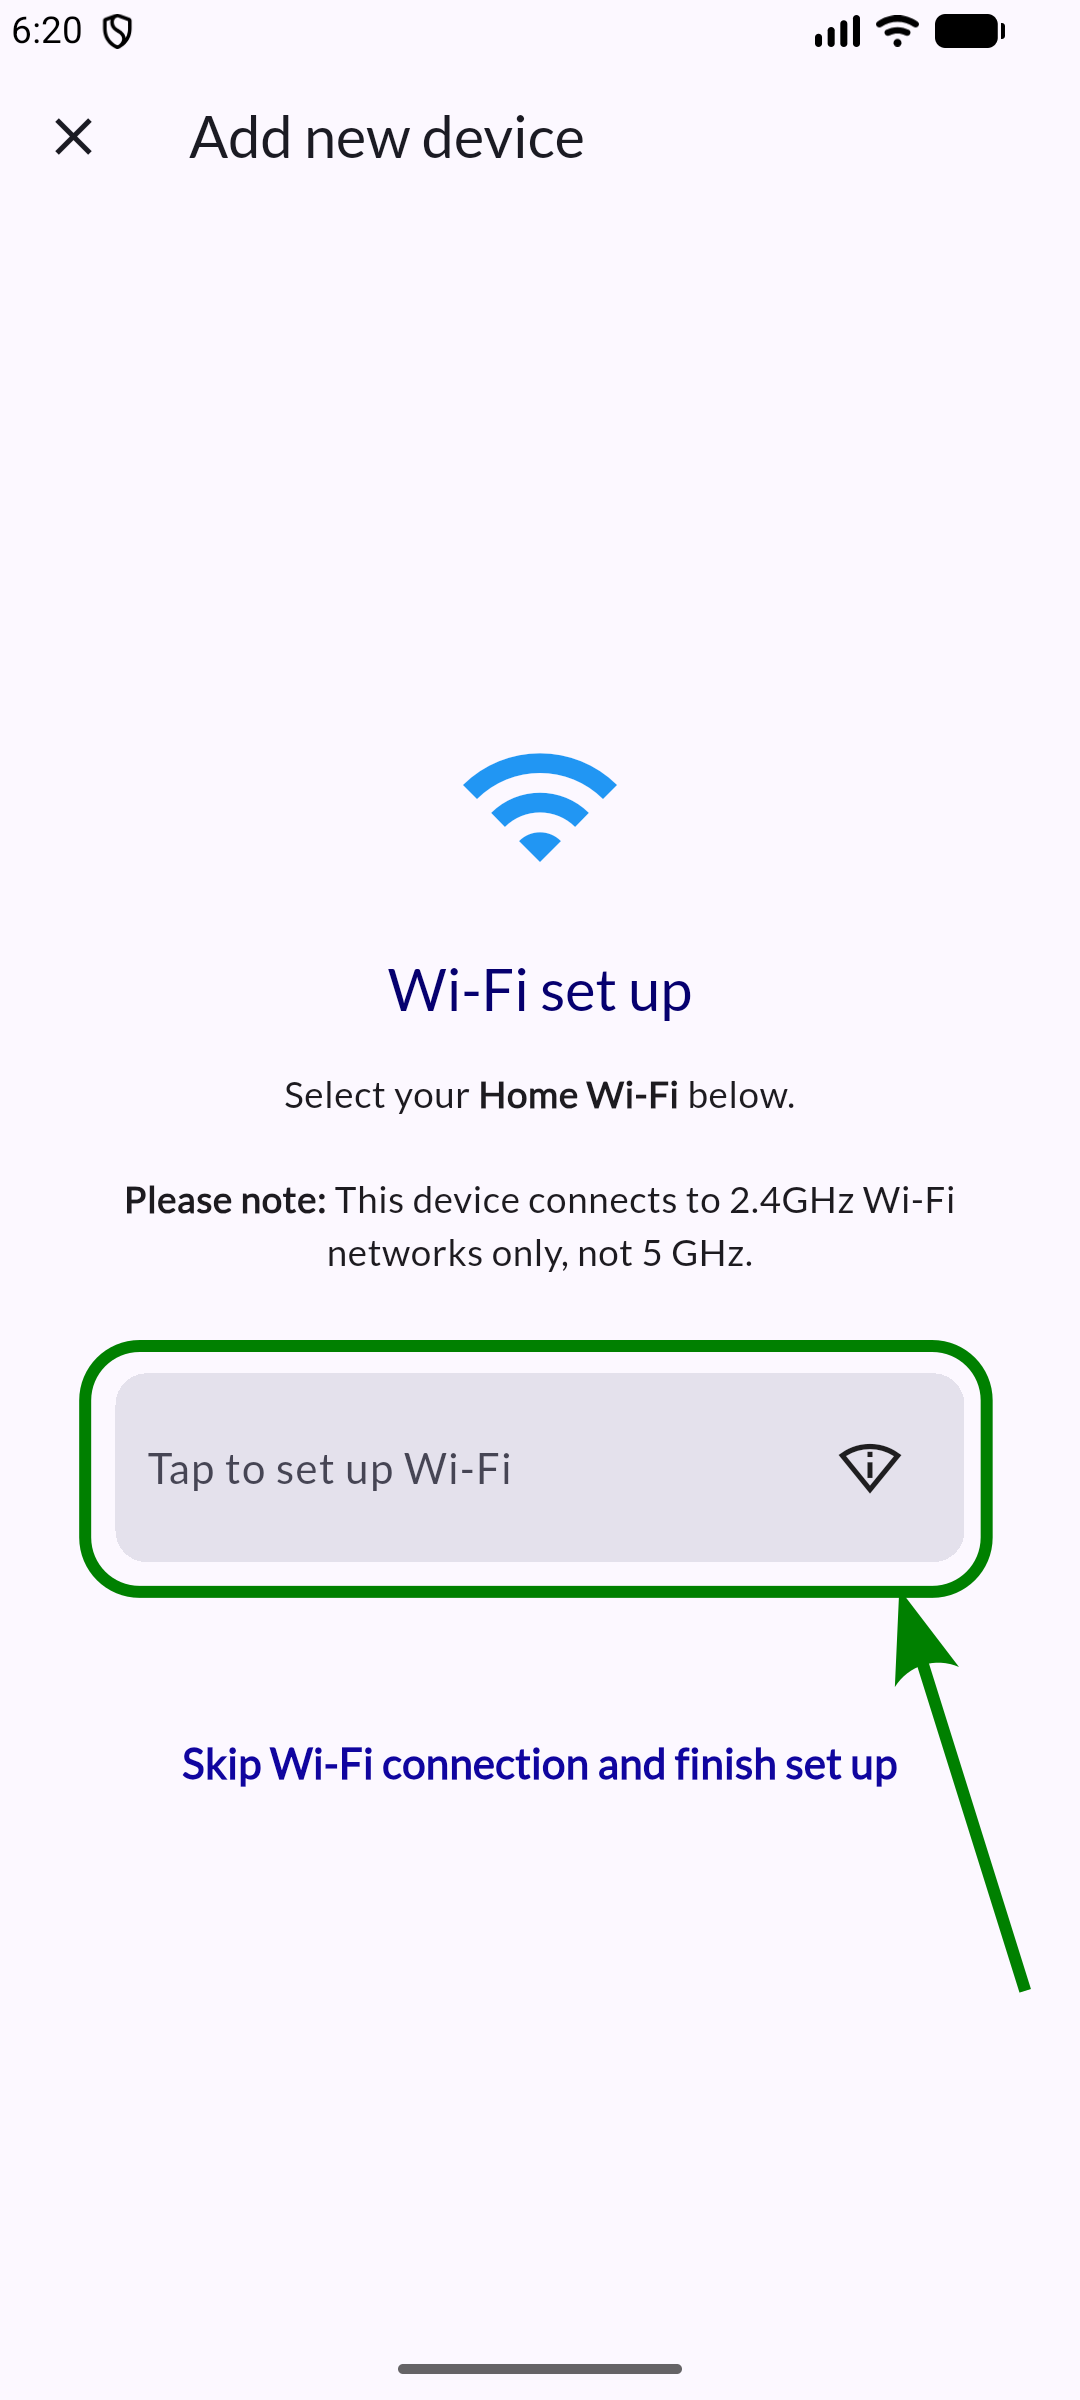
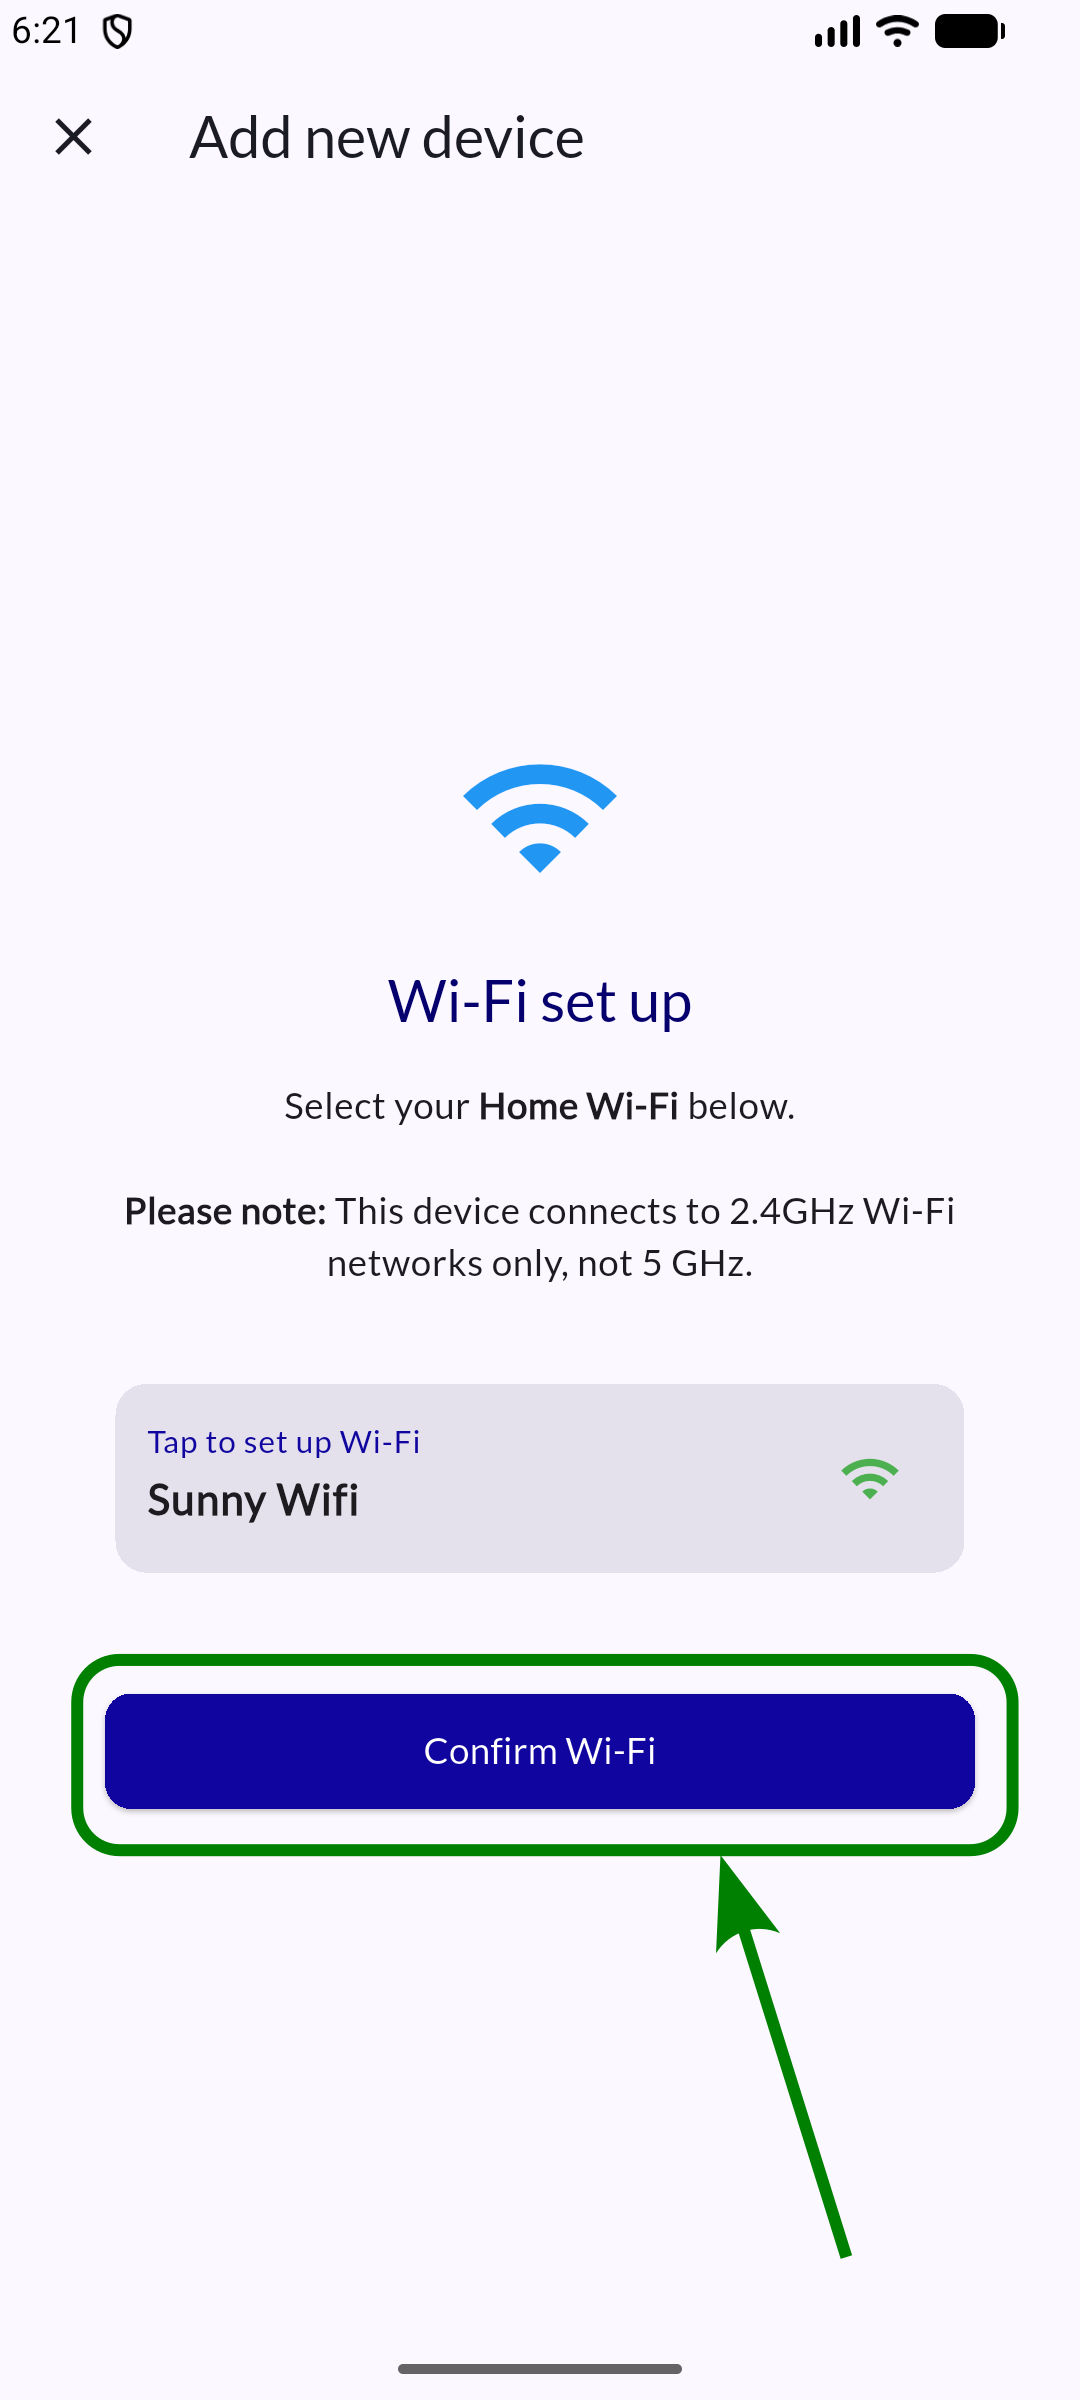
Step 8: Perform system tests
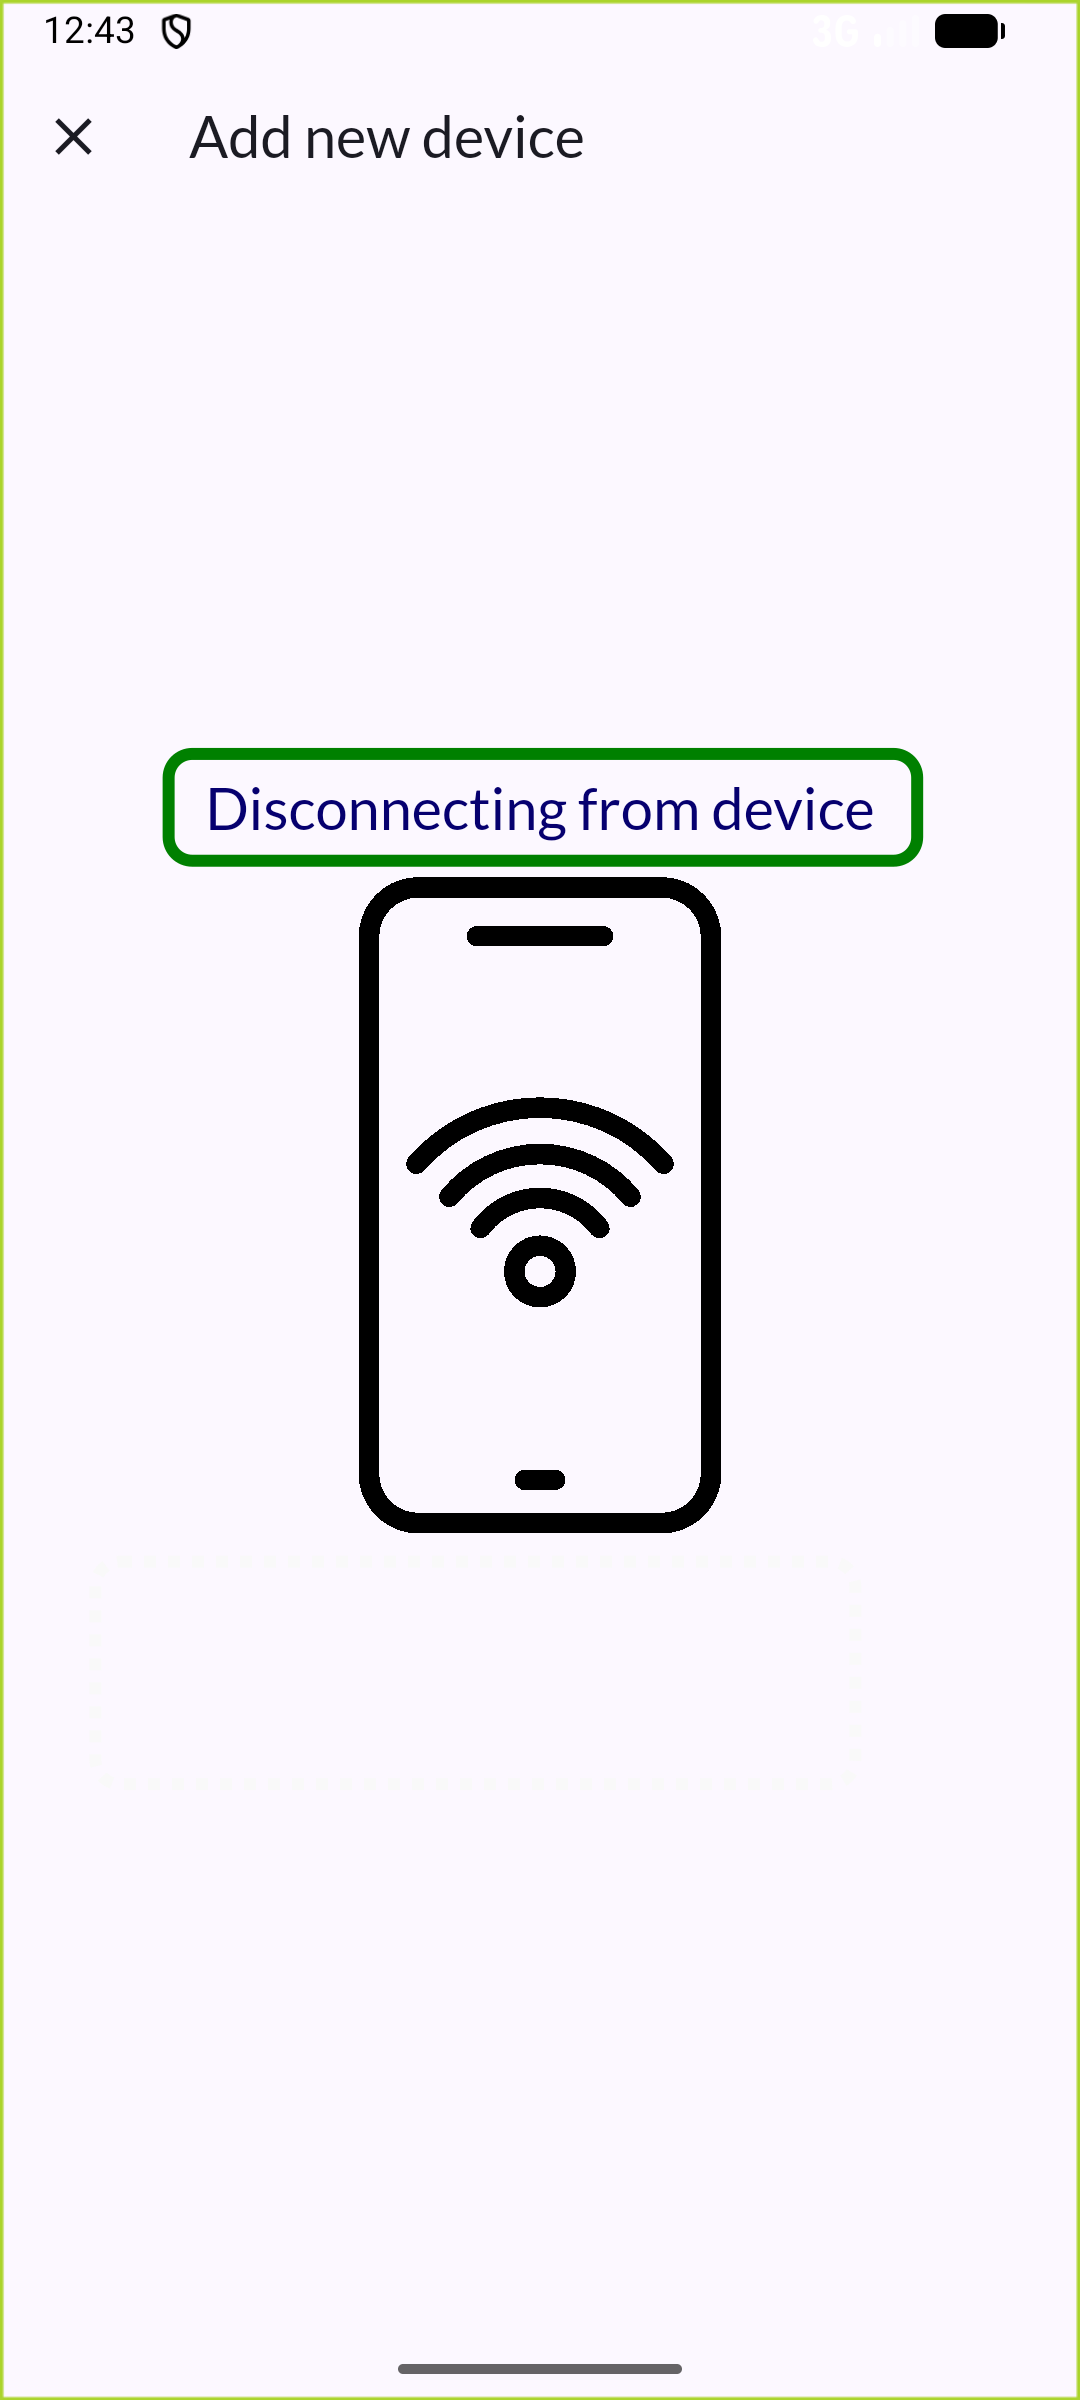
Step 9: Disconnect from device
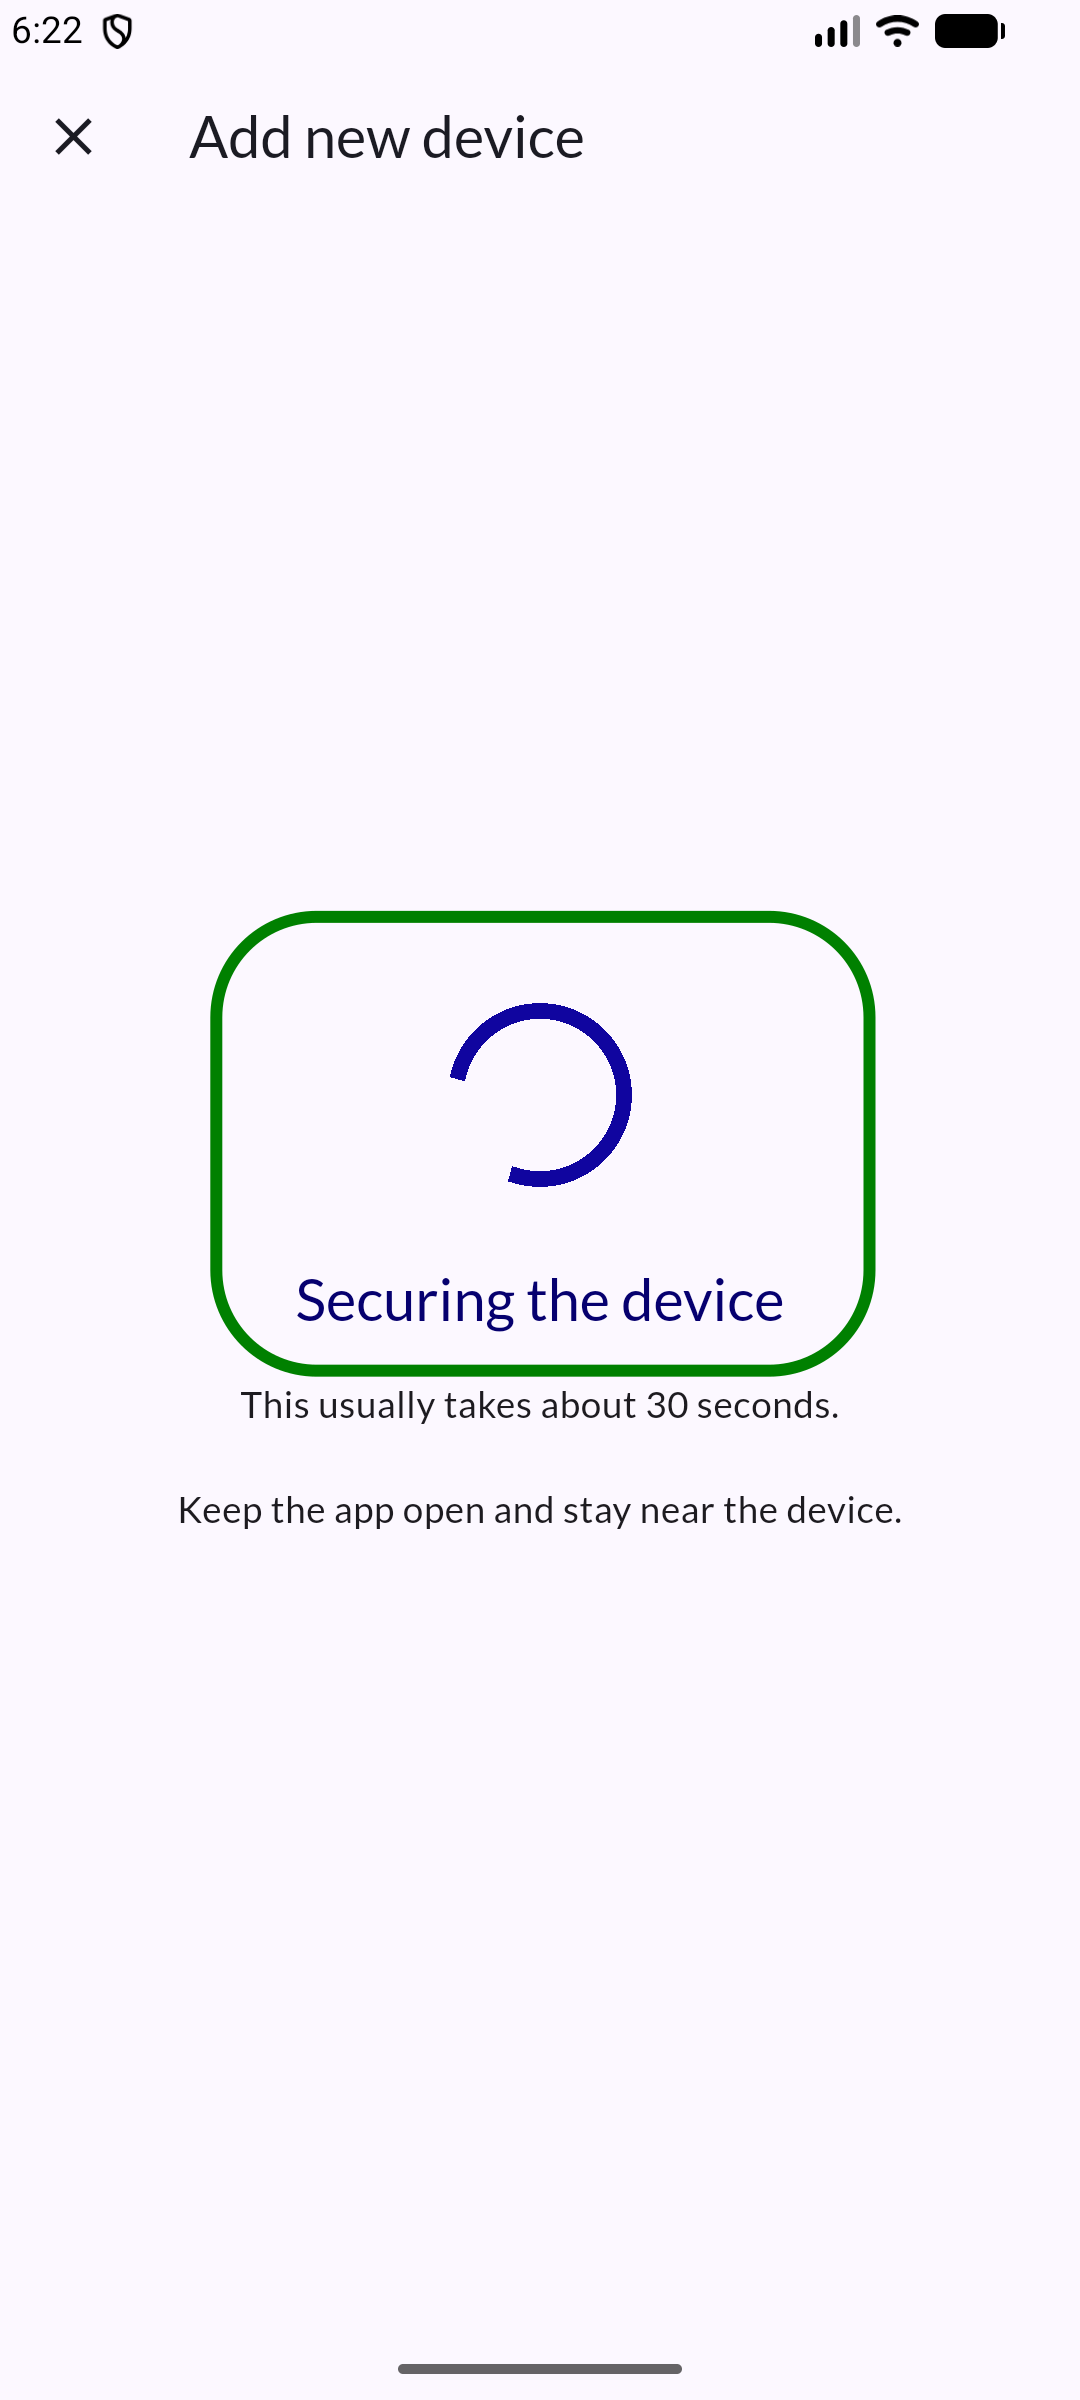
Step 9: Secure device ownership
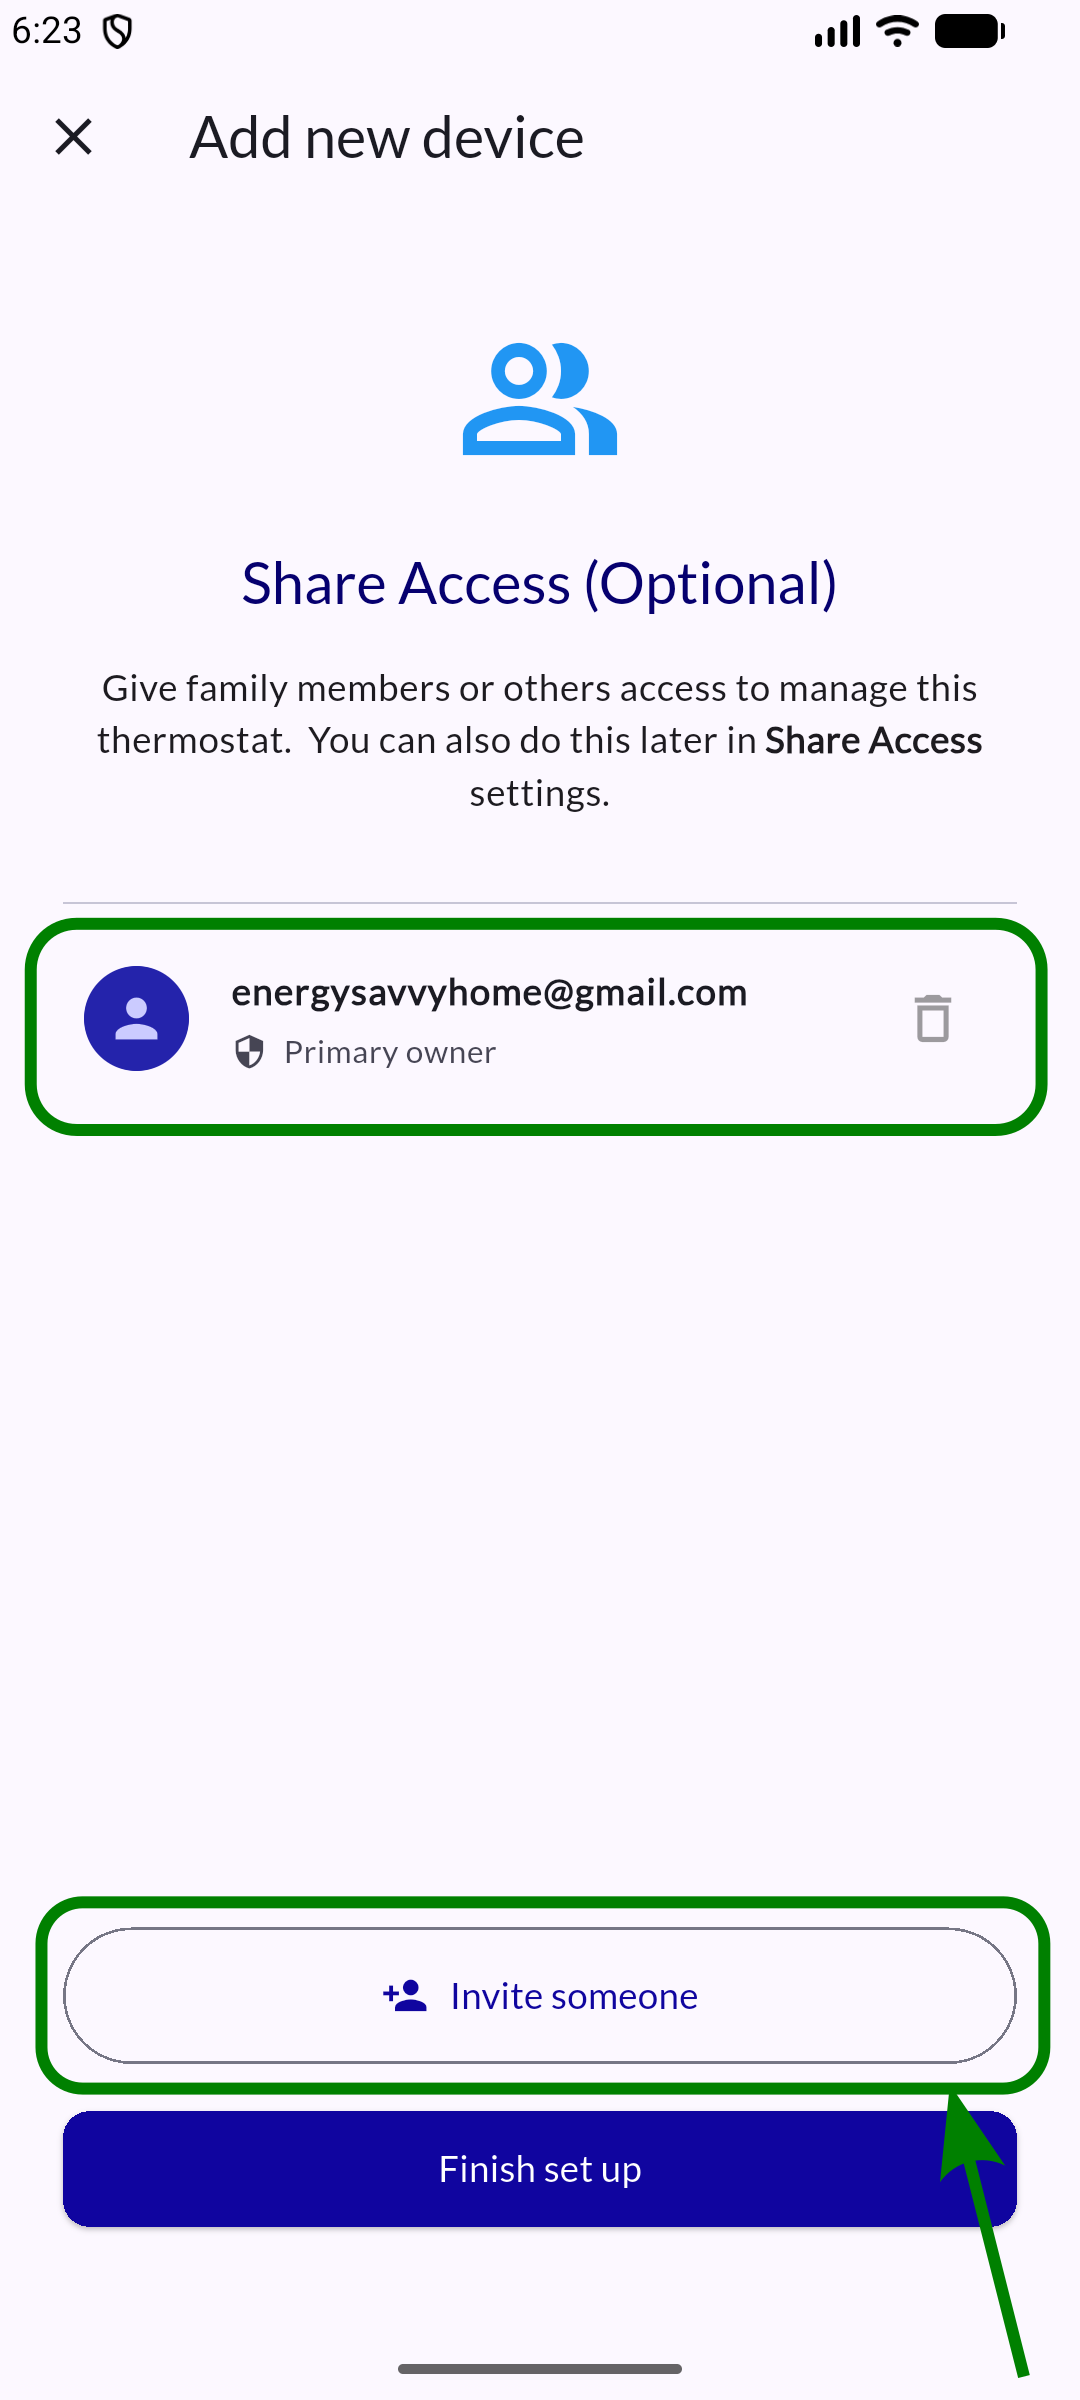
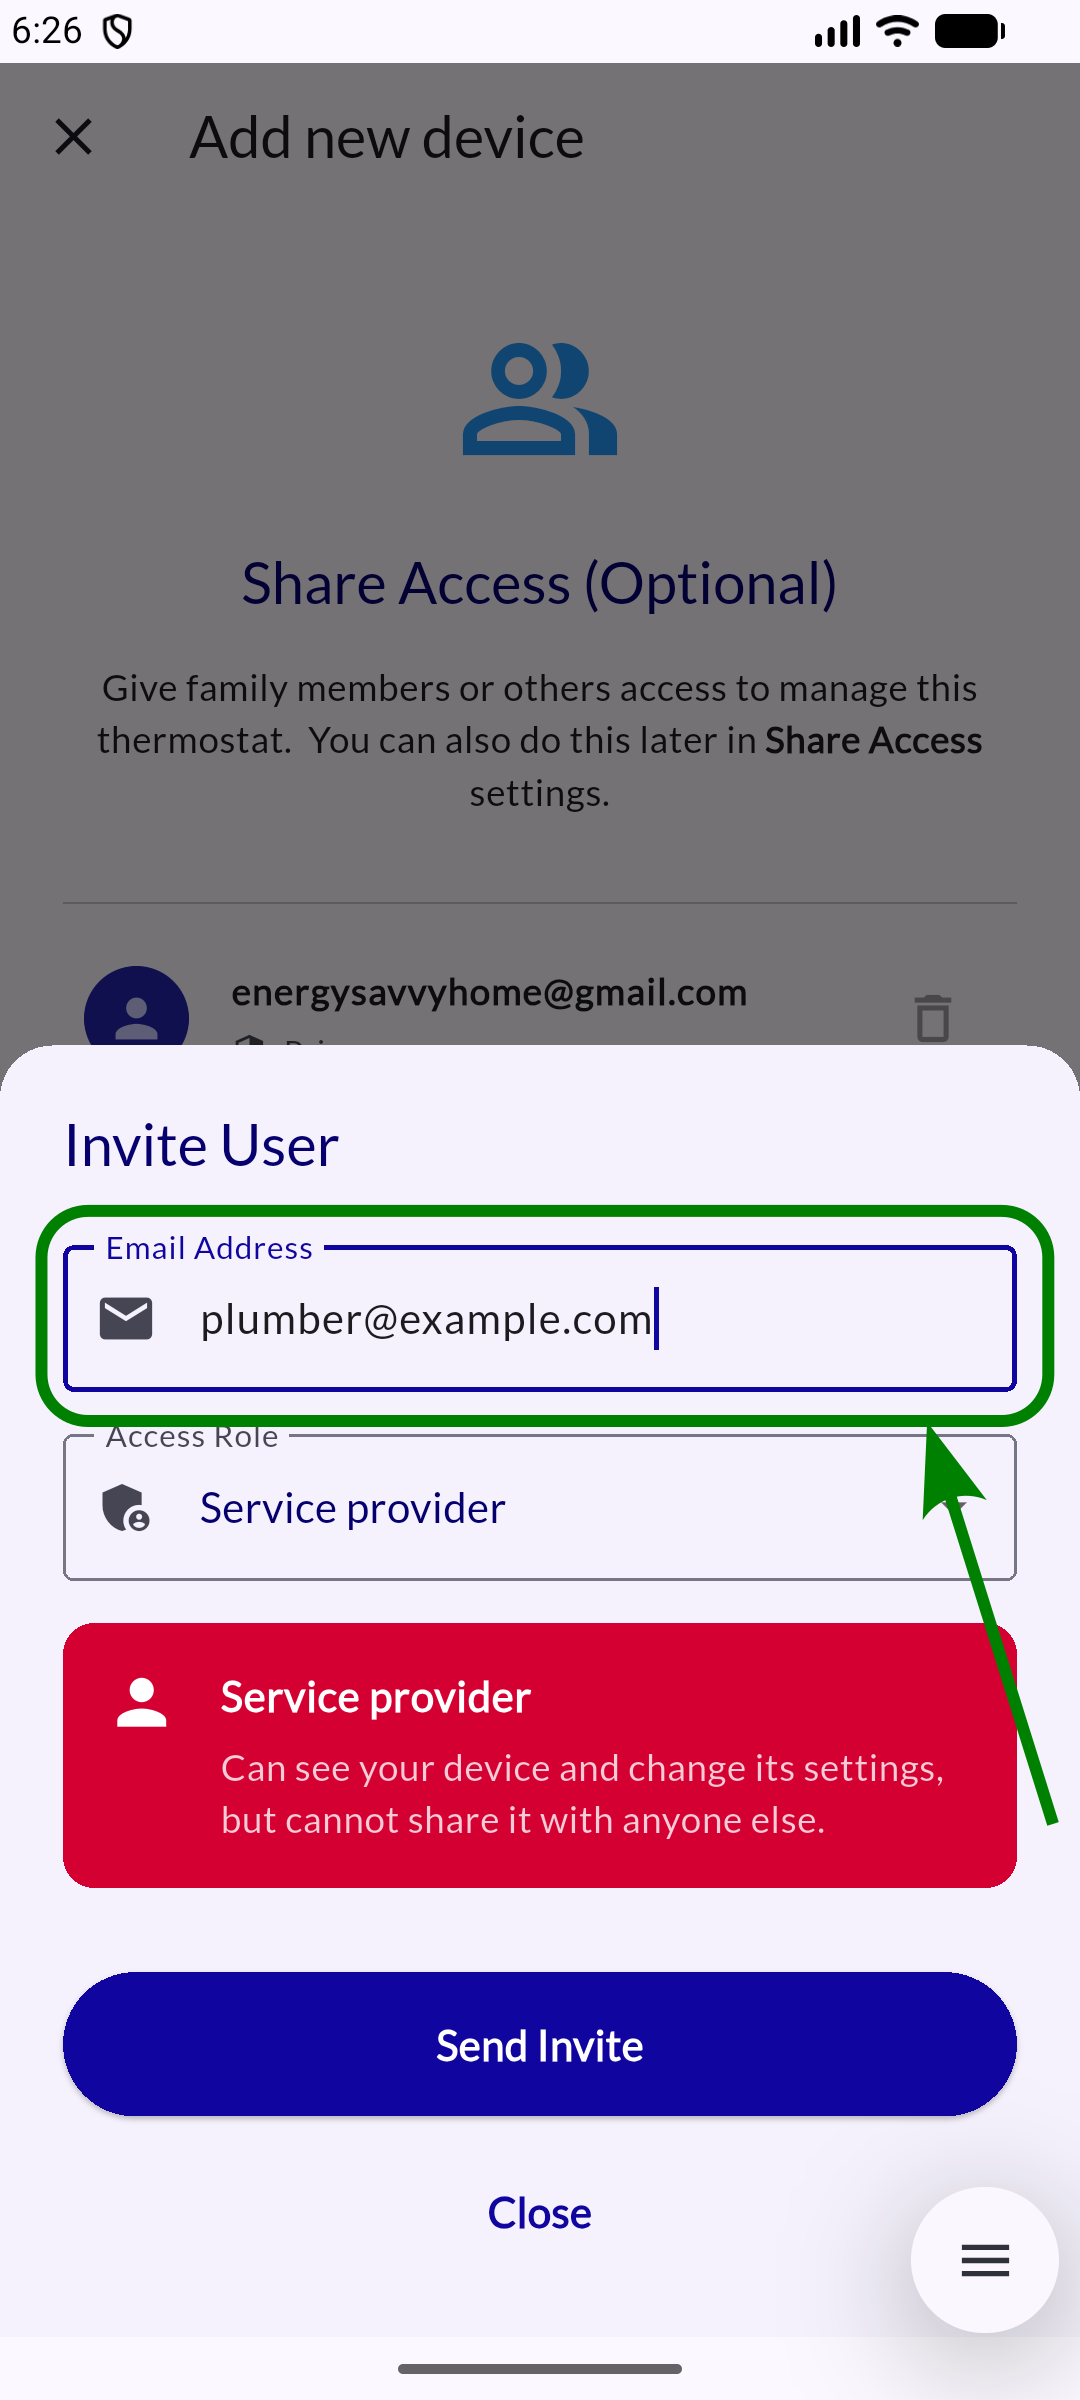
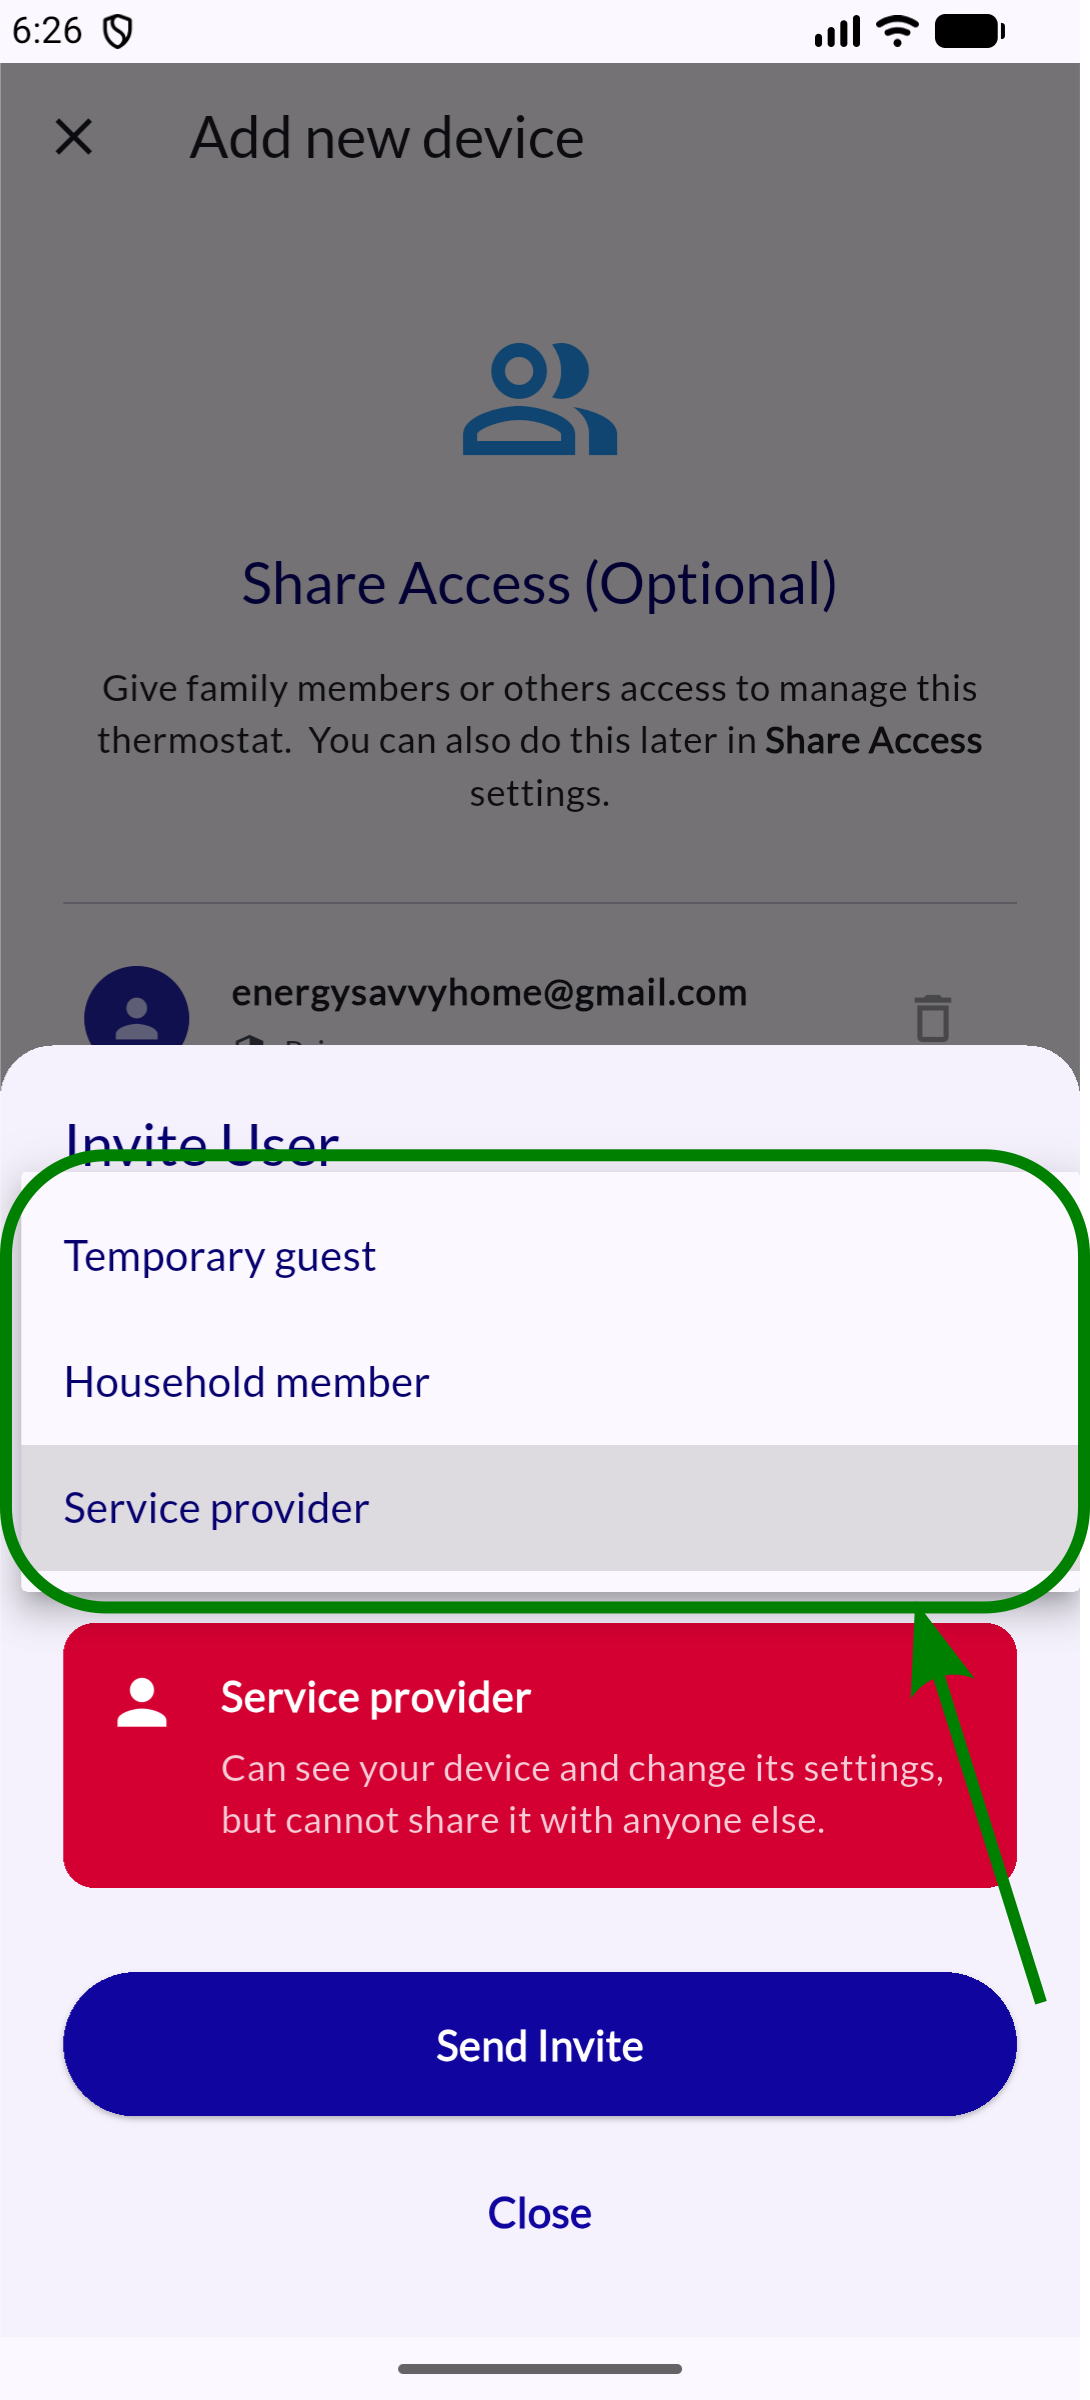
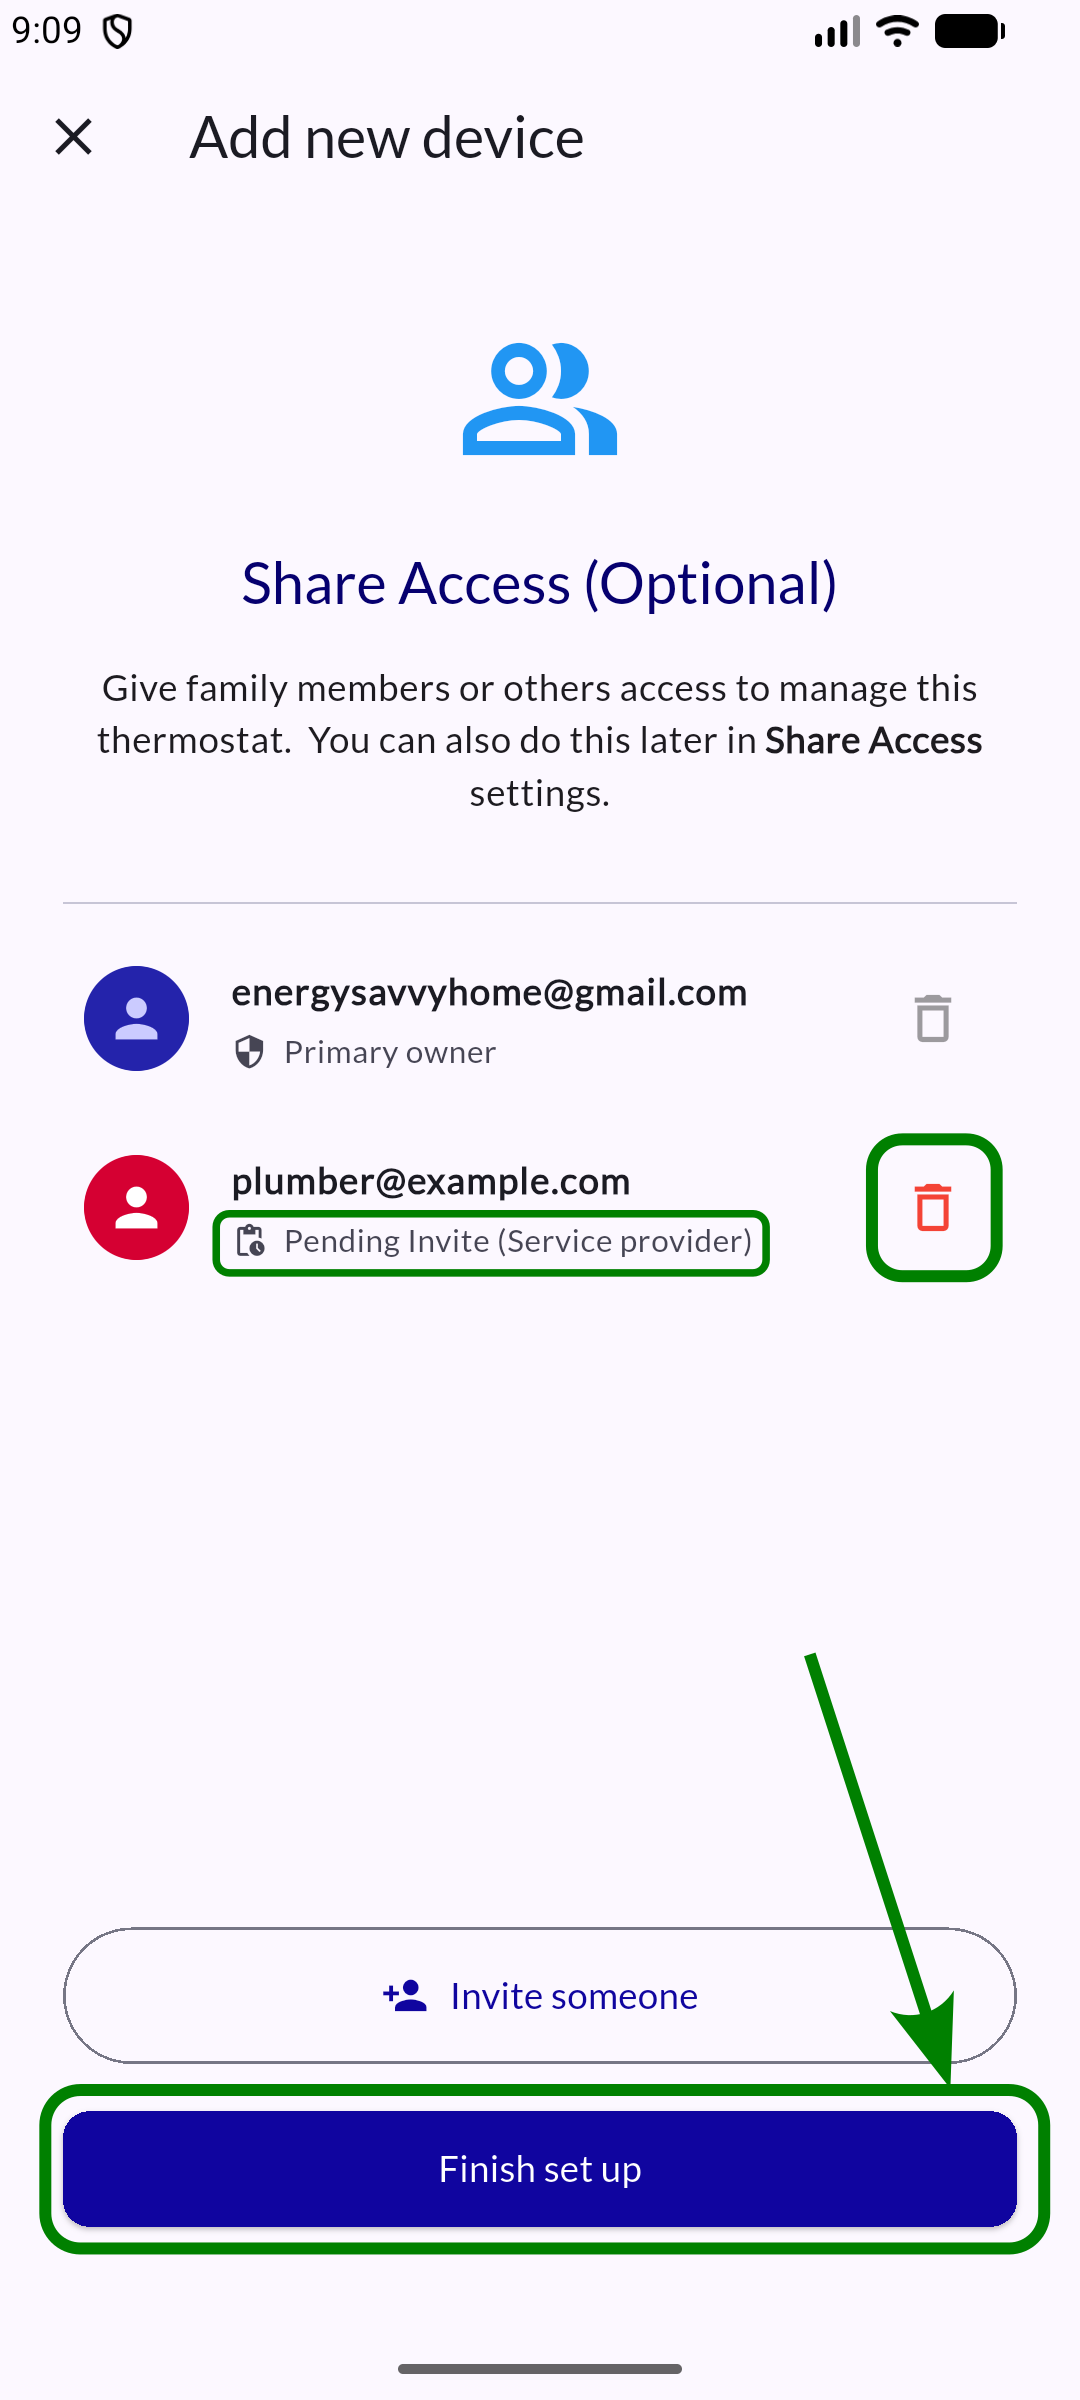
Step 10: Share access
Step 11: Device successfully added
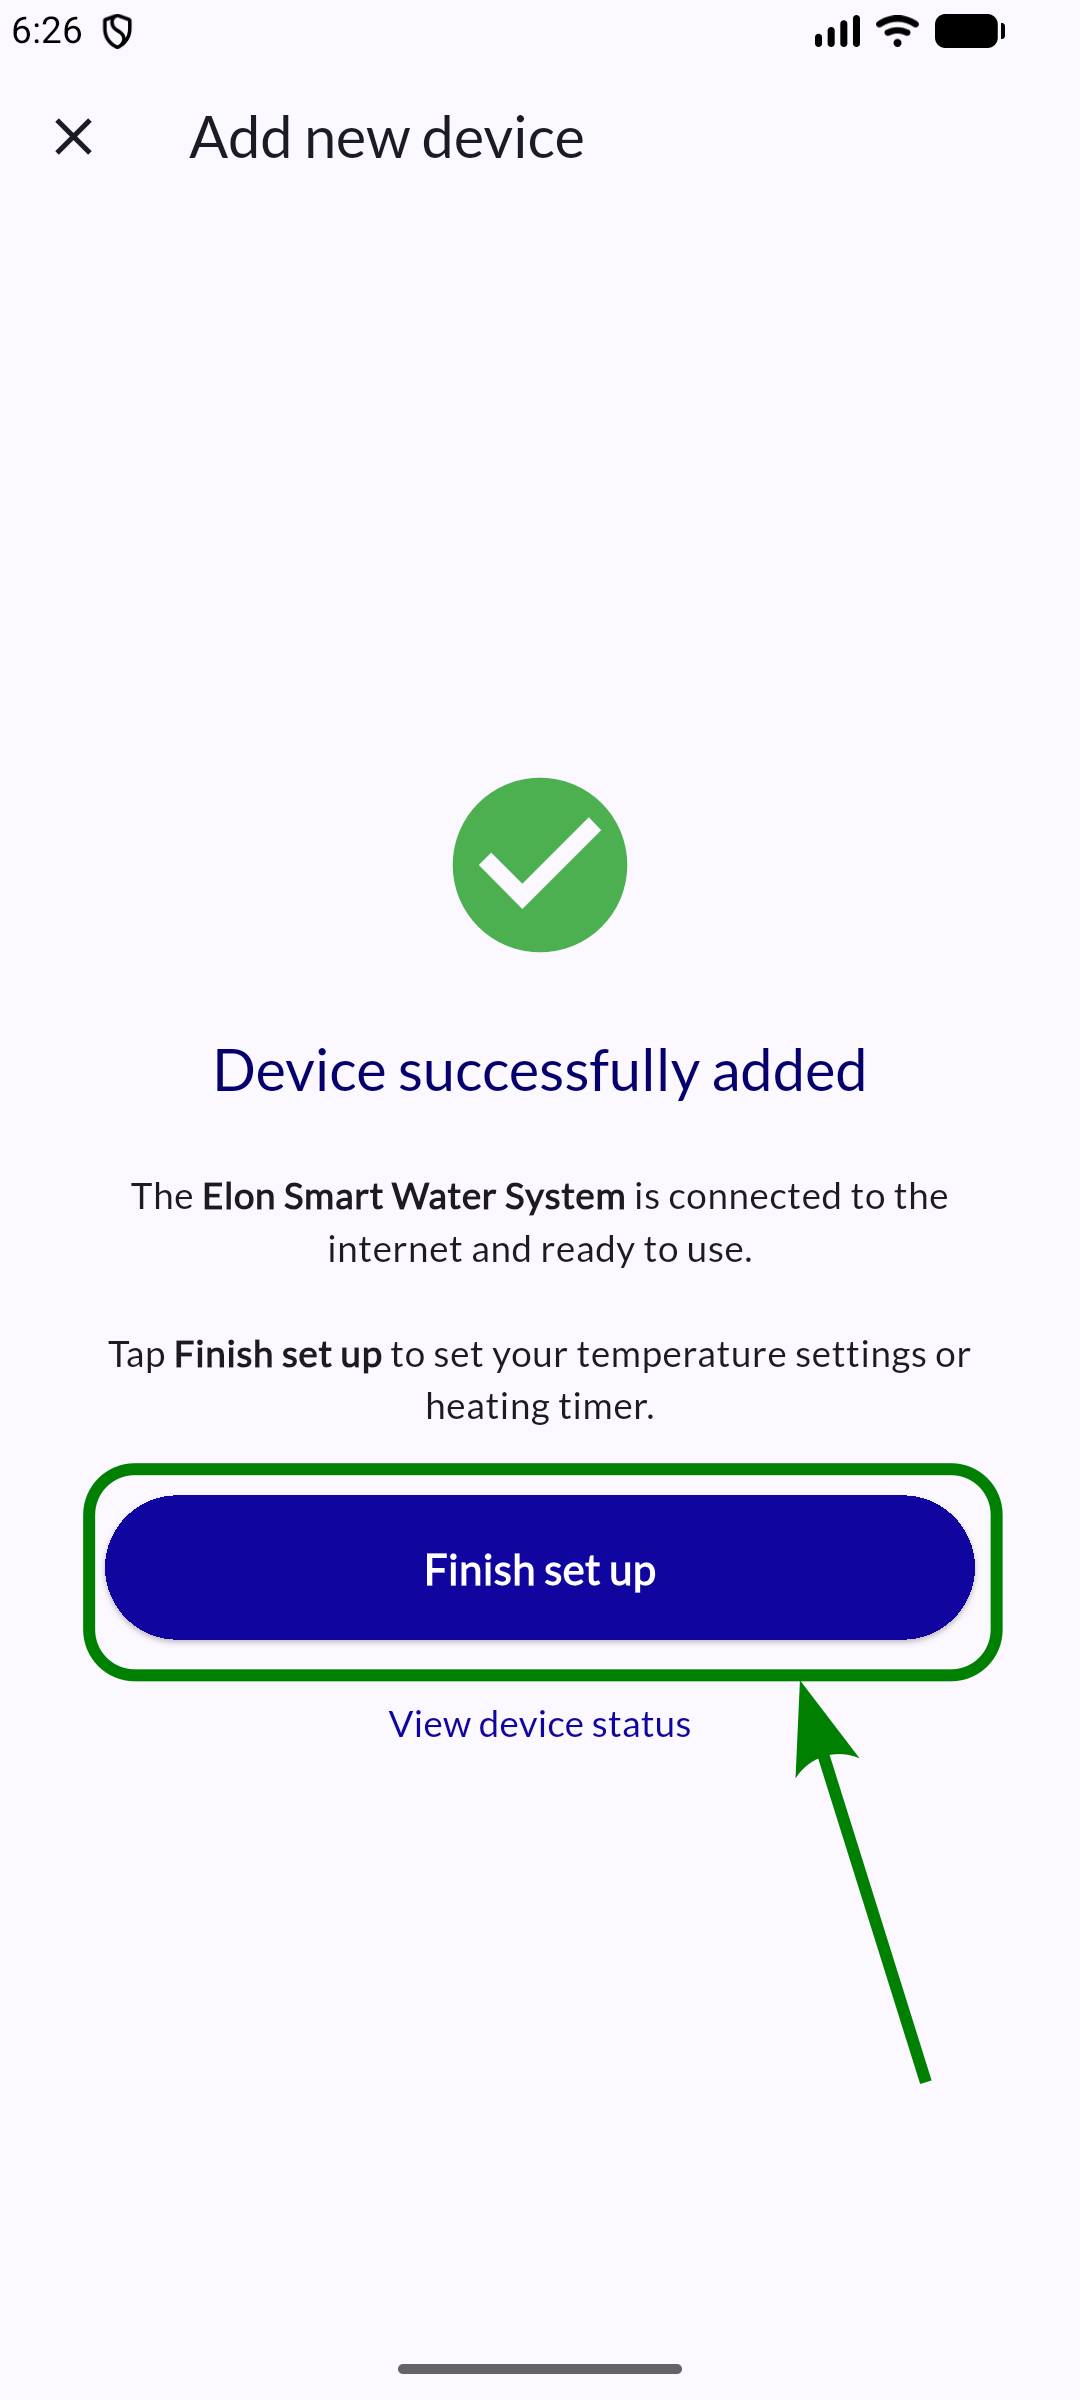
Step 12: Complete fine-grained control settings
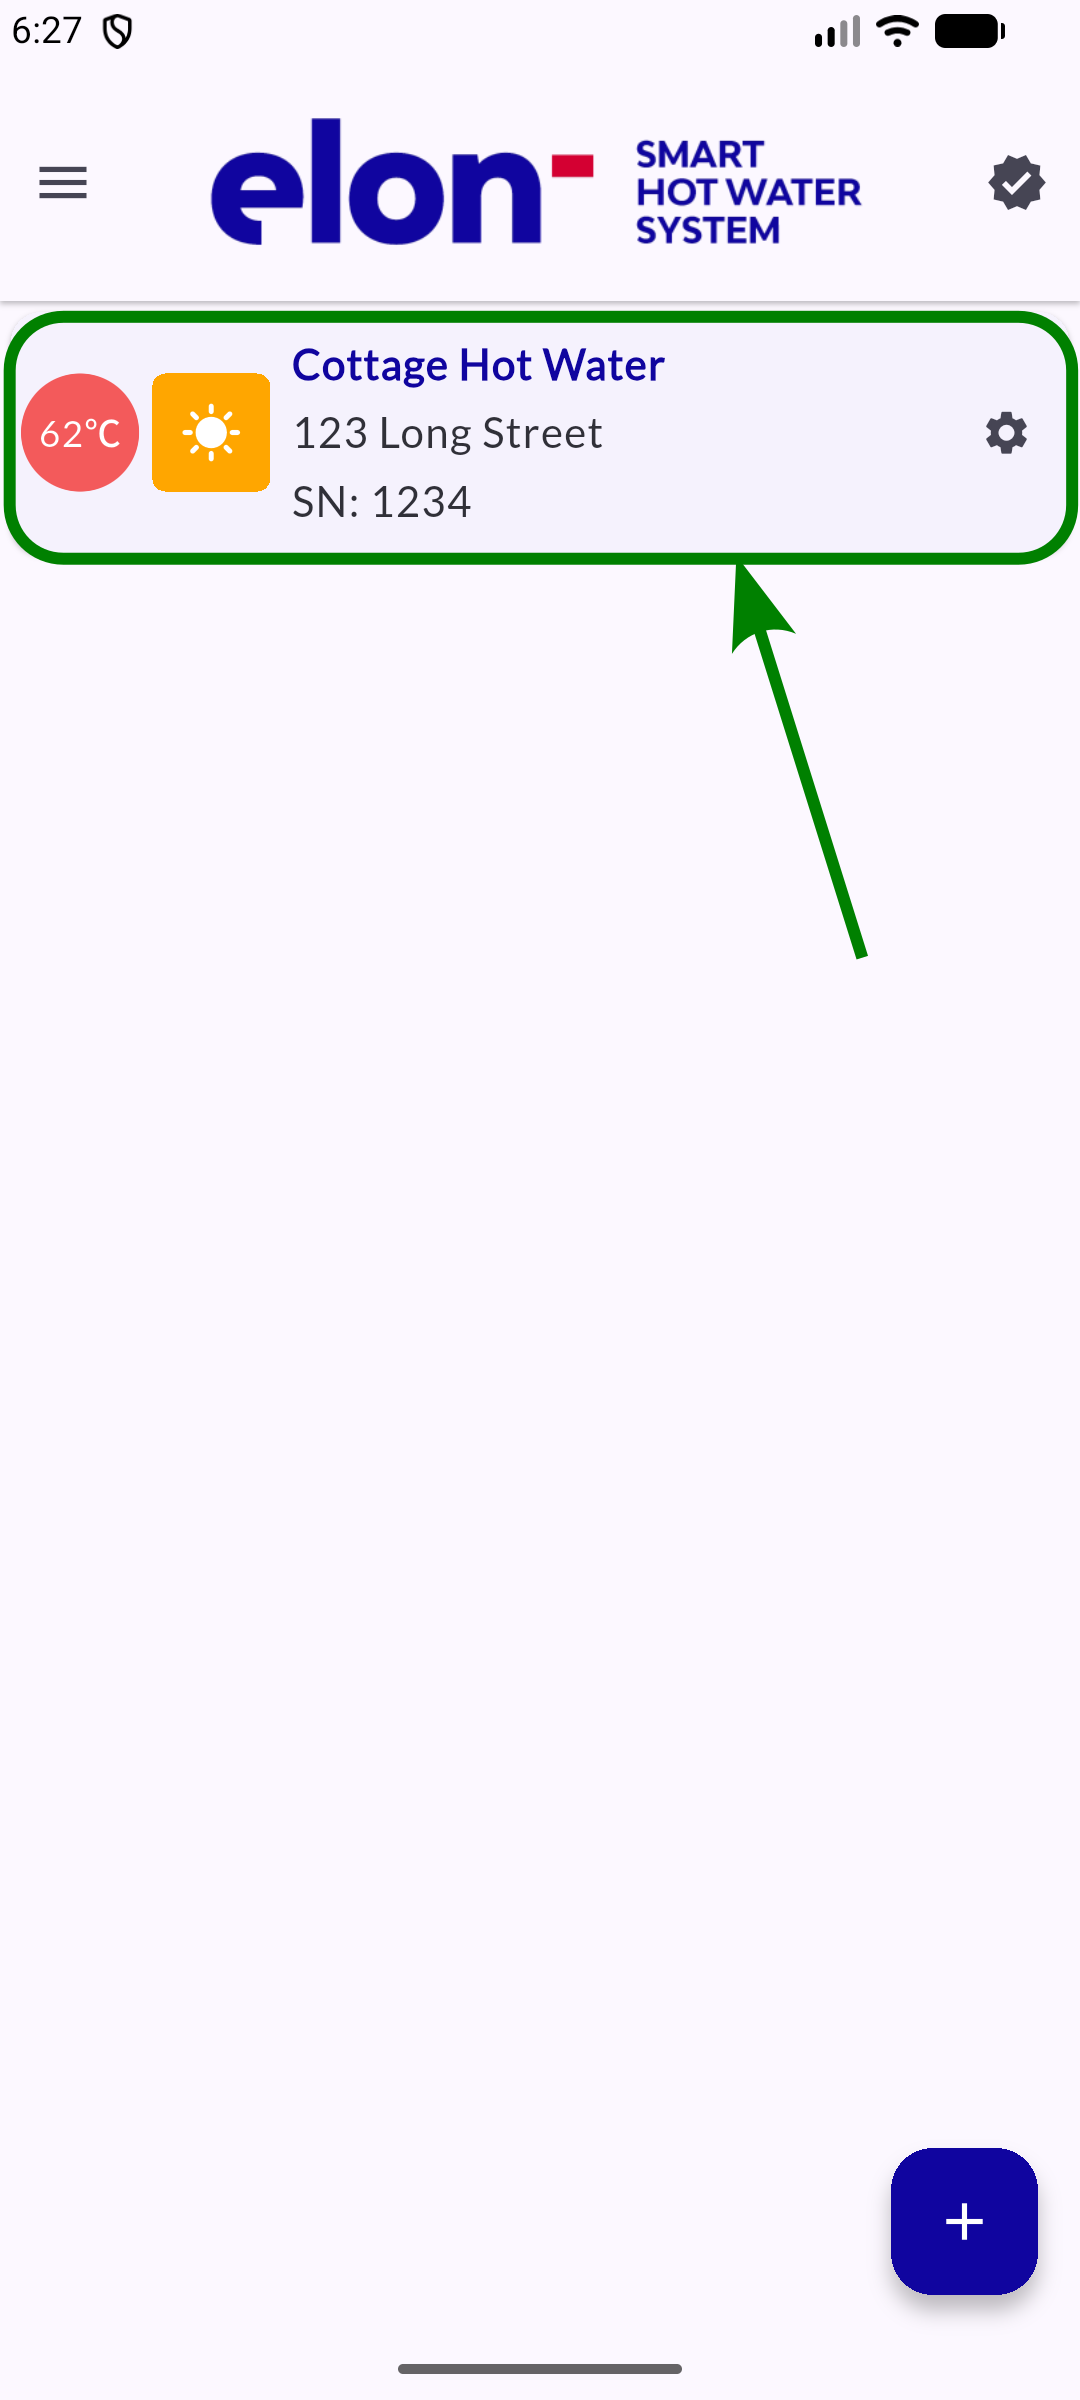
Device status
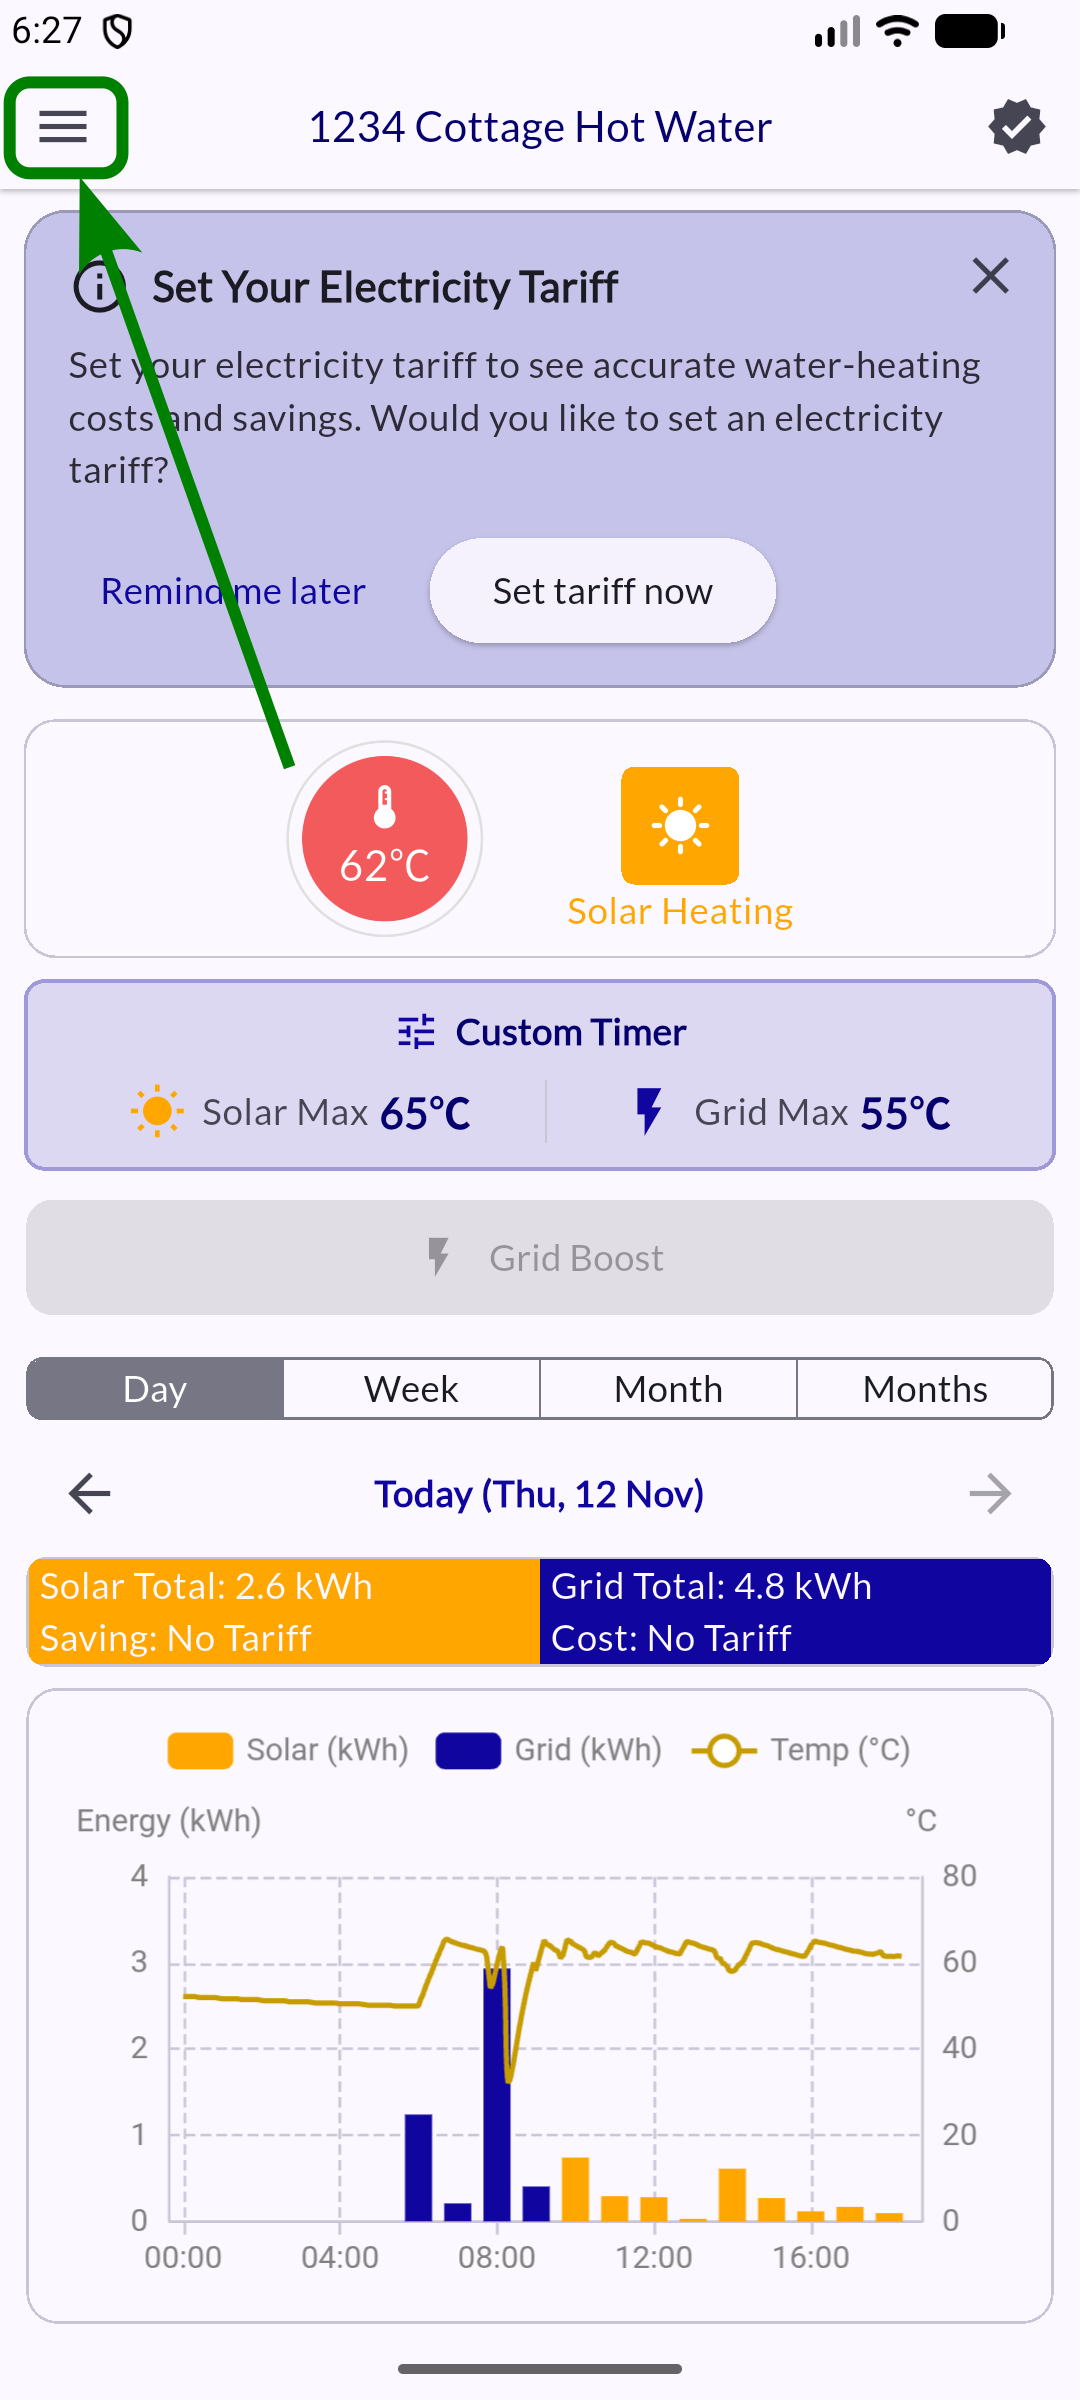
The device status screen is the app's most important screen.
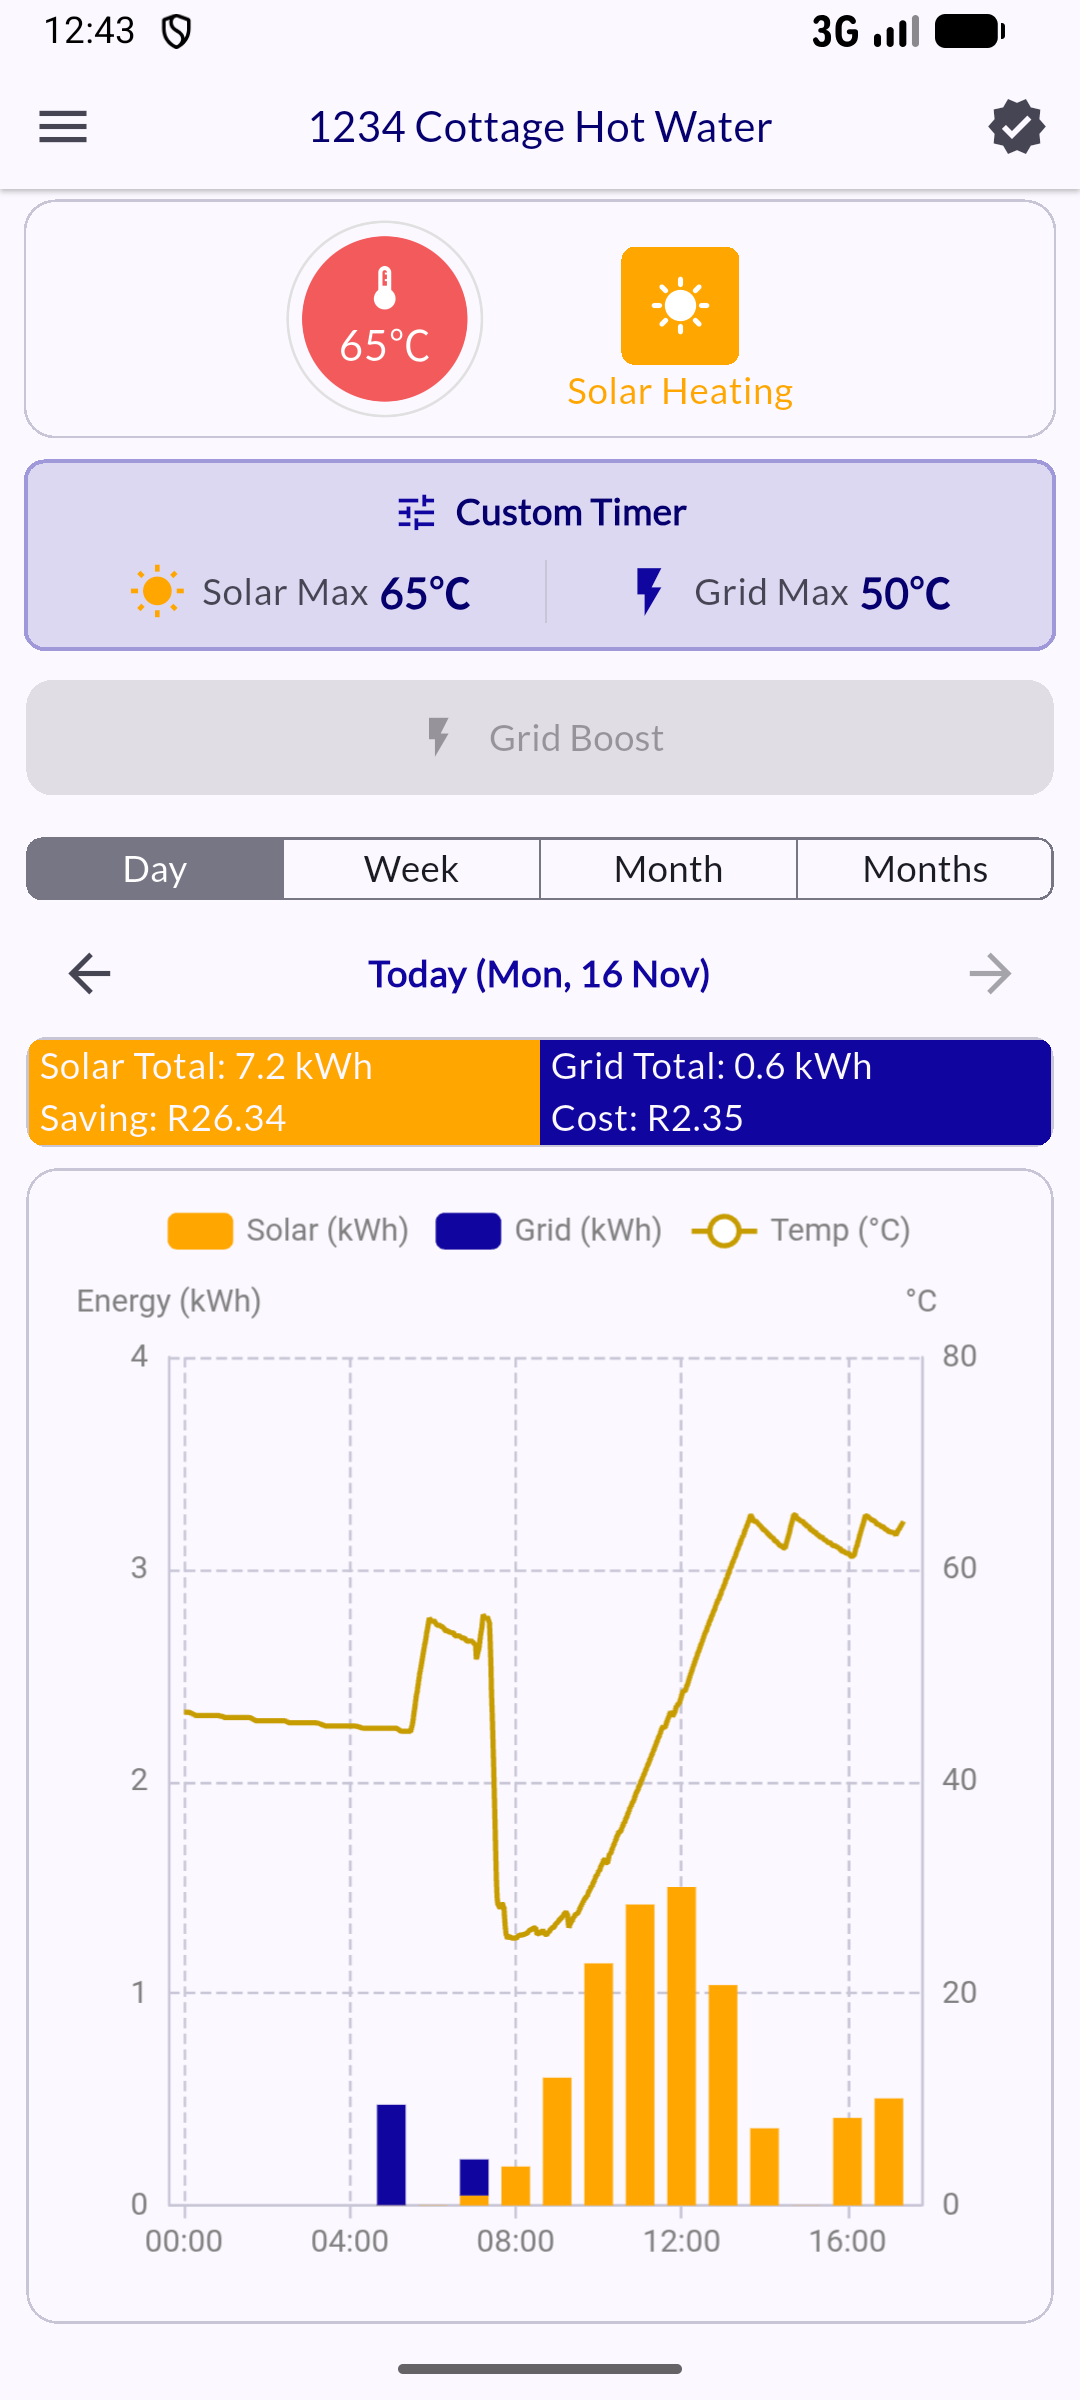
First-time electricity tariff setup
What you see when you first open your device status window.
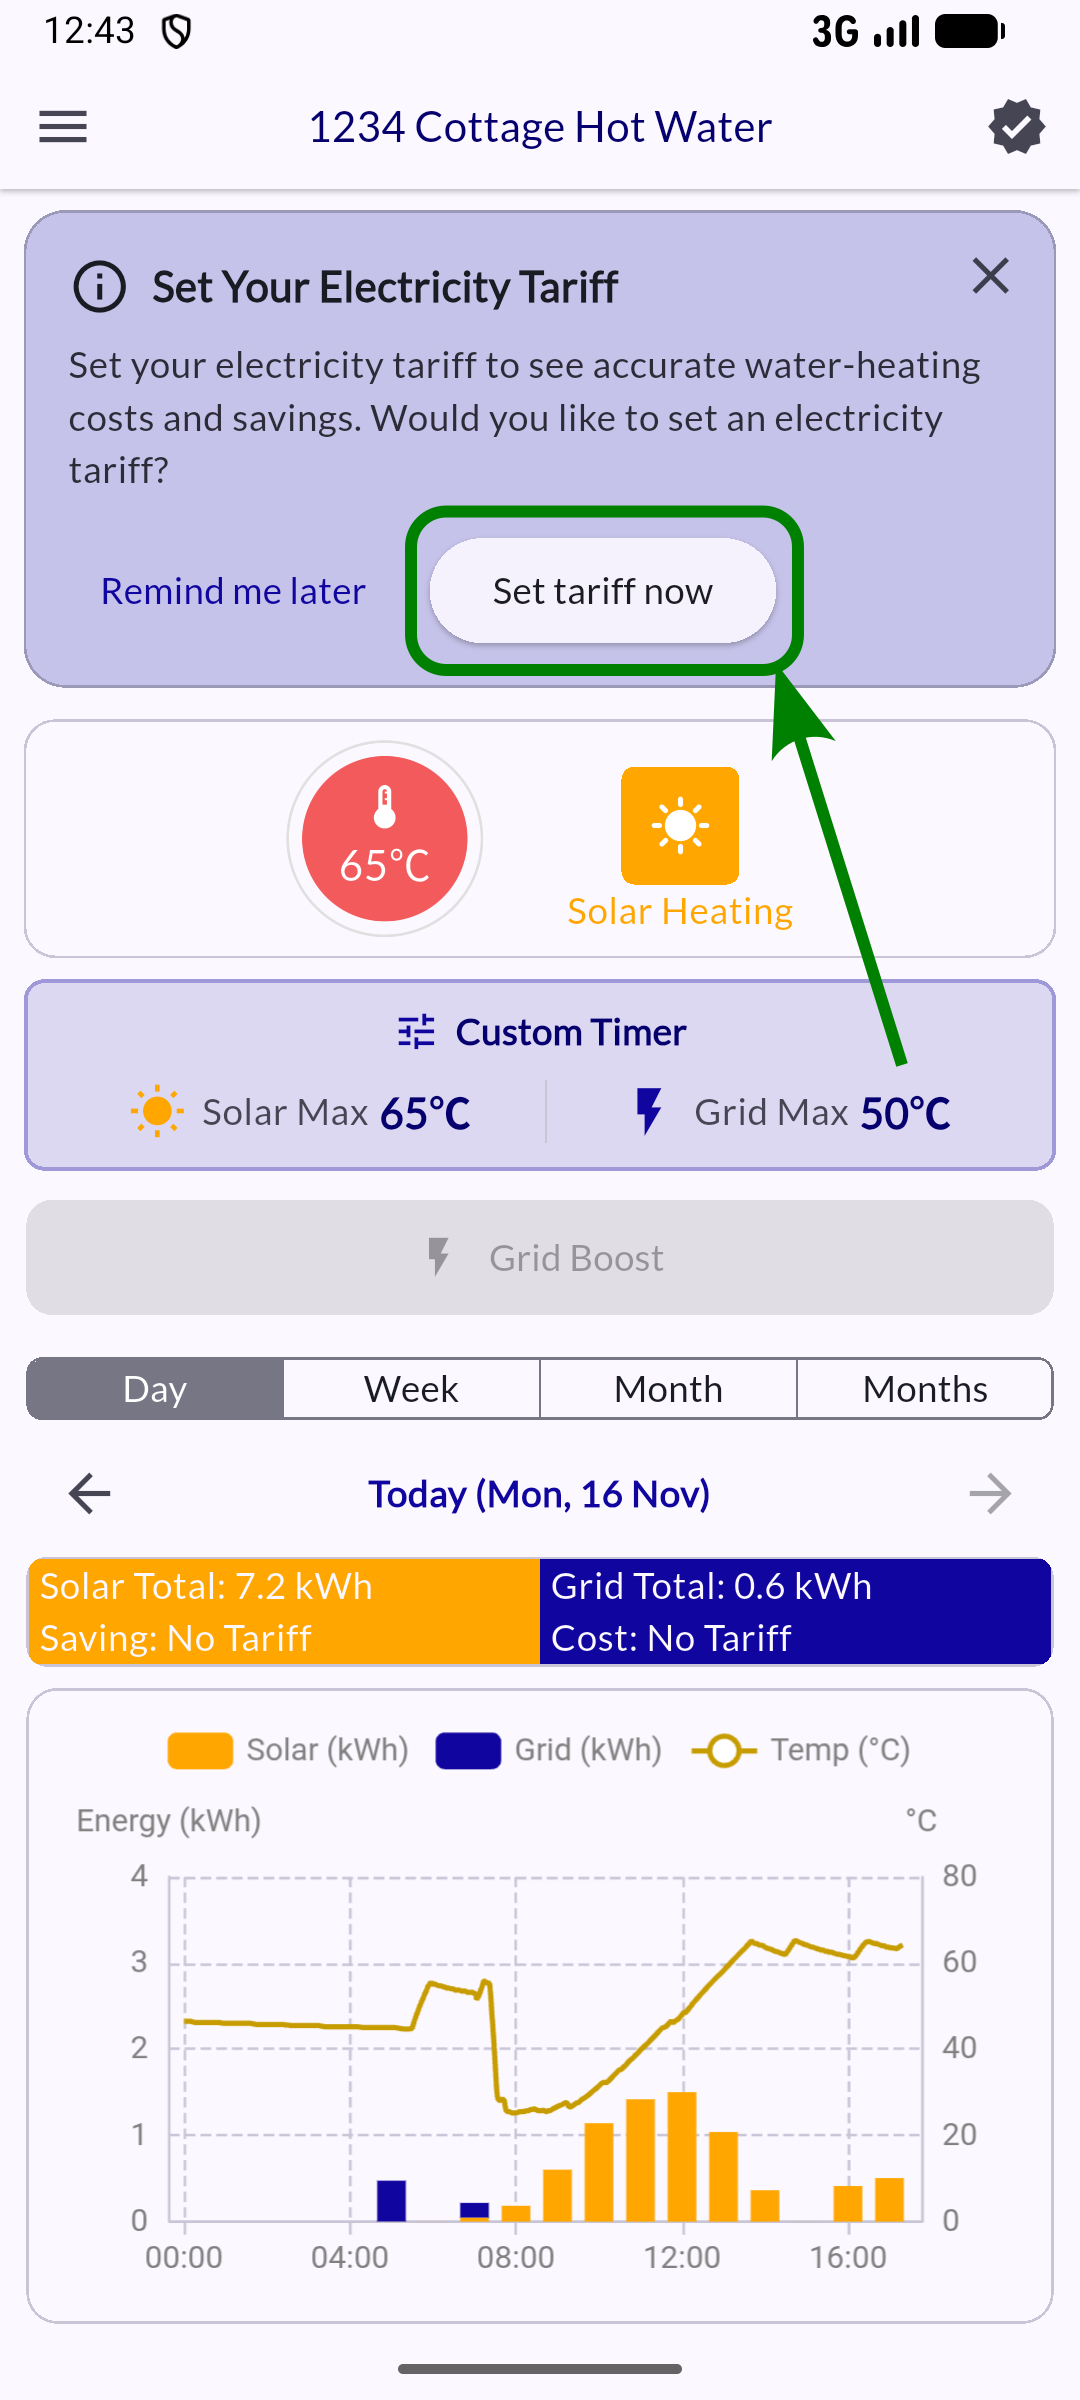
For more details, see Electricity tariff setup.
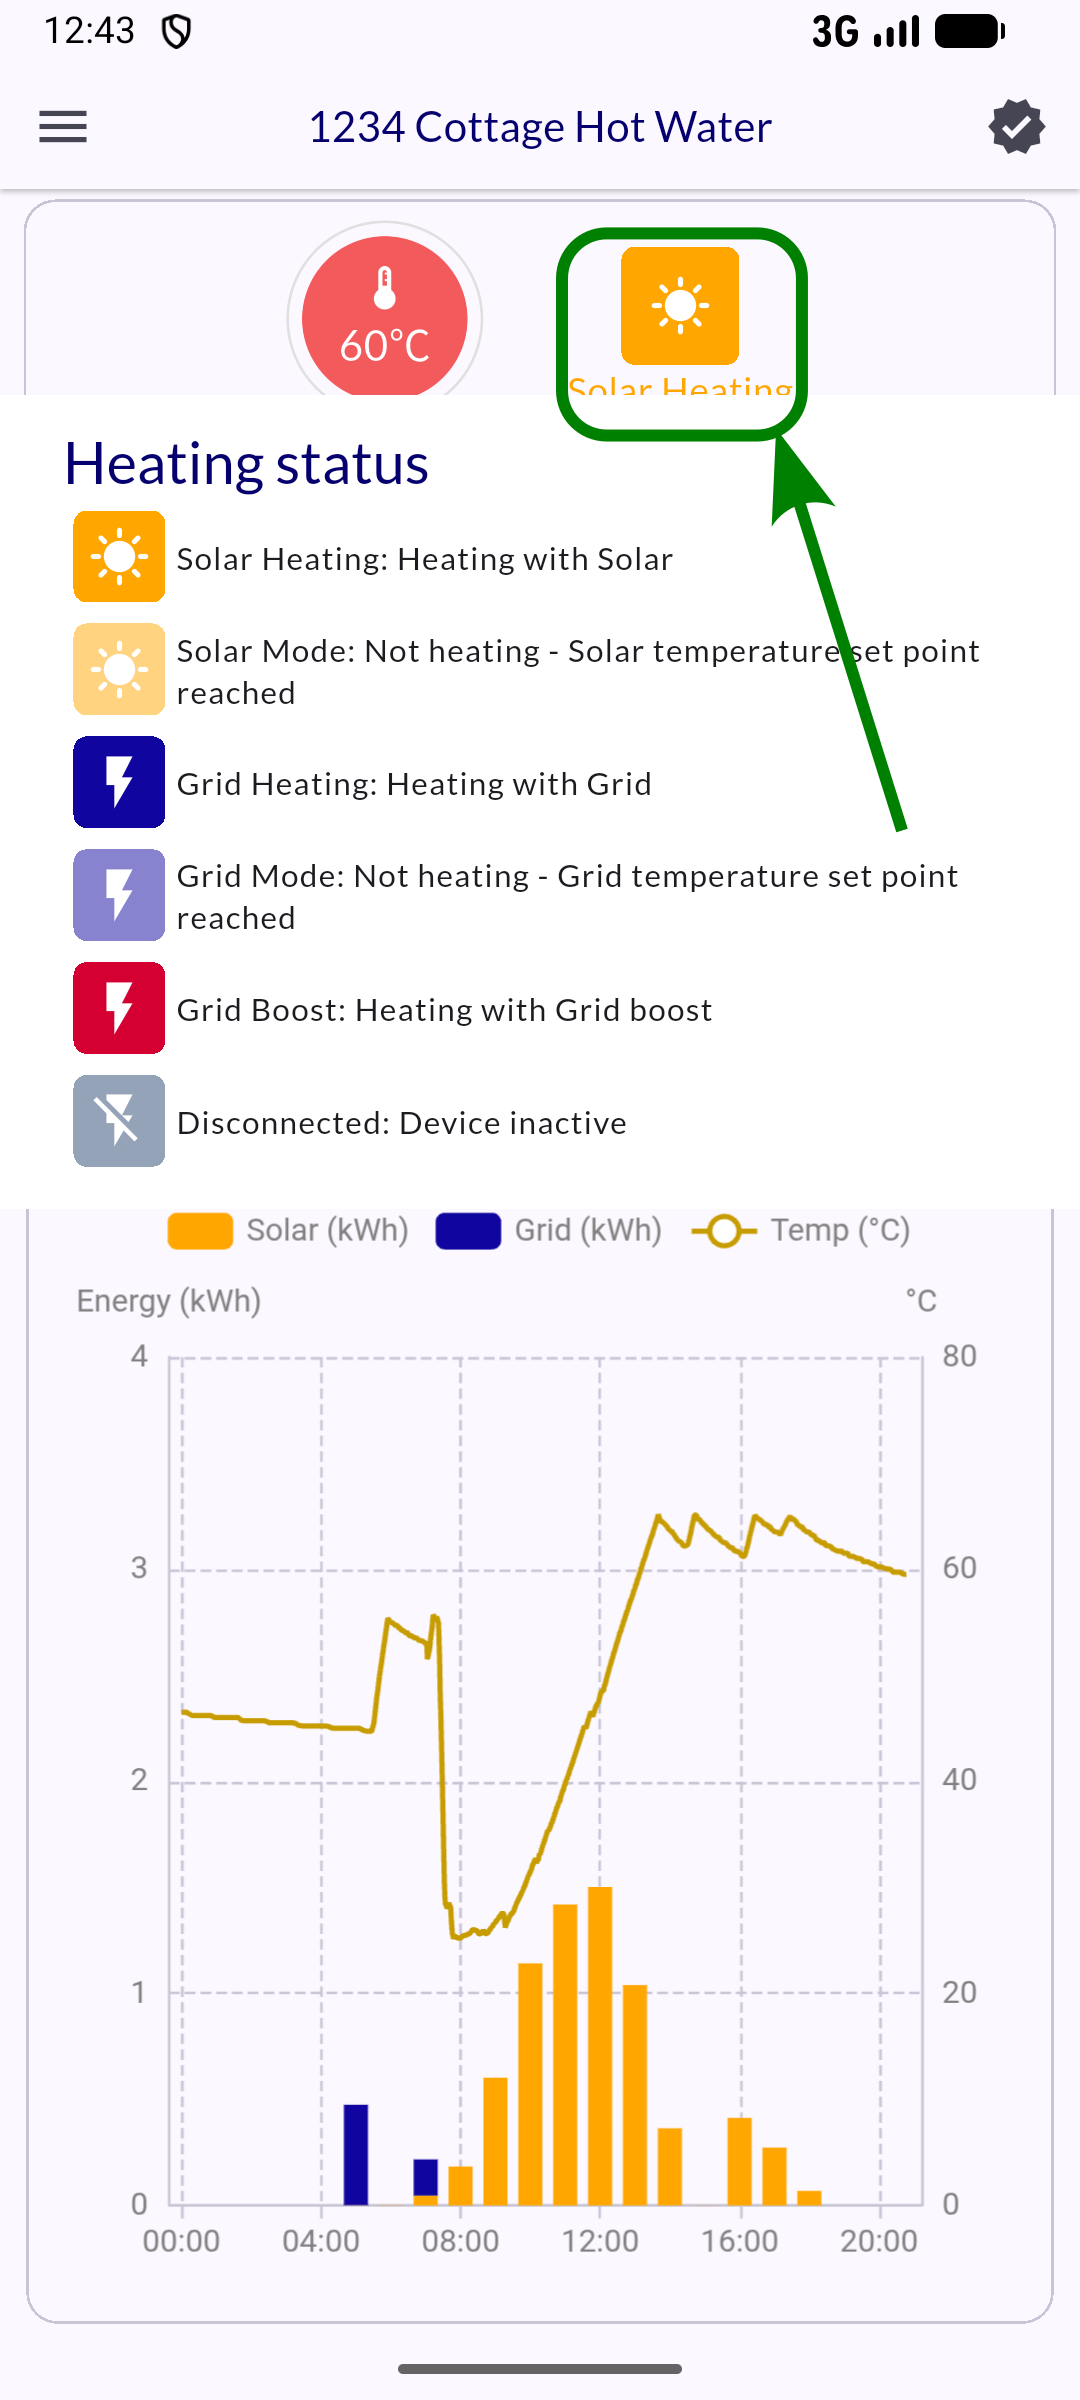
Status summary
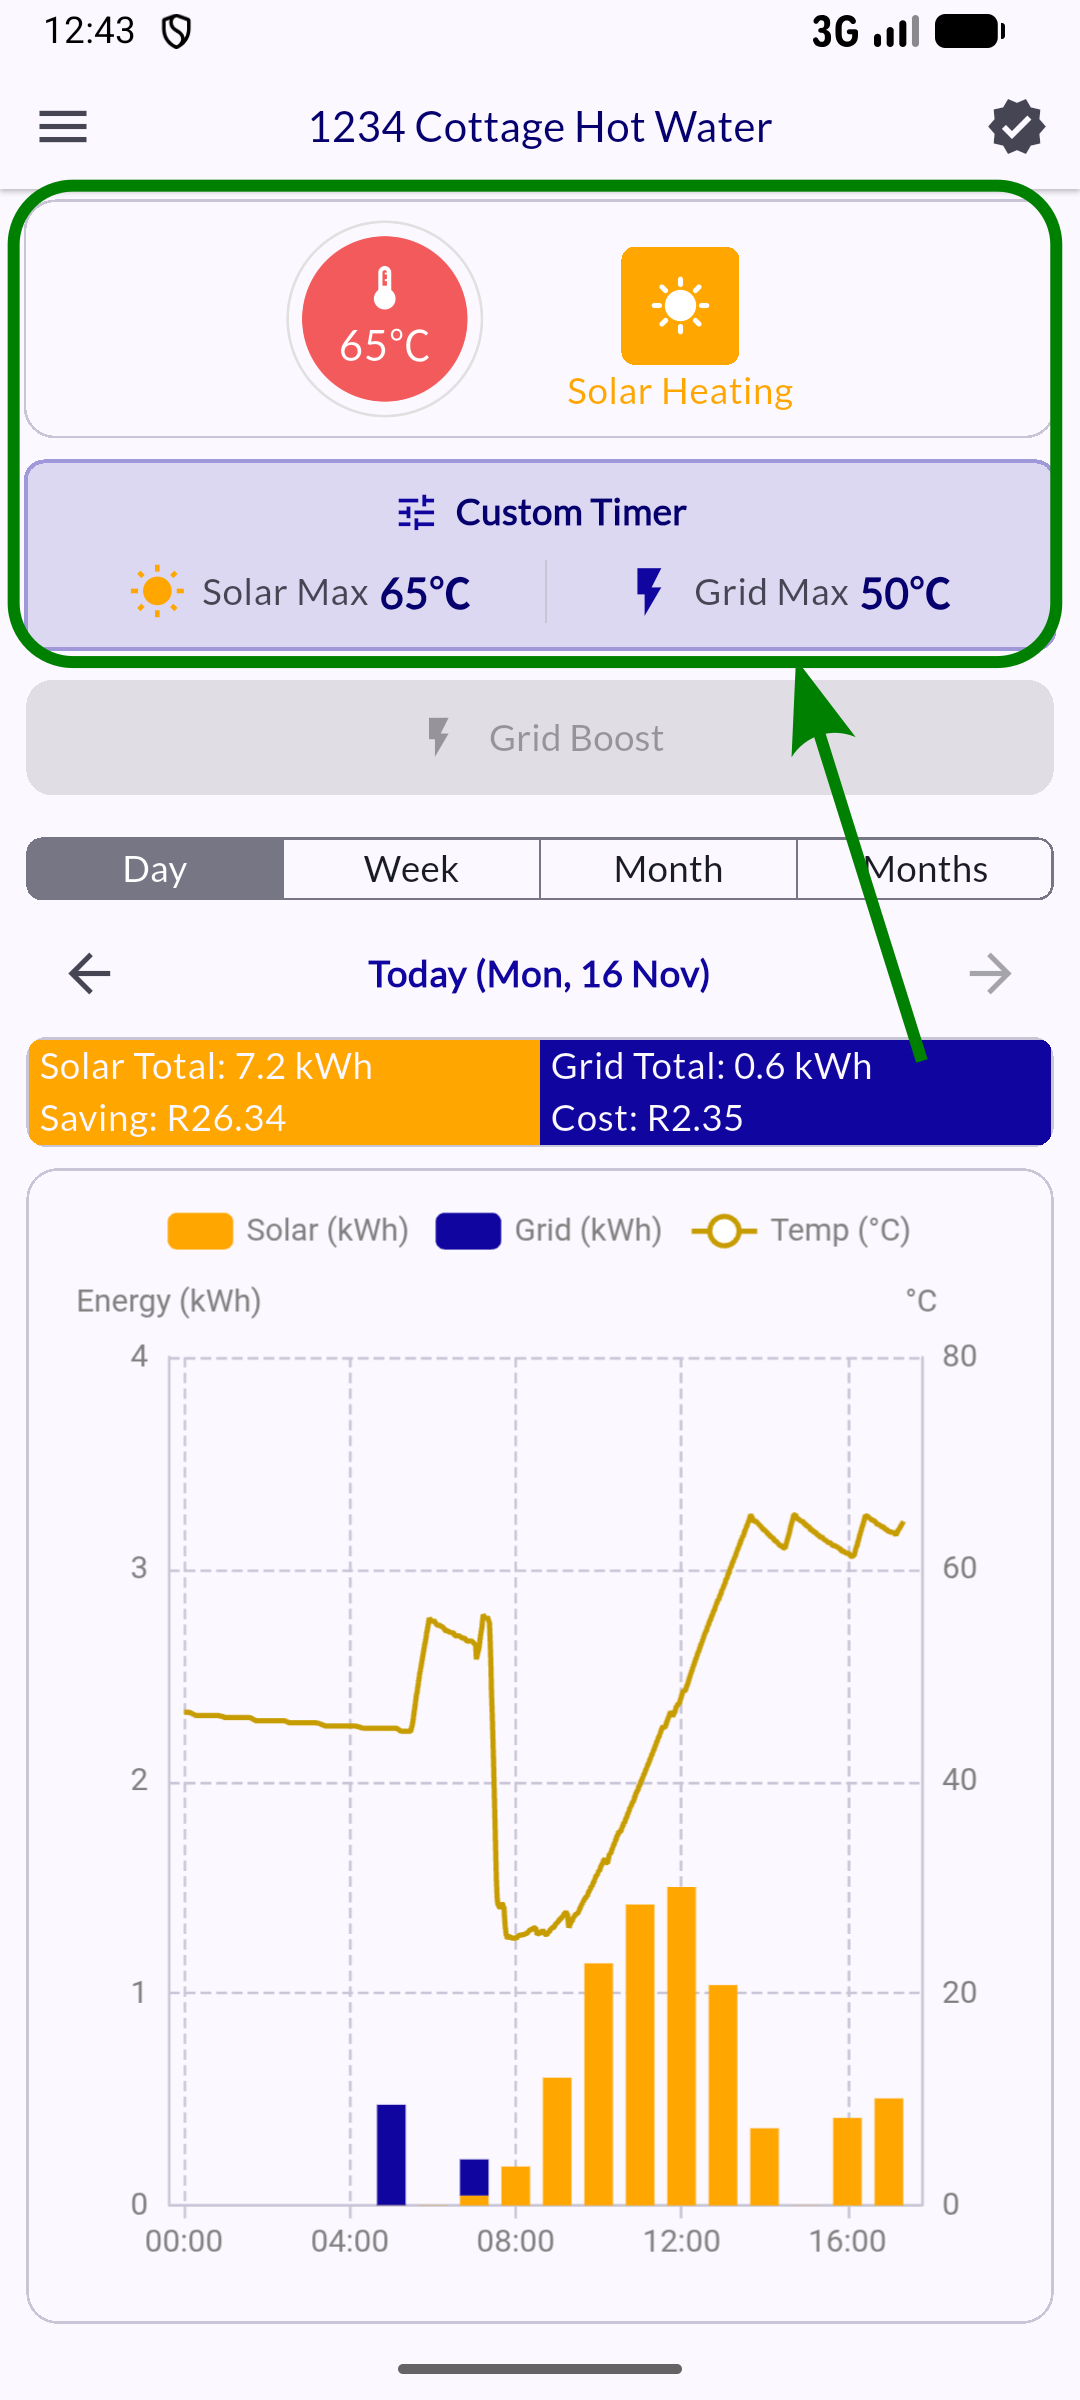
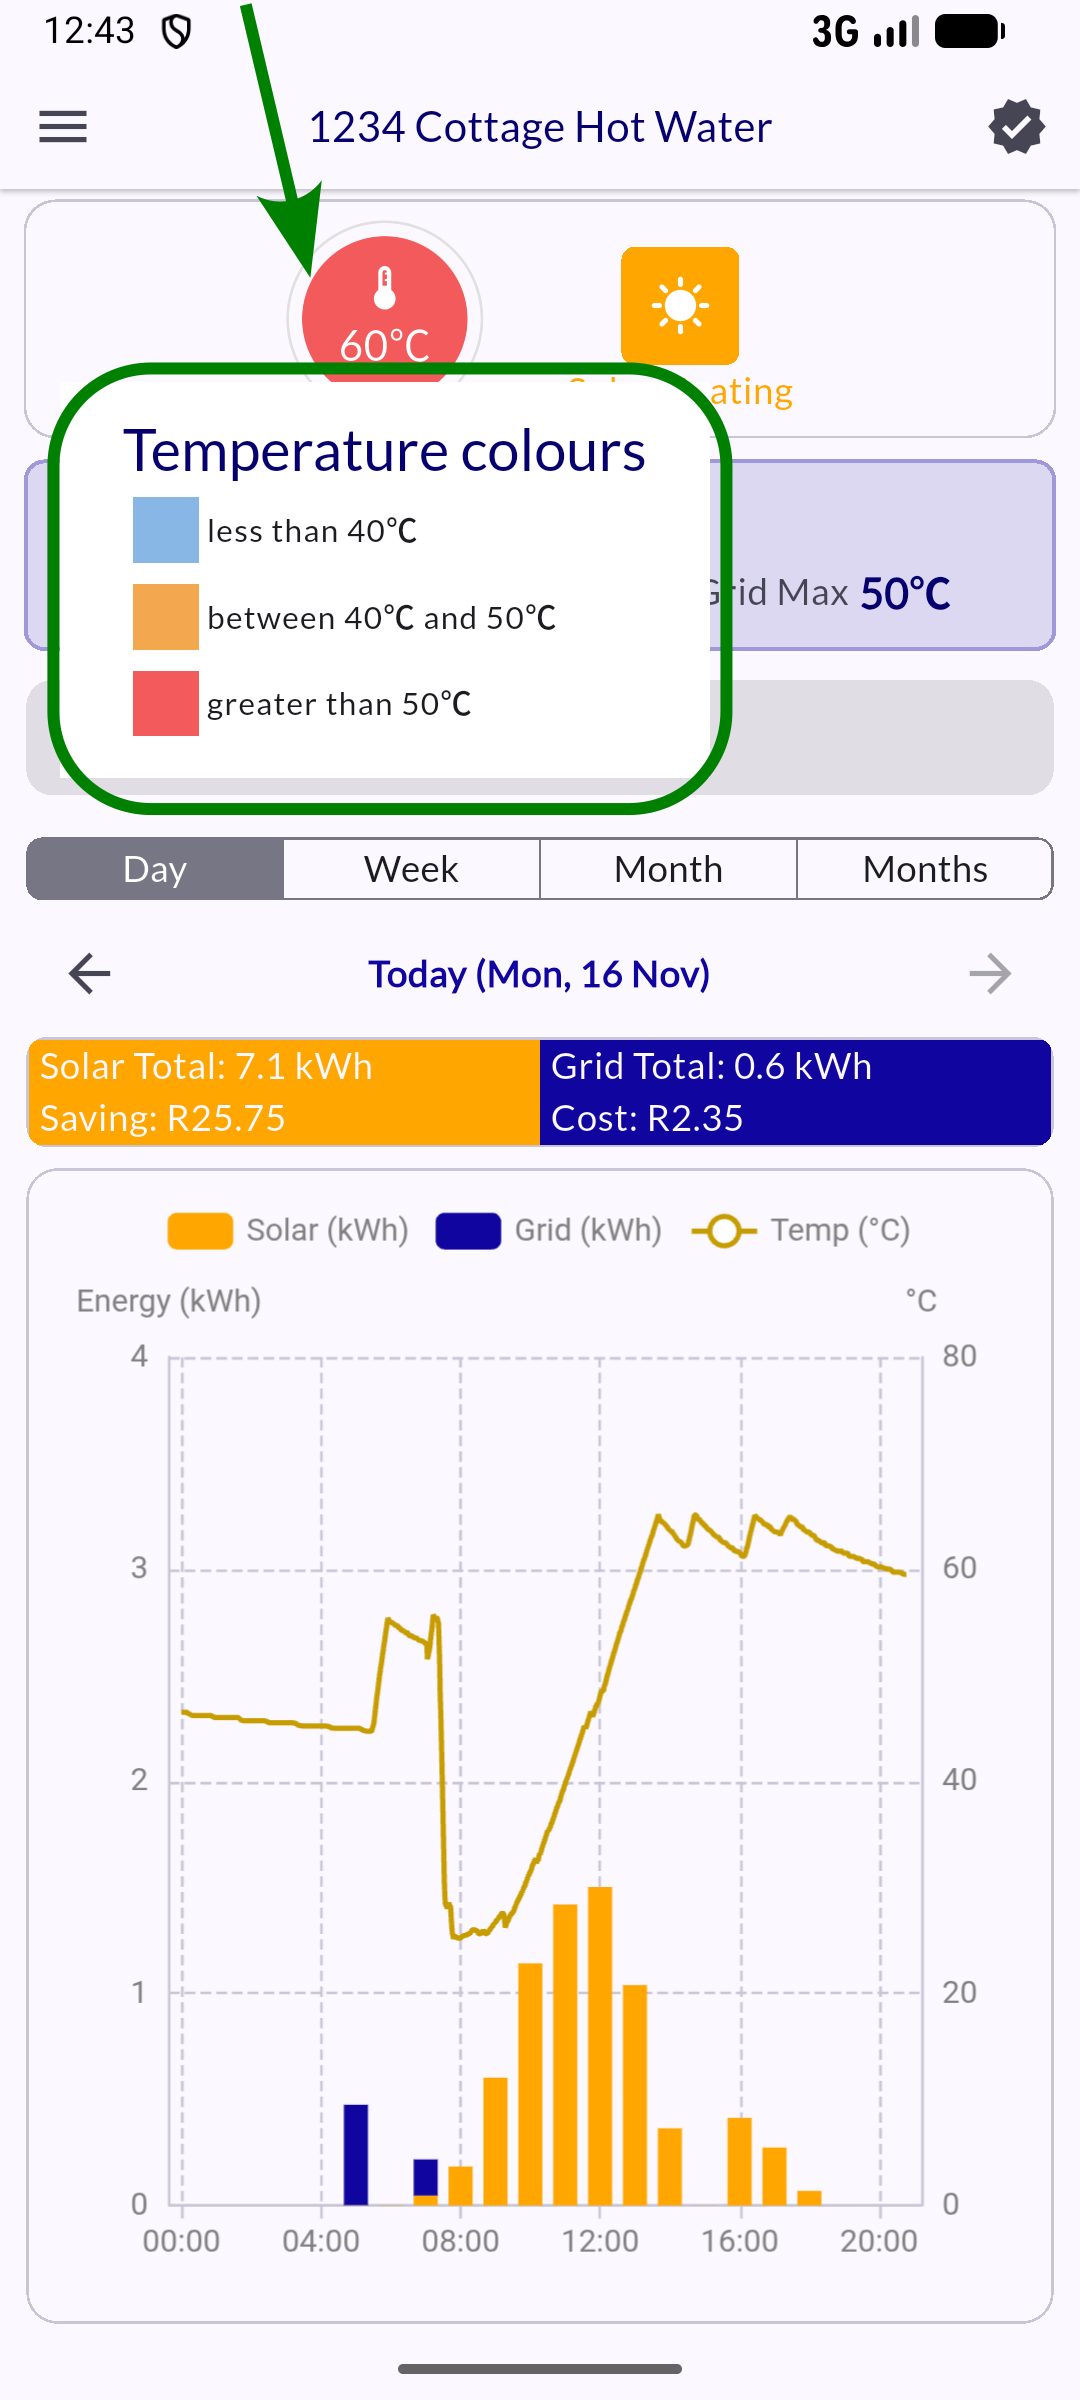
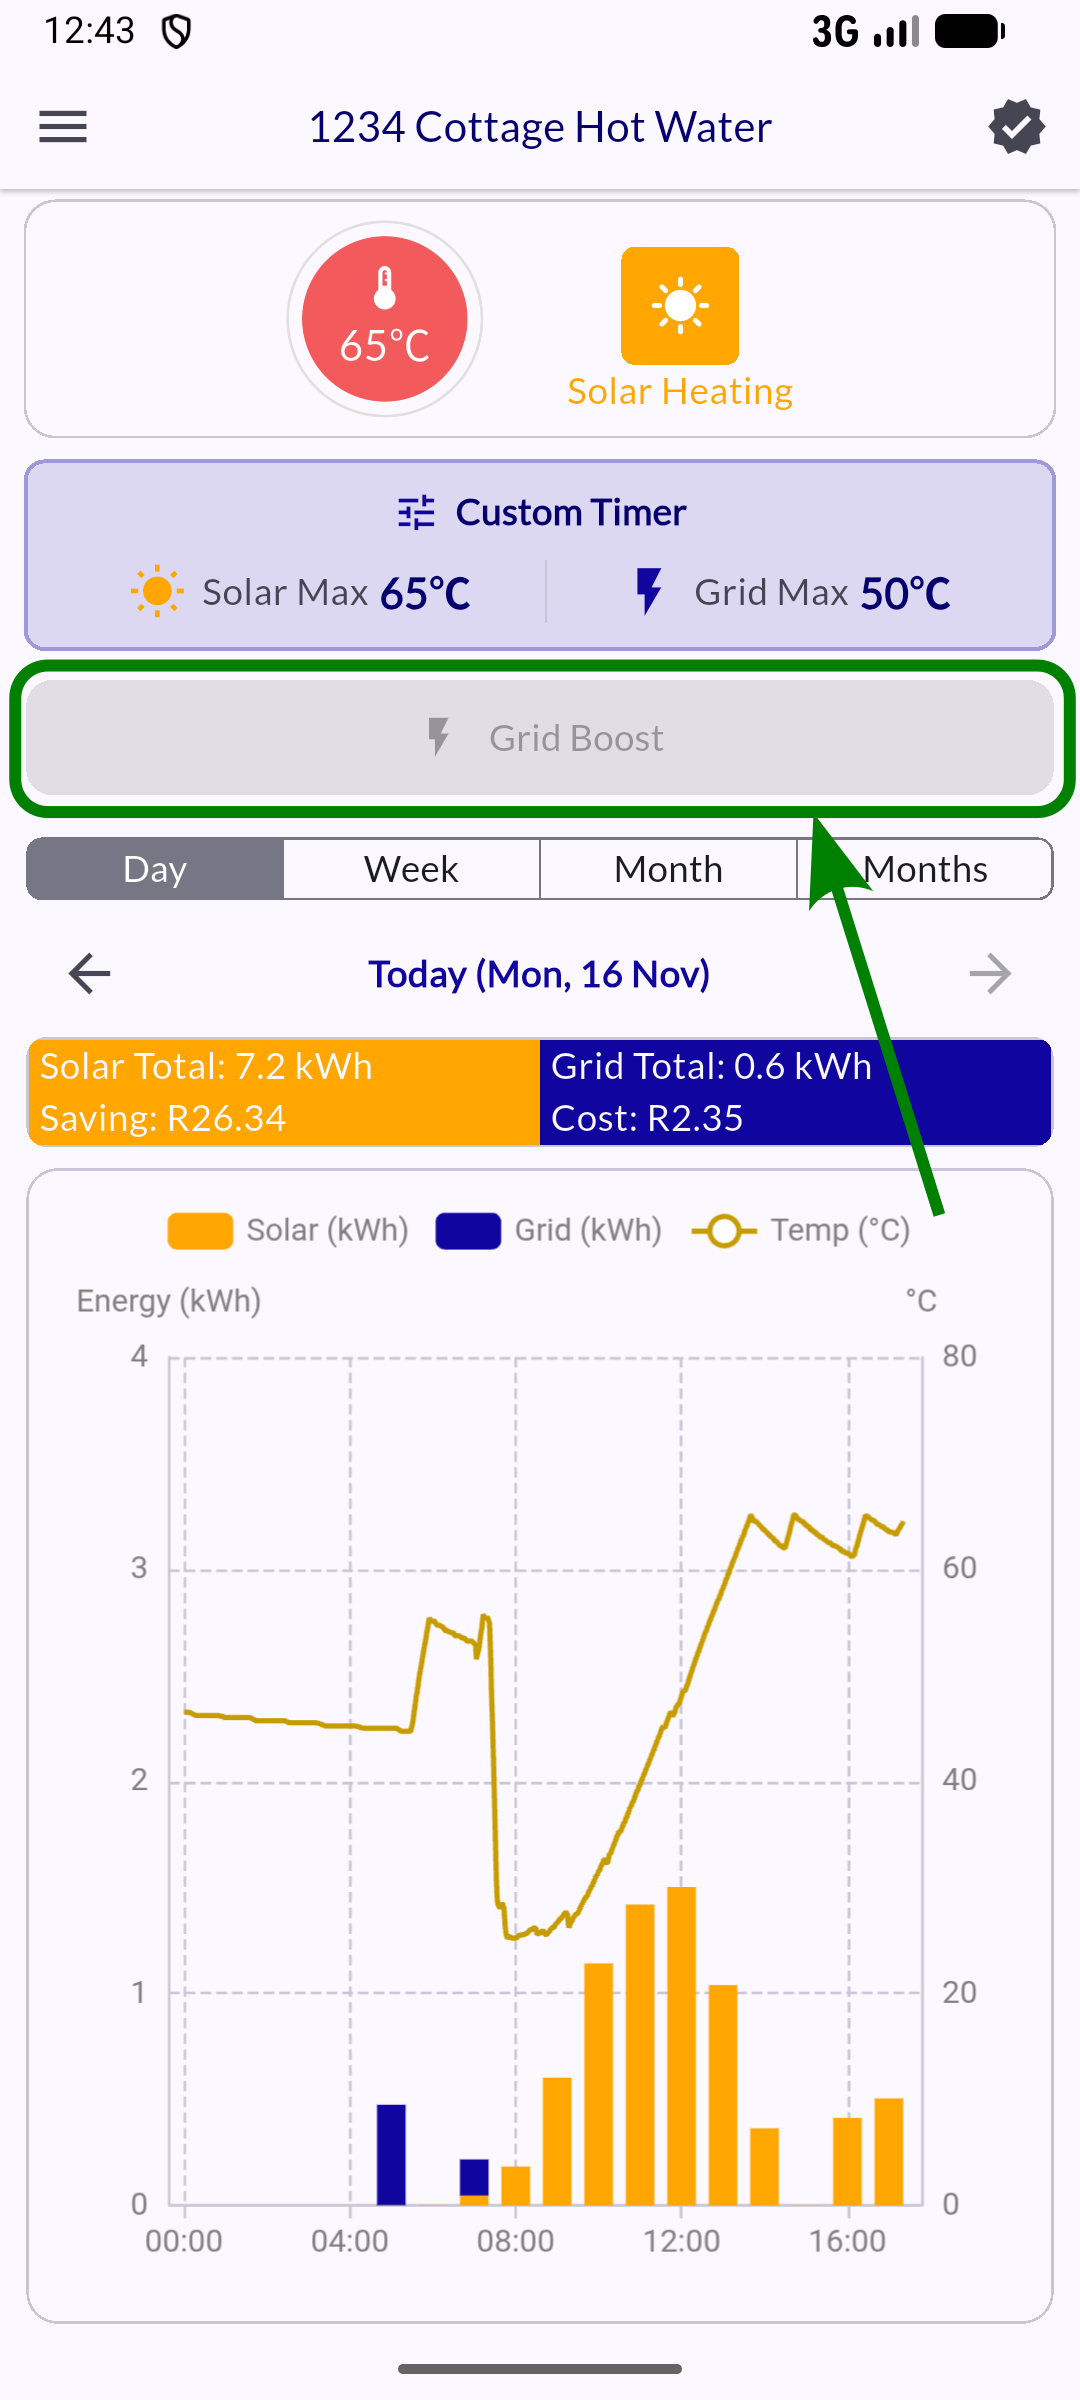
Device controls
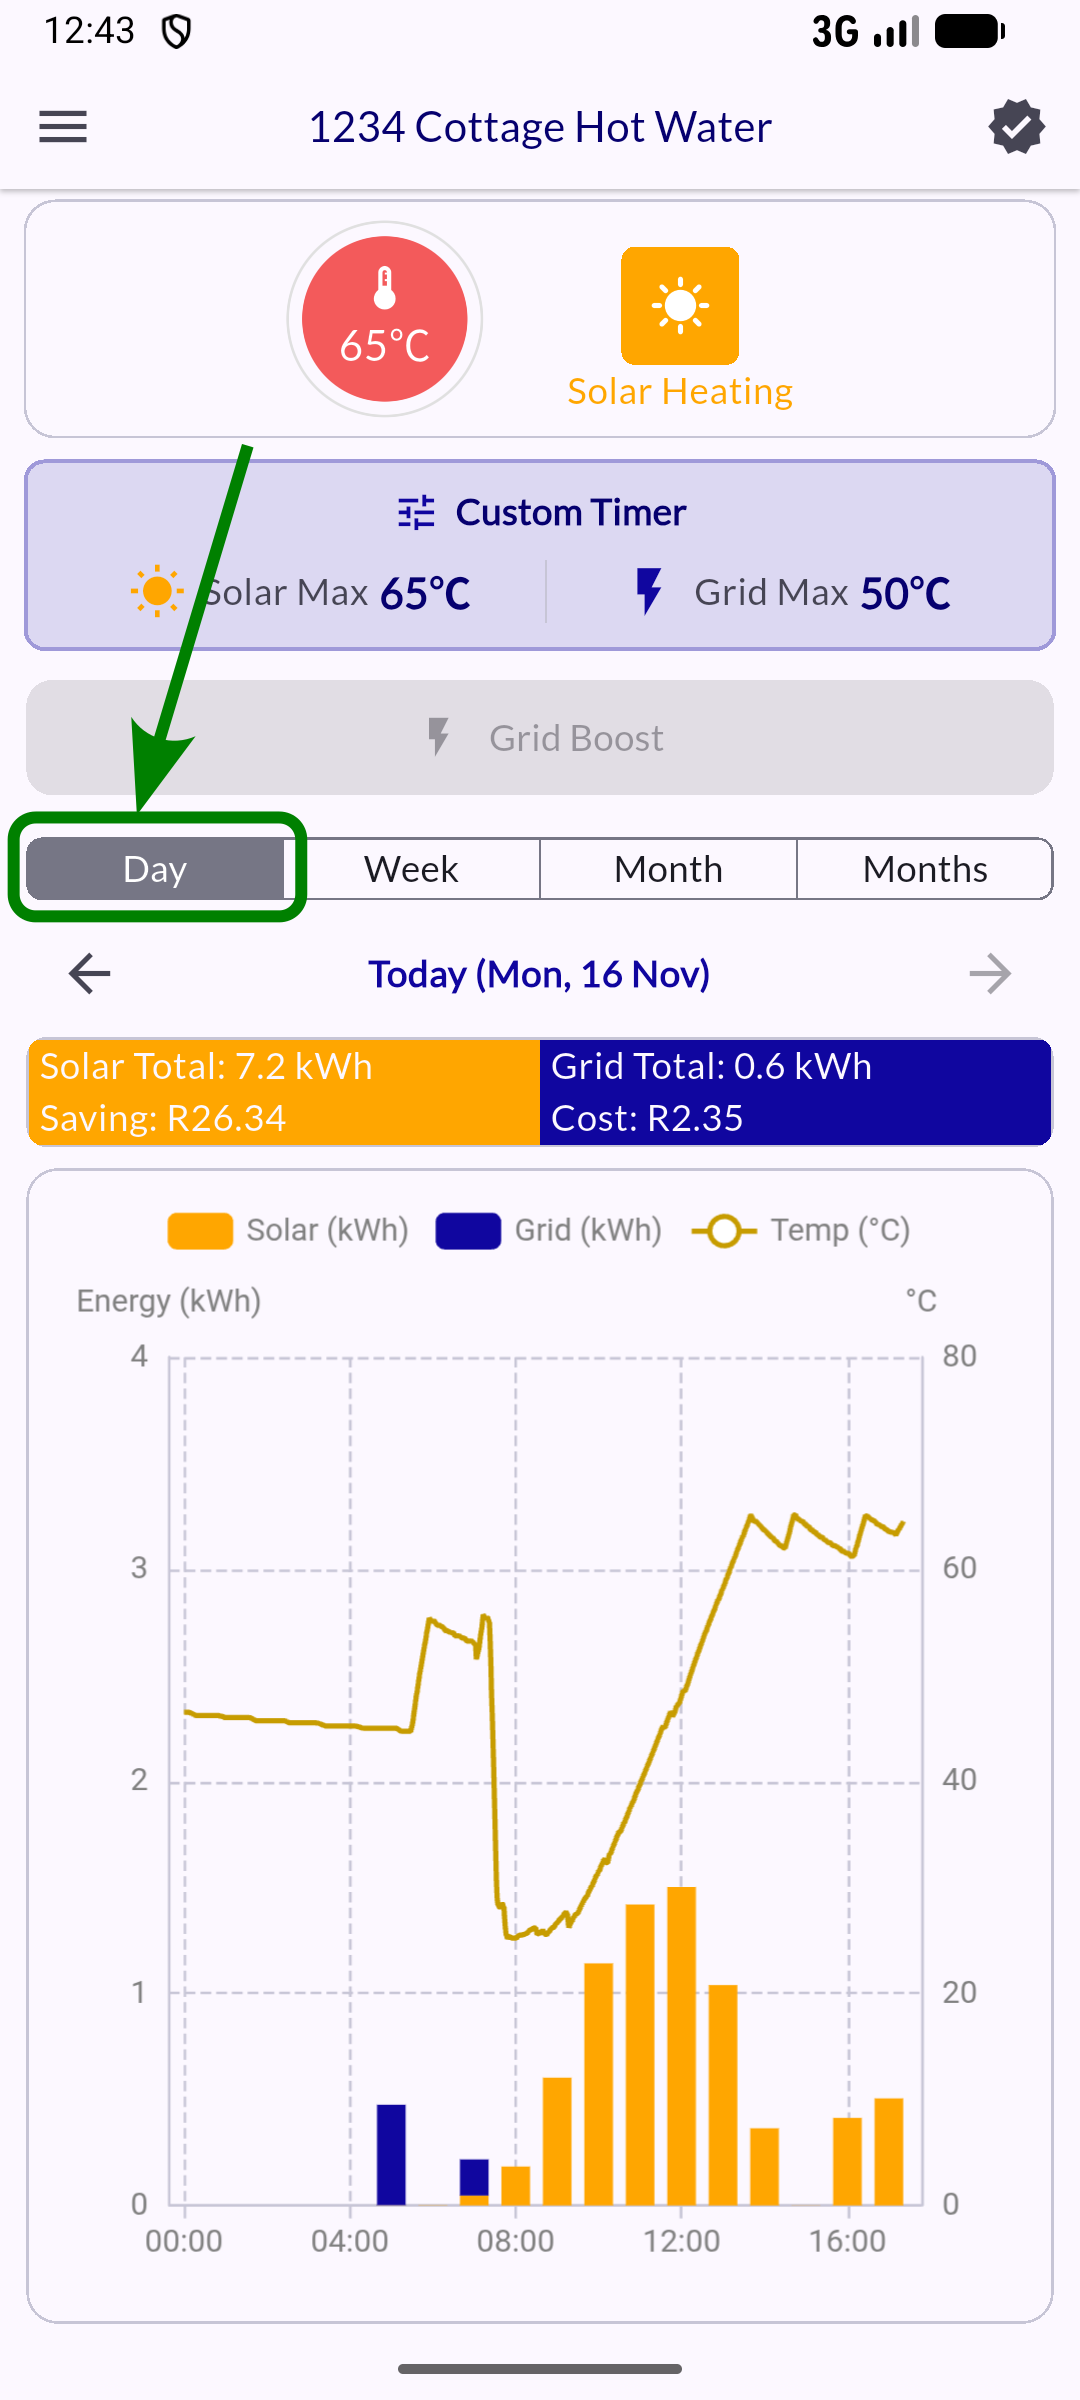
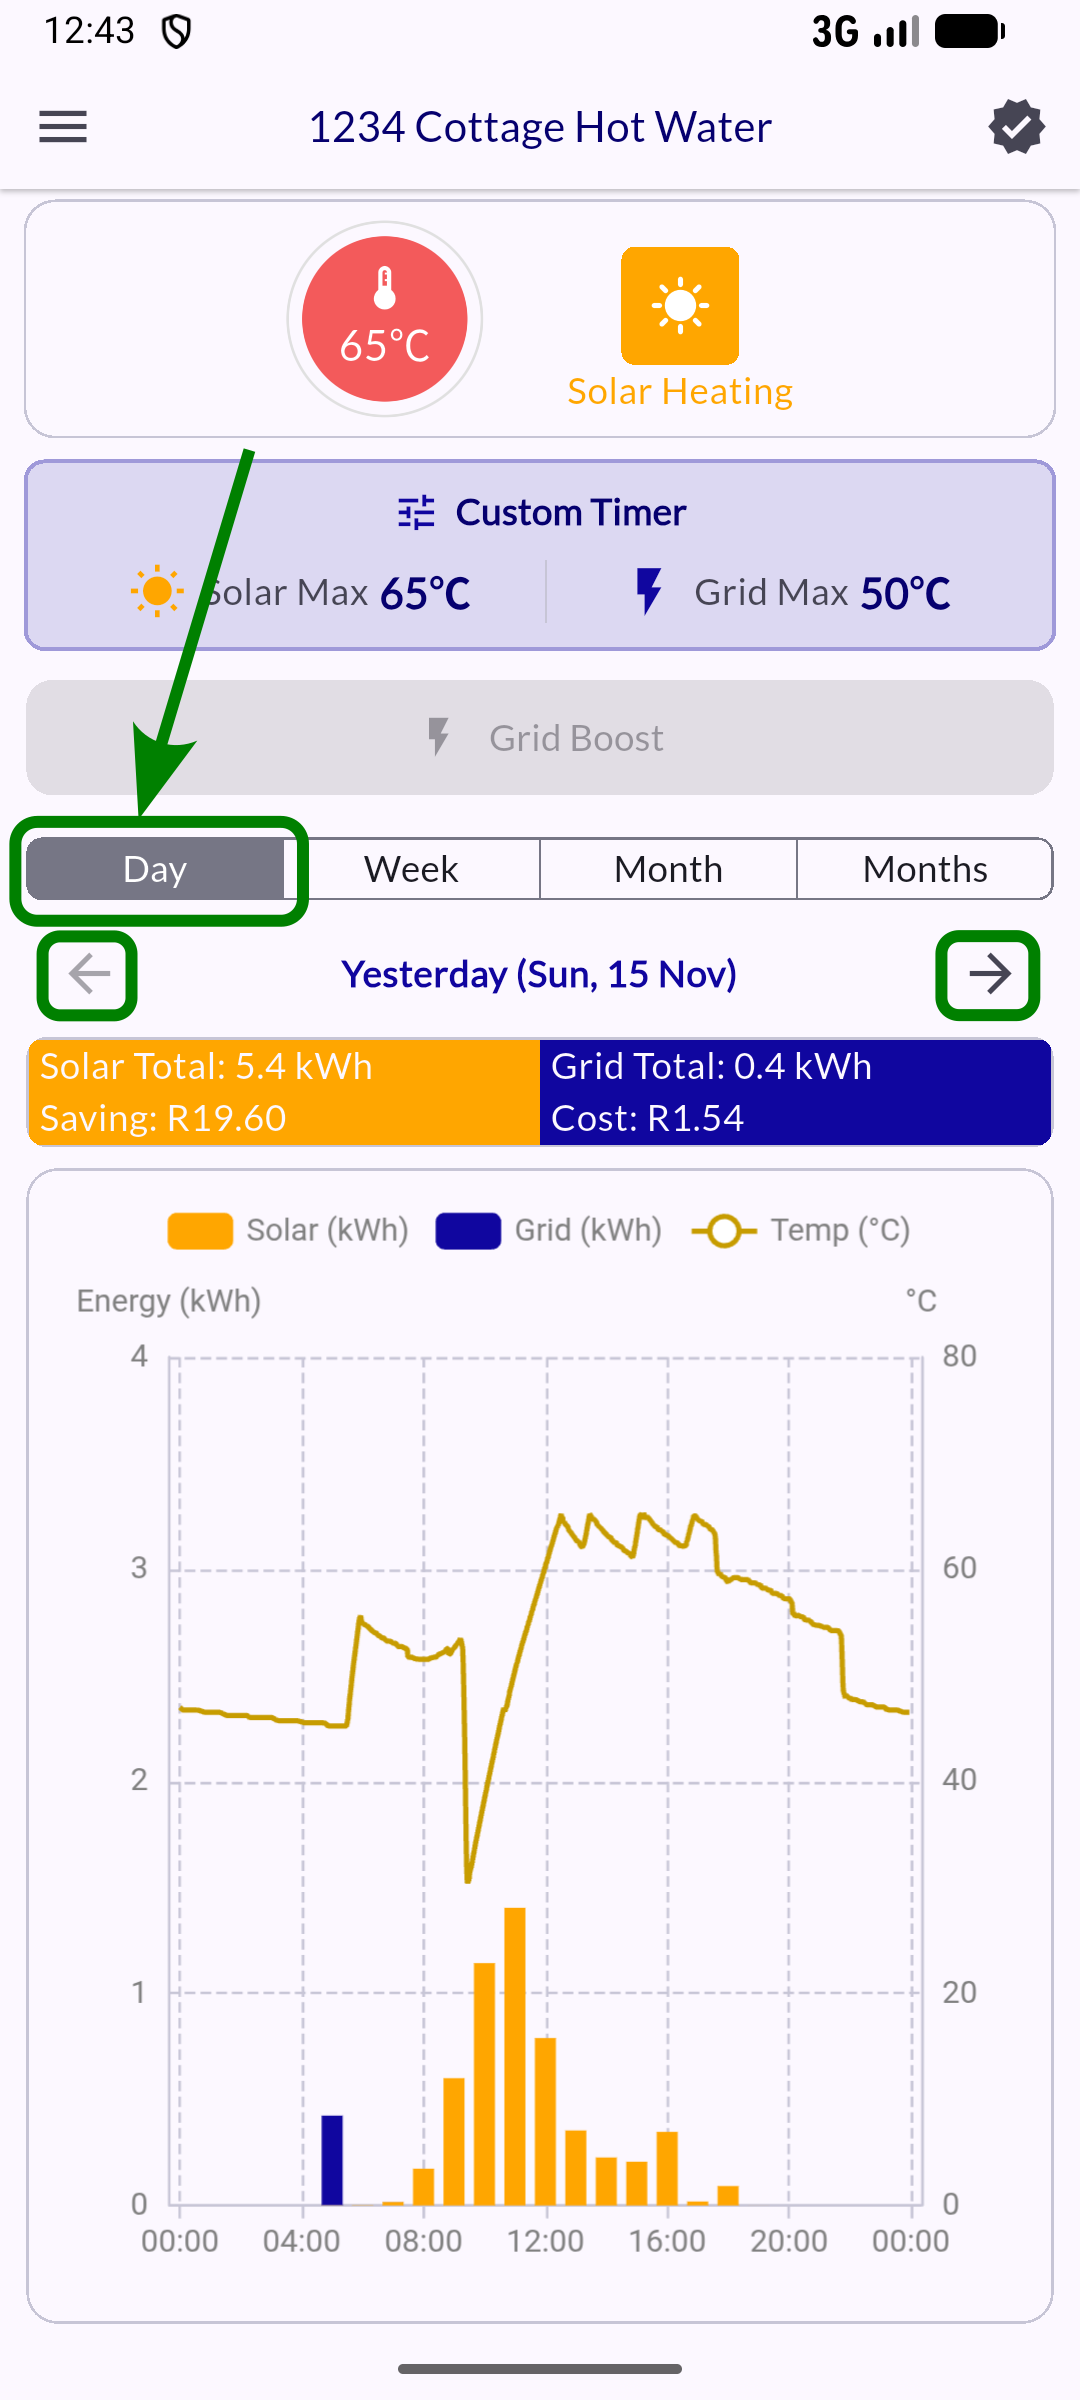
Energy plots
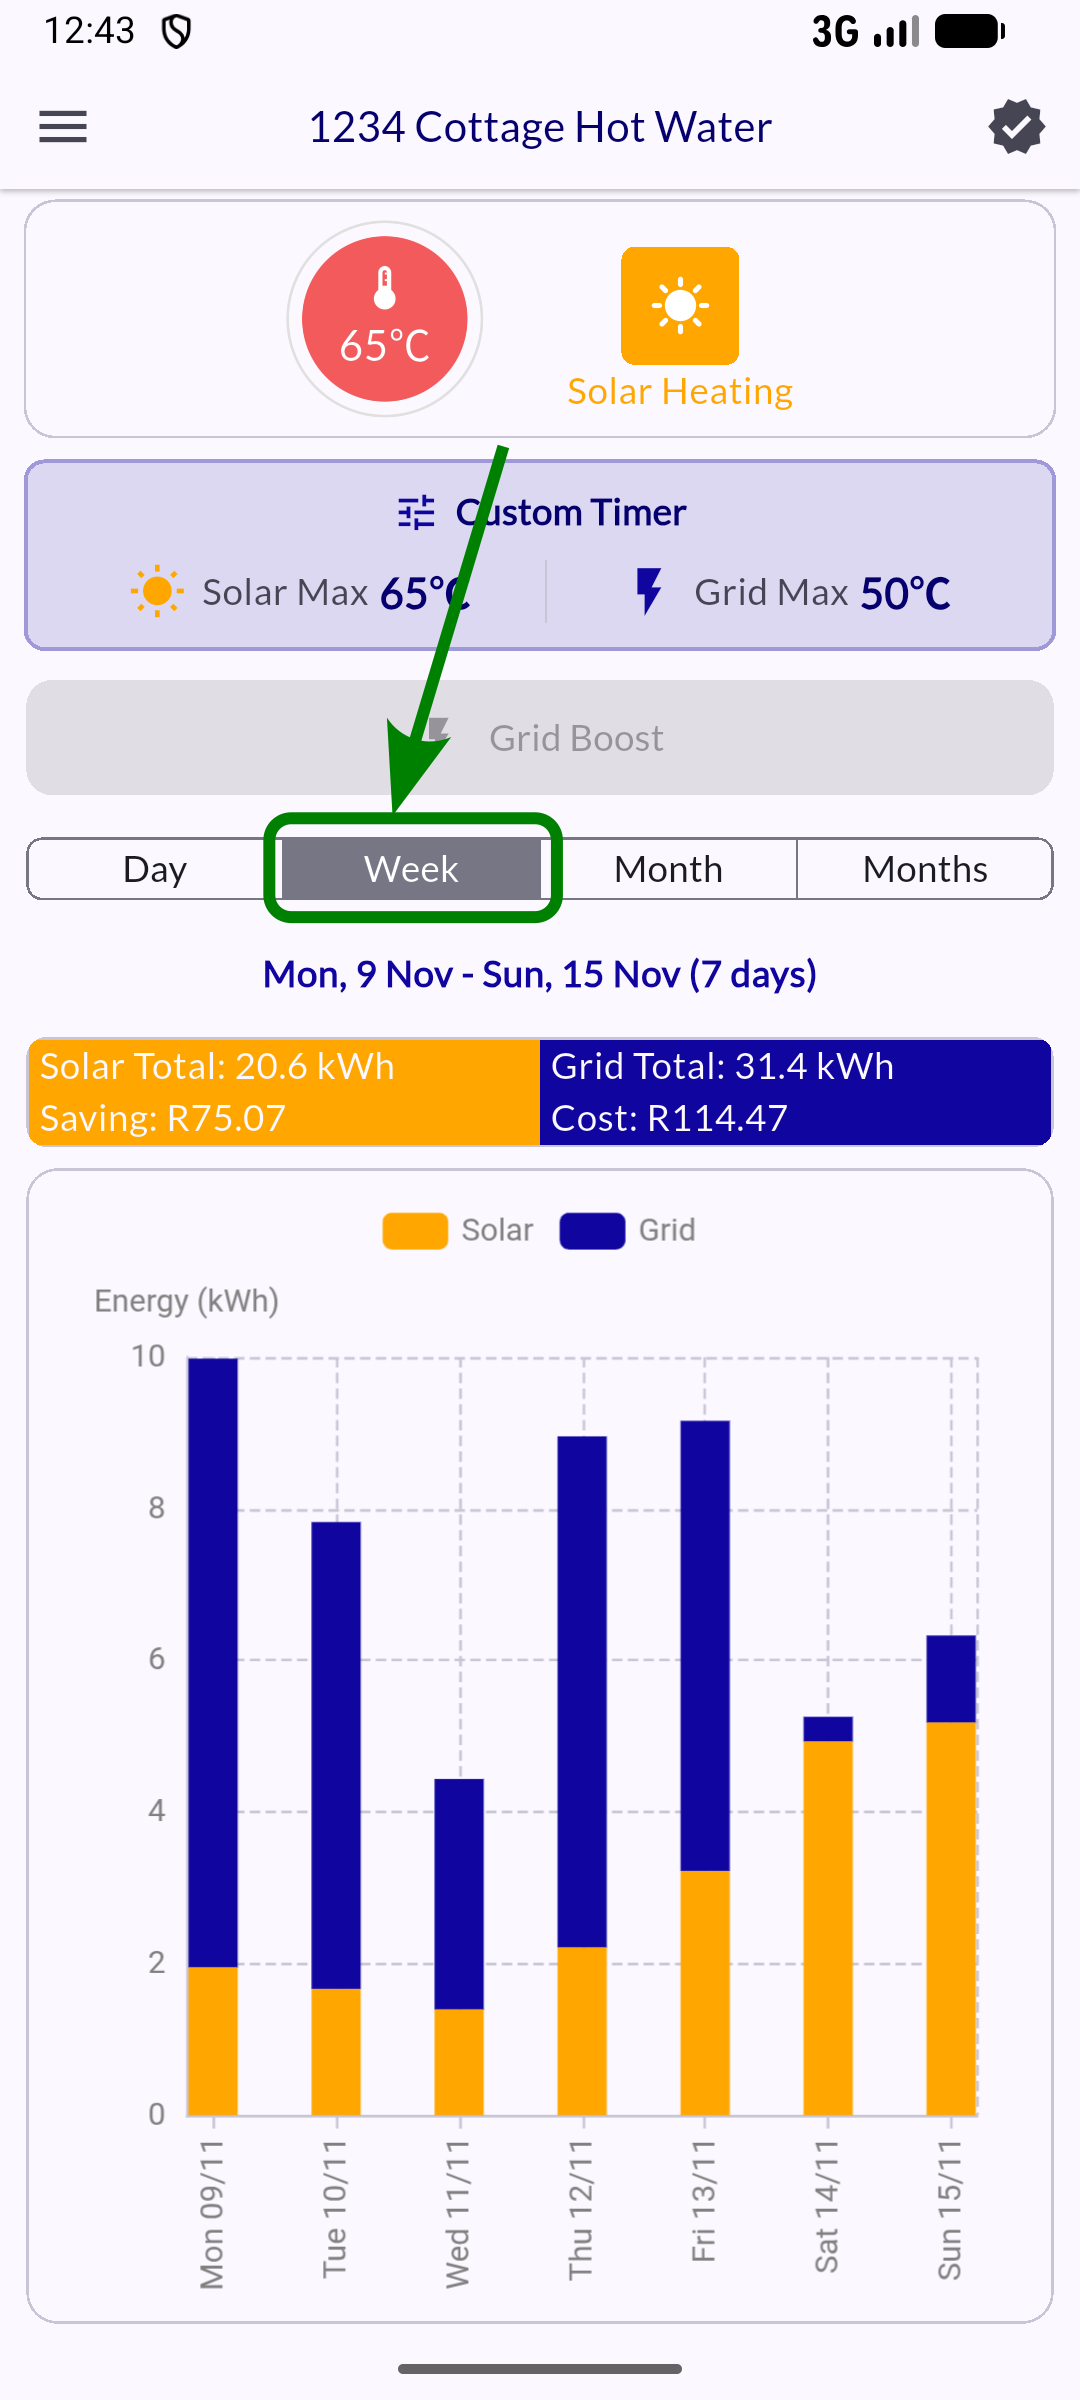
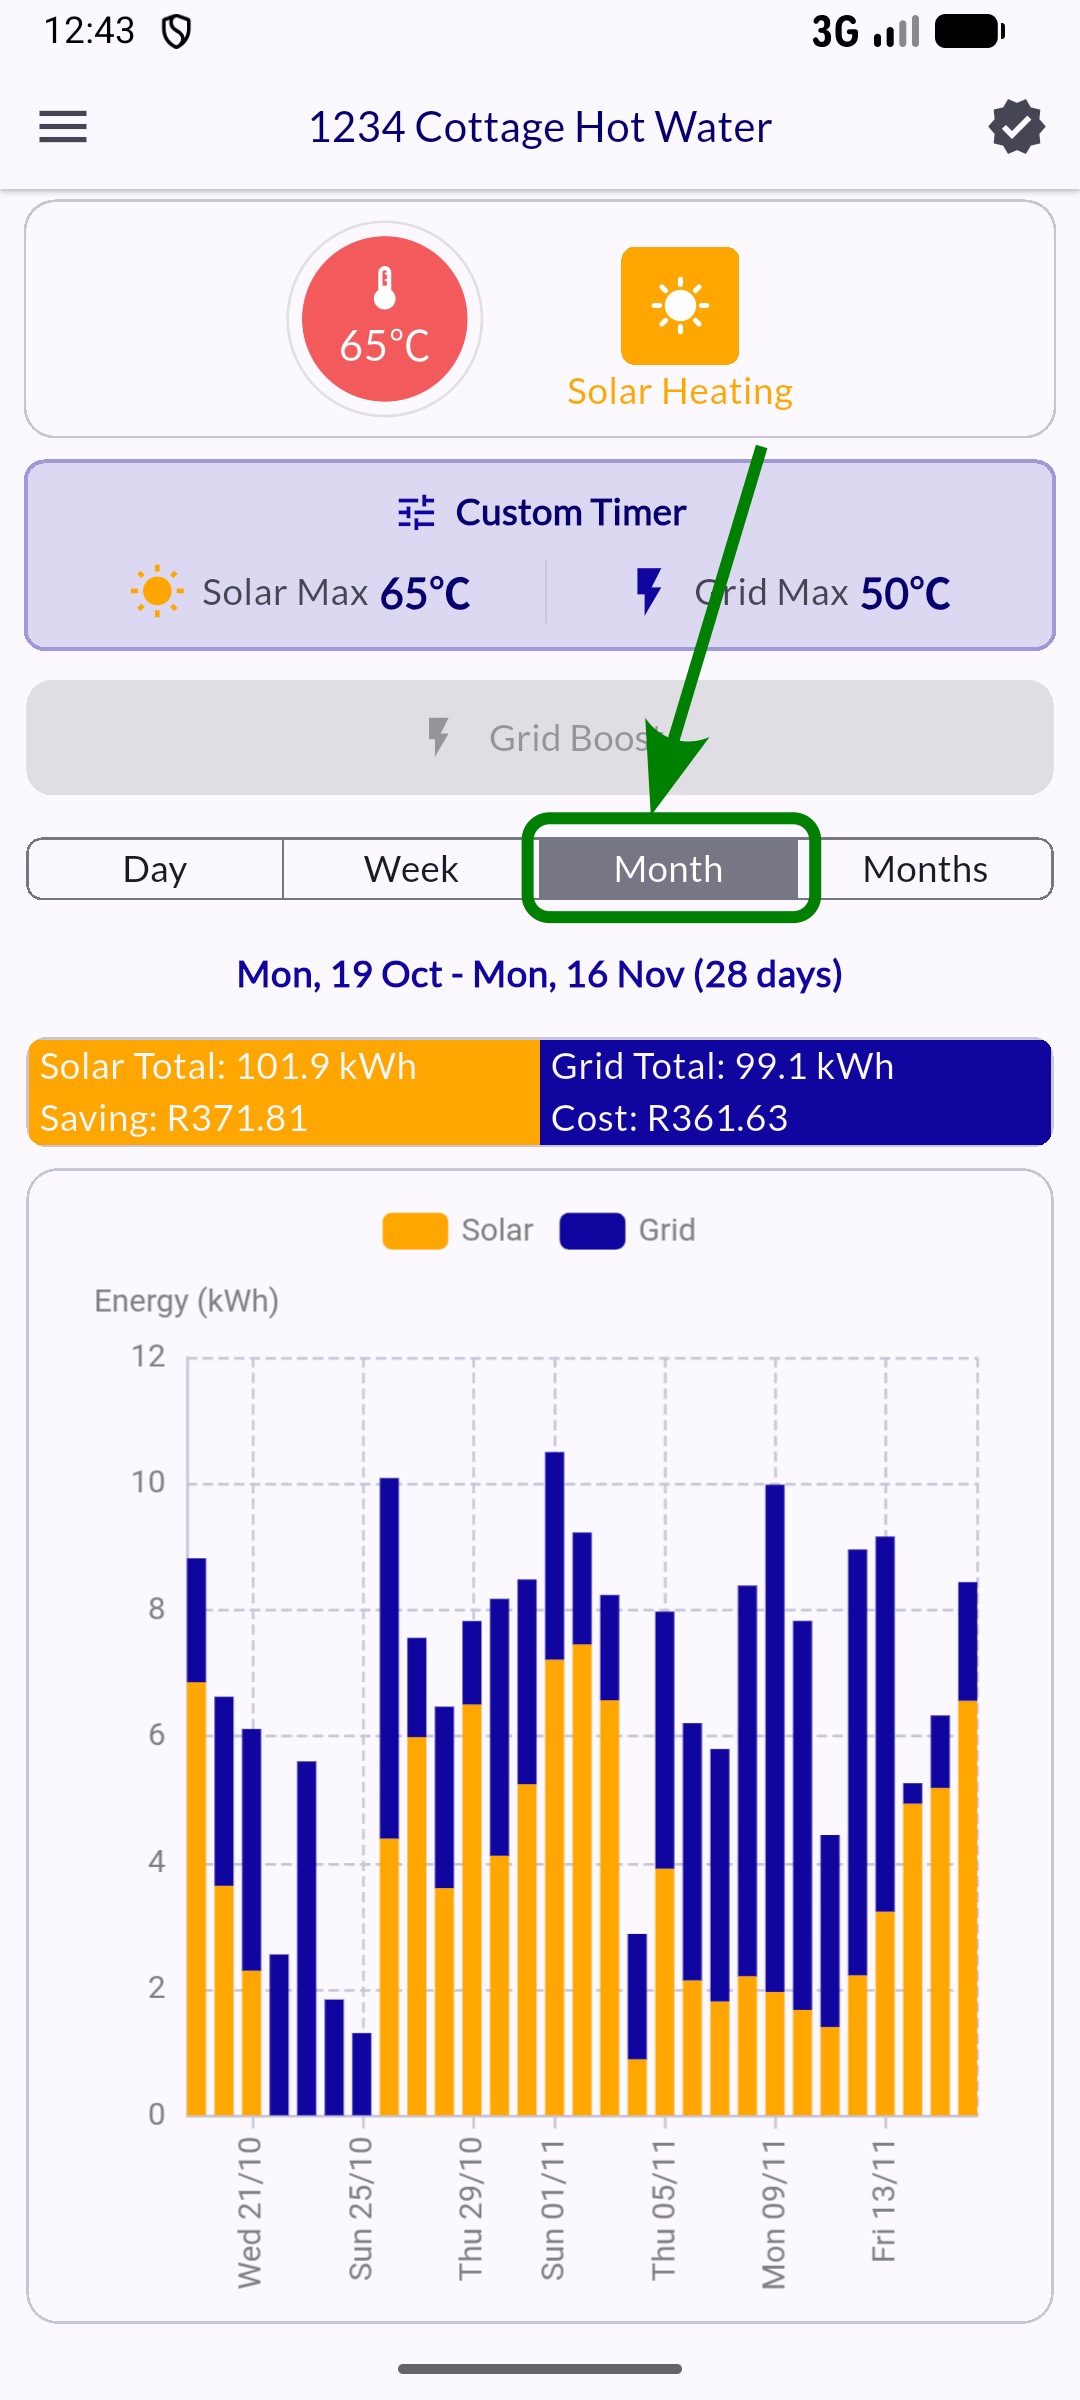
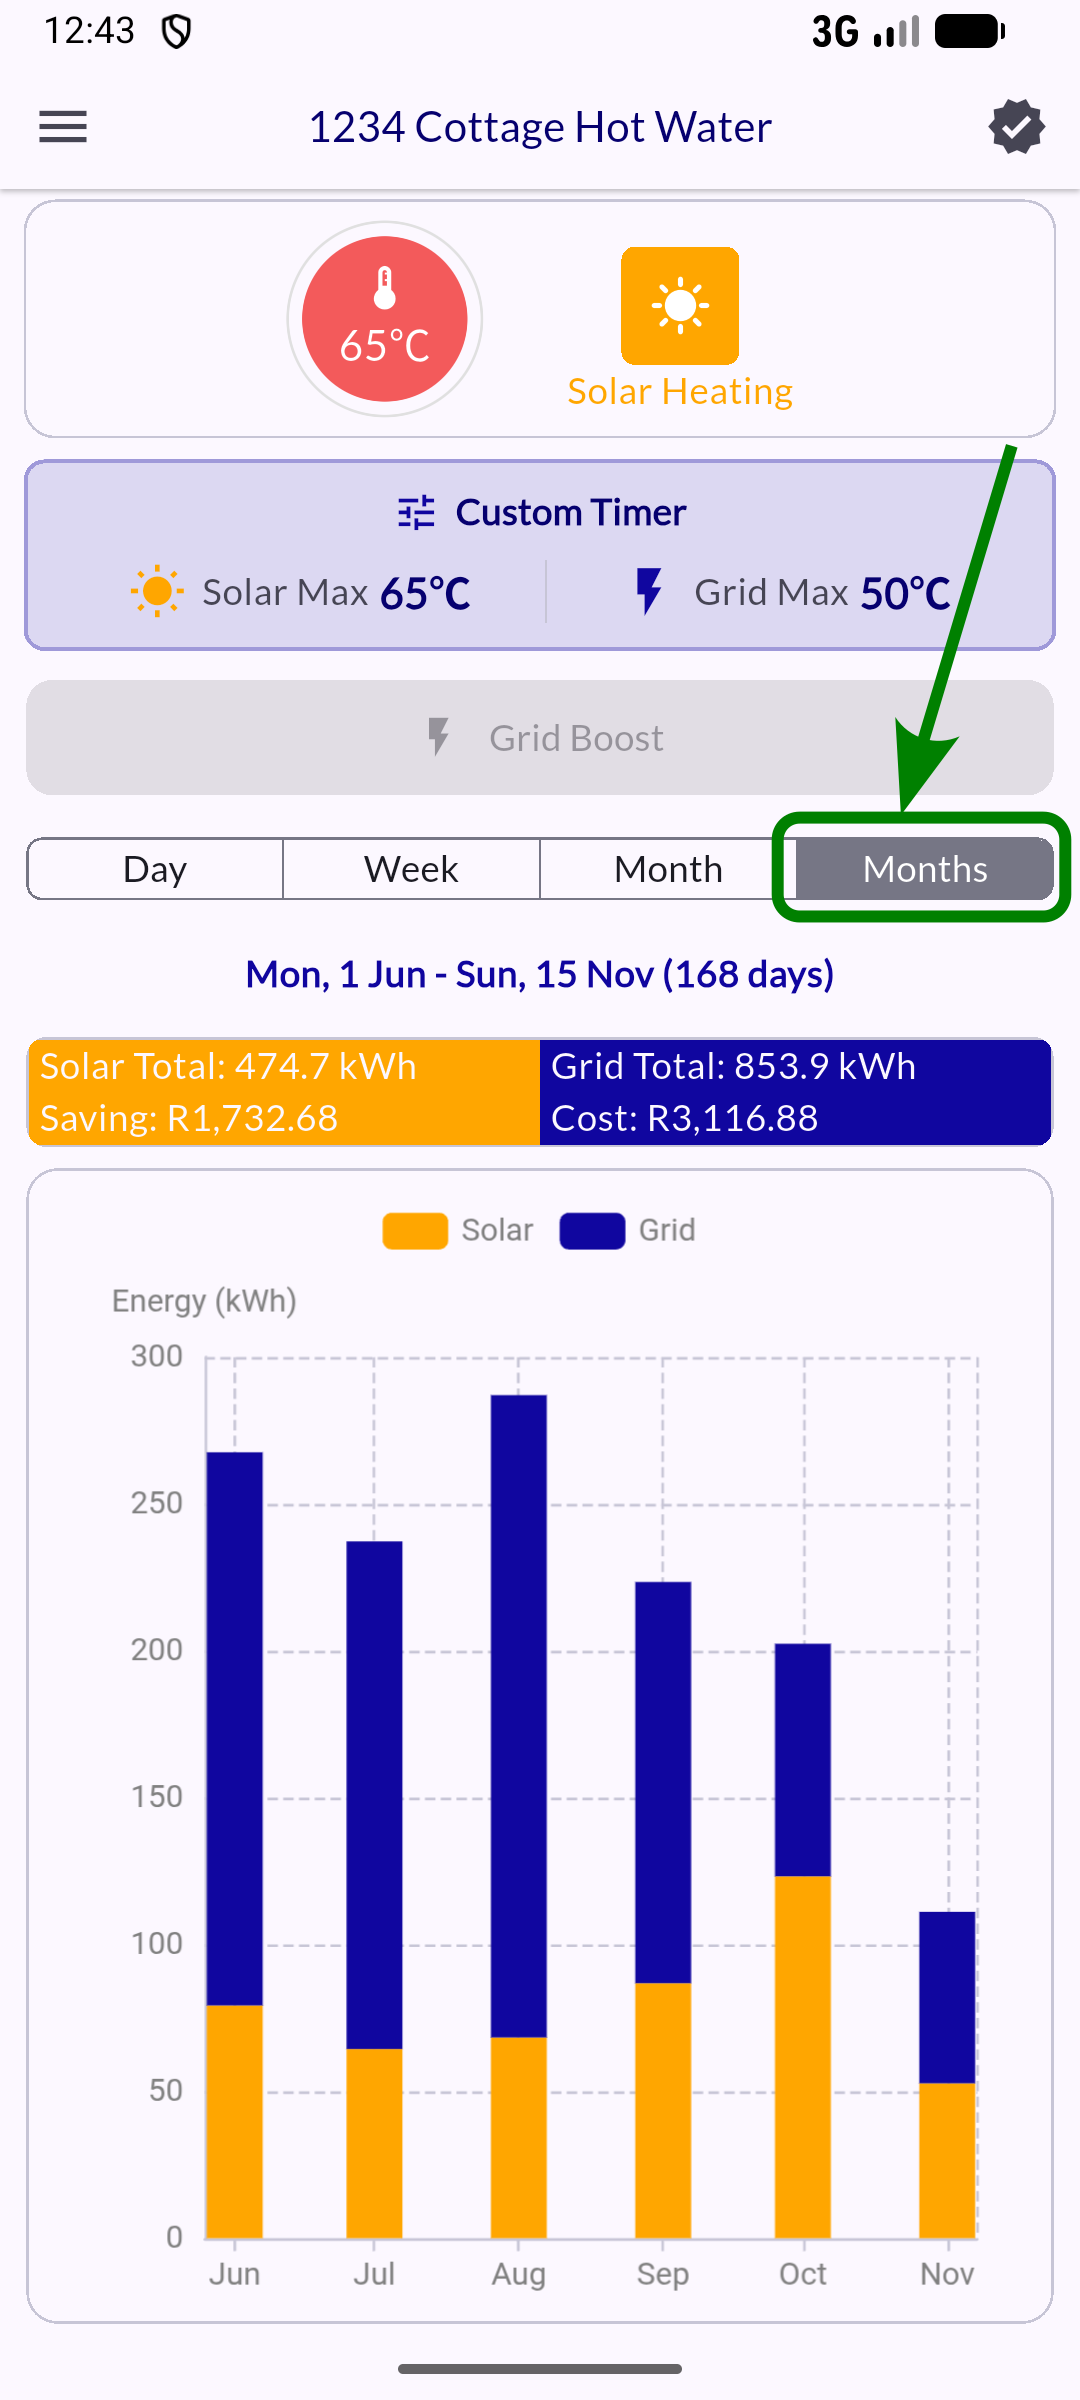
More settings
Profile status
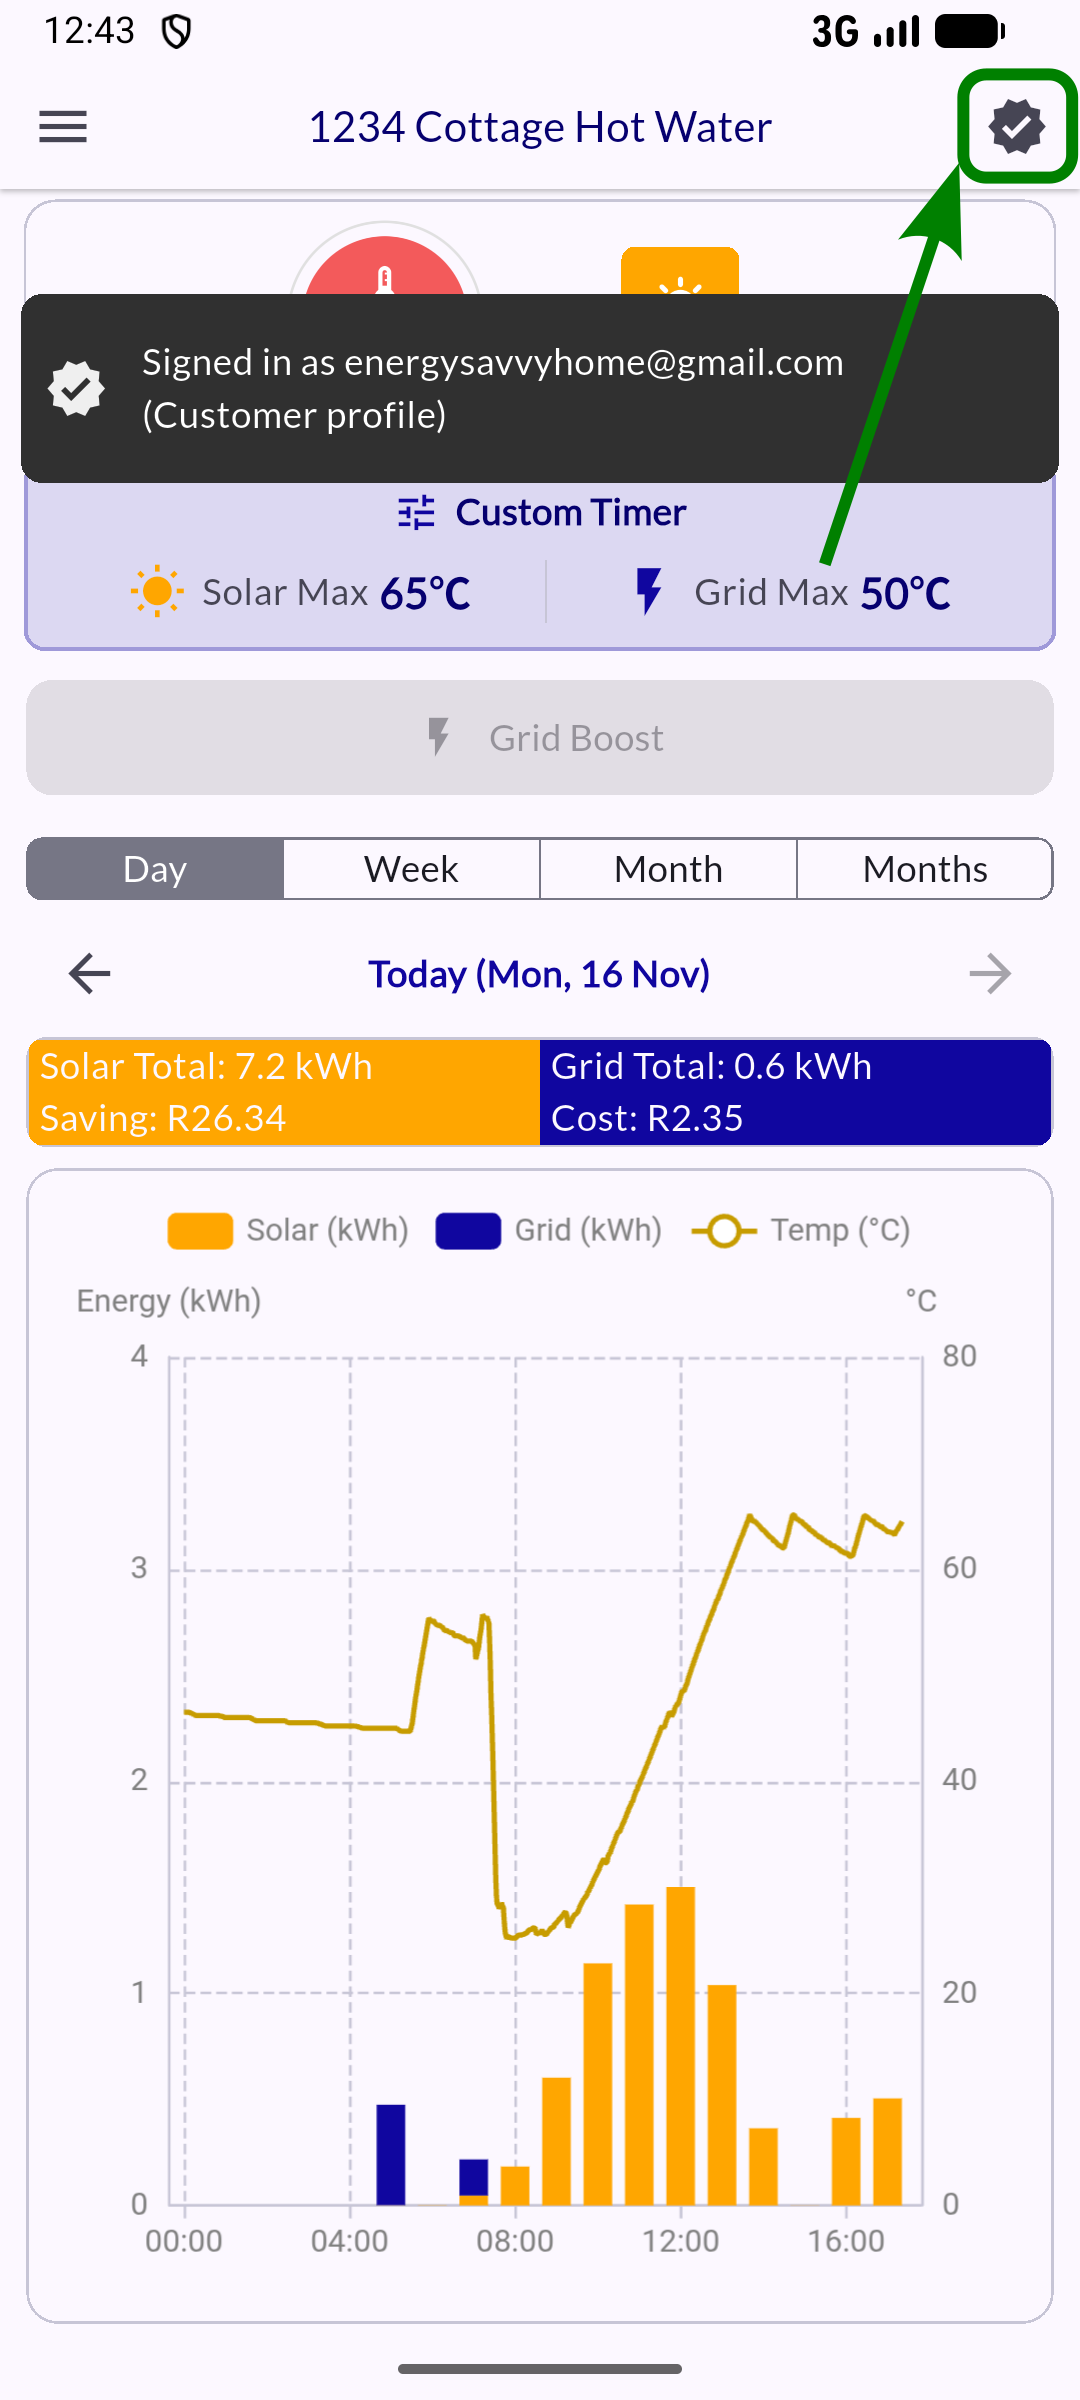
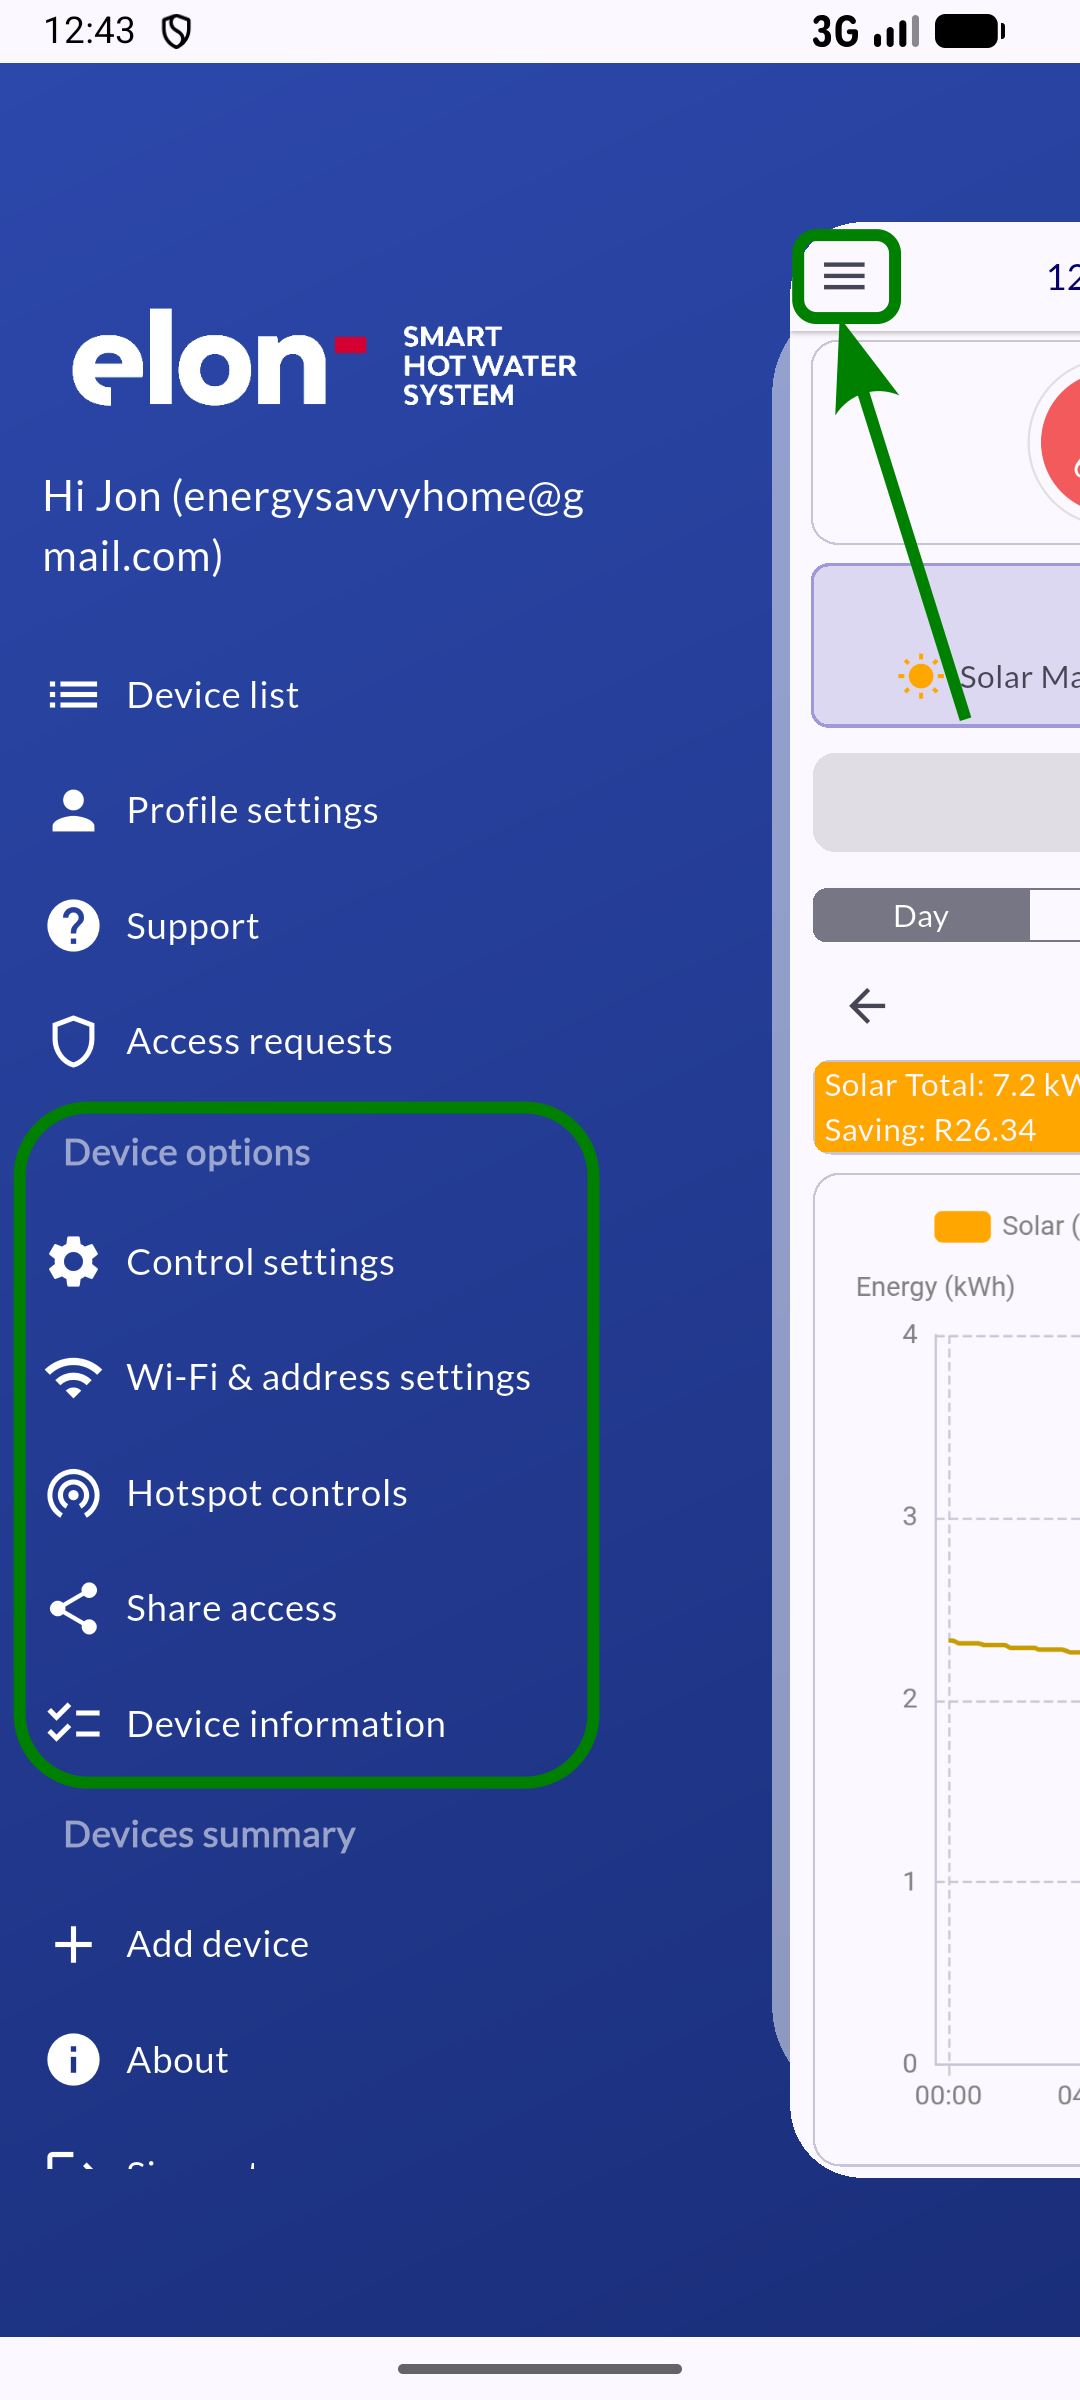
Device menu options
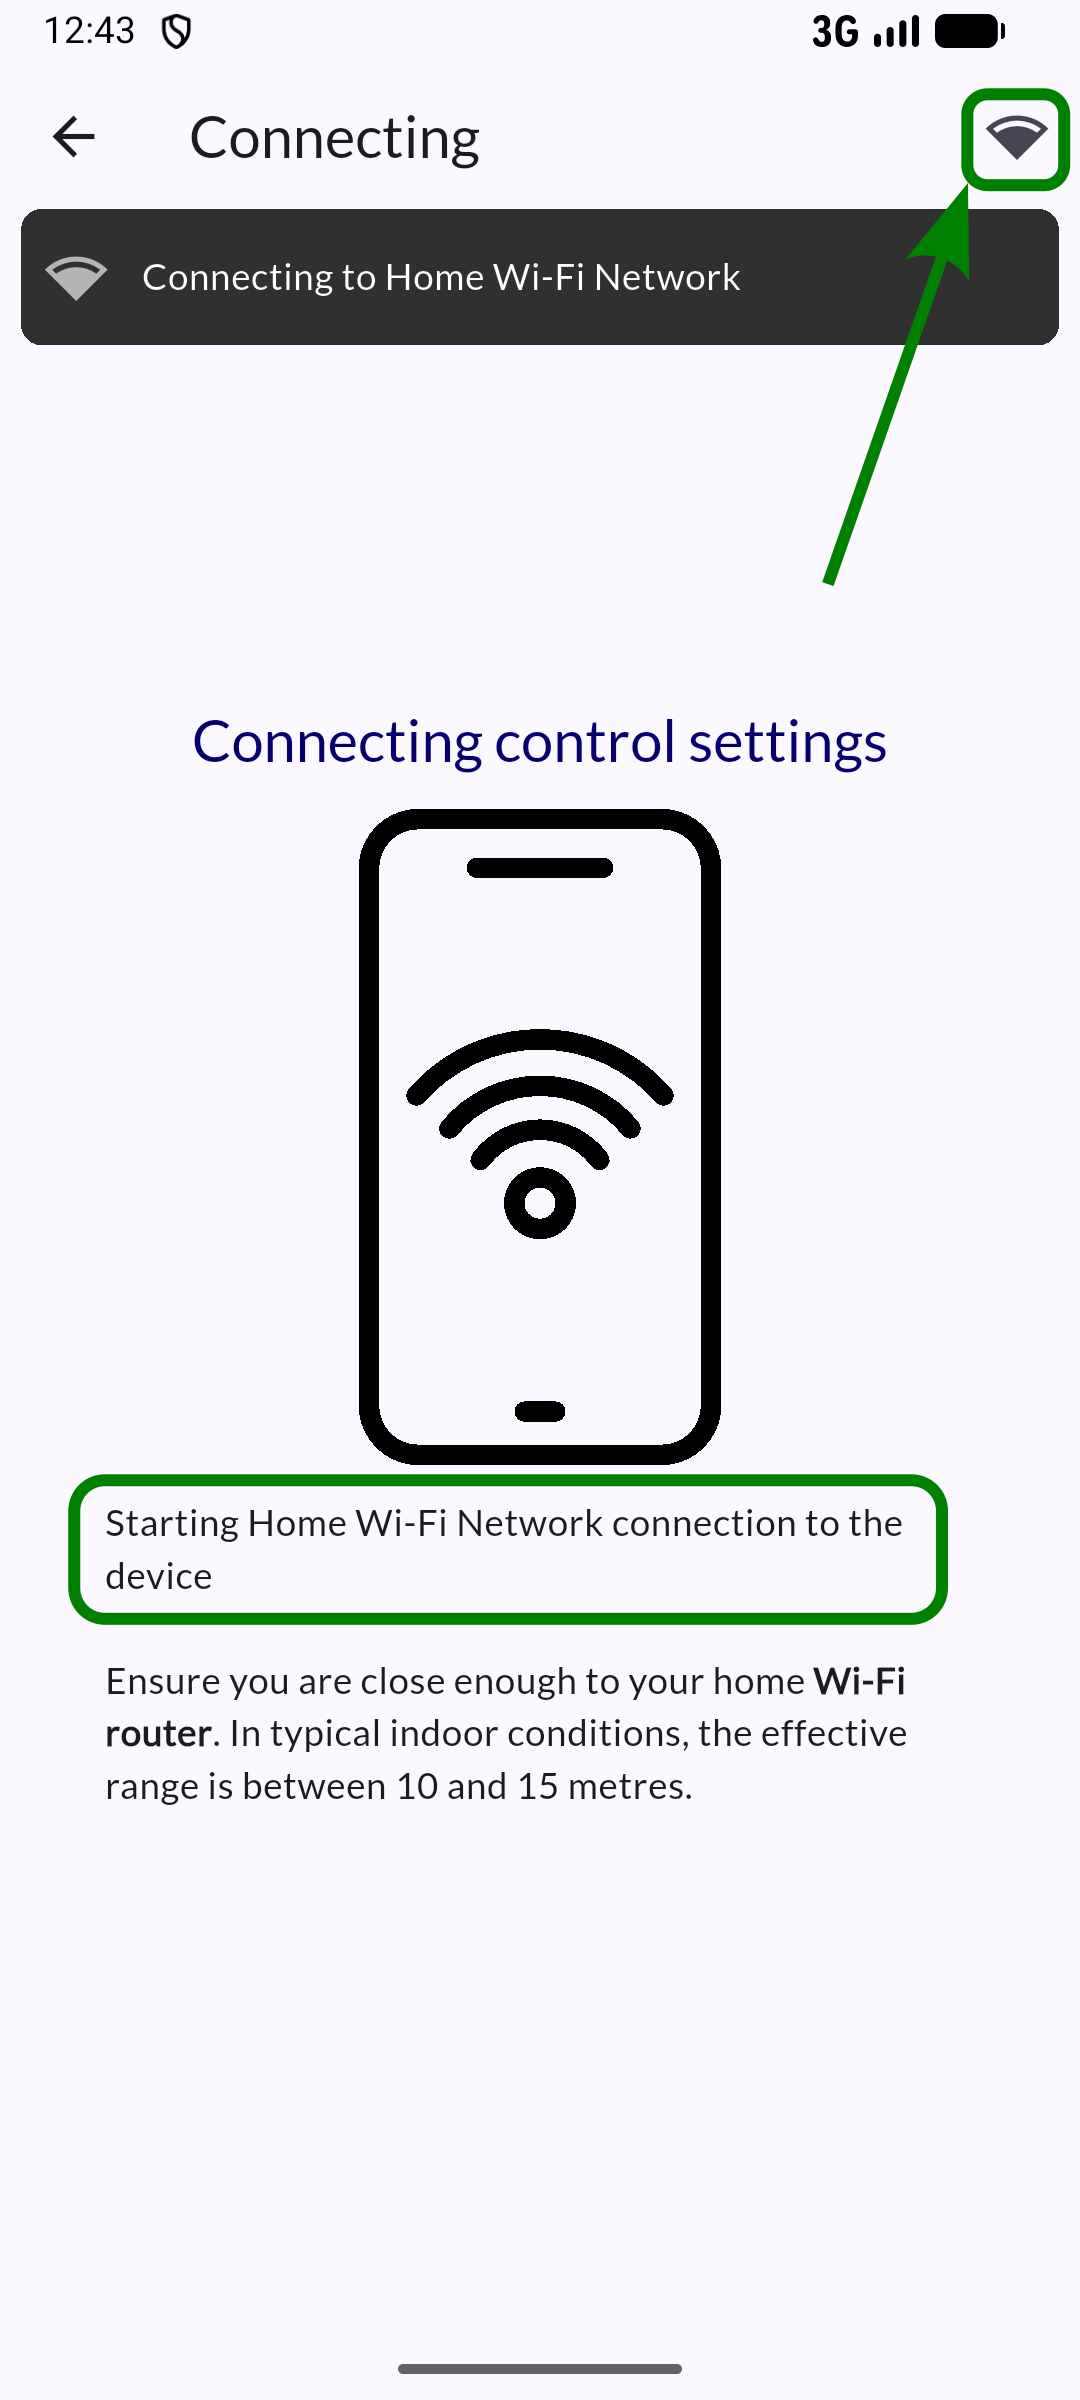
Control settings
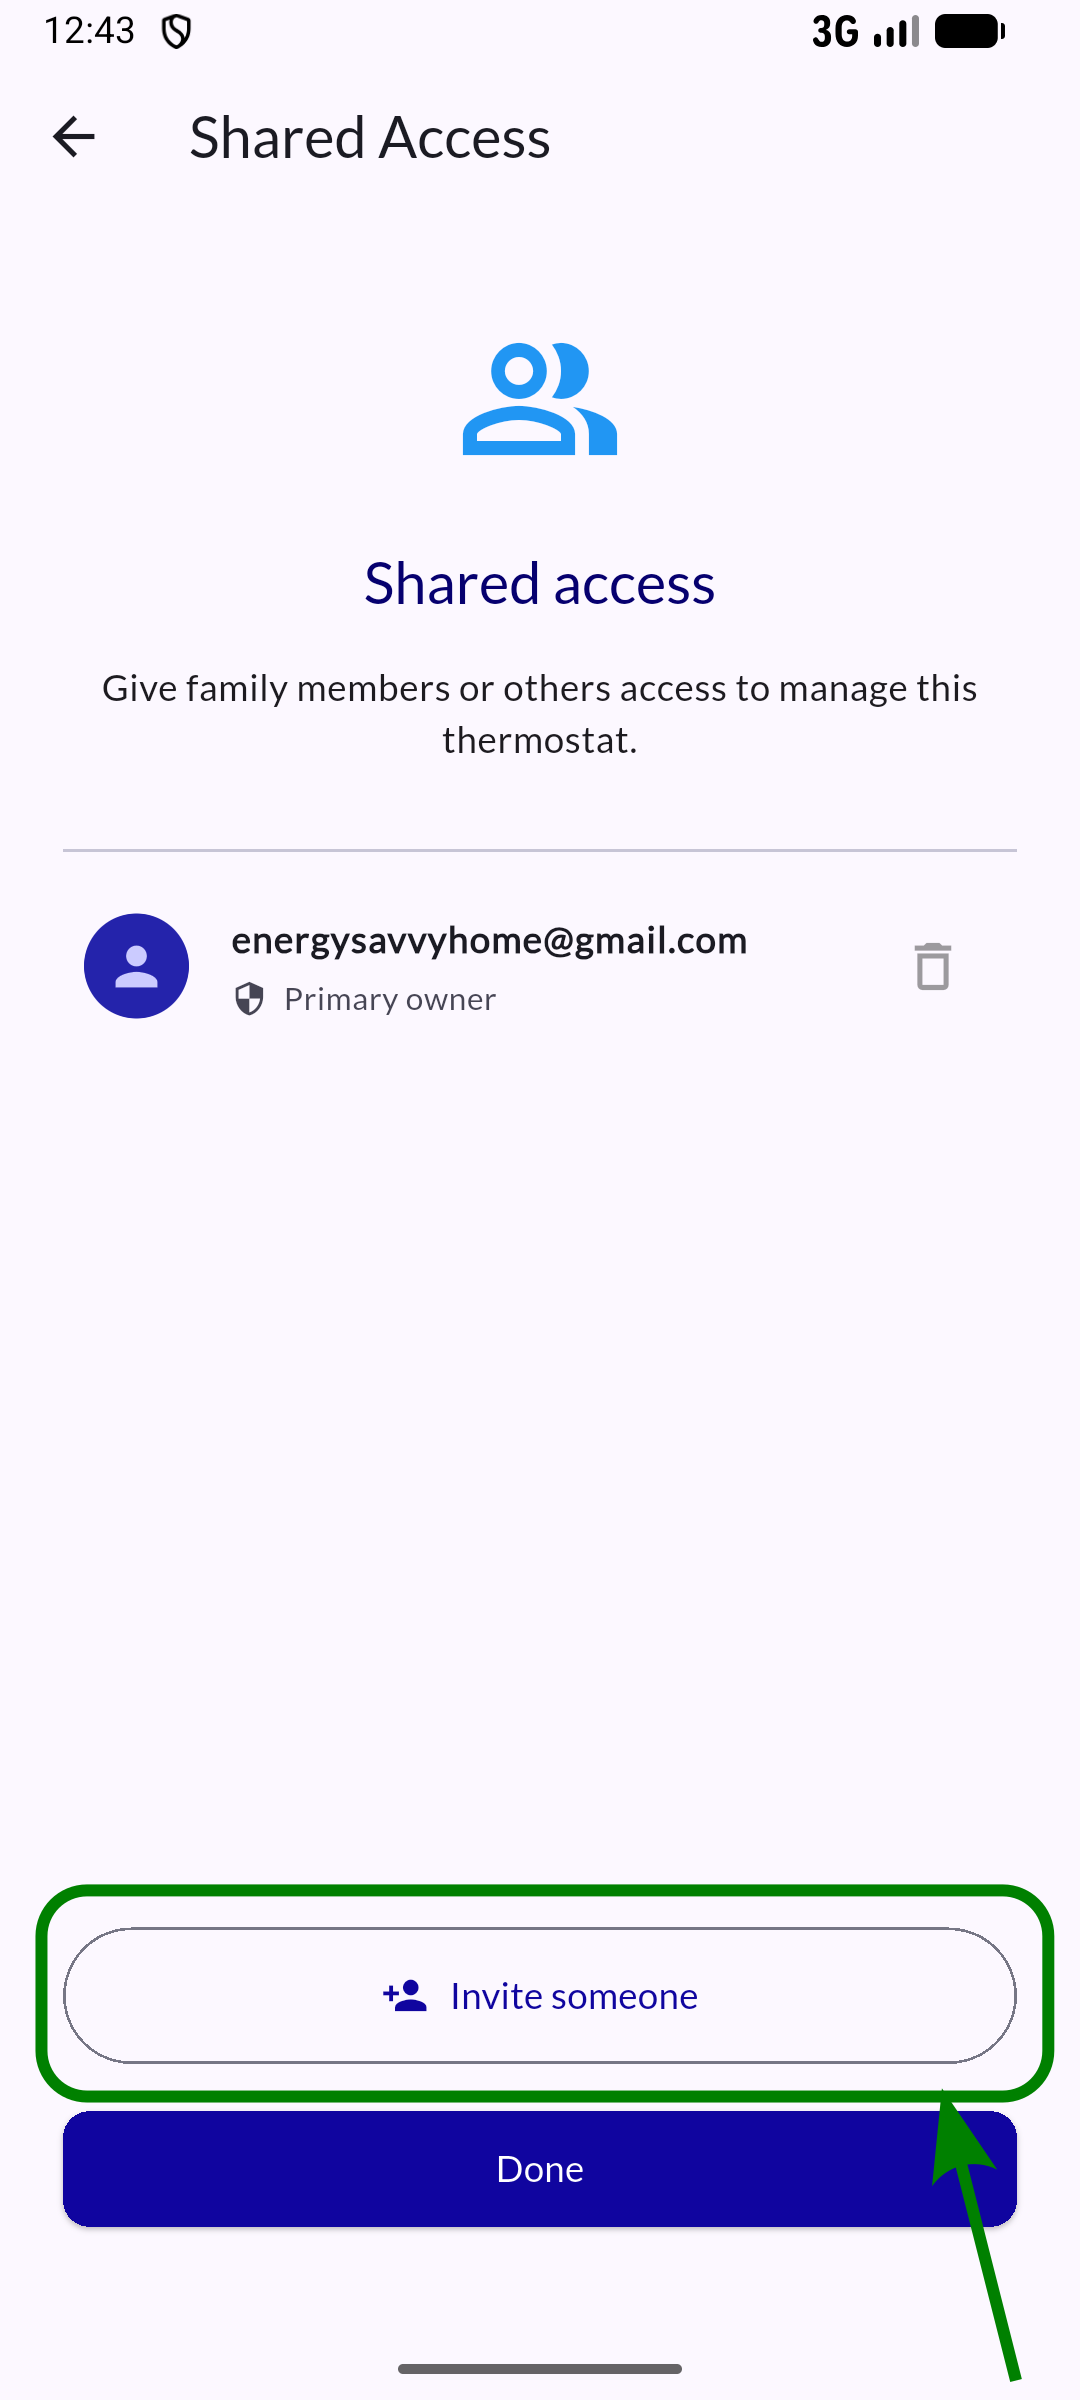
Share access
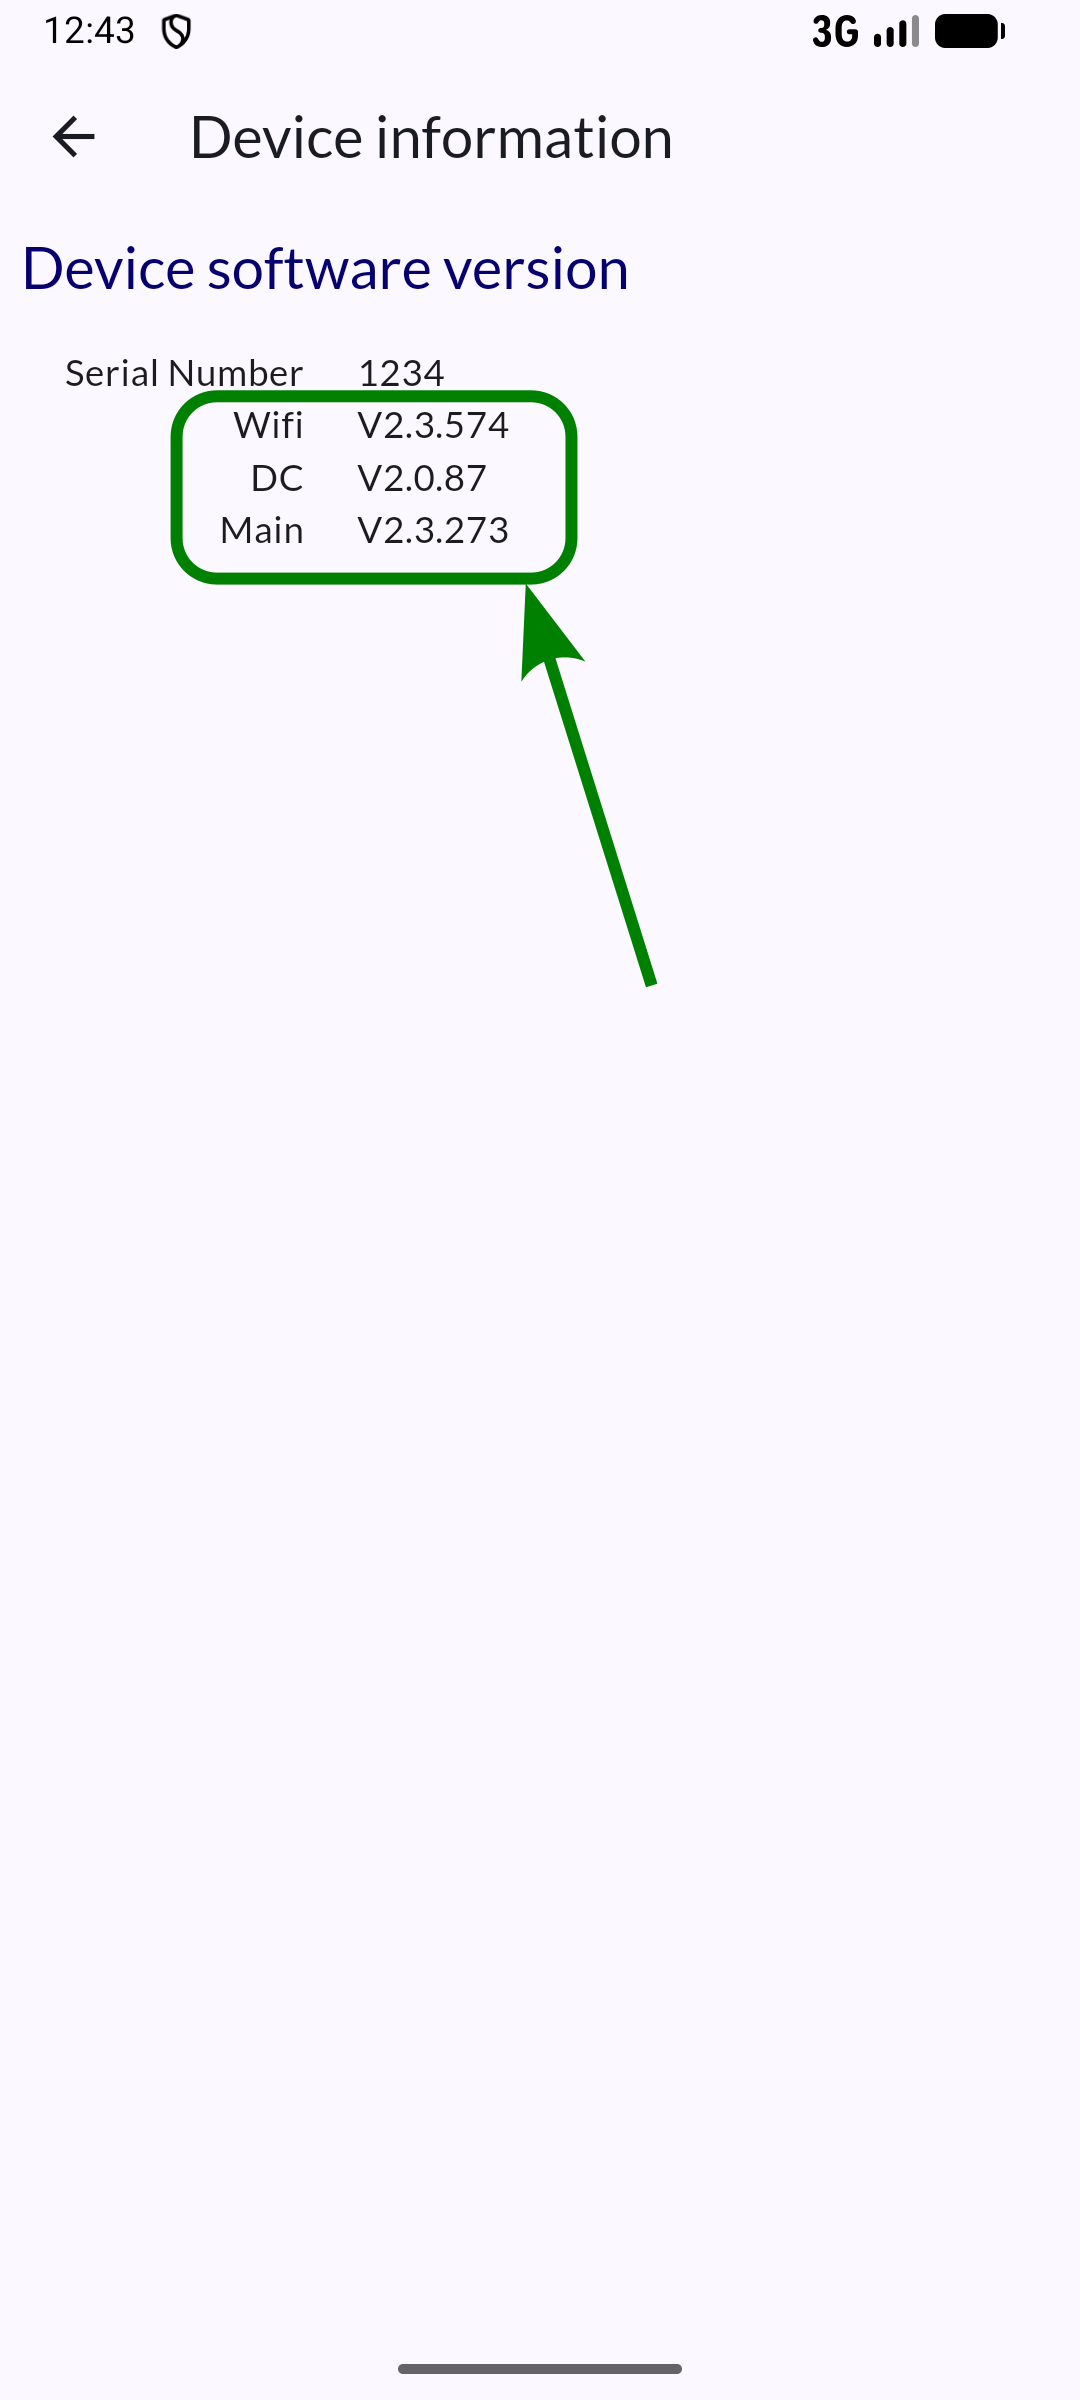
Device information
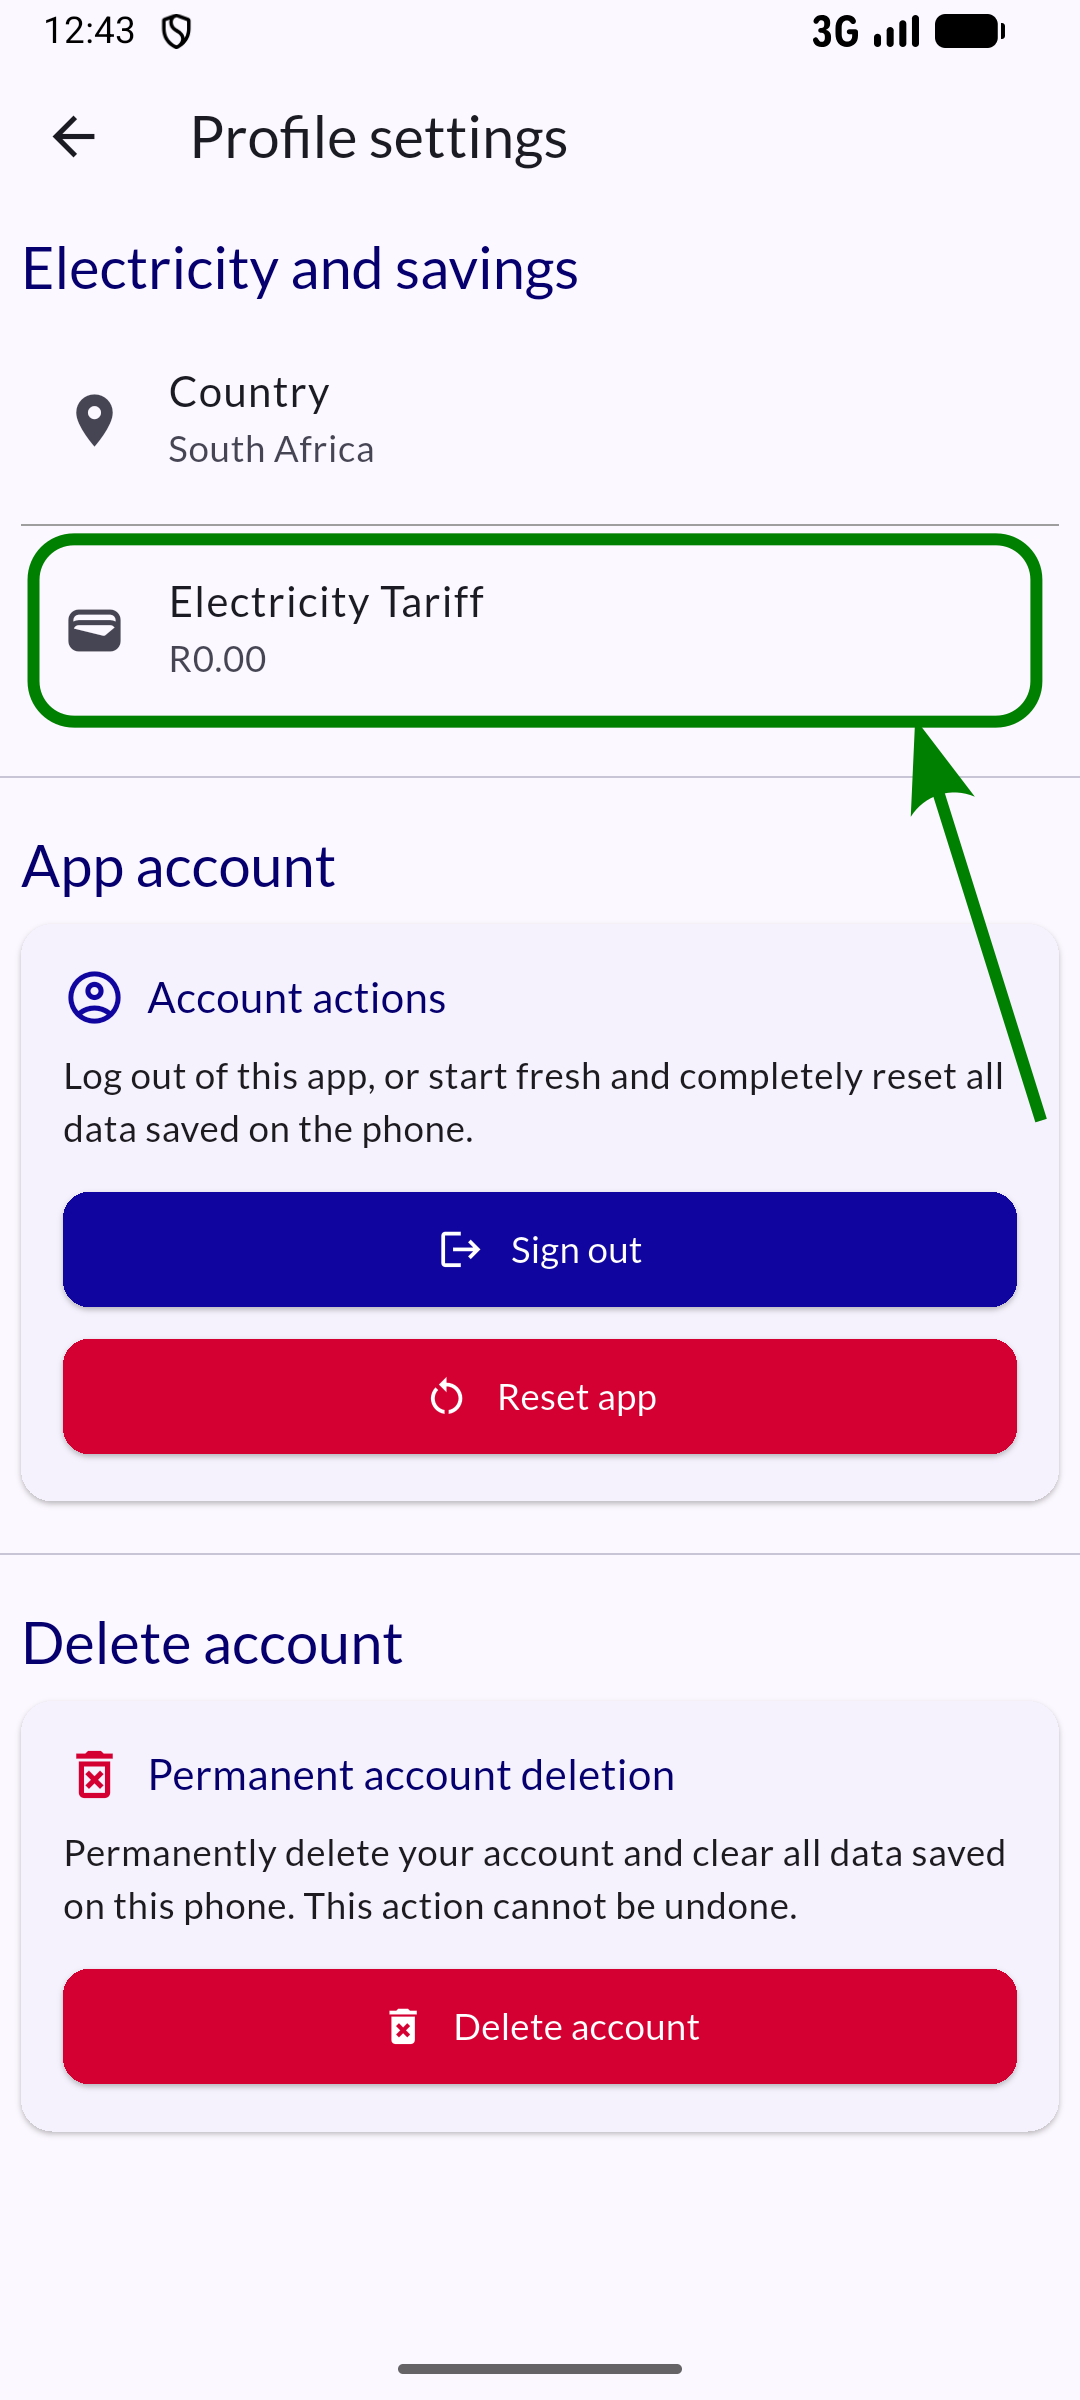
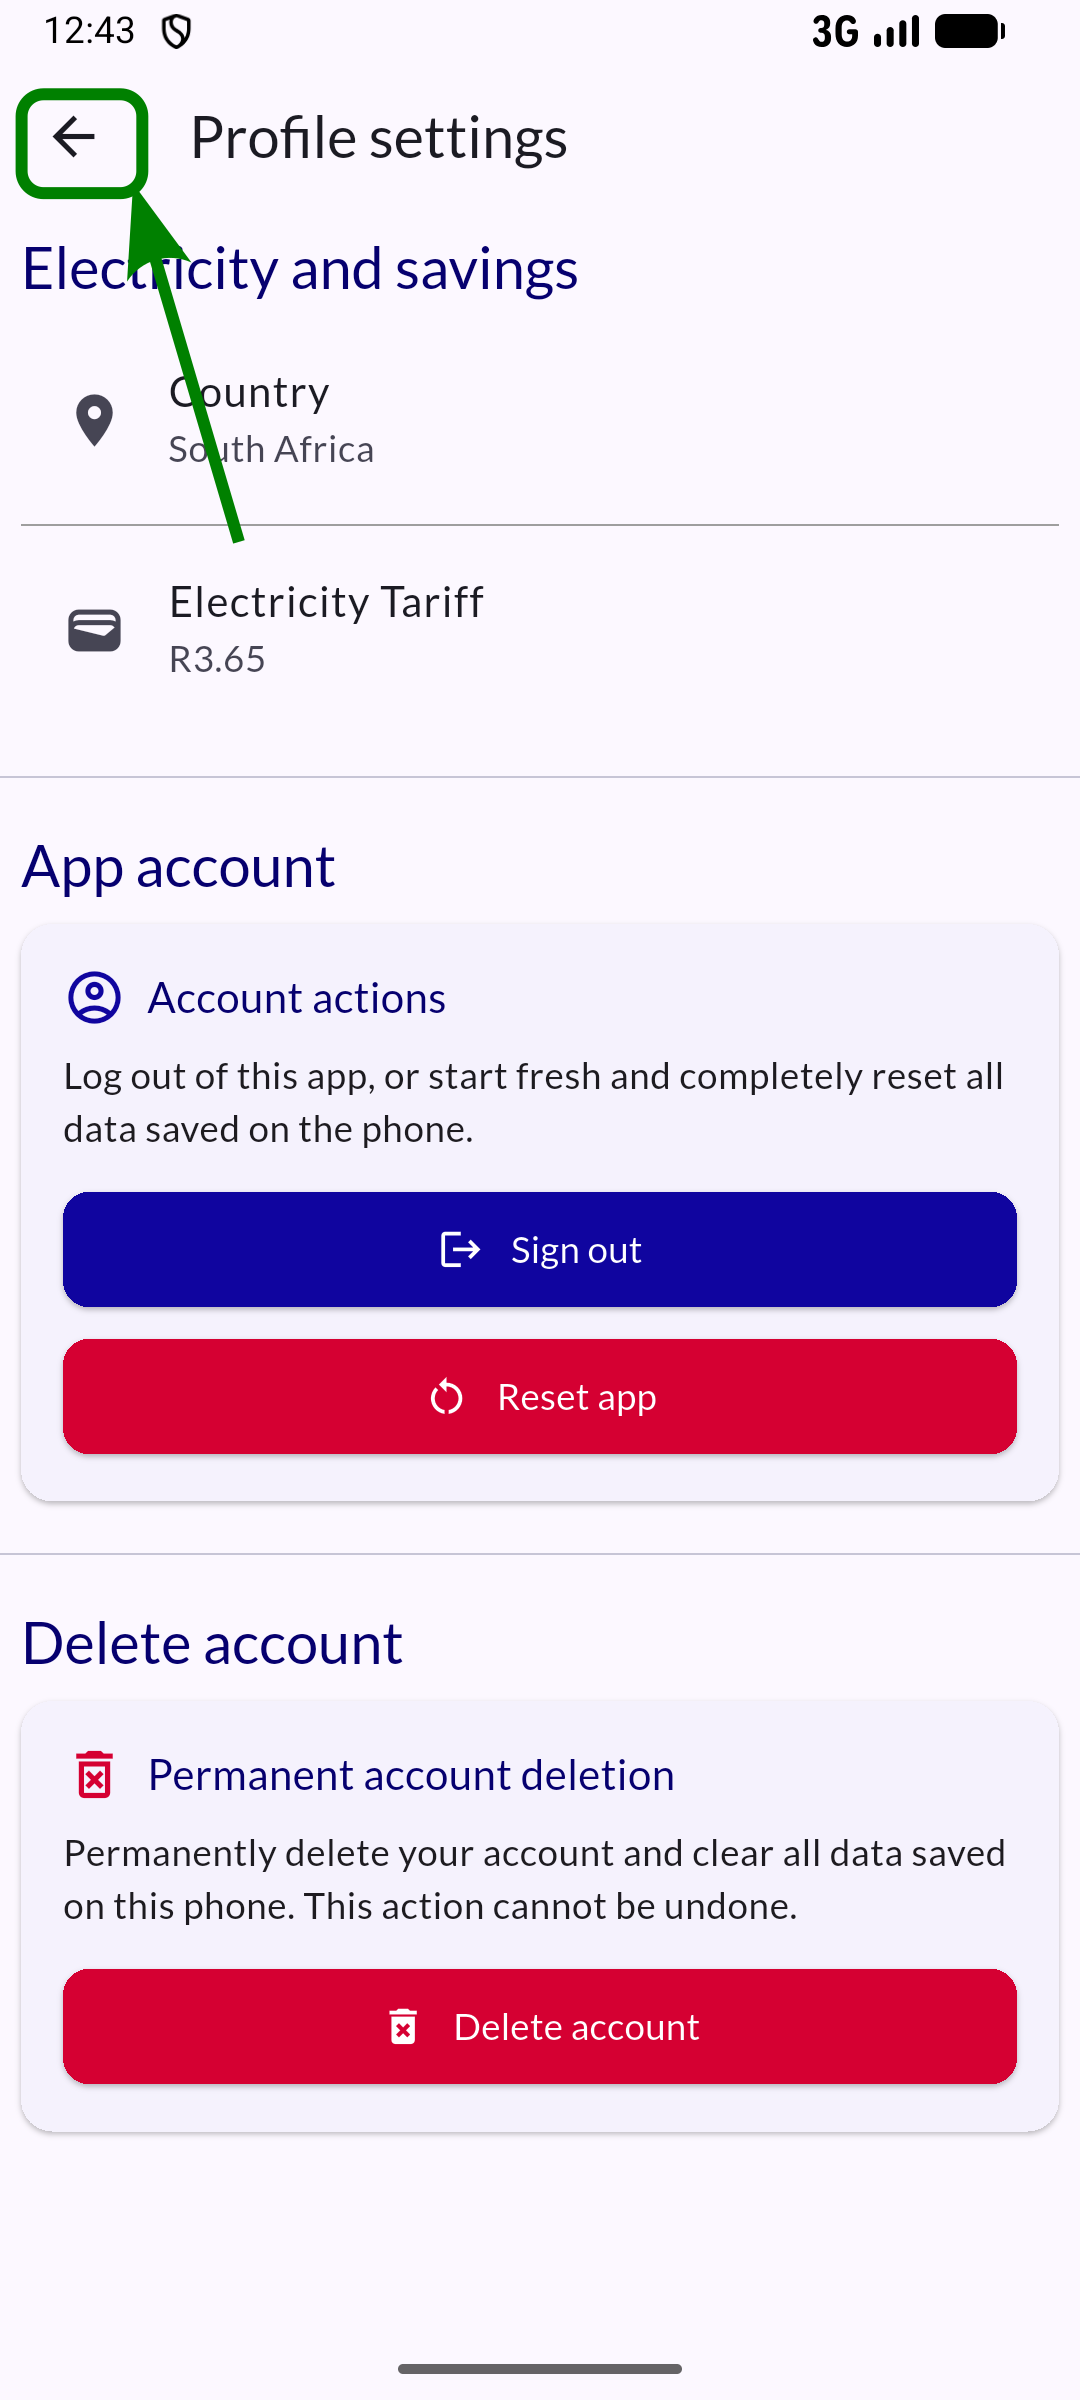
Profile settings
Electricity and savings
Share access